Today I have the pleasure and honor of participating in the Celebrate Christmas Quilt Along over at Quilting Gallery.
 I was so honored when Michele asked me to be one of the designers that I immediately said yes. It took me awhile to decide which block to showcase, but after reading all the comments on my welcome post about people wanting to learn paper piecing, I thought that my Old Snowflake Block (originally designed by Nancy Cabot) would be perfect. It is super simple and a great introduction to paper piecing.
Supplies:
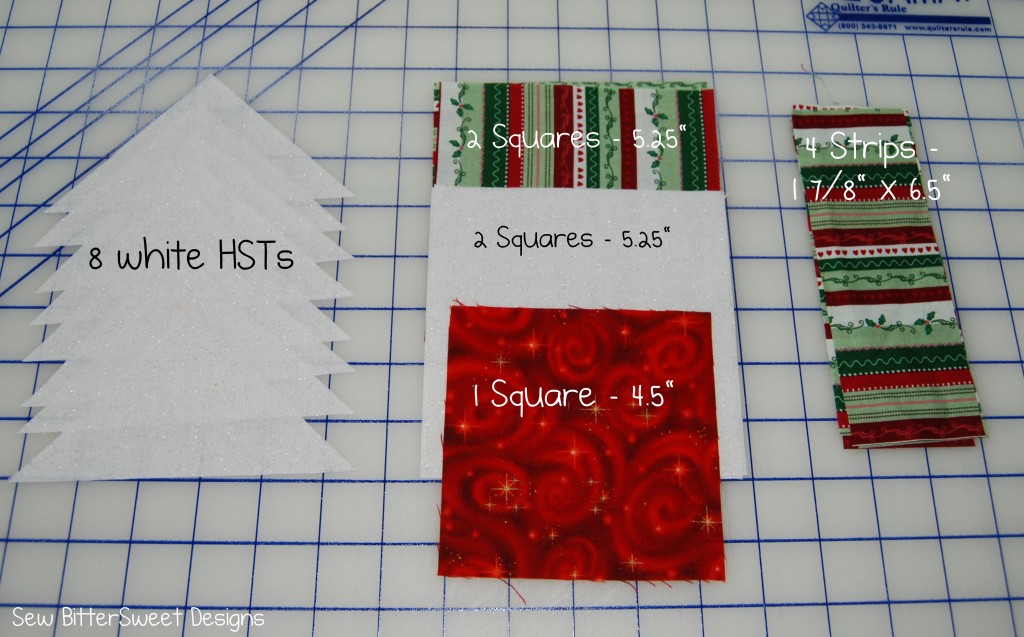
3 different fabrics: for the white and stripe at least a fat eighth, for the red – 1 square 4.5″ x 4.5″
Paper Piecing Template – Print 4 Copies
Fabric Glue Stick
Rotary Cutter
Pins
Cutting Mat
6.5″ square Ruler
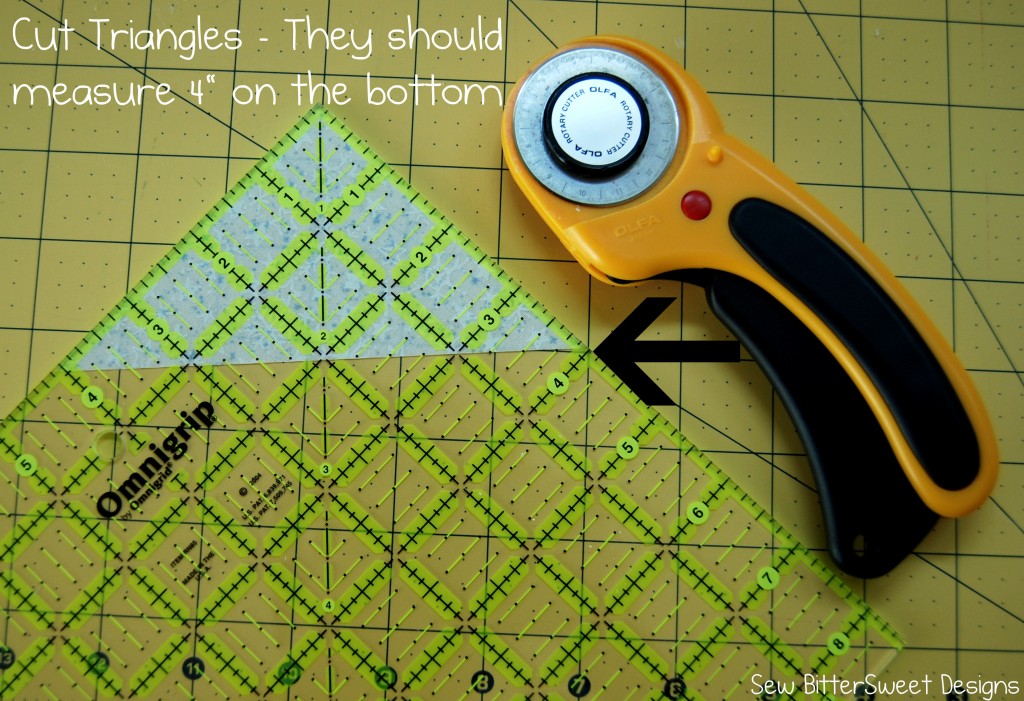
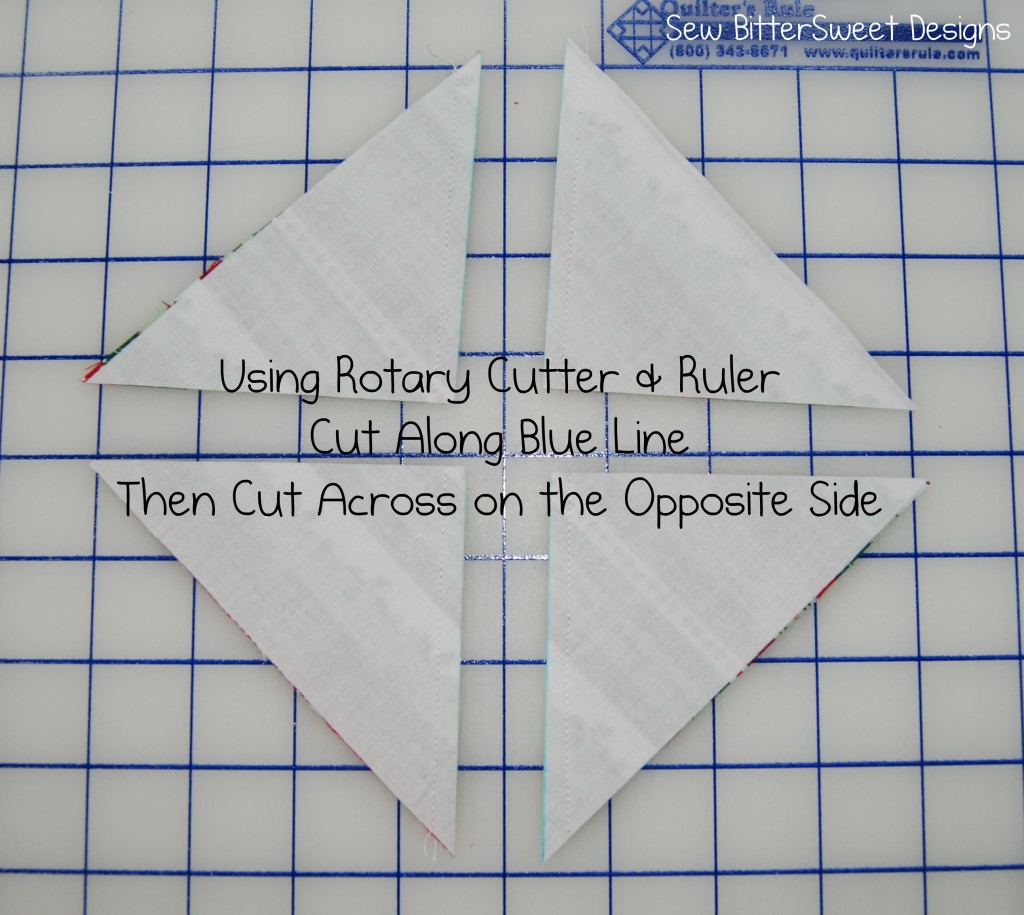
Here’s a good picture showing how to cut the Triangles:
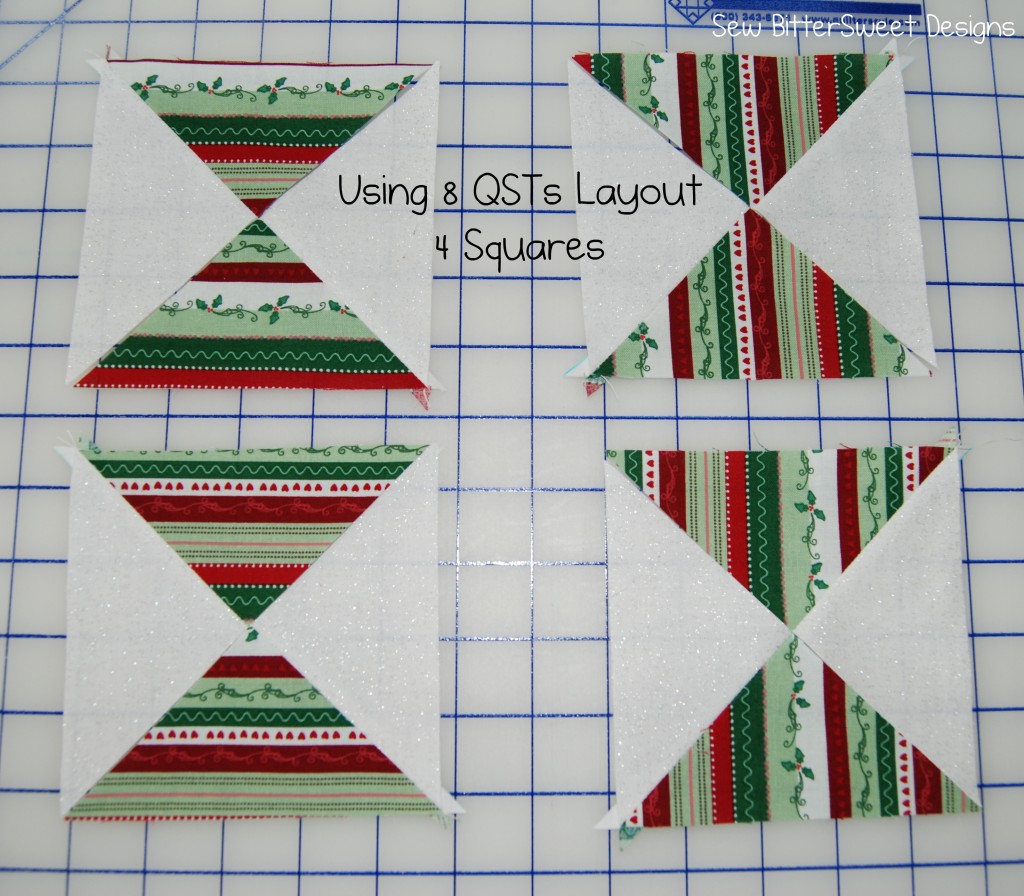
 Start constructing your Quarter Square Triangles (QSTs)
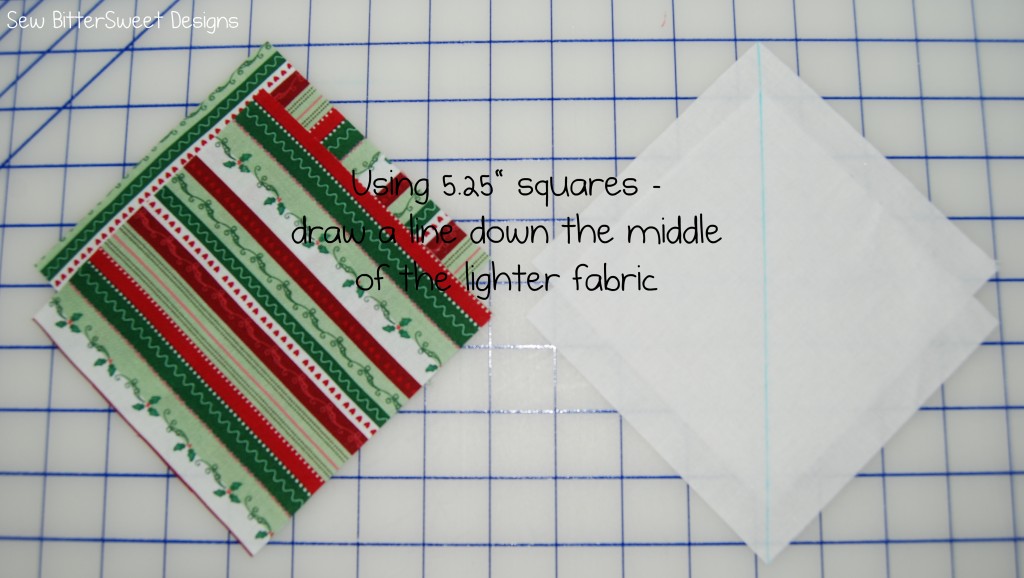 Place white square and stripe fabric right sides together.
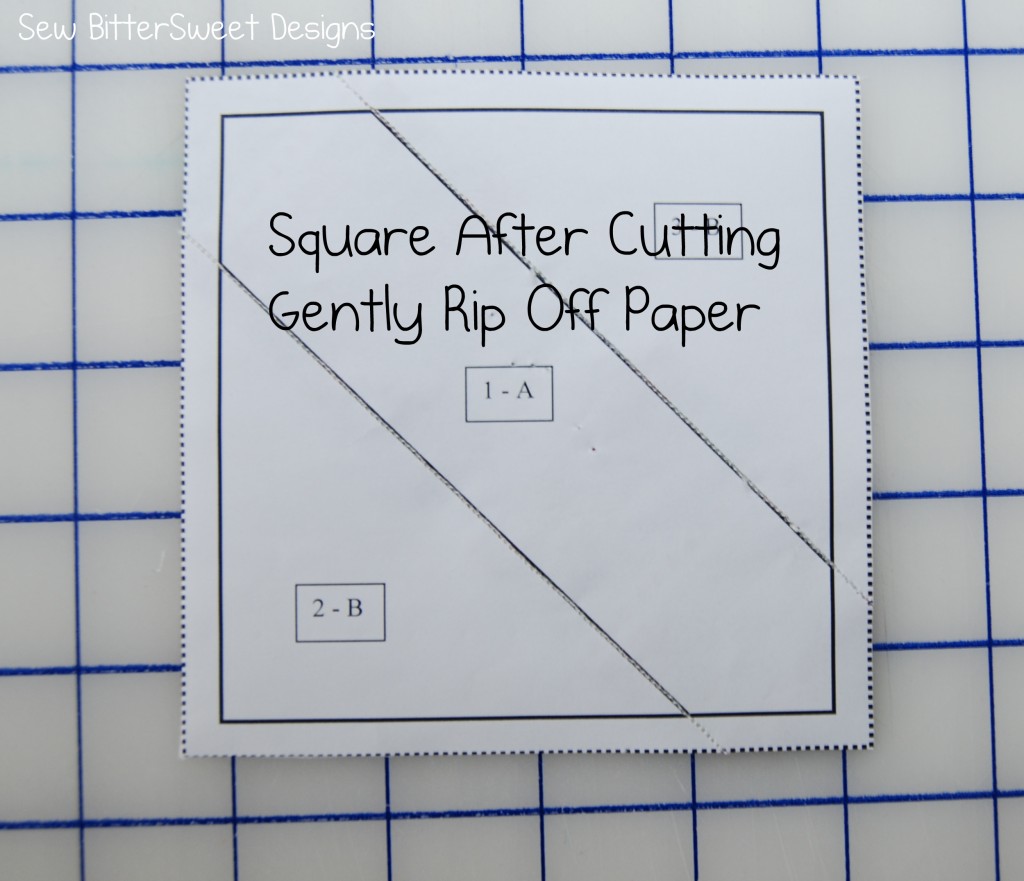
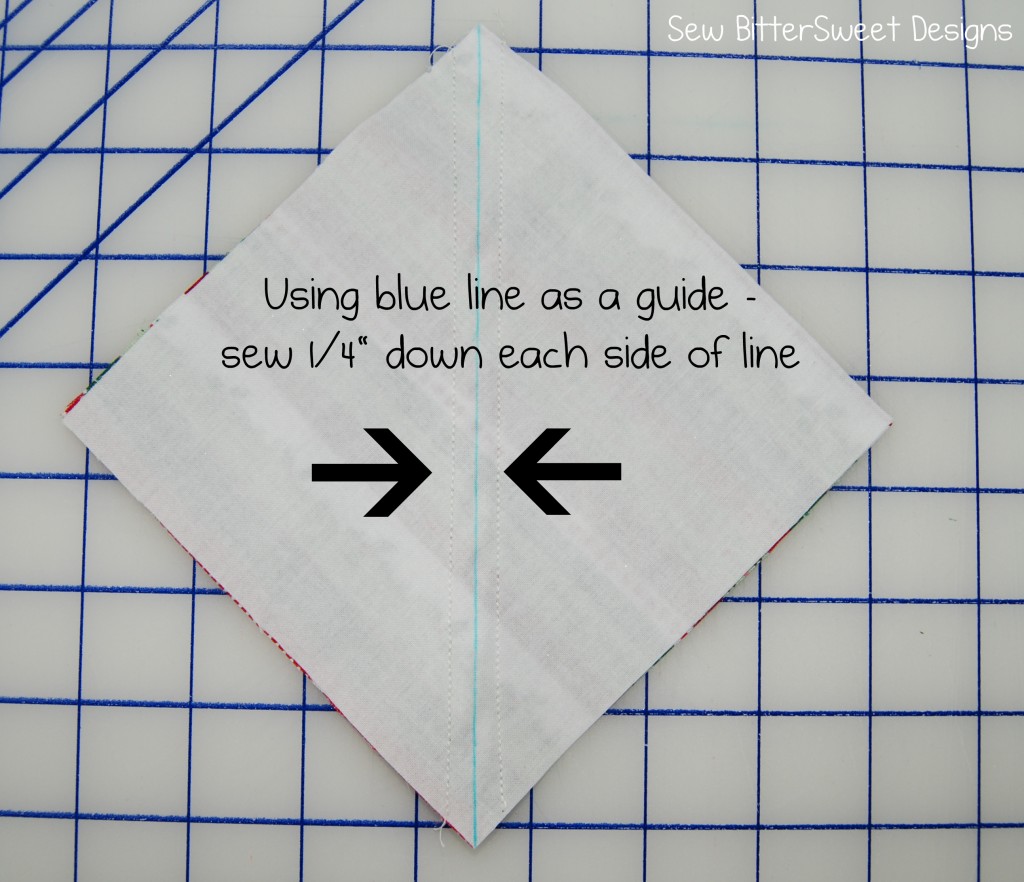 Next cut your triangles apart – unlike Half Square Triangles (HSTs) you will cut these twice.
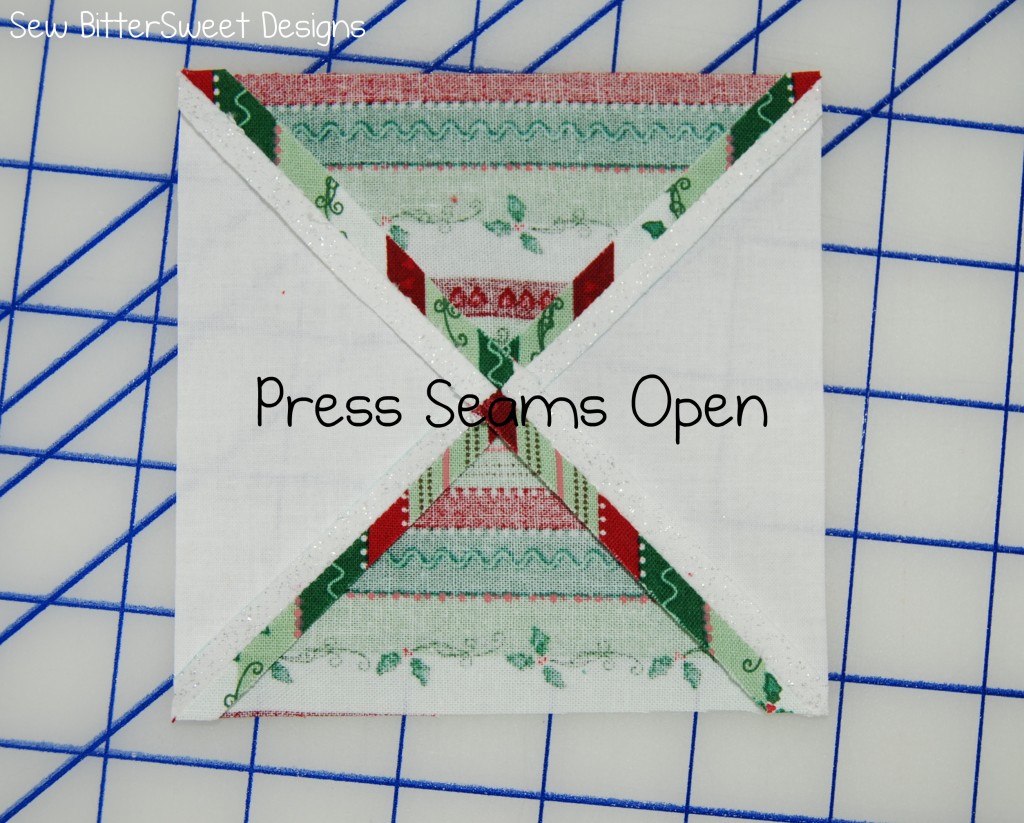
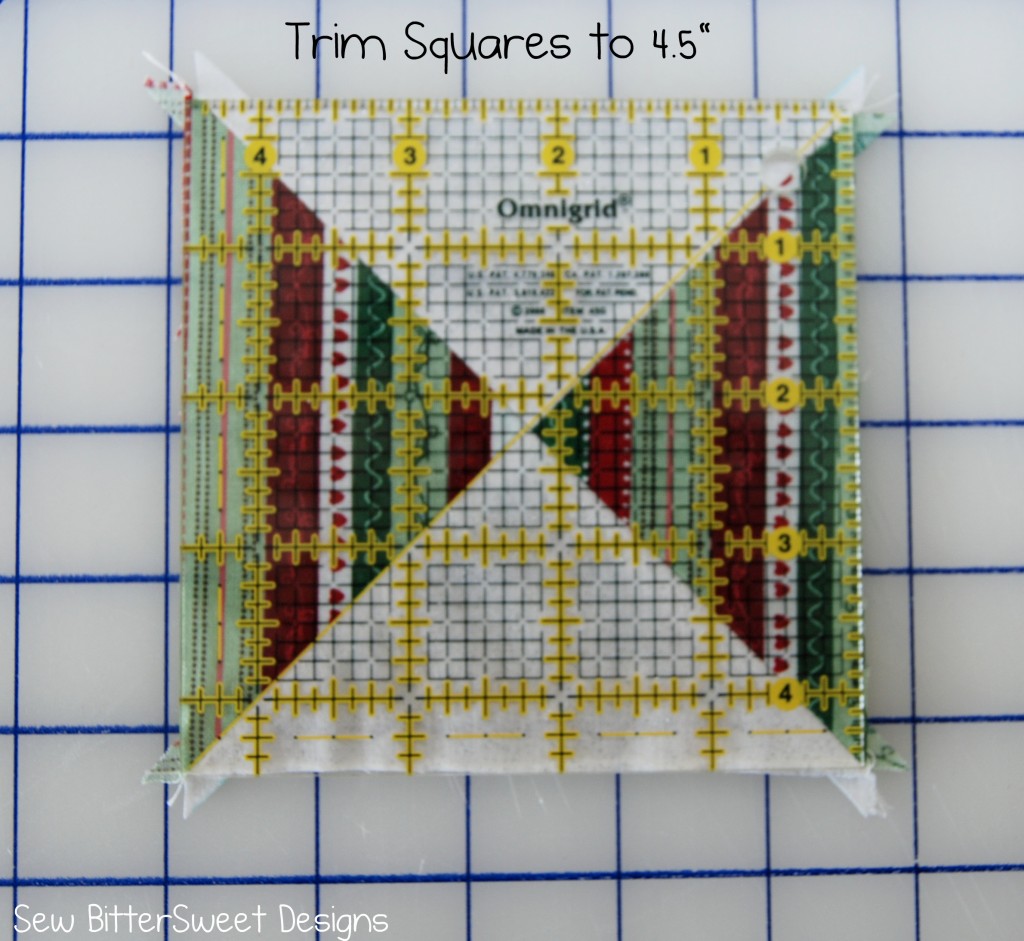
 Sew 4 squares total, press seams open.
Now for the fun part – the Paper Piecing!
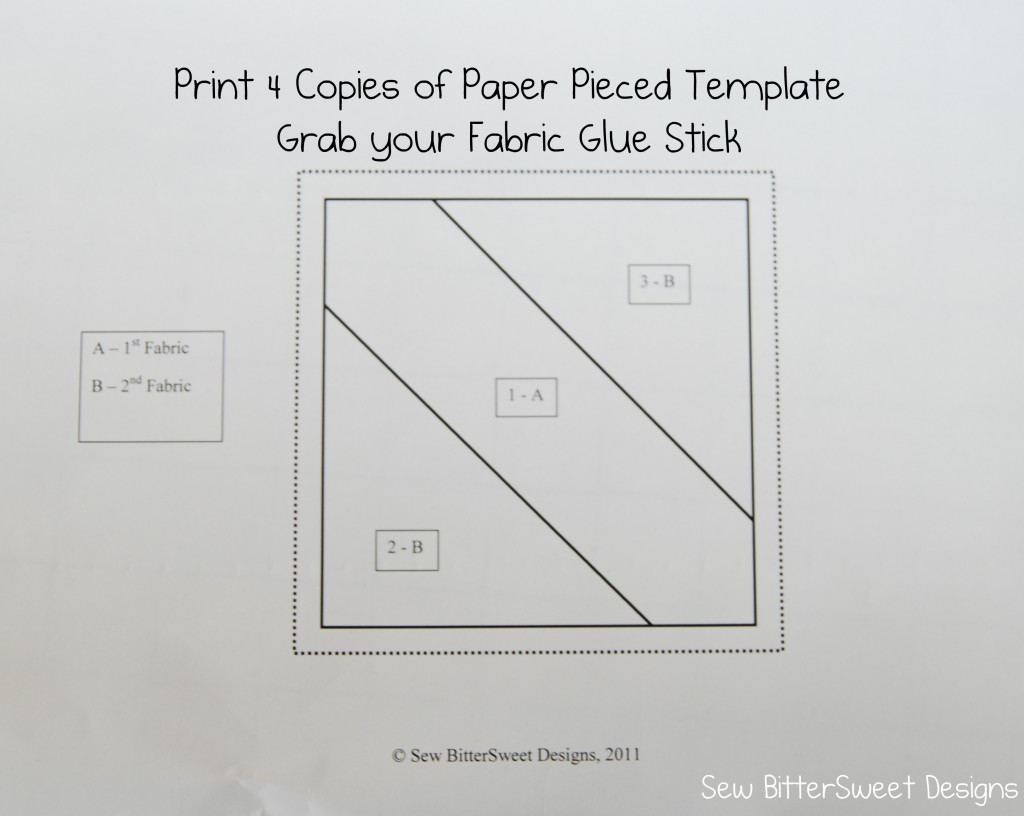 Pictures are worth a 1000 words – I hope these are helpful!
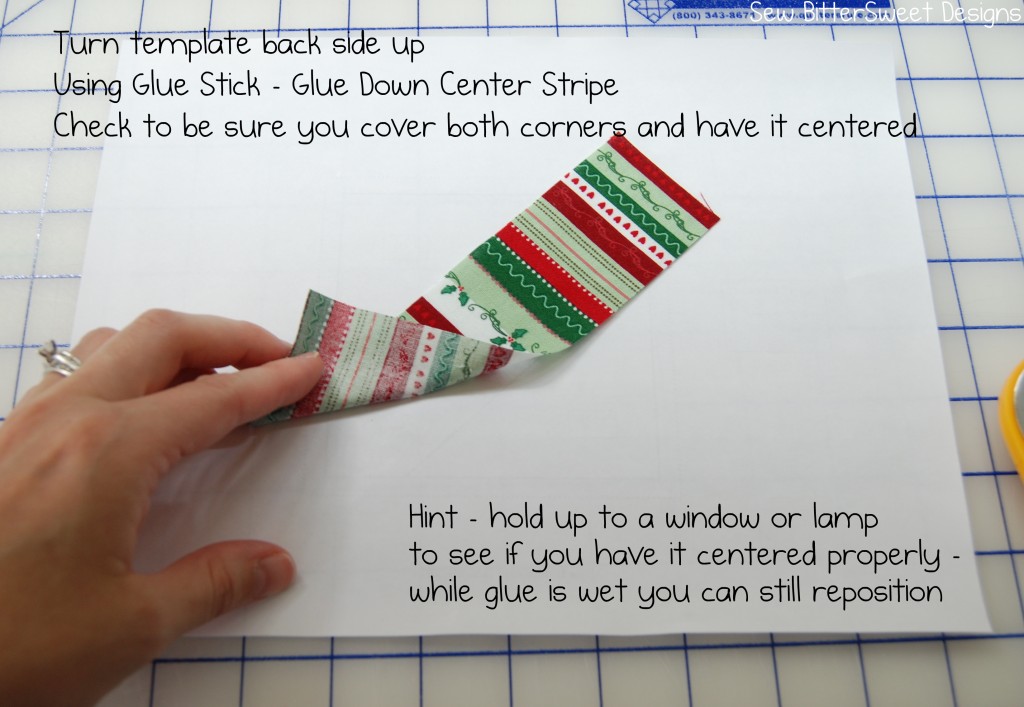
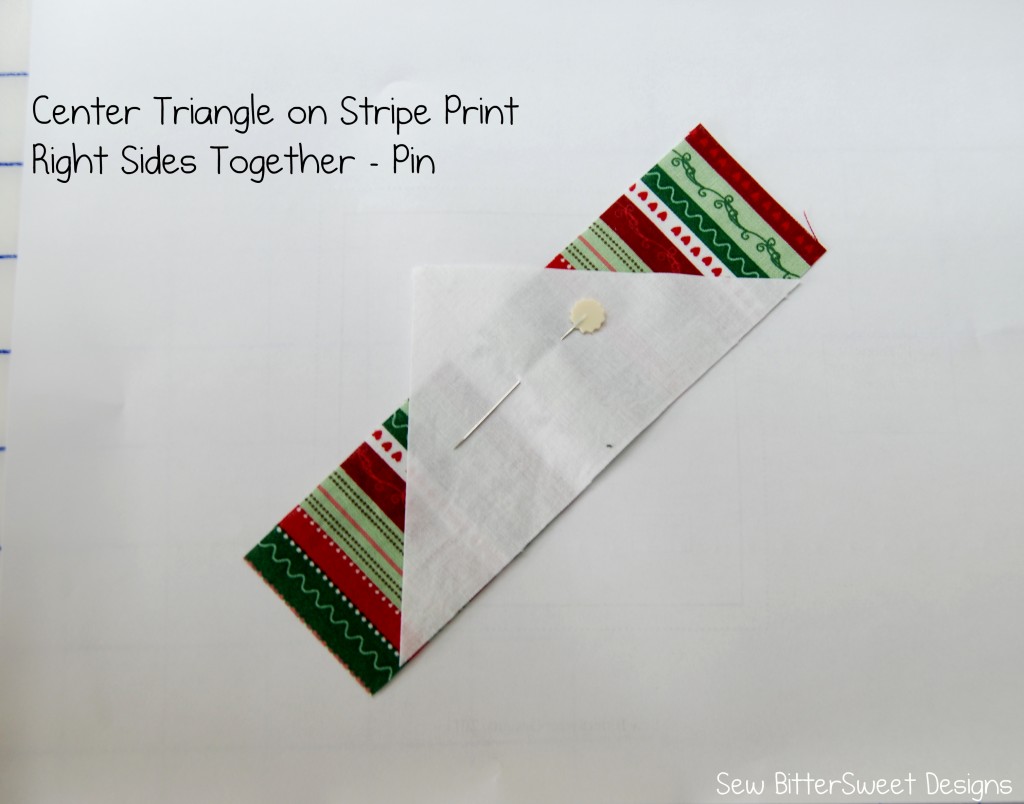
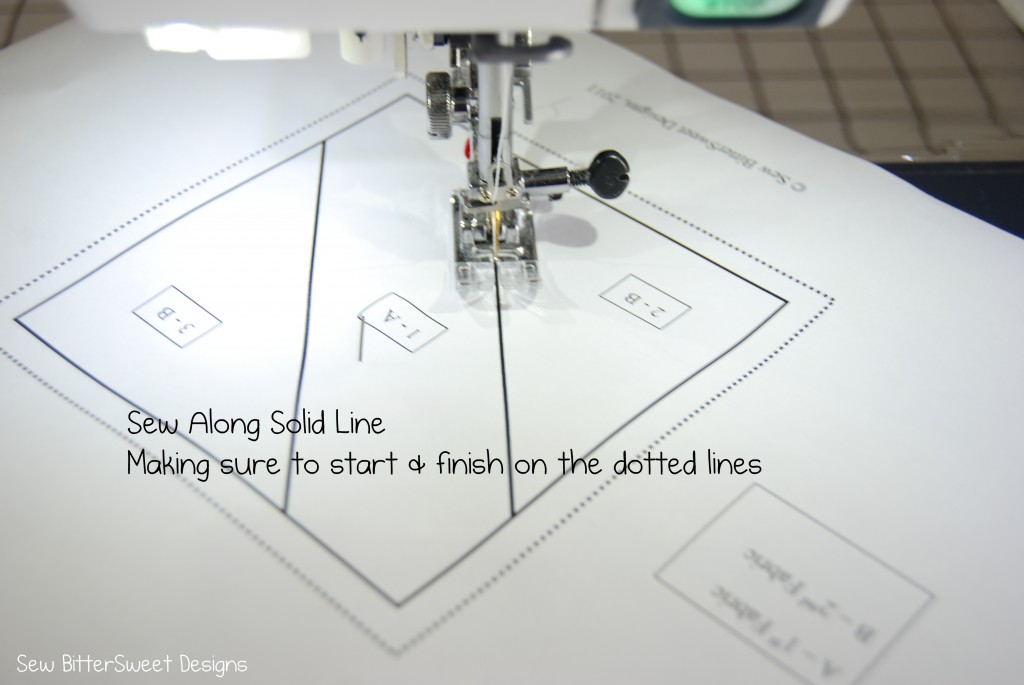
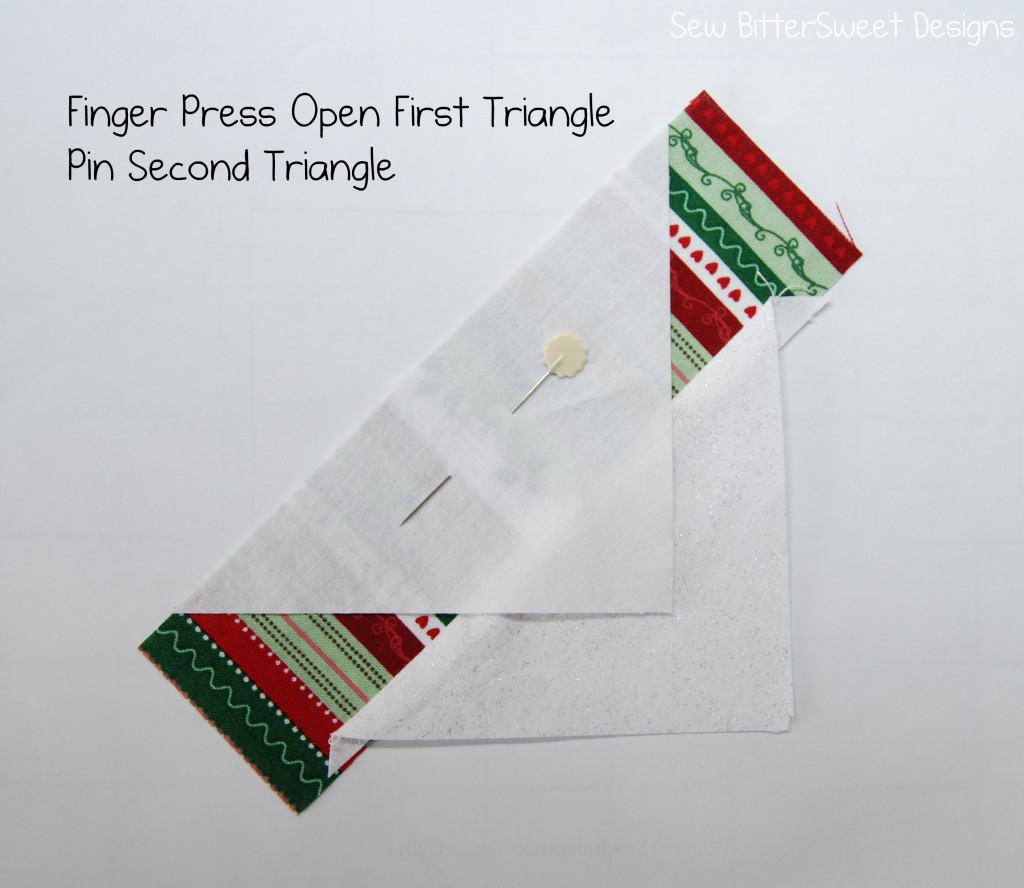
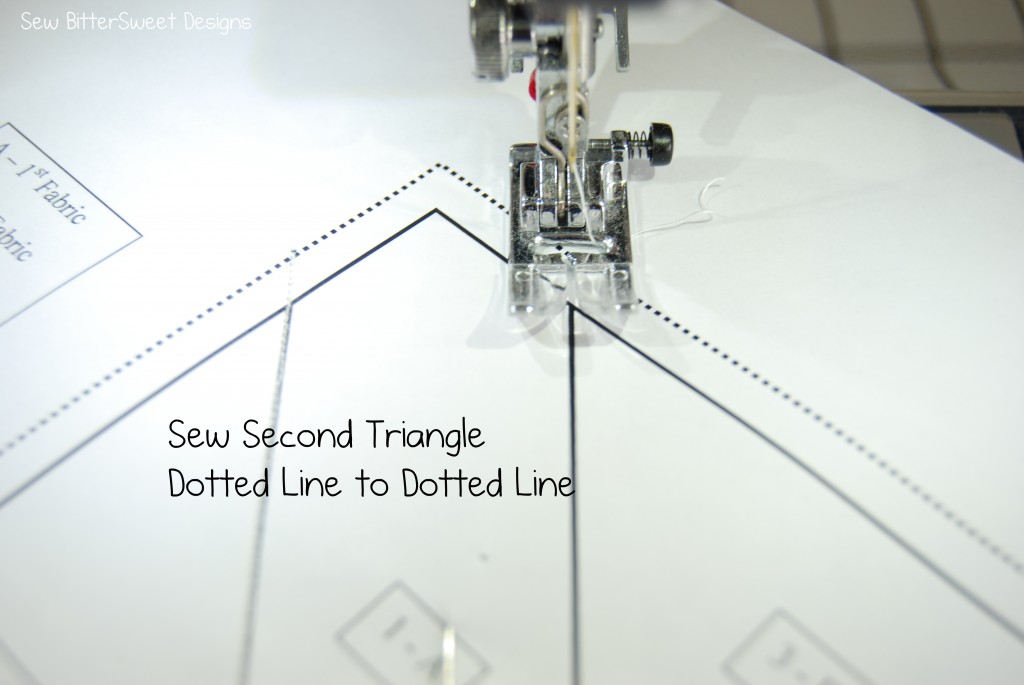
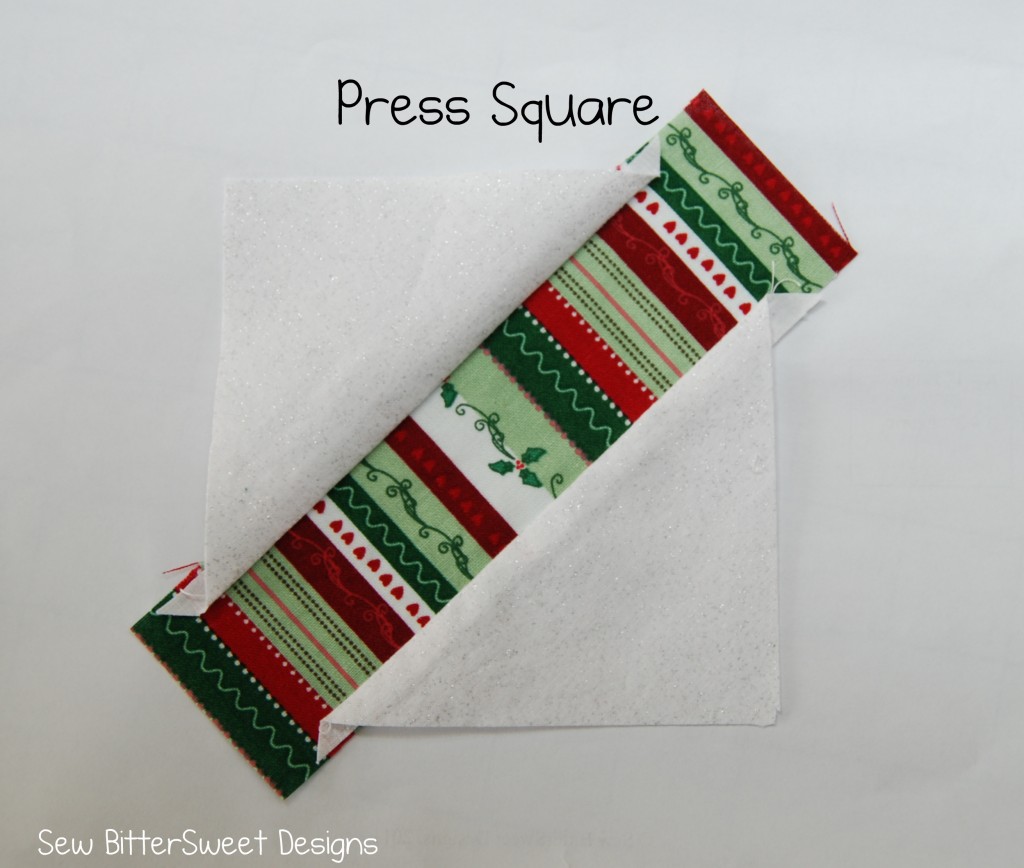
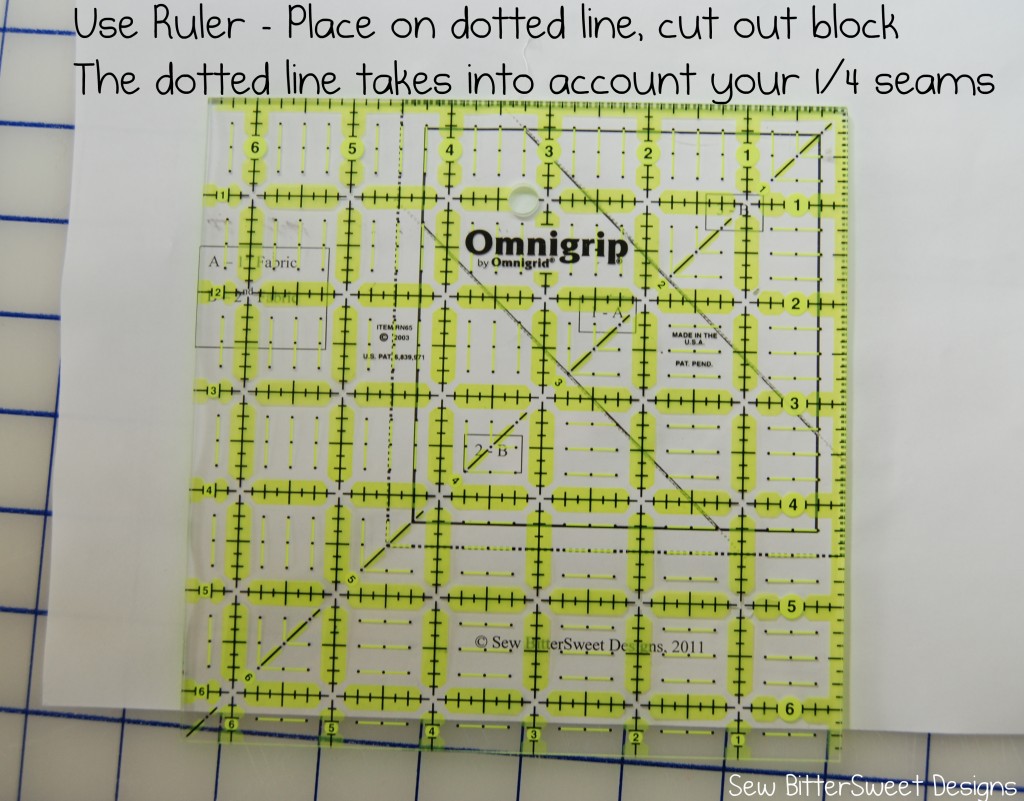
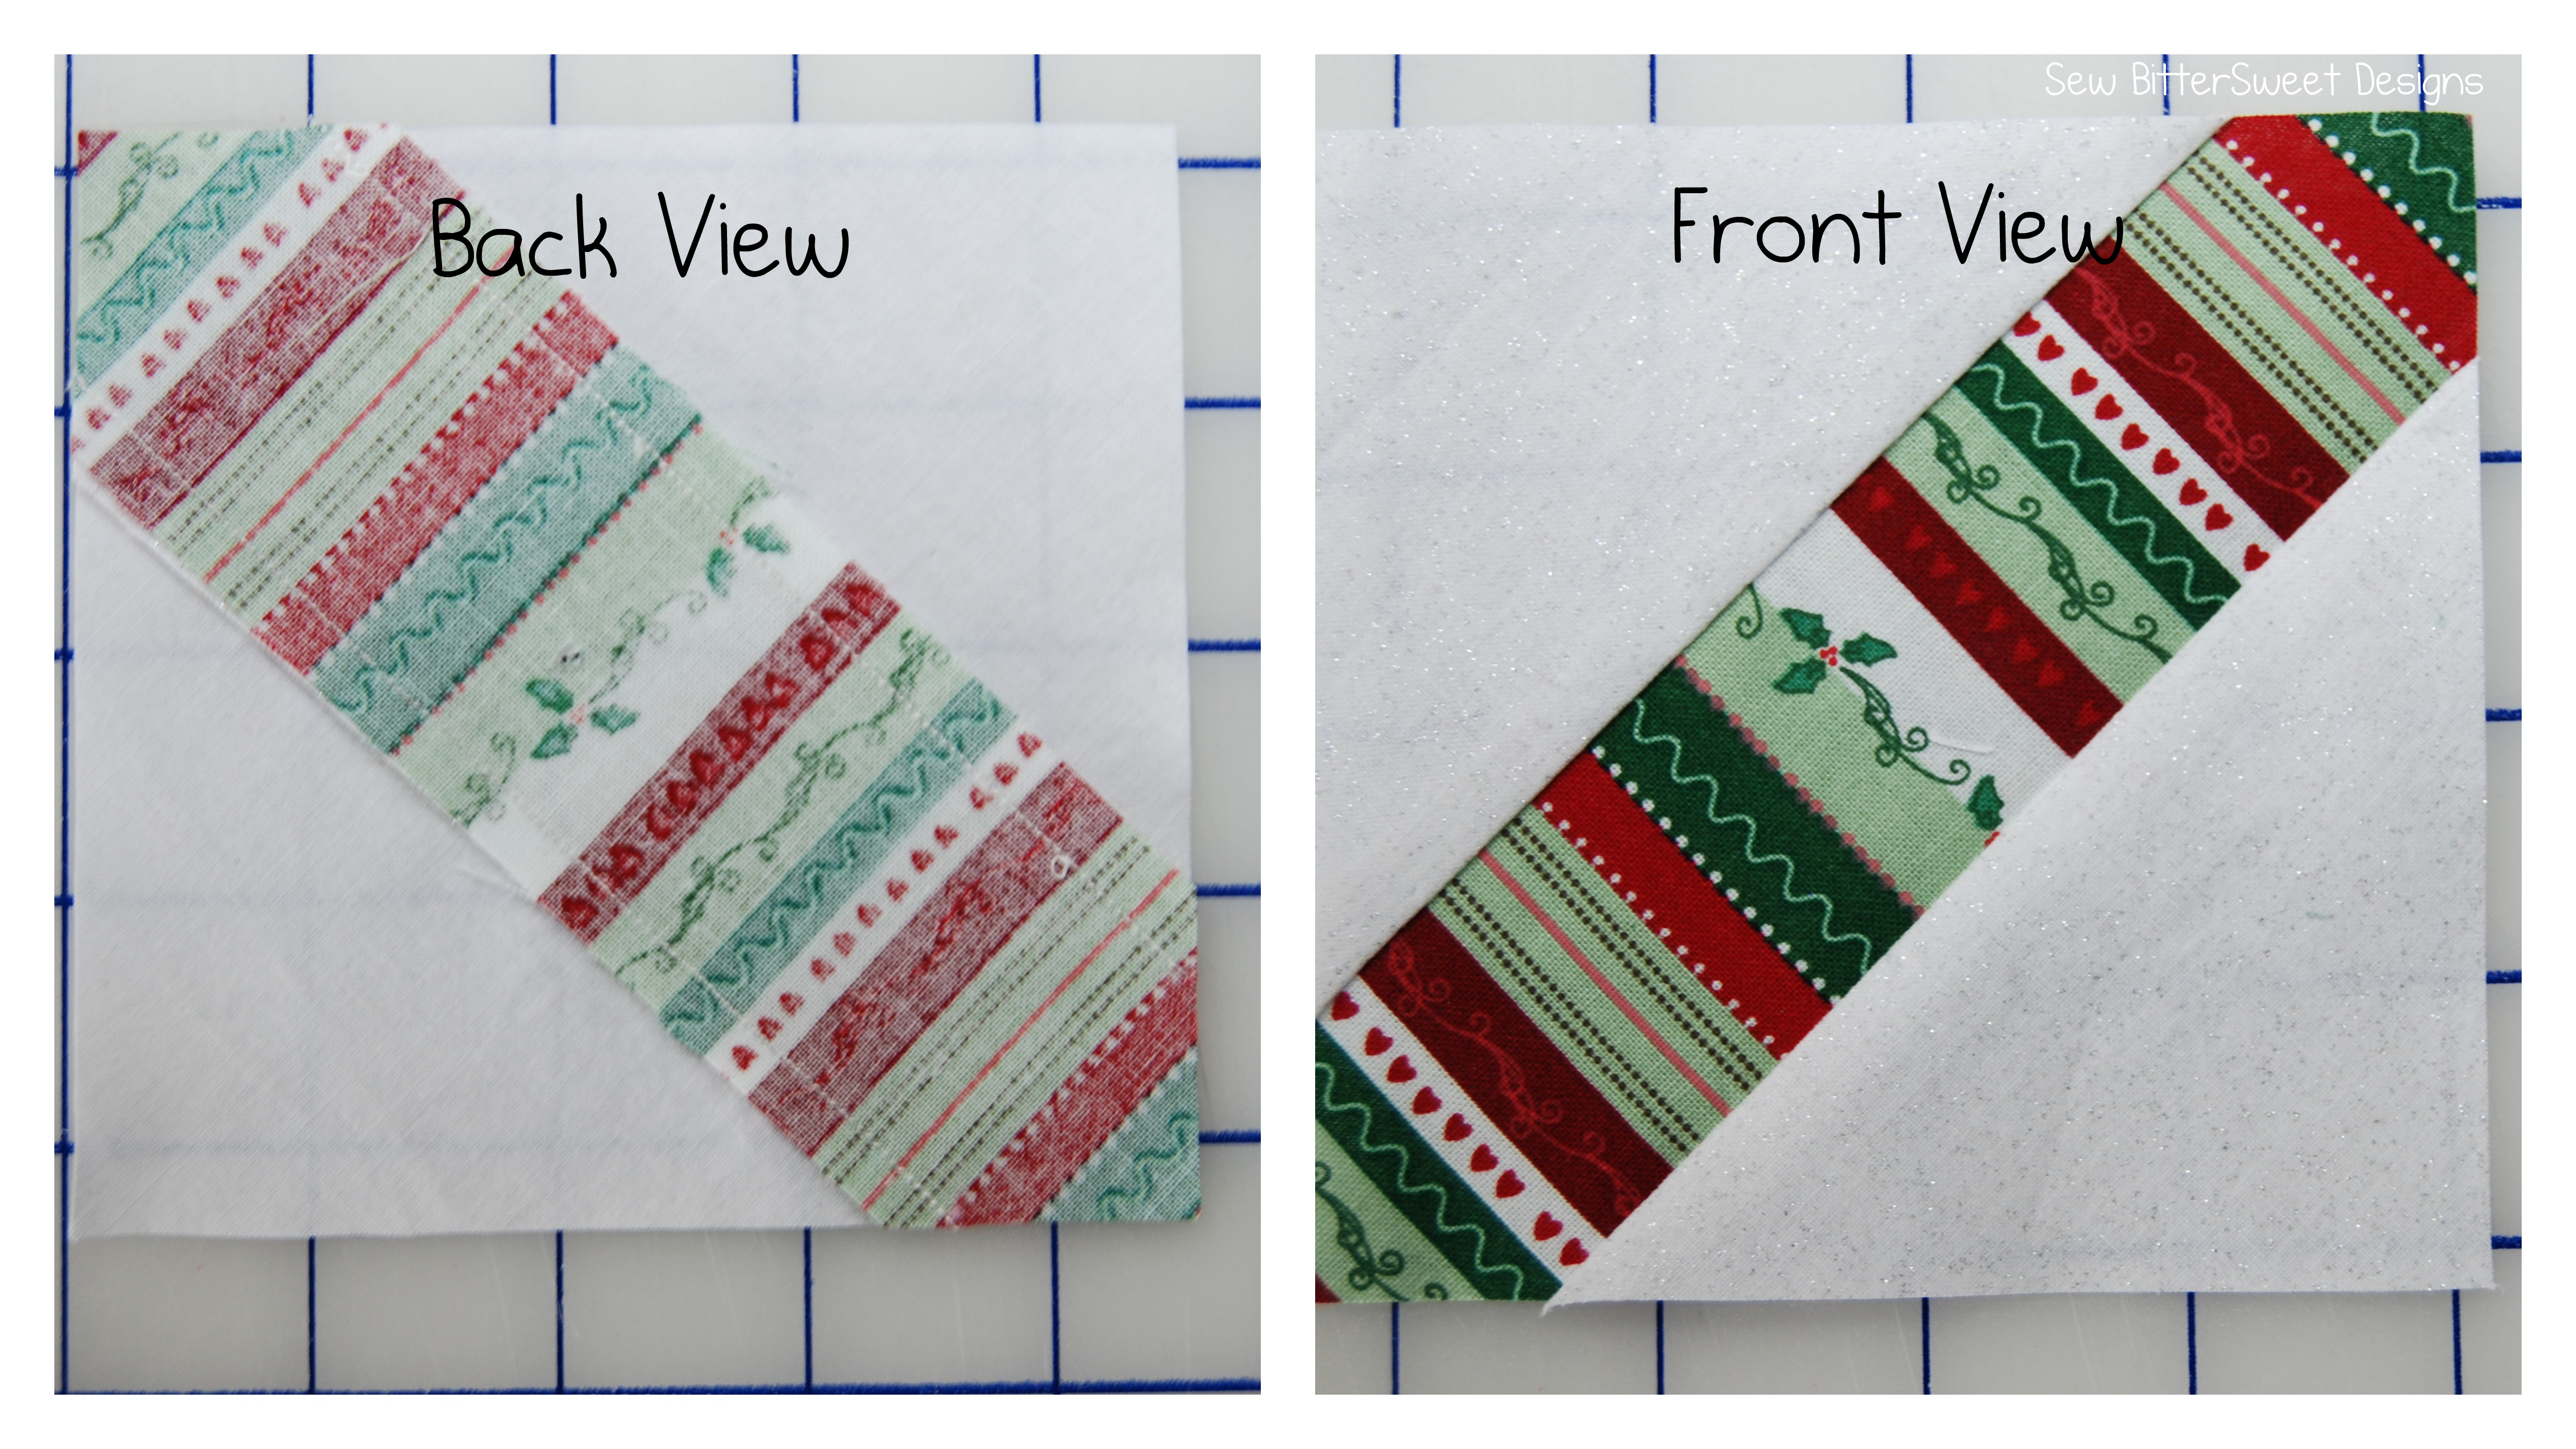 Congratulations! You have just done your most basic paper pieced block!
Next layout your squares and sew them together!
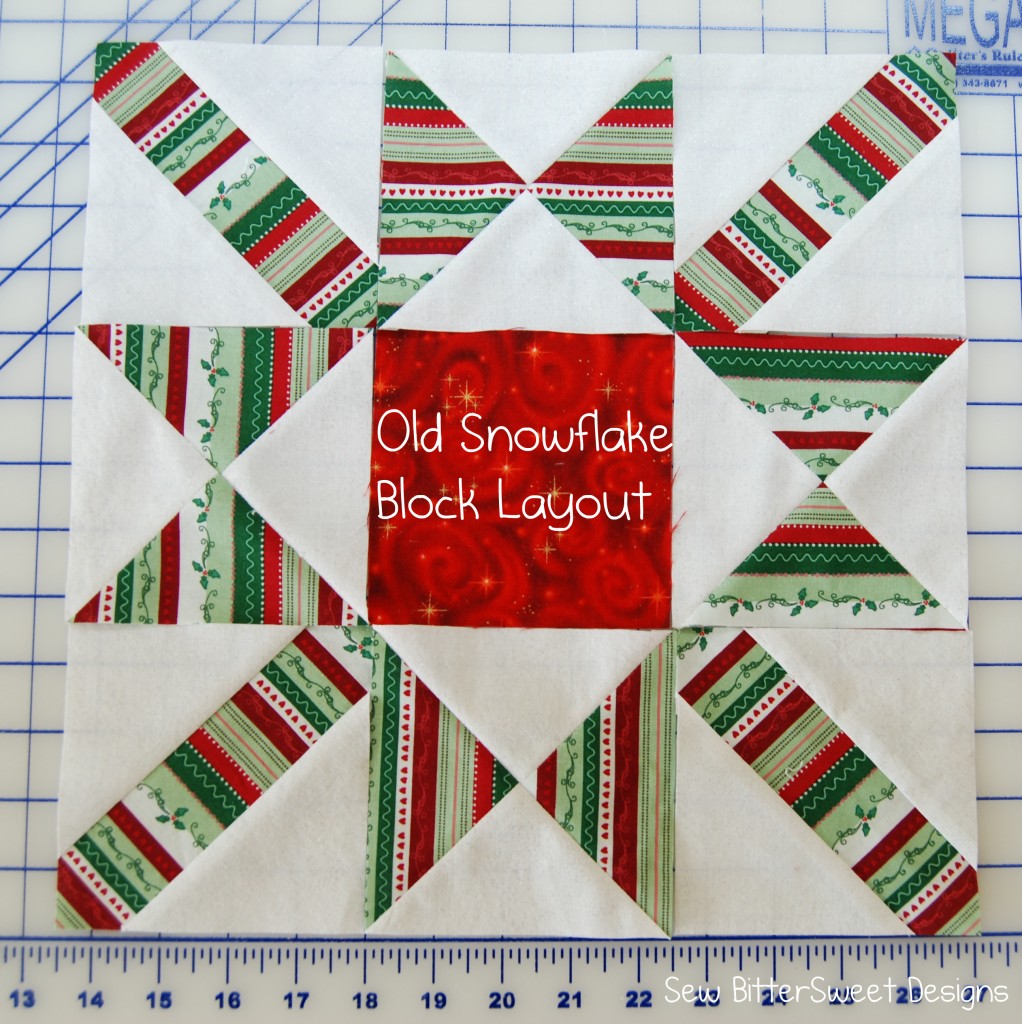
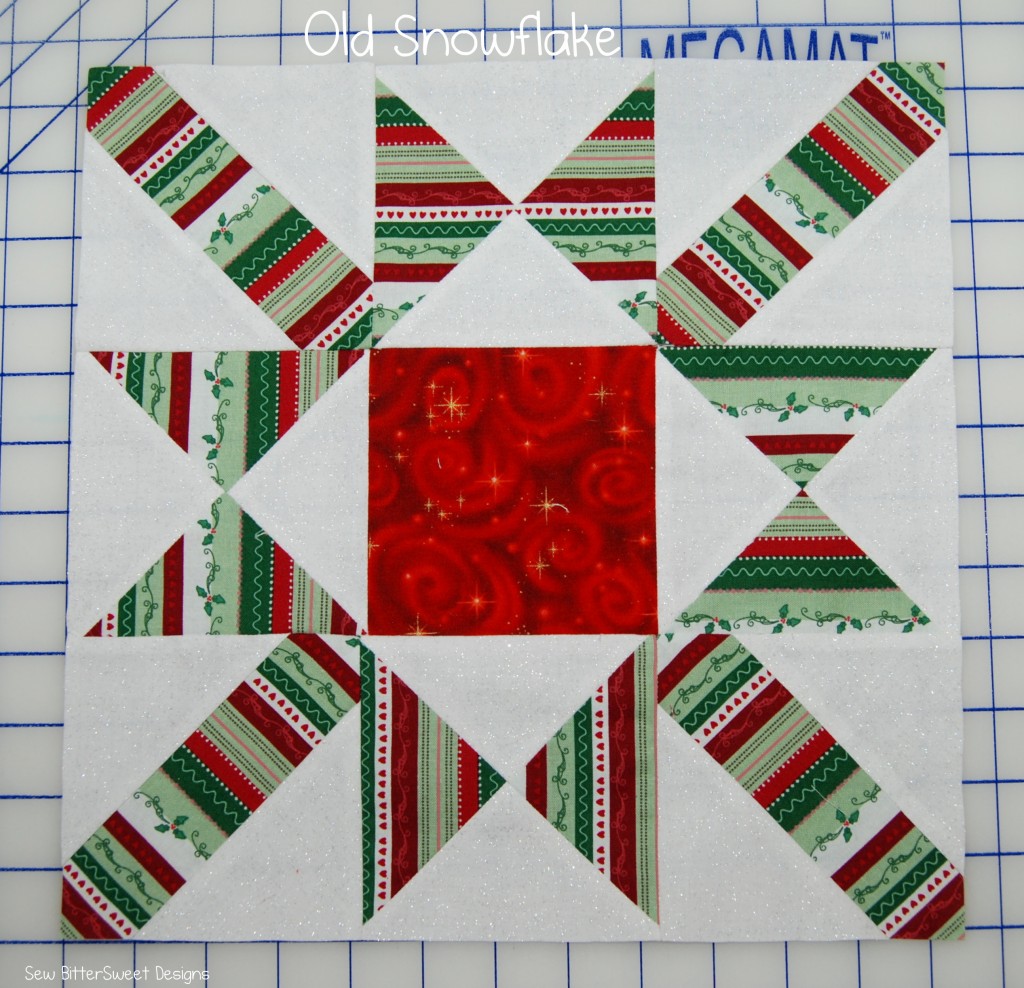
 Three different versions of the same block! Good luck making yours!
Please feel free to email me or comment if you need any help!
Check out the rest of my Christmas Sampler Tutorial Blocks!

Hello,
Thank your very much for the block, but Please can you look after the layouts, there is something wrong wih the pictures, I cant see the three end layout clearly.
Greeting Guilitta
I really like this block. Very pretty and definitely an easy one to start doing paper piecing. Thank you.
Love this block!! Going to have to give it a try so that I can get started in paper piecing!
It’s a great block! Thanks for the easy tute. I will give it a try as soon as I finish up my top two UFO’s (handles on a purse and about 1/3 of a quilt binding). They must be finished first! I keep saying that….but I mean it this time. lol
Thanks again, Melissa!
Yay! Now I can make a few of these to go with the Awesome one you made me 🙂 I am thinking that these would make wonderful place mats! Thank you for the wonderful tute.
Looks great but my computer isn’t near my machine. Can you make the directions printable?
Love the block…. I, too, would appreciate printable directions…. I printed the paper piecing “blocks” but they are too small and don’t know how to make them the right size if the block is to become 12 1/2″ ….. Any suggestions??????
What a neat block! This is perfect to begin paper piecing with, thanks for the tutorial!
Quilting by the River
Hello Anne and Susan, Happy new year! I was searching for the Nimble Thimblers mitneeg schedule on line, didn’t find it, but found you guys! Much better! I see you are still as busy as ever! You are in Beverly, MA this year? When and where? Not far from me, I’d love to see you both. I joined North Parish Quilt guild, but went back to Nimble Thimblers as a guest. Colser and a better schedule for me. I’ve been on the waiting list since 2004. I am now at #5. Maybe before I die, I’ll get on it as a member. I hope to see you both soon. Joanne
Thanks for the share!
Nancy.R
Hi Melissa!! Thanks so much for linking up – I featured your tutorial on SewHappyGeek Feature Friday! Have a great weekend!
Found your site through Digg. You know I will be subscribing to your rss.
Beautiful block – thanks for the wonderful tutorial and great instructions!
Appreciated the share!
Hellen