(Full Disclosure: Alto’s EZ Mat, Inc. provided me with the QuiltCut2 Fabric Cutting System – the thoughts and opinions presented are my own.)
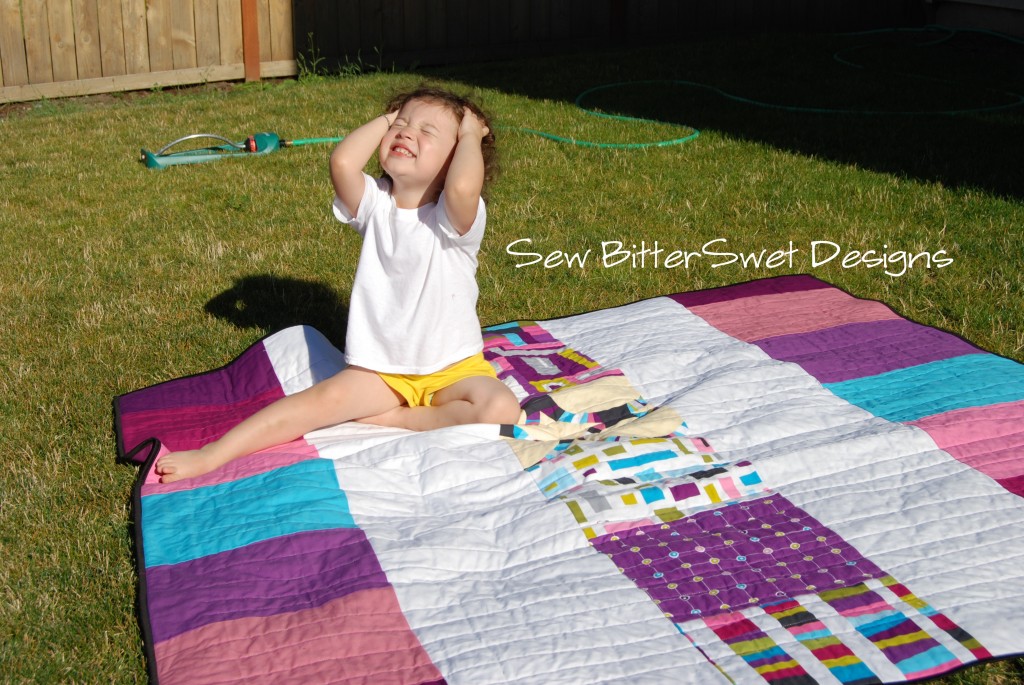
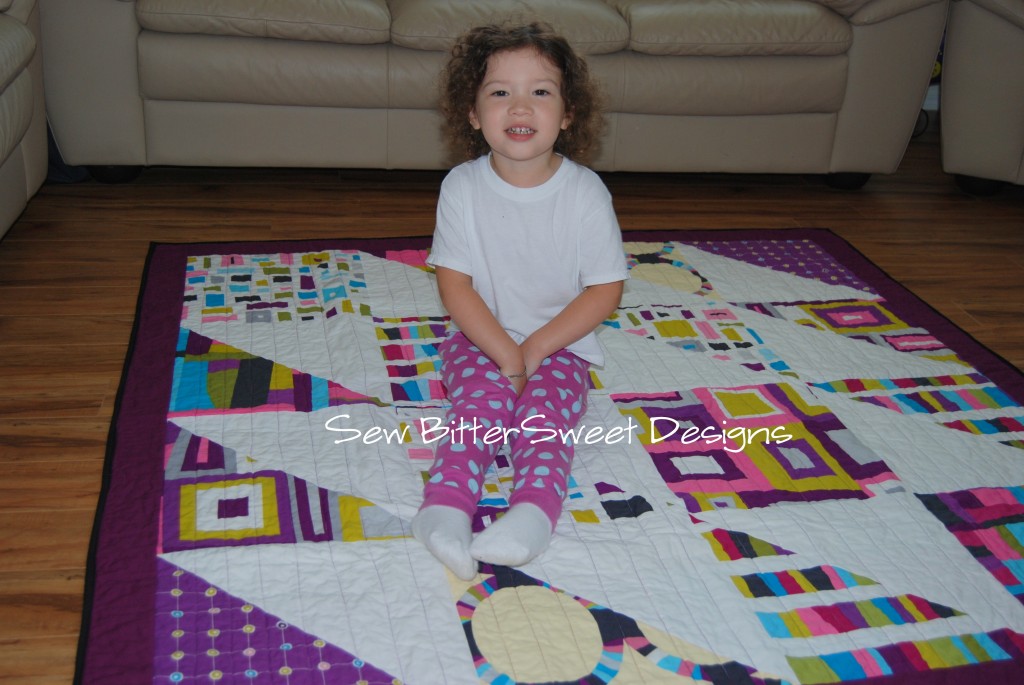
(update: This is actually a picture of the Quilt Cut2, until this post was up and Alto’s saw it, I was under the impression I had the original product. This review is still based on the Quilt Cut2 and it’s amazing cutting benefits. Both quilts in this post were made using the Quilt Cut2 and were each completely cut in 1 day!)
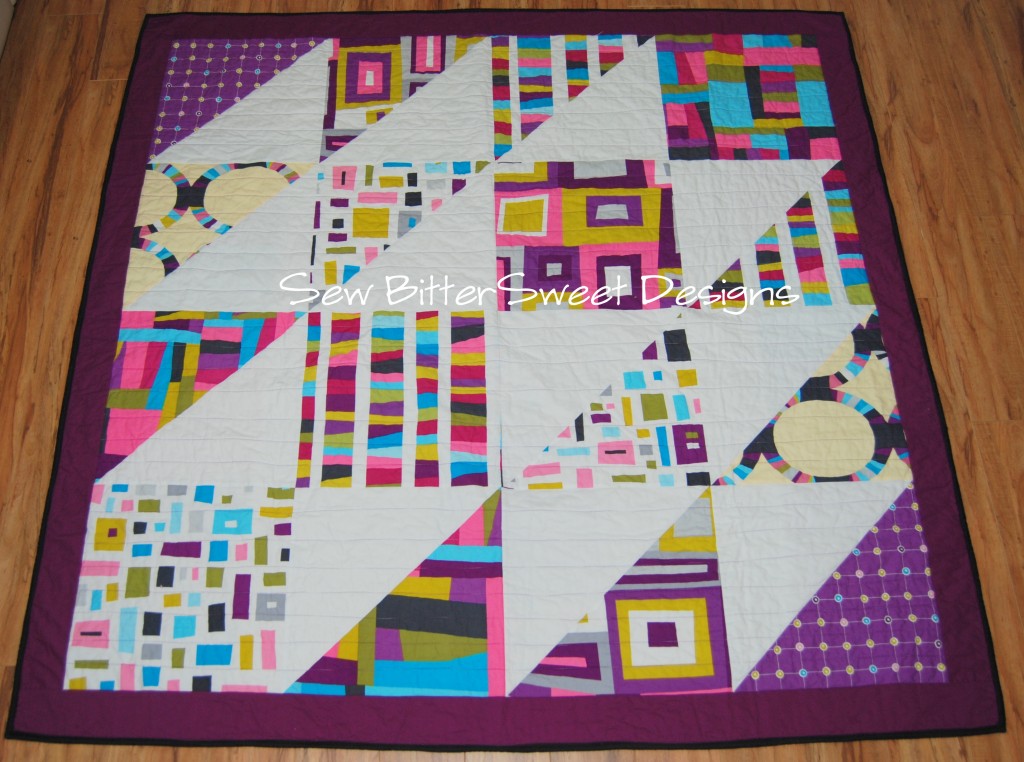
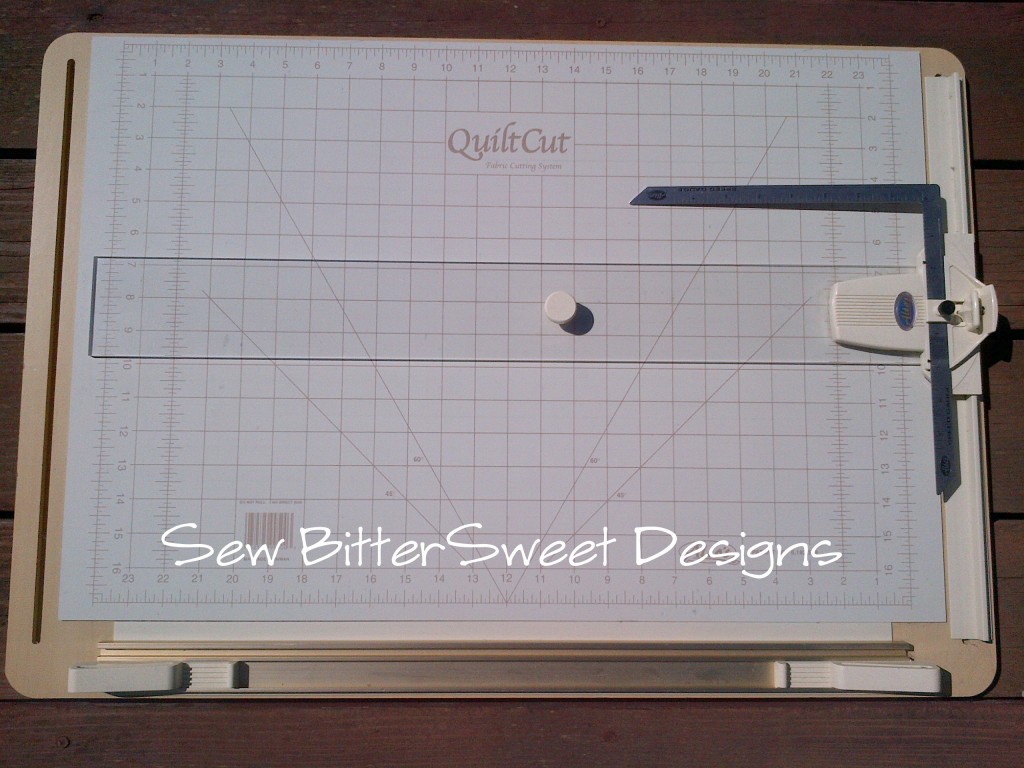
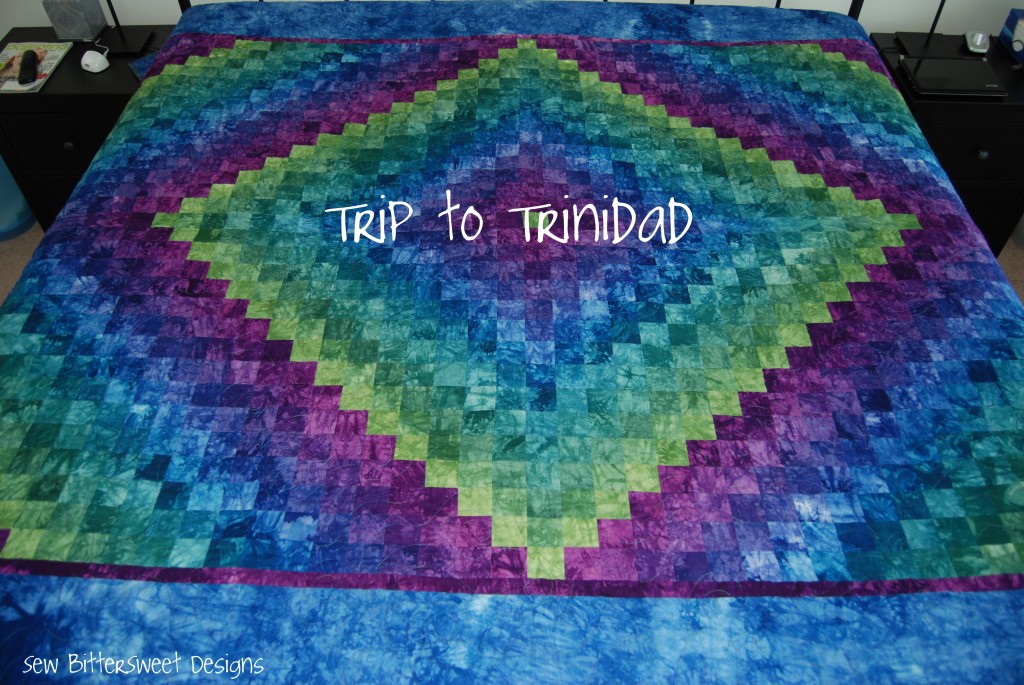
About 12 years ago at a local quilting show, my mom and I ran across an interesting product – called the QuiltCut Fabric Cutting System. This is our original one about 12 years old. In one day, I cut and sewed an entire QUEEN sized quilt top:

Isn’t it a lovely quilt! I seriously thought that this product was the end all beat all for cutting. I mean a QUEEN sized quilt in one day. I don’t know how many 2.5″ squares there are in this quilt, but I guarantee you that there are A LOT! Then earlier this year I went to the Sew Expo in Puyallup, WA and saw a newer version of the QuiltCut, the QuiltCut2, being marketed and I knew I needed to try it out if only to see what the differences were.
 I emailed Alto’s EX Mat and asked if I could do a product review comparing the two, and then my hands started to deteriorate. I had the QuiltCut2 for over a month before I felt well enough to even open the box. I have to tell you what I saw and read blew my mind, then I decided it was time to start cutting and make a quilt!
Now with my arthritis you can probably guess that I struggle when it comes to cutting, sewing isn’t so much of a challenge because the machine does all the work, but cutting is really quite painful and labor intensive for me…until now.
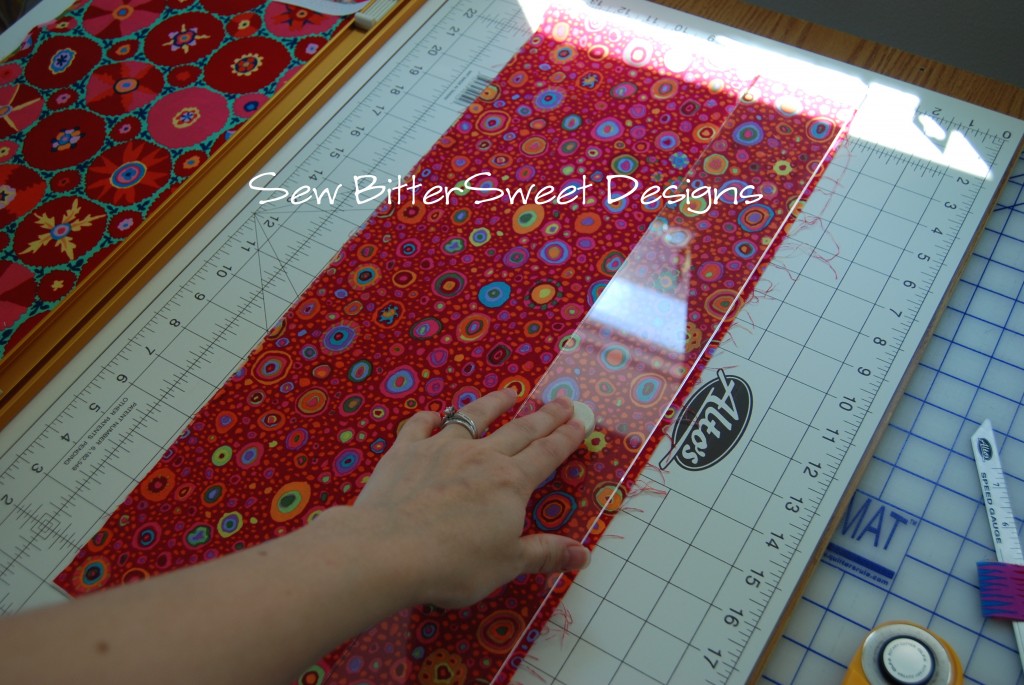
 The way the QuiltCut2 is designed allows the user to hold down the cutting guide with as little pressure as TWO fingers – this saved me so much time, energy and pain! When I use my regular quilting squares I have to exert a fairly significant amount of pressure to ensure the ruler doesn’t shift while I am cutting. The QuiltCut2 is designed to prevent that shifting, so you get a straight cut every time with very little effort on your part.
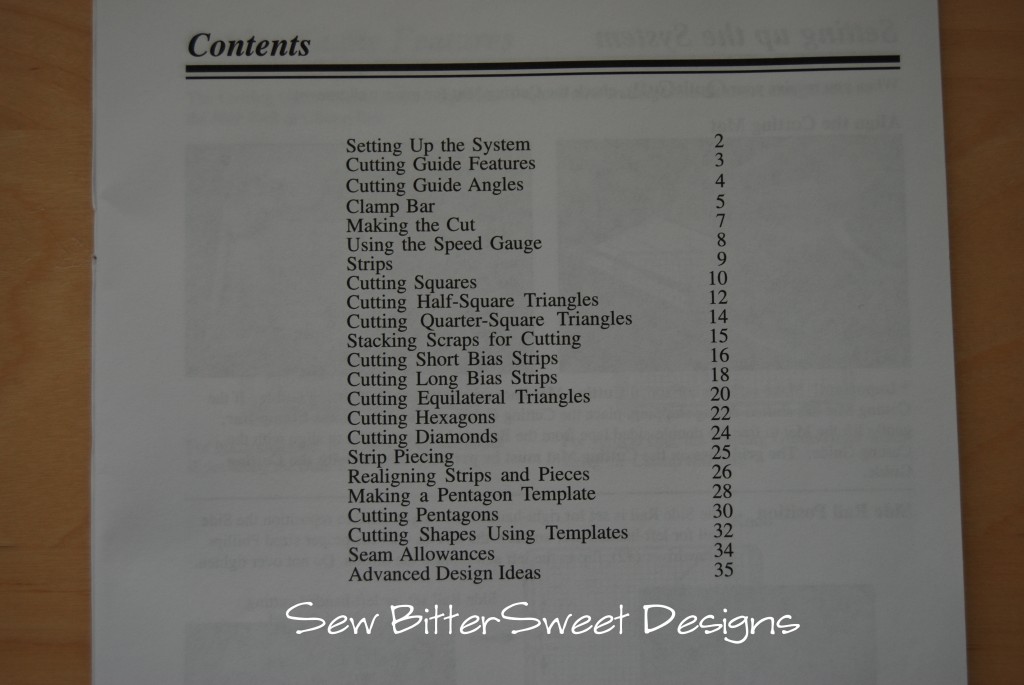
Here is a listing of all the projects you can cut using the QuiltCut2 – WITHOUT templates or special rulers!
 There are even instructions for advanced blocks and accounting for seam allowances! When we first bought the quilt cut we didn’t even think about cutting anything beyond strips, rectangles and squares. Now you can cut Half Square Triangles, Hexagons, Diamonds and that isn’t even including the “Advanced Designs”!
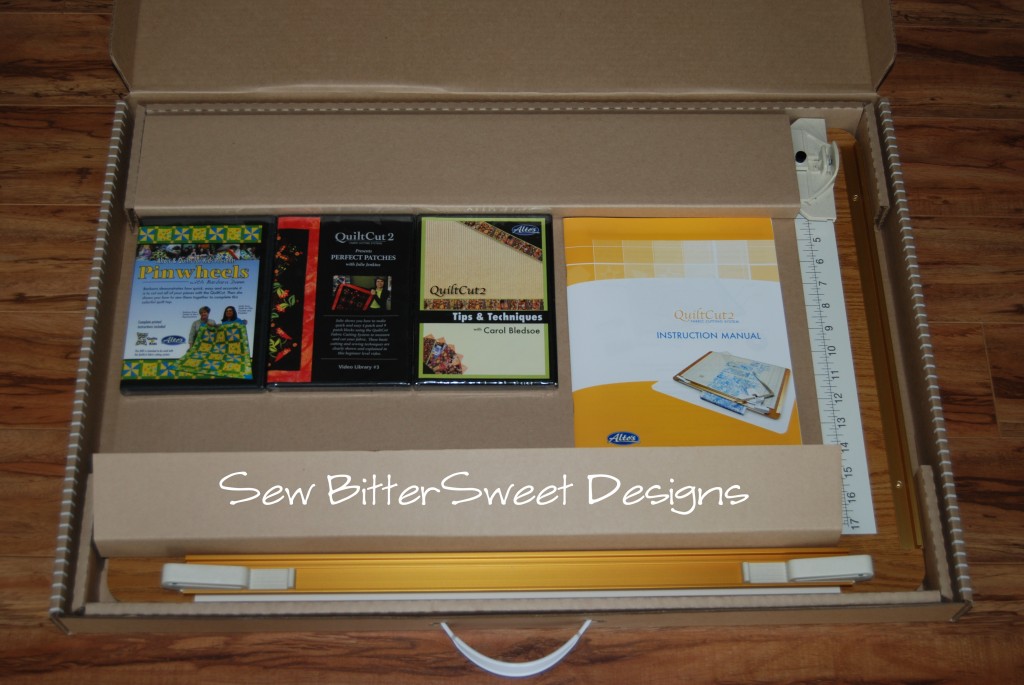
 When you open the box you find 3 DVDs (update: The included DVDs in this picture are actually available for purchase $16.95 each), a booklet with photo instructions (for the visual learner!), as well as all the hardware. One of my favorite features is that you can set it up for right-handed or left-handed use.
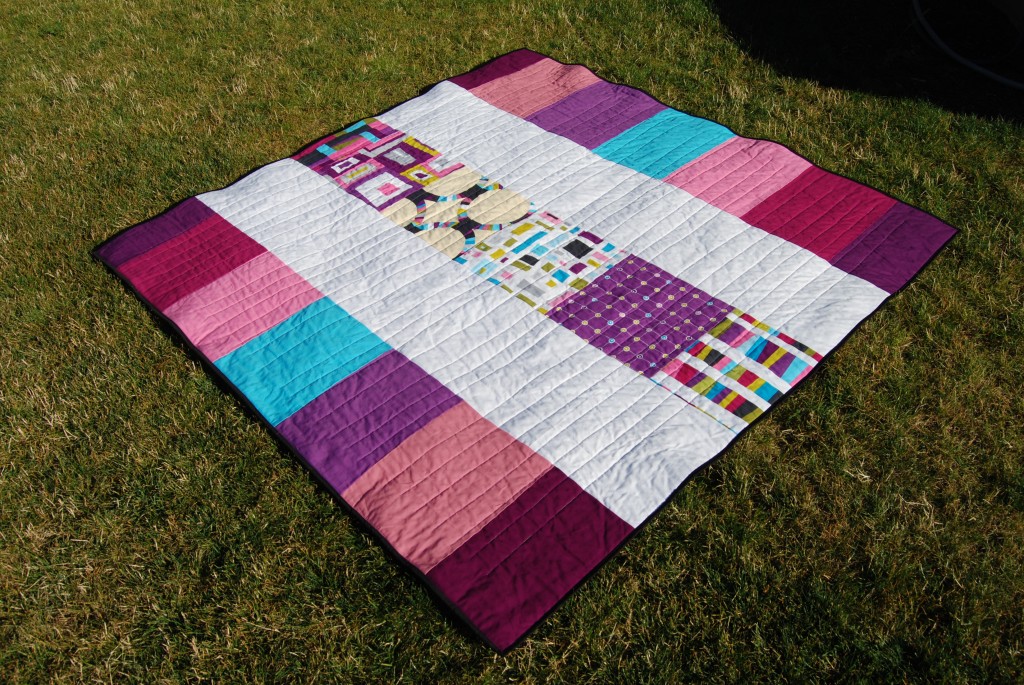
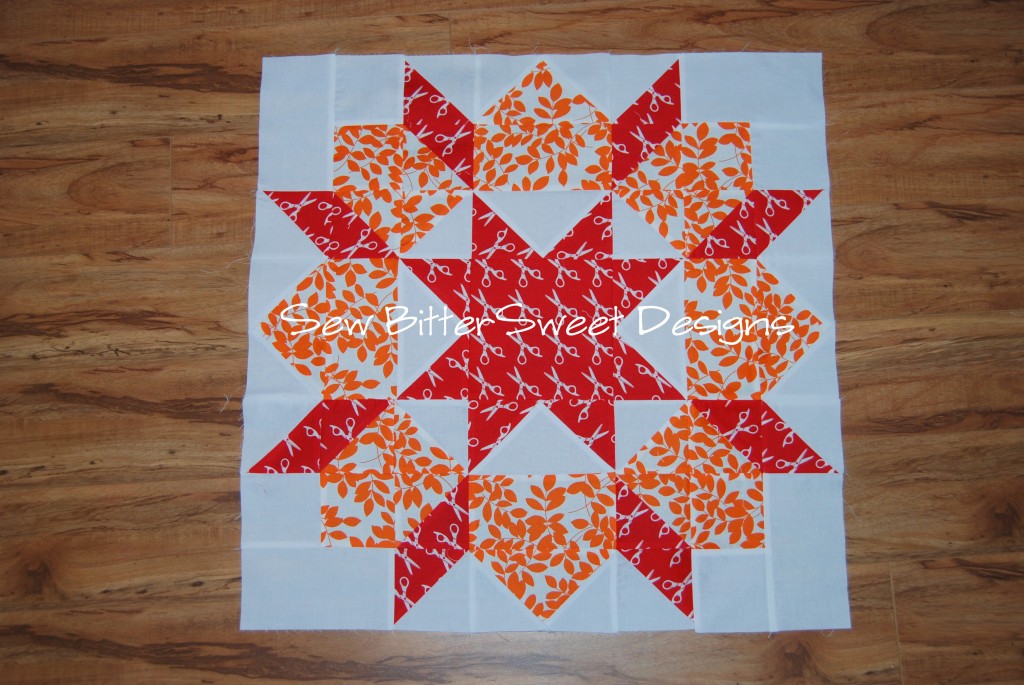
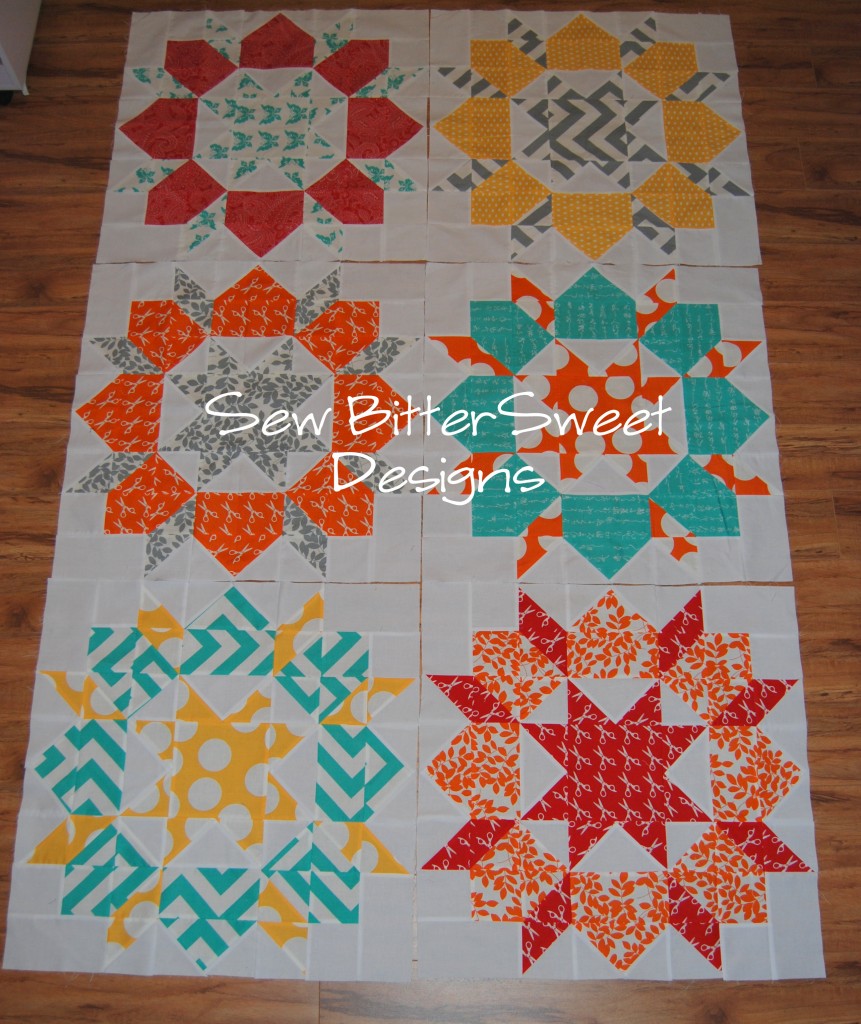
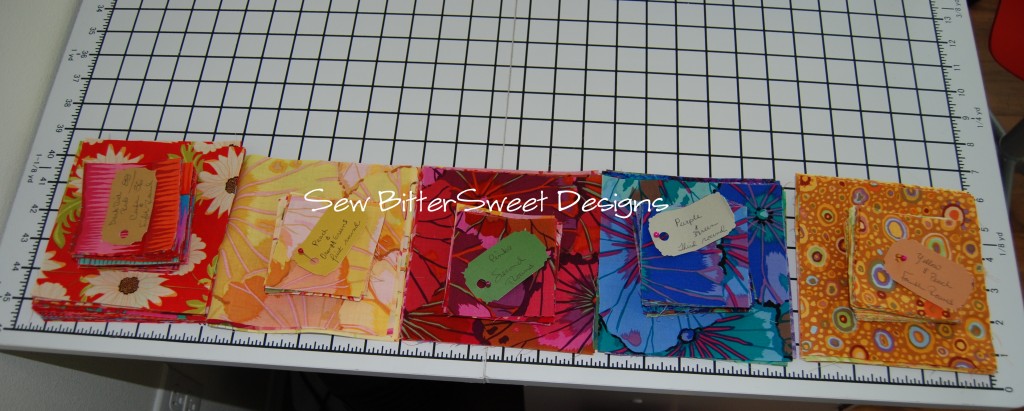
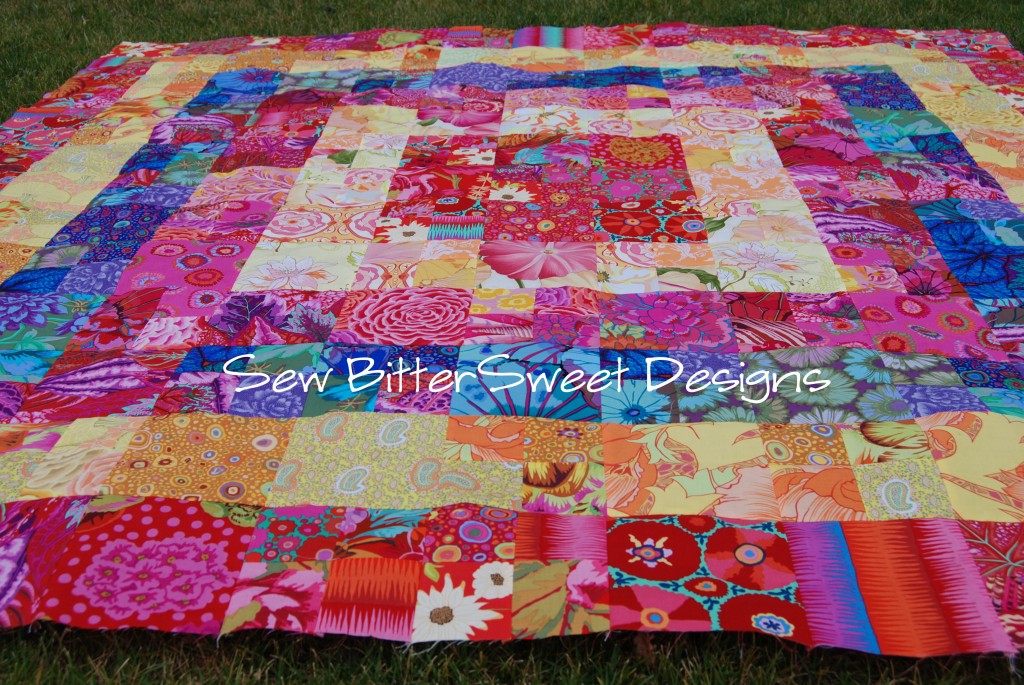
 Here are the fruits of my labor after only an hour or so of cutting. Using the clamp bar and the cutting ruler I was able to cut 38 different fabrics into 5.5″ and 3″ squares in virtually no time. Until I started using the QuiltCut2 I truly didn’t know how I was going to get my commissioned quilt done in a timely manner because cutting was so very painful for me. And here is my finished quilt top:

Things I Liked:
- I had the QuiltCut2 shipped to my house – it came in a timely manner AND it was packaged really well for the shipping – it arrived damage free.
- The ease of use is amazing – as soon as I had it out of the box I was using it immediately.
- The instruction manual is well written and has fantastic illustrations and photographs.
- There are 3 DVDs available for purchase to help you learn how to get the most out of your $229.95.
- It is affordable – you could literally get away with never purchasing another quilting ruler using this product.
- For someone with Rheumatoid Arthritis and/or Carpal Tunnel it will alleviate a lot of the pain and discomfort that comes with cutting large amounts of fabric at a time. (This one is HUGE for me!)
- It is versatile – there are so many different types of projects you can make using it, including scrappy projects, square in a square, HSTs, QSTs, Hexagons, Diamonds, and the list goes on – I cannot remember having instructions for any of these projects with my other QuiltCut.
- When used correctly your cutting is precise and fast – there is an attachment, the Speed Gauge, to assist you in cutting identical pieces each time.
- There are 4 Rubber Bumpers on the bottom of the QuiltCut2 to prevent slipping – my original QuiltCut did not have these – and this is a major improvement.
- In addition to the videos and instruction manual that are included with your purchase, there are even more videos on the QuiltCut Website.
Rulers it Replaces:
- 60 Degree Triangles
- Half Square Triangle Ruler
- 45 Degree Diamond Ruler
- 60 Degree Diamond Ruler
- All Square Quilting Rulers
- Dresdens (See Tips and Techniques Video)
Areas For Improvement
- As this is a review that is meant to compare the QuiltCut2 with the original QuiltCut – I would have to say that they have addressed any area of concern I had before and then some. With the new cutting instructions and videos they have gone above and beyond making this product a useful and valuable tool in your quilting/sewing arsenal. The included videos alone have immeasurable added value.
- One of my rubber bumpers does continue to fall off – so I might suggest including a couple of extra in the box OR switching to a stronger adhesive product. Update: Alto’s EZ Mat emailed me this morning and said the following: “Unfortunately we occasionally have that problem during the summer because the packages get so hot in transit and the adhesive on the feet sometimes loosens up – we have tried many different feet and adhesives and these are the best we have found on the market at this time unfortunately. Luckily the feet falling off is not very common but when it does happen we suggest to customers that they try re-adhering a foot that has fallen off with super glue. If the customer is unwilling/unable to re-glue the foot or if the foot has been lost we are always happy to send out a replacement. We would be happy to send you out some replacement feet if you need them, please just let me know.”
Do you have a Quilt Cut? Will you be upgrading to the Quilt Cut2?

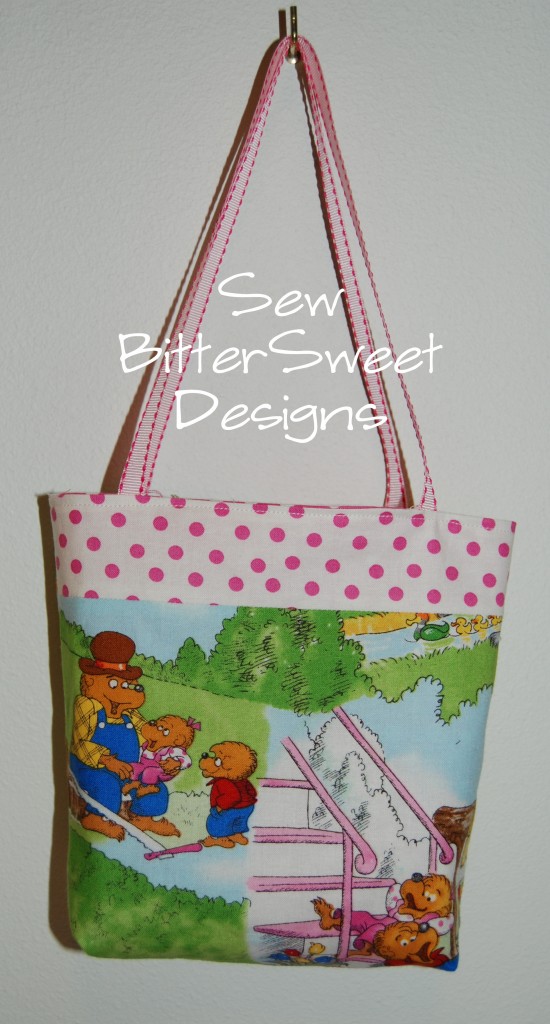
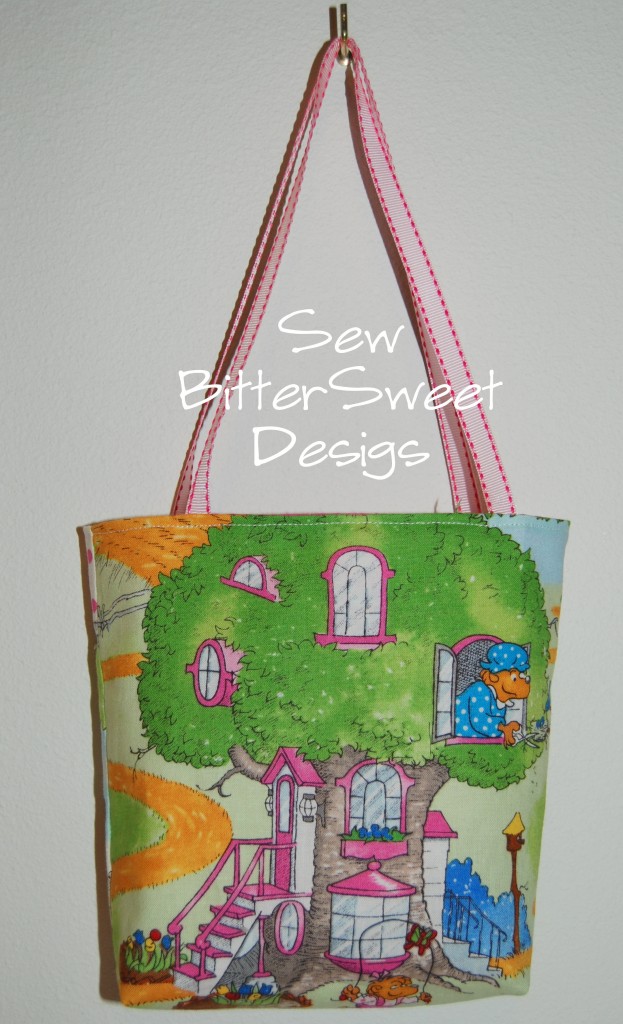 I had to add a couple of girly touches for my girly girl. I fussy cut the front and back, and the front was smaller than the back so I added some of the pink dots on white. For the inside I did white dots on pink. I couldn’t resist throwing in some ribbon for the handles.
 It was such a simple little project, probably took me no more than 30 minutes on Sunday night, but look at the results it got:
