2012

Guest Posting Today

Hi everyone! I am not here today, I am somewhere else…don’t you wish you knew where!

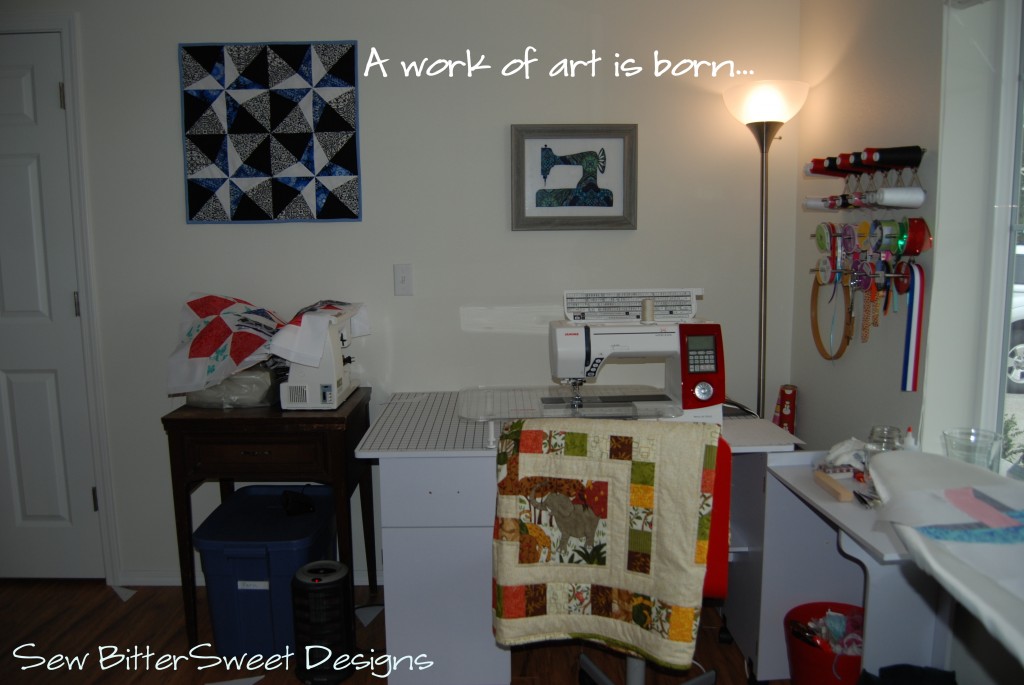
Ok ok, I’ll tell you! I’m guest posting over at Created By Cori. She is hosting a Spring Clean Craft Room Series this month and invited me to be part of it. Little does she know that until a week ago, my sewing room was a DISASTER! Good thing she invited me because otherwise I it probably still would be!

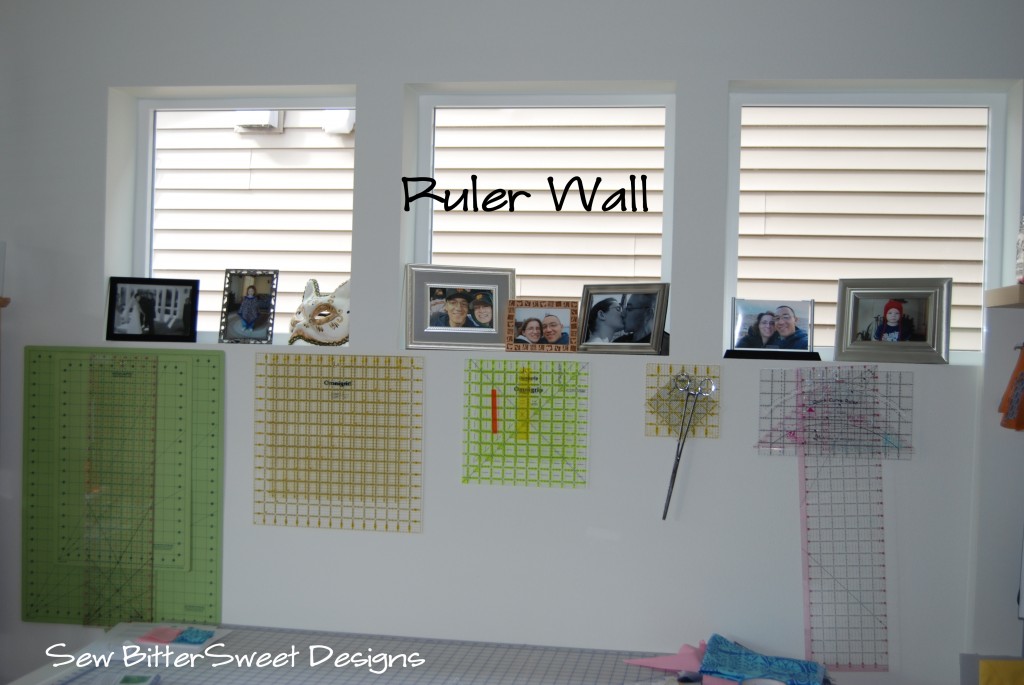
Head on over to see how I turned a blank wall into a work of quilt tool art!

Go check it out! And if this is your first time to my blog, WELCOME! I am hosting a great giveaway this week from Fat Quarter Shop and I have a wonderful free tutorial section that you are welcome to check out.

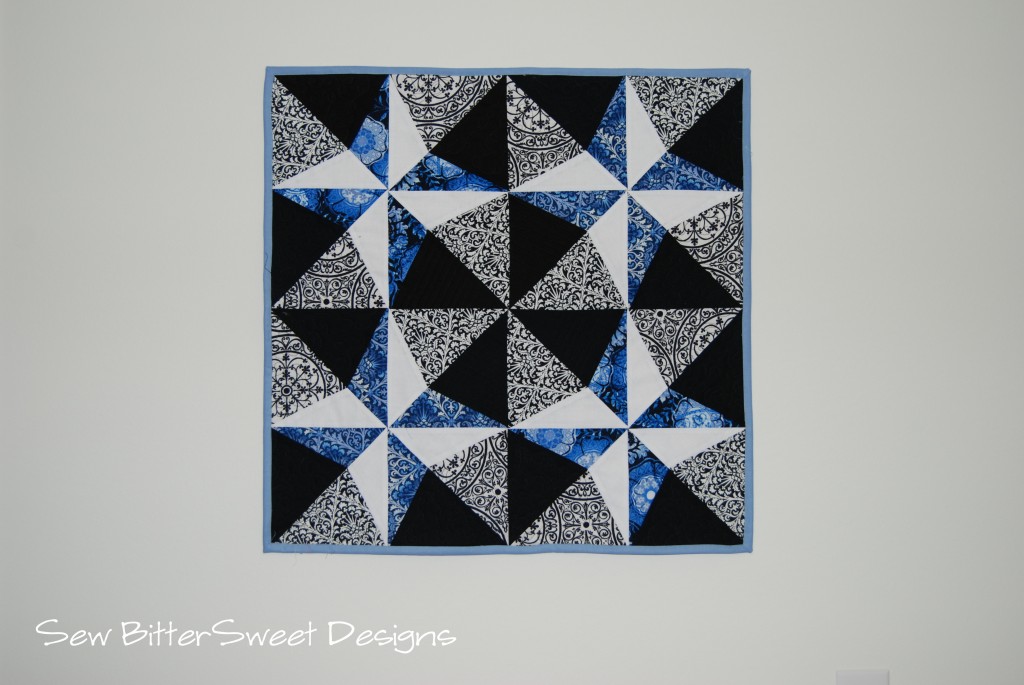
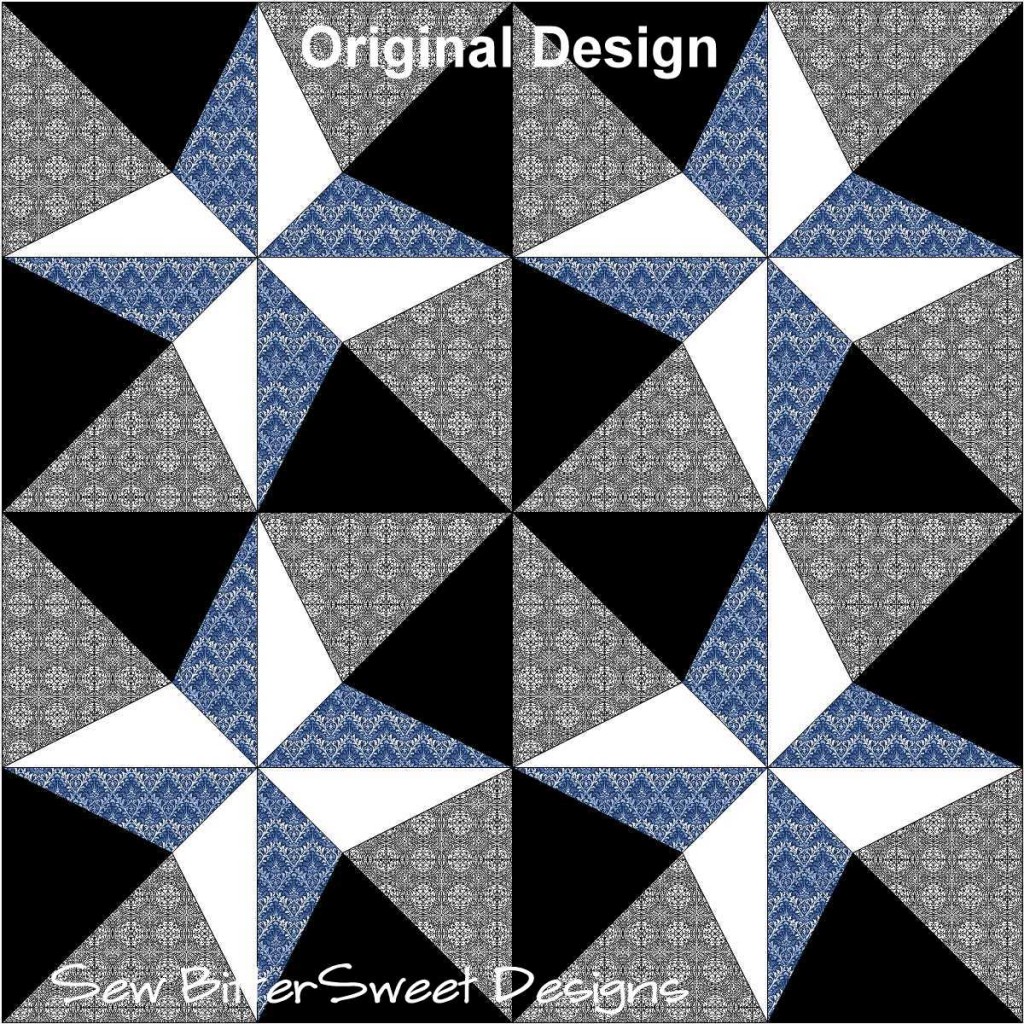
Star & Dot Wall Hanging Tutorial

This is block is called Star & Dot and is attributed to “Comfort” from the year 1910.

You will want to download the cutting templates and the paper piecing templates.
(Please let me know if you have any trouble downloading these files – I would be happy to email them to you as well.)

You will need:

Helpful Supplies Include:

  • Fabric Glue Stick
  • Pins
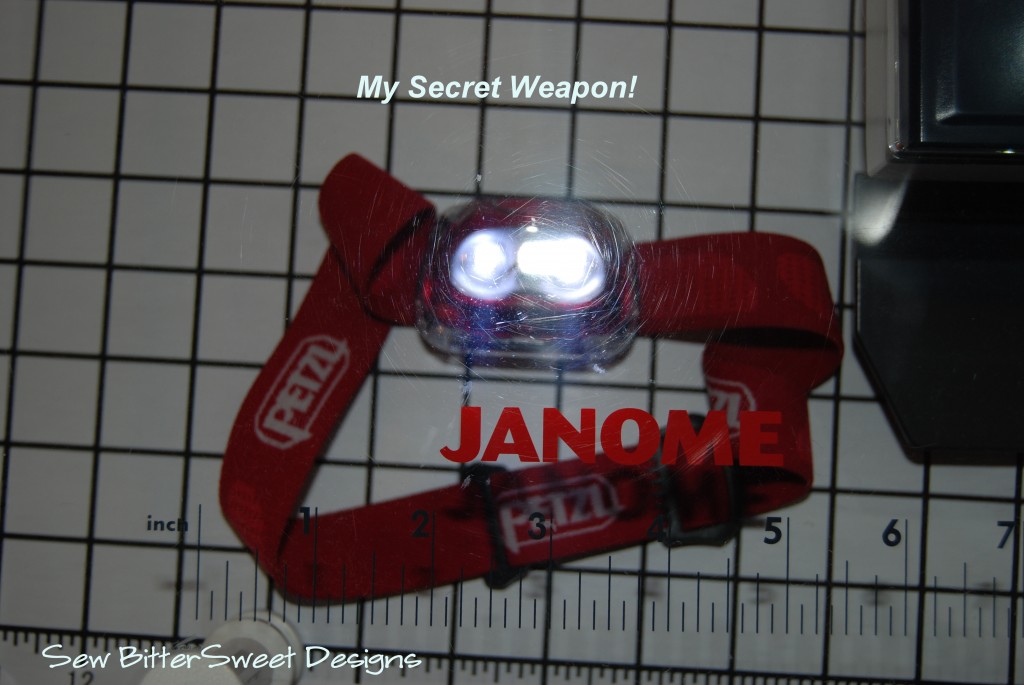
  • Light Box or hiking head lamp

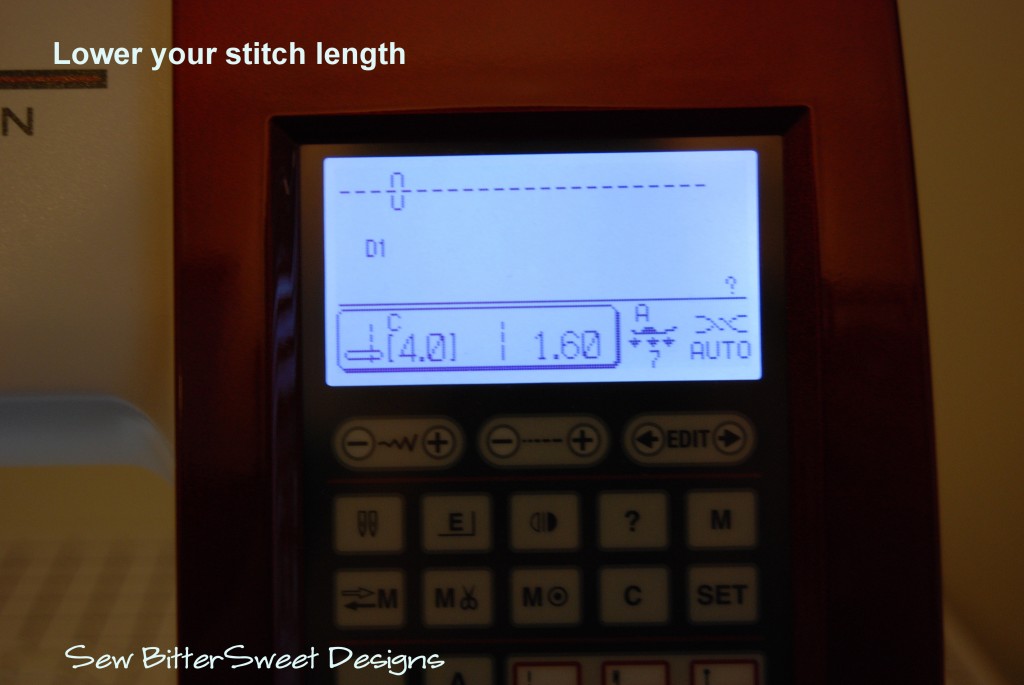
I like to start by lowering my stitch length; this makes it easier to tear off the paper when you are done with your piecing. I lower mine down to 1.6.

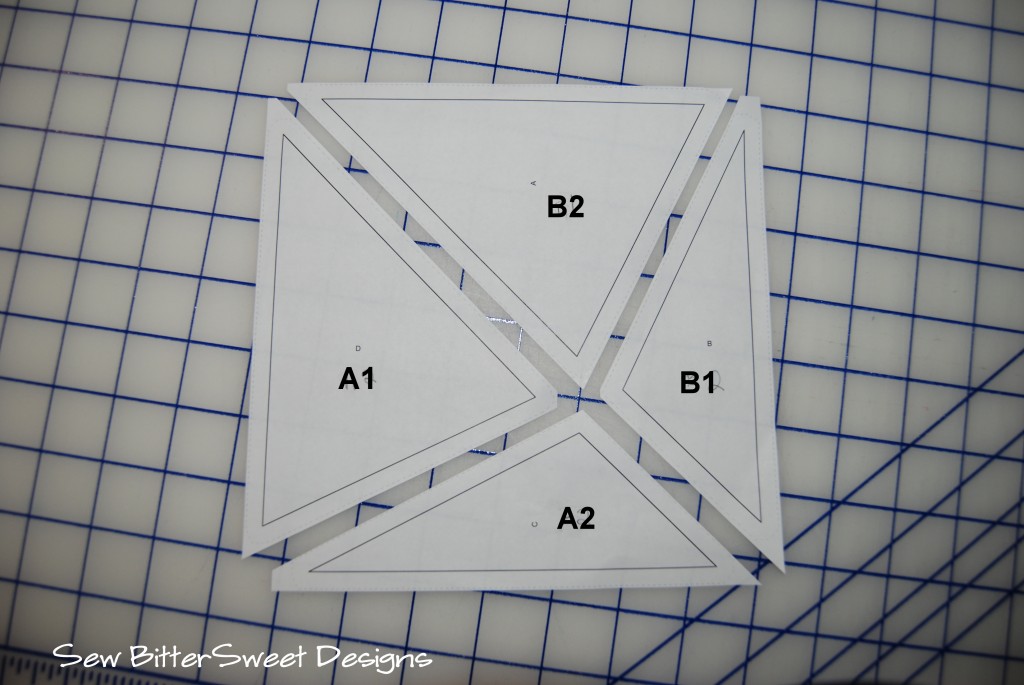
Using your cutting templates, with the fabric right side up, cut the following (I like to cut mine slightly larger (about 1/8”) than the templates – gives you a little wiggle room):

White – 16 pieces with A2
Black – 16 pieces with B2
Black Medium Diamond – 8 pieces with A1
Black Medallion – 8 pieces with A1
Blue Medium Diamond – 8 pieces with B1
Blue Floral Medium – 8 pieces with B1

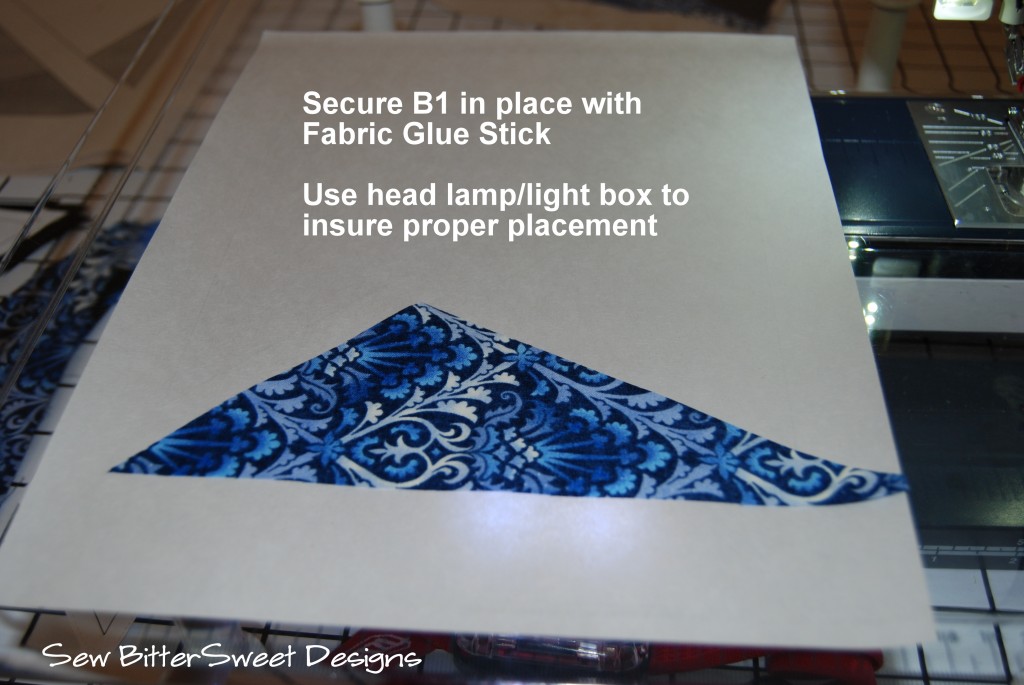
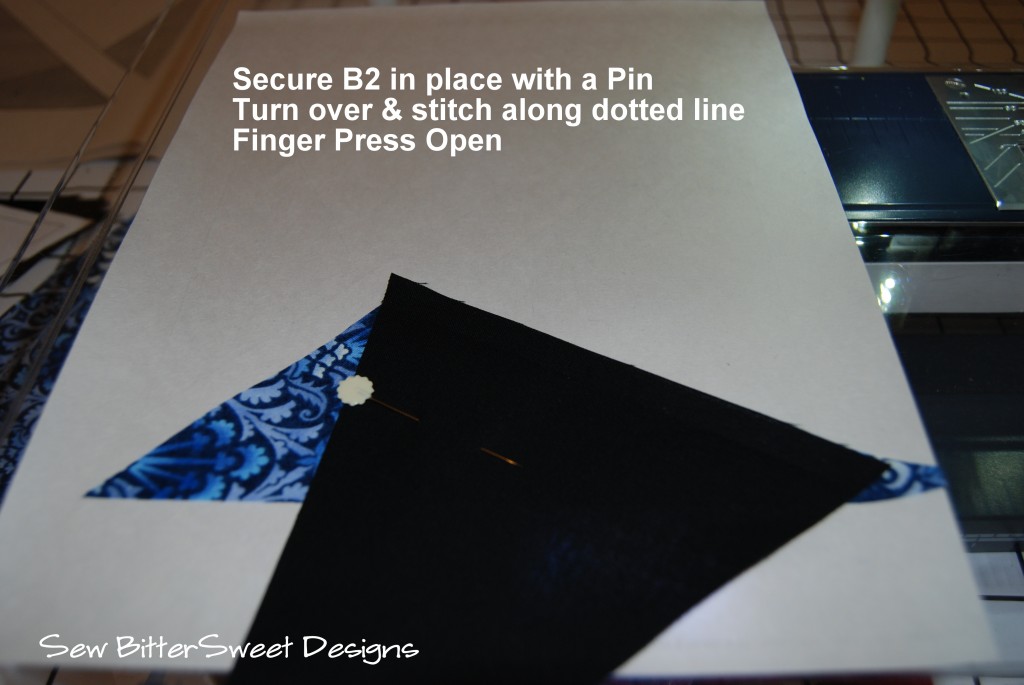
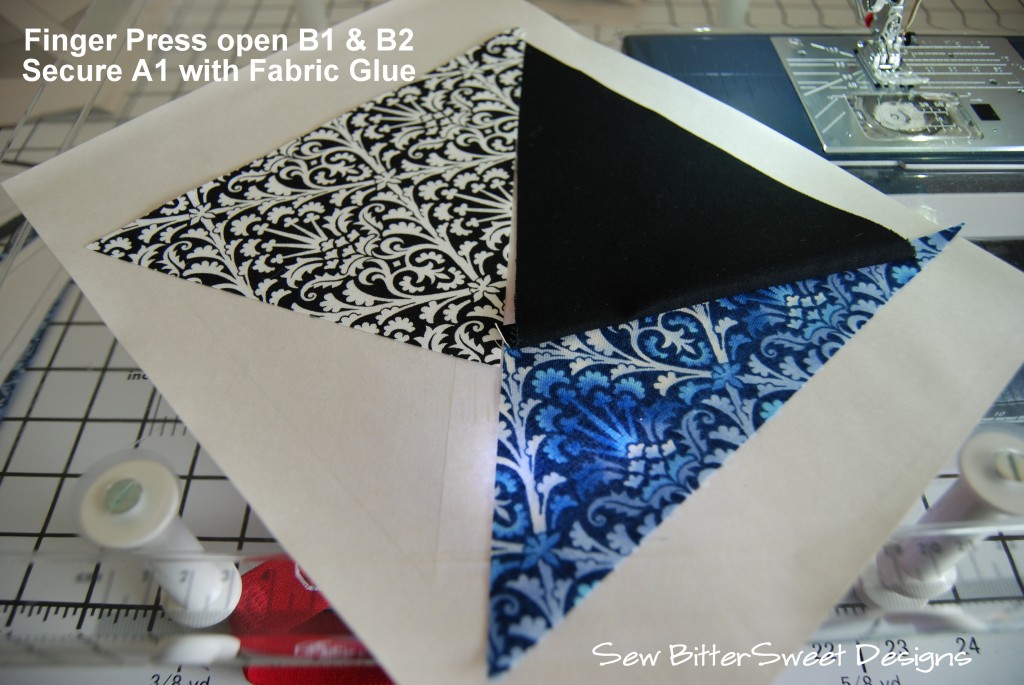
Starting with the B Sections follow the picture tutorial:

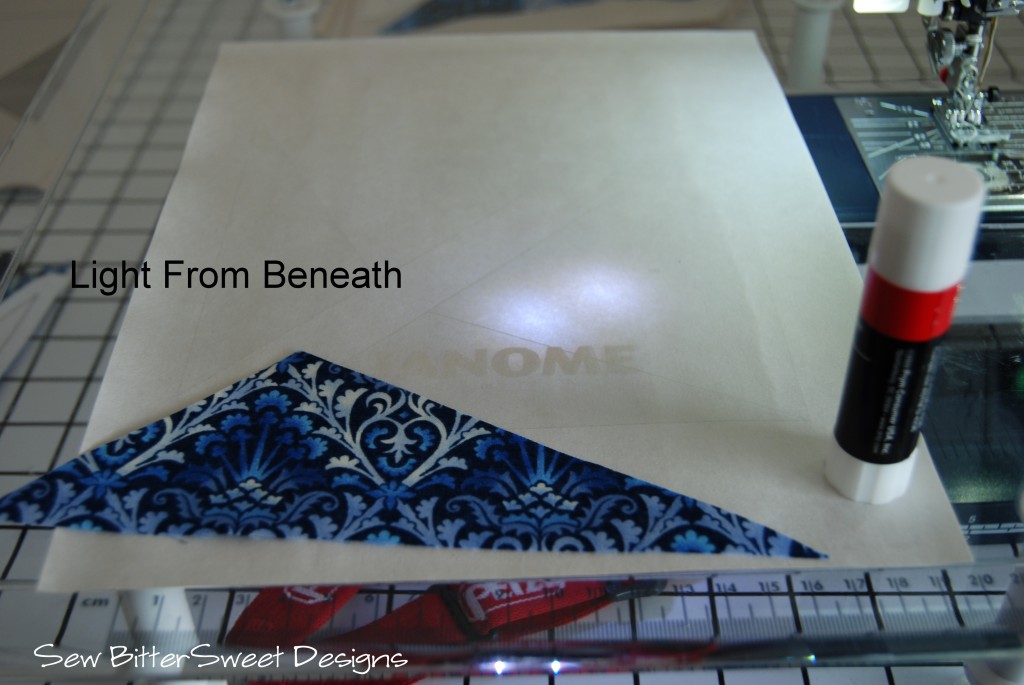
If you have a clear plastic sewing table – like the one that came standard with my machine, I recommend putting a light underneath it – this will help you arrange your pieces to be perfectly in line with your paper piecing template.

As you can see in the picture below, the bright light from underneath will help you align your pieces and it allows you to not only sew at night when you can’t look out your window for natural light, it also saves fabric – you can more precisely line things up and won’t have to use big pieces.

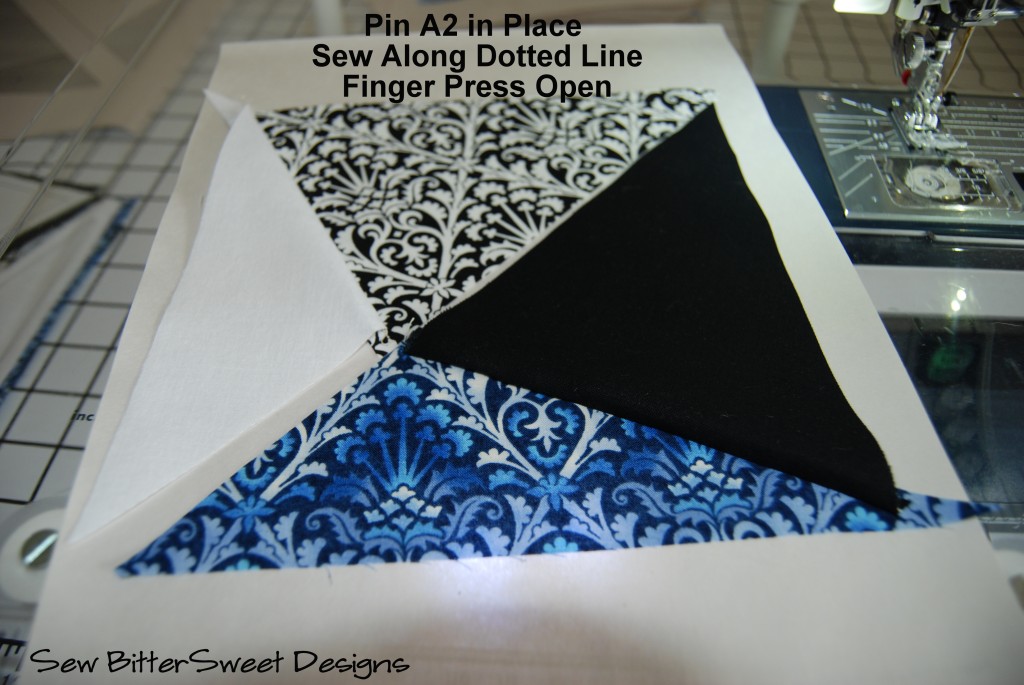
You are now ready to sew!

NOTE: It is important that you sew each piece in the order, I’ve listed – this will help you match up your seams when you piece your sections together!

Make all 16 of the paper pieces.  Then bust out your iron and press the sections down.

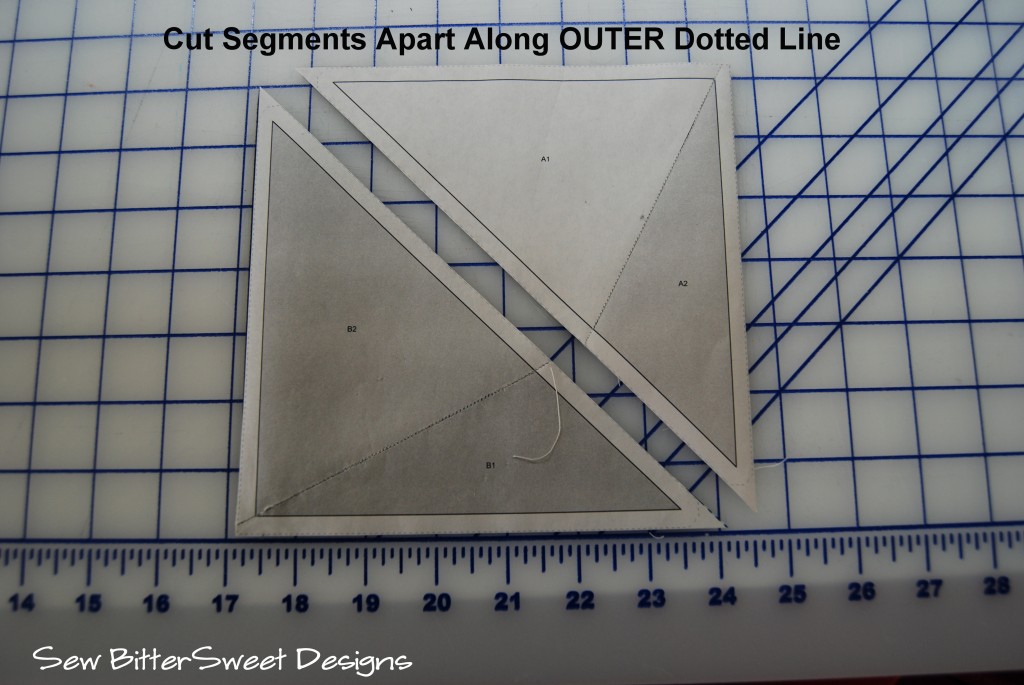
Cut your sections apart along the outer dotted lines.

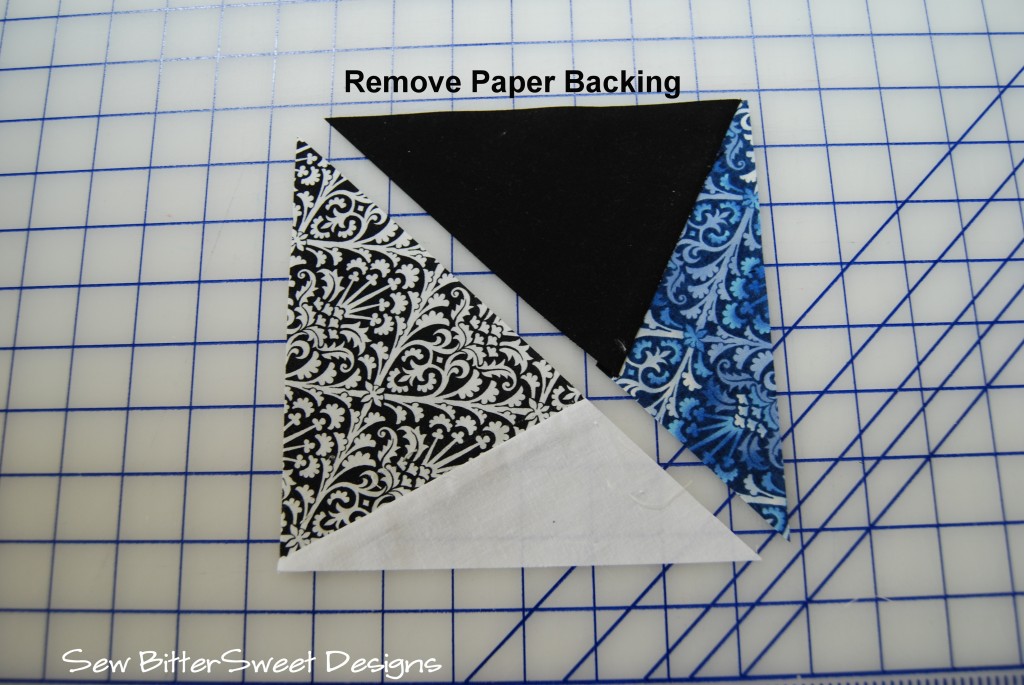
Remove your paper backing – if you are using the Carol Doak’s Foundation Papers, they will virtually fall off!  Don’t worry, with a small enough stitch length regular printer paper will come off fairly easily too.

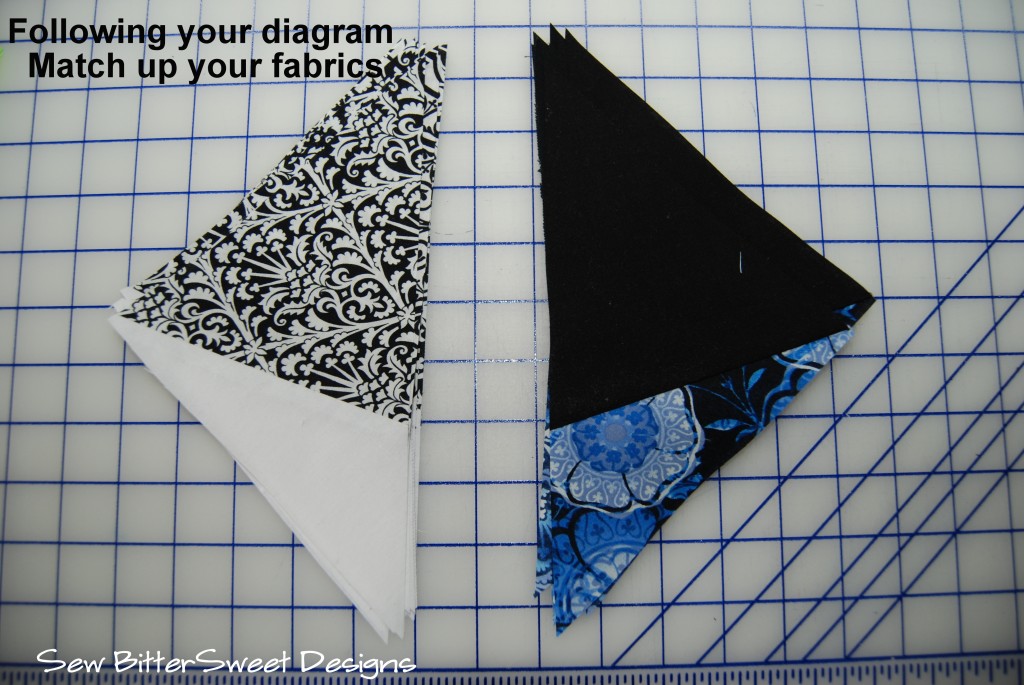
Next, pull out your diagram and match up your sections, place them in two piles – white pile and black pile.

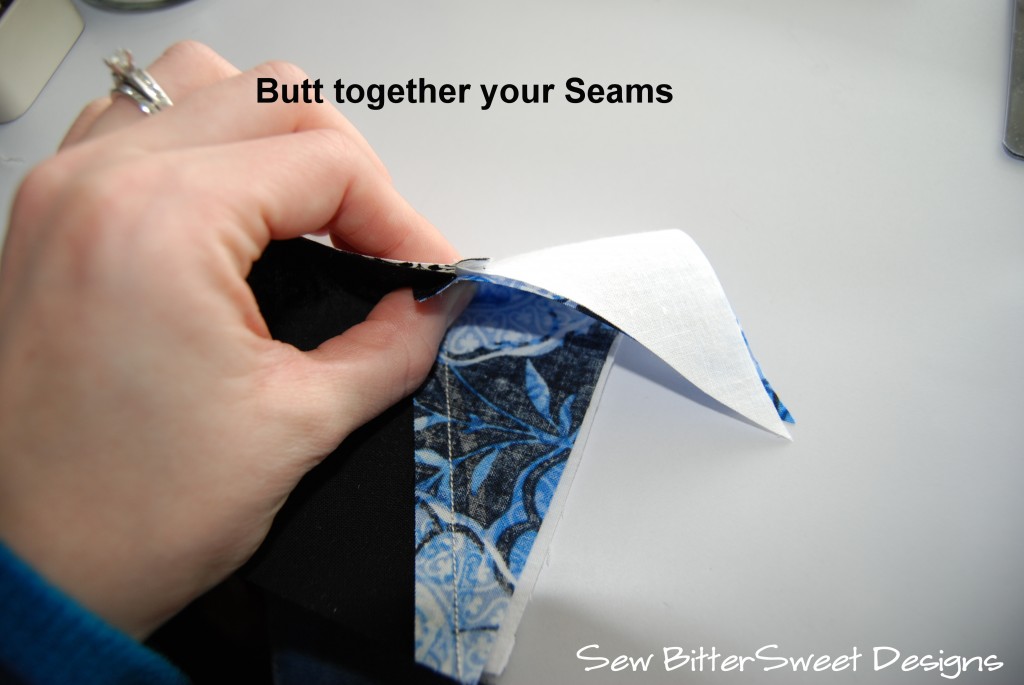
Remember how I had you sew your sections together in a VERY specific way…this is because it will make joining your sections super easy. Your seams will lock together.

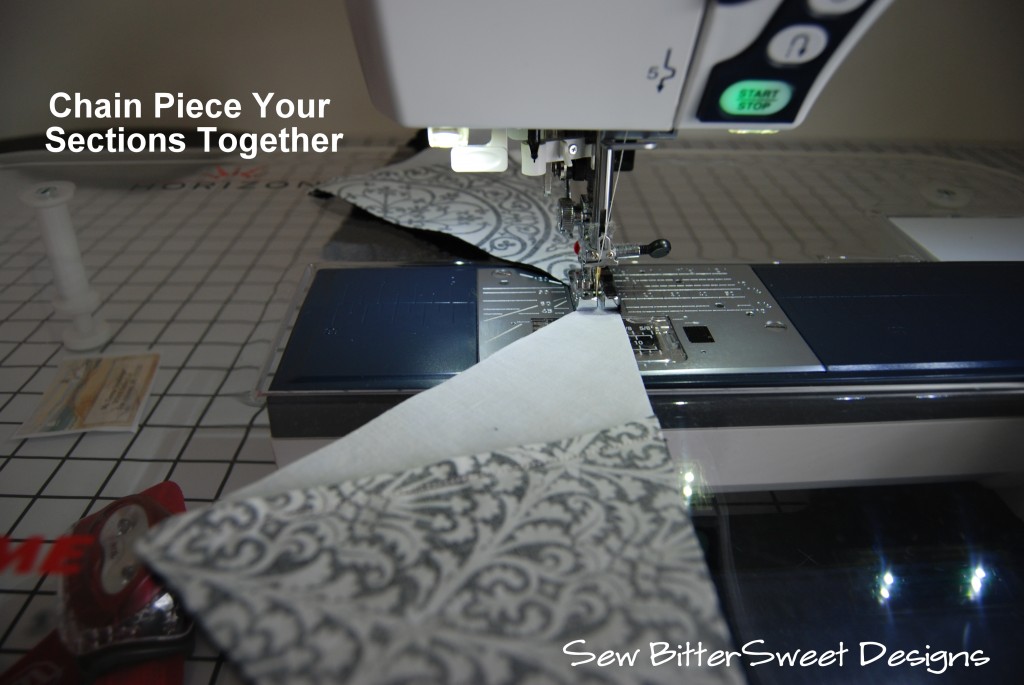
I love chain piecing, I think I have said that about 10 other times on this blog, and here again I am employing it. If you don’t already chain piece, I would highly recommend it! Saves lots of time!

You will have sixteen 6 inch blocks, I press mine open and trim the dog ears.

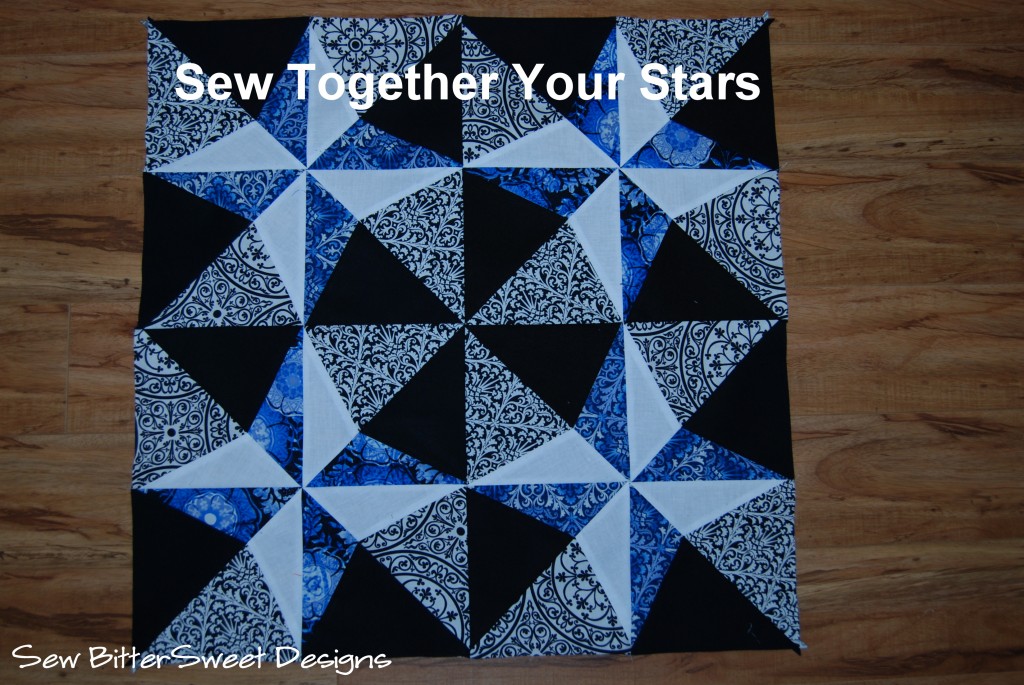
Next layout your blocks and sew your stars together.

NOTE: When sewing your squares into blocks – it is more important that seams match up rather than the squares fit perfectly together. The seams matching up (interlocking together) is what will give you the perfect star points!

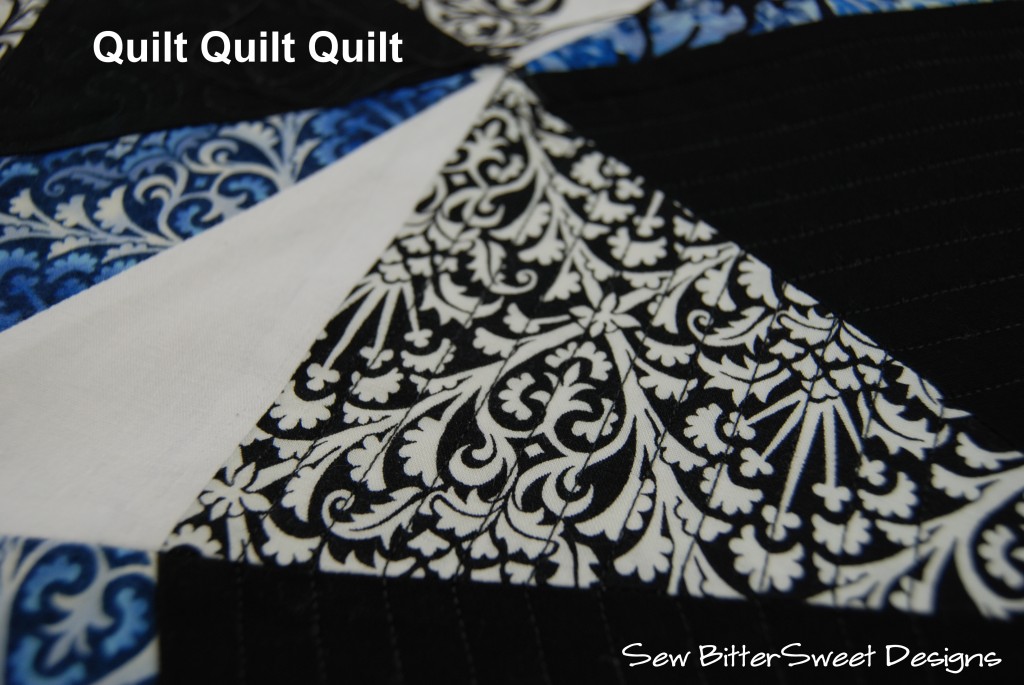
Time to quilt! I used black thread to quilt mine so it would blend in nicely. White would have stood out beautifully and made a great statement, but I wanted the quilting to blend.

You will need three strips for the binding in a solid blue. Feel free to follow my binding tutorial.

Bind and voila!

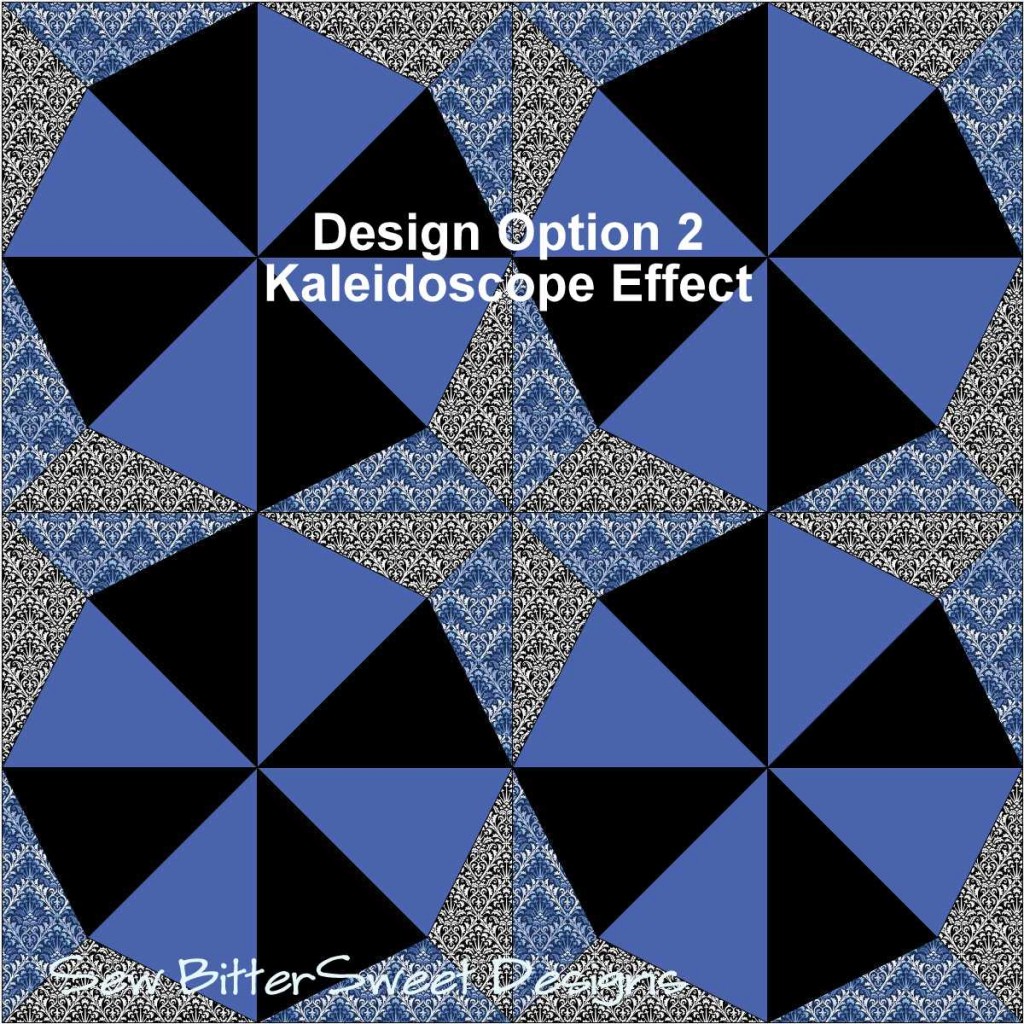
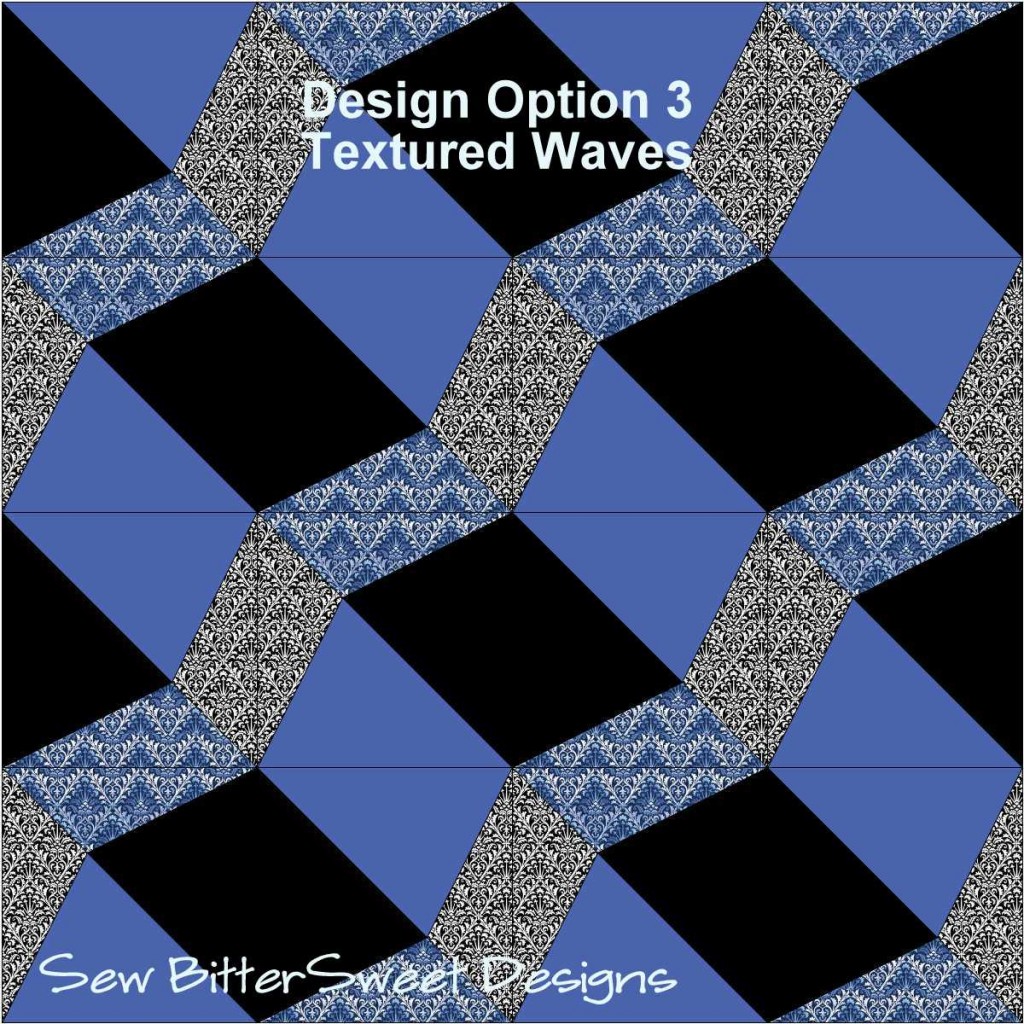
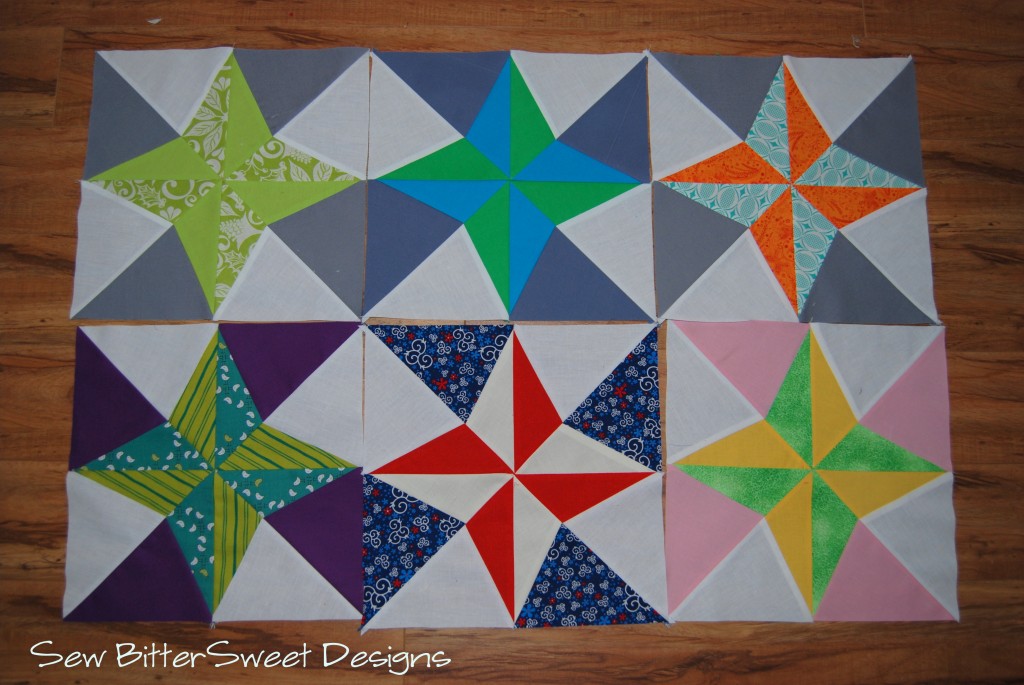
If you are not a fan of this particular design, here are a few other options, all made with the same paper pieced template and the same number of segments.


Enjoy! And if you end up making anything from one of my tutorials I would love to see it!

Make sure you enter to win the Fat Quarter Shop giveaway that I am hosting – you could win a Fat Quarter Bundle of Avalon AND a set of Carol Doak’s Foundation Papers.

Review – Carol Doak’s Foundation Papers

(Fat Quarter Shop provided me with a sample of Carol Doak’s Foundation Papers, the review is entirely my own.

One of my goals for 2012 was to conquer my fear of paper piecing, and from what I have read and had others tell me, paper piecing is a pretty common fear in the online quilting community. Well, this quarter I joined an online virtual quilting bee called the 3×6 Bee. We were asked to fill in a survey with our preferred type of bee: paper piecing, wonky, stars, pinwheels, etc. I said paper piecing and picked two others, well…I am in a hive that is all paper piecing blocks. This scared the day lights out of me at first but then I realized it was just what I needed to get over my fear of paper piecing!

I started out using regular printer paper for the foundation of my blocks. This worked fine but it was hard to tear off without stretching the stitches, it left behind little scraps which meant I was constantly pulling out my sewing tweezers to yank the buggers out, and I had to really lower my stitch length to 1.2 in order to get a nice tear. Keep in mind that a super low stitch length would be fine if it weren’t for the fact that I am still learning paper piecing and therefore I tend to have to rip out fairly often and those stitches are WAY to tiny for ripping out.

Then I tried Carol Doak’s Foundation Papers from Fat Quarter Shop. What a difference!

I could raise my stitch length to 1.6 – which is still low – but not so low that I can’t easily rip it out if I absolutely have to. Also, it is super thin which makes it easy to tear off at the end.

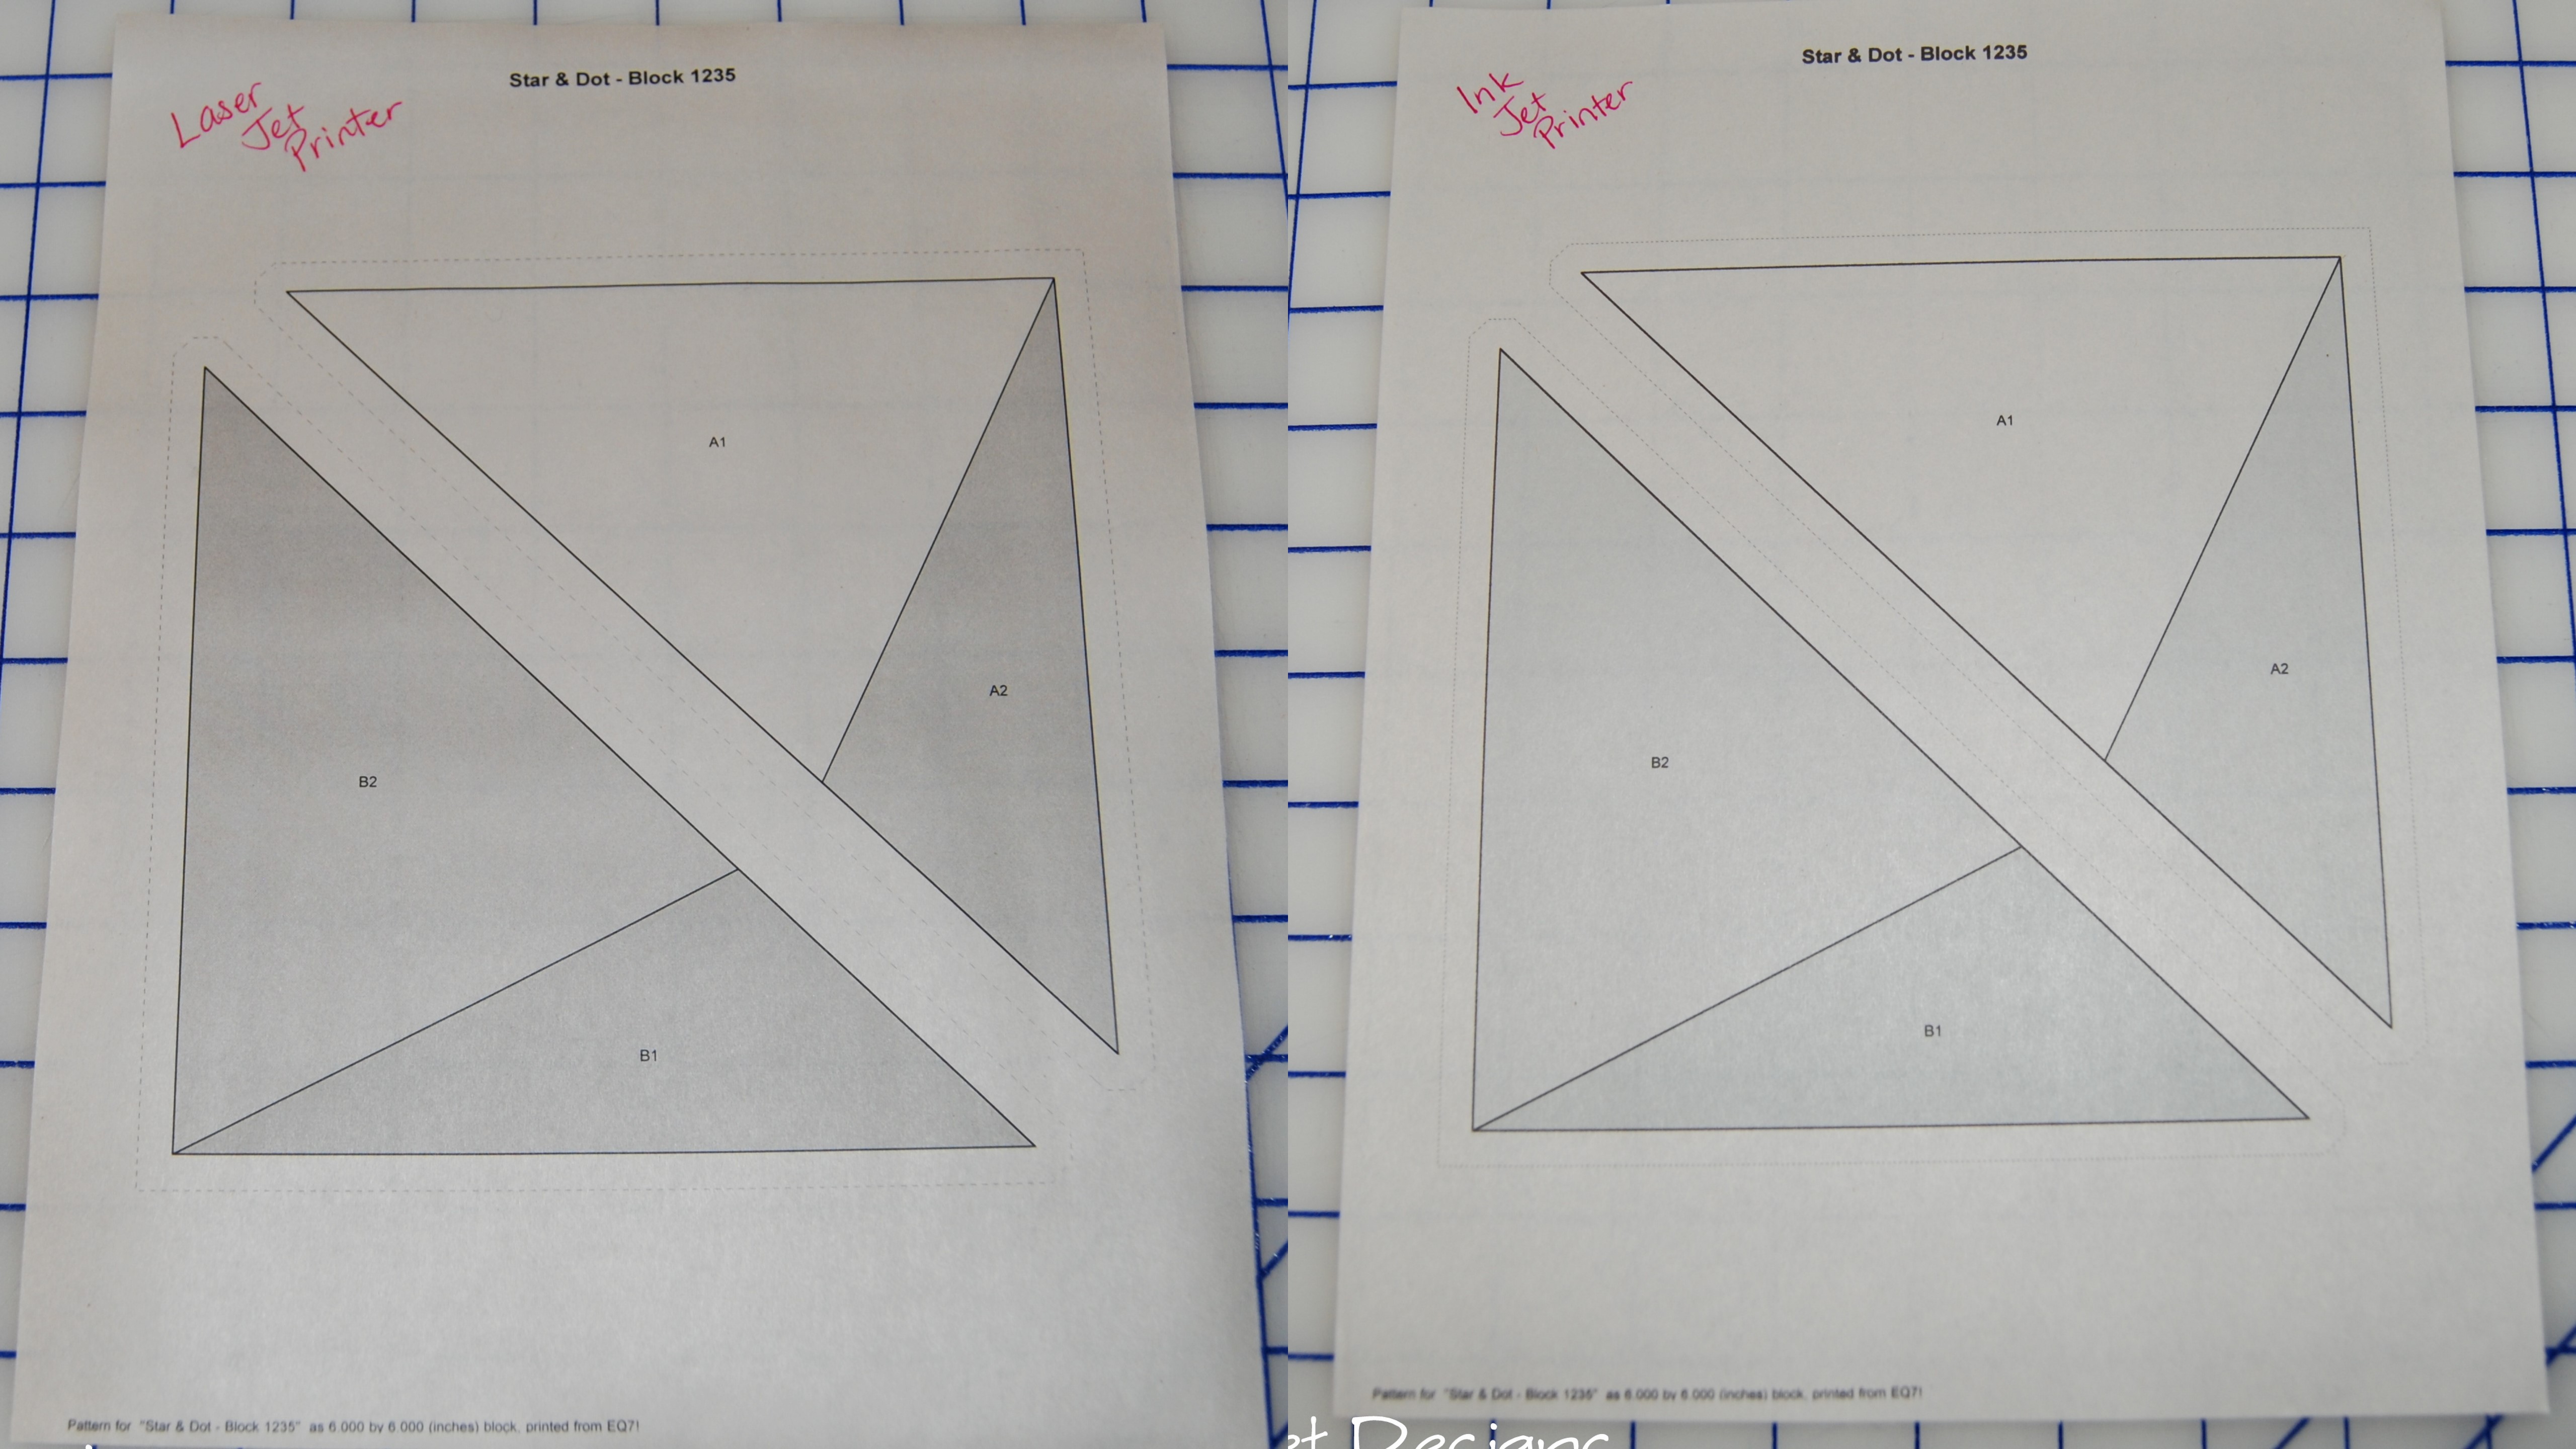
To give the paper a fair trial I tested it out in my laser jet printer and my ink jet printer:

When I put too many sheets in my ink jet, they got jammed and tore; however, feeding them one at a time I was able to get a very nice and even print.  When I printed multiples on the laser jet, they tended to come out curled (this is due to the heat created by an ink jet printer) after a few minutes they flattened back out and were good to go.

Things I liked:

  • I could use a larger stitch length and not worry about stretching my stitches when I removed the paper
  • They are very light weight making it easy to sew through, this is easier on my needle and over all machine. The light weight feature means I do not have to change my needle as often when paper piecing.
  • Being thin makes it relatively easy to see through them (see recommendations)
  • I could use them on either of my printers – laser jet and link jet. This tells me that they would be fine for use on virtually any home machine
  • They do not curl or become brittle when pressed – this is important as you do a lot of pressing when paper piecing

Recommendations:

  • I would like to see them in come in white. They are a very light tan color and when paper piecing at night, even using an improvised light box (see tomorrow’s post), they can be a little hard to see through
  • Be careful when using an ink jet printer and consider hand feeding them to prevent tearing. The sheets are extra thin and my machine grabbed 2 at once – which is what caused my jam.

Be sure to come by tomorrow to see how I used Carol Doak’s Foundation Papers and Avalon by Jason Yenter, all generously provided by Fat Quarter Shop, to make a gorgeous wall hanging.

If you are interested in learning even more about Paper Piecing but you are scared to death of it, check out Katy’s blog The Littlest Thistle – she is currently doing a series called Foundation Paper Piecing for the Terrified and she has some great basic blocks on there with step by step tutorials. Go conquer your fears, I am!

Have you tried paper piecing? Have you tried Carol Doak’s Foundation Papers? I would love to know what you think about both!

PS. Don’t forget to go enter the giveaway from Fat Quarter Shop!

Fat Quarter Shop Sponsor Highlight & Giveaway

Welcome back Fat Quarter ShopFat Quarter Shop was started in 2003 by Kimberly Jolly as a side business and it quickly grew into a full time venture. Fat Quarter Shop specializes in high quality quilting and sewing fabrics with excellent customer service. They offer quilt kits, BOMs, exclusive patterns available only from them and a whole host of notions that I cannot seem to live without!

I usually highlight fabric lines that are coming soon, I thought this time around I would highlight some fabric lines that you can buy RIGHT NOW.

There are so many many more that are available these are just a few of my personal favorite right now. What are your personal favorites? I know you have them!!!

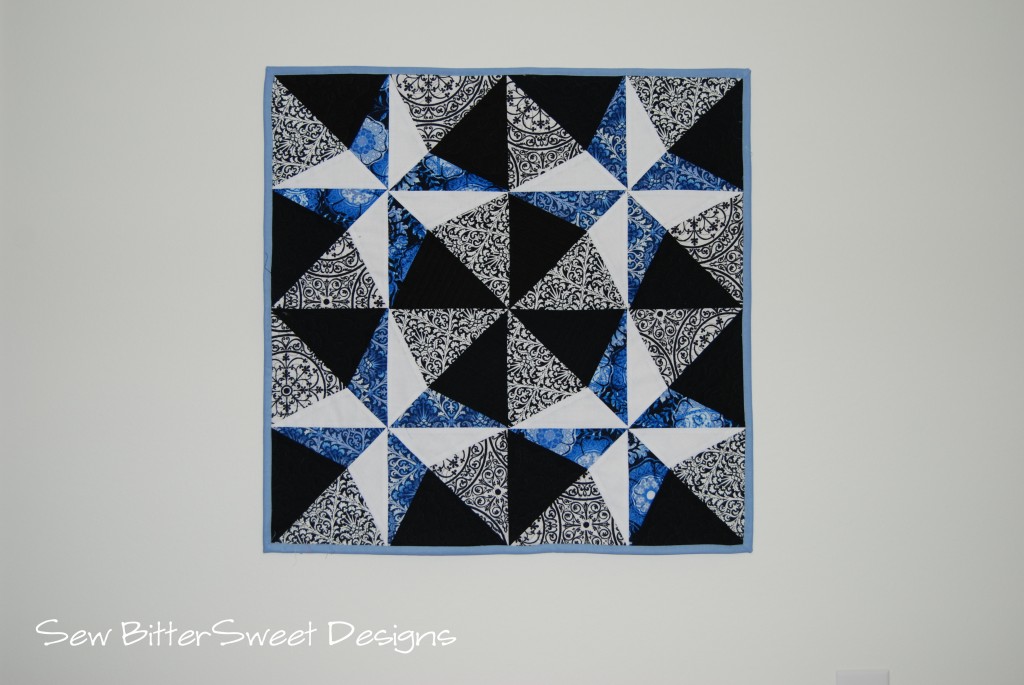
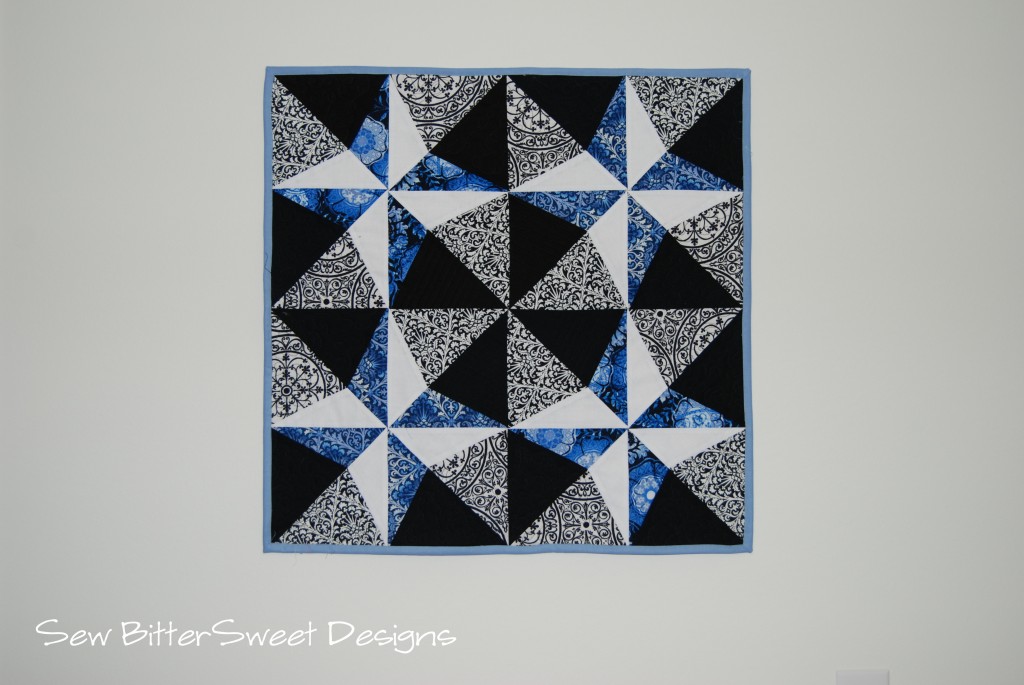
Several weeks ago, Fat Quarter Shop sent me a 1/4 yard bundle of Avalon…this is what I came up with.This is a paper pieced wall hanging that I created. Tomorrow I will be doing a review of Carol Doak’s Foundation Papers, which I used in the creation of this wall hanging and on Wednesday I will have a complete tutorial for you.

Today Fat Quarter Shop is generously offering a Fat Quarter Bundle of Historia Avalon.

They are also giving away a set of Carol Doak’s Foundation Papers. Wow generous!

You may be asking yourself, how do I win this fabulous prize? There are three chances, but in order to win, you must first and foremost be a follower (this is not an entry, just a requirement).

  1. Head over to the Fat Quarter Shop Notions Section and tell me what is the one notion you are dieing to try (software not withstanding) – One Entry
  2. Go like my Facebook Page or follow me on Twitter – One Entry
  3. Alert the media!!! Blog, Facebook, or Tweet about this giveaway – One Entry

This giveaway will be open from March 26th until 9pm March 30th. I will announce the winner on March 31st using the And the Winner Is widget.

Good luck and make sure you stop by tomorrow for my review on Carol Doak’s Foundation Papers!

Everybody Loves A Winner!

I love starting out the weekend with a winner – and this weekend is no exception!  The winner of the fabulous Fat Quarter Bundle of Desert Daydreams – Santa Fe Sky from Julie at the Intrepid Thread is….

Author: Stray Stitches (Linda G)
Website: http://straystitches1.blogspot.com
Comment: I already follow you on FB 🙂

Congratulations Linda! I will be sending you an email for your contact information shortly!

Check back Monday for another fabulous giveaway AND a tutorial!

Scroll to Top