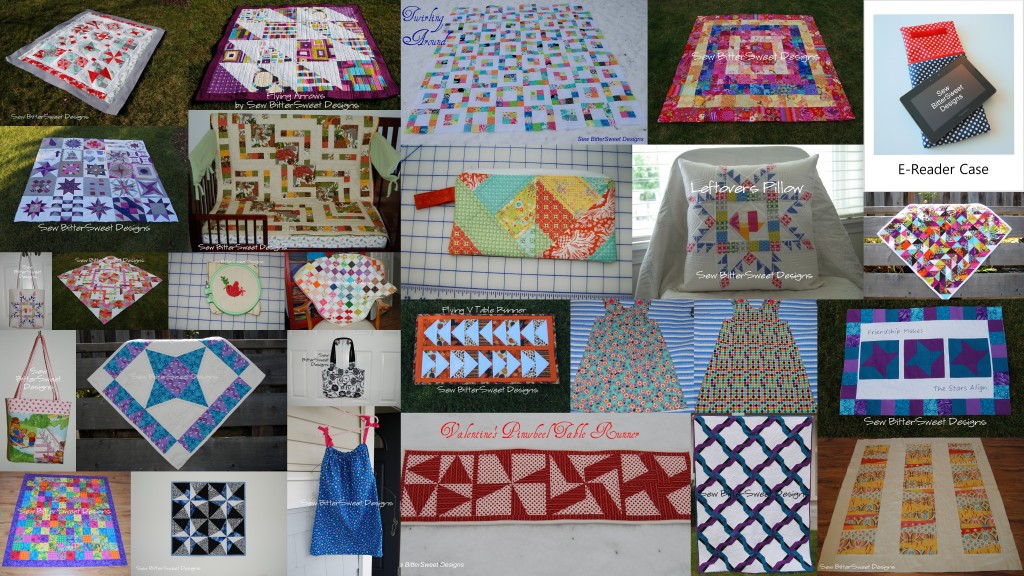
 Hi everyone! Welcome to my stop on the Plum and June Let’s Get Acquainted Blog Hop! When you have finished here make sure you check out my hop partner today – Martha from Weekend Doings. The pictures above are a sampling of my finished 2012 projects, many of them you can find in my tutorials section on my blog, I would love if you would take a moment and check it out!
Beth has asked us a bunch of get to know you questions and then after the questions I have a fun fall table runner tutorial for you!
How long have you been quilting? I’ve been quilting for about 11 years now. I made my first quilt for my niece and was won over to the quilting side immediately. I grew up watching my mom quilt and I have loved doing it with her.
Favorite quilting tip(s)? Trust yourself and try new things, especially those that intimidate you!
Favorite blogging tip(s)? Be yourself and don’t put pressure on yourself to blog every day. Once your blog becomes something you feel obligated to do you won’t enjoy it nearly as much.
Favorite fabric (or wish list fabric): My favorite line is Half Moon Modern – which is why I’m making a king size swoon quilt out of it!
Favorite craft book: I don’t really have a favorite, but I do love the Quilt Block Encyclopedia and probably the Log Cabin in a Day book by Eleanor Burns, it is the first real pattern I ever followed.
Favorite book (or book you are currently reading): I don’t have a favorite book, but I have read the Harry Potter series more times than I can count…
Favorite children’s book: The entire Berenstain Bears Series
Favorite quilting tool: I’m going to go with the Easy Star and Geese Ruler because it helped me to conquer my fear of Flying Geese.
Favorite music to listen to while quilting: I don’t listen to music, I have MASH dvds playing in the background when I sew 🙂
Favorite TV show while hand stitching: Whatever is on
Binding – by hand or by machine? Lately by machine but that is mainly because hand sewing kills my RA
If I’d only known – what you wish you knew about blogging before you started your blog: That it can really be a full time job, but only if you let it become one.
Thanks for taking the time to get to know me a bit better! I also want to thank Beth from Plum and June for putting all of this together! It has been so much fun to get to know all of the other newbie bloggers out there! I hope you enjoy the tutorial I have for you today!
Flying V Table Runner Tutorial

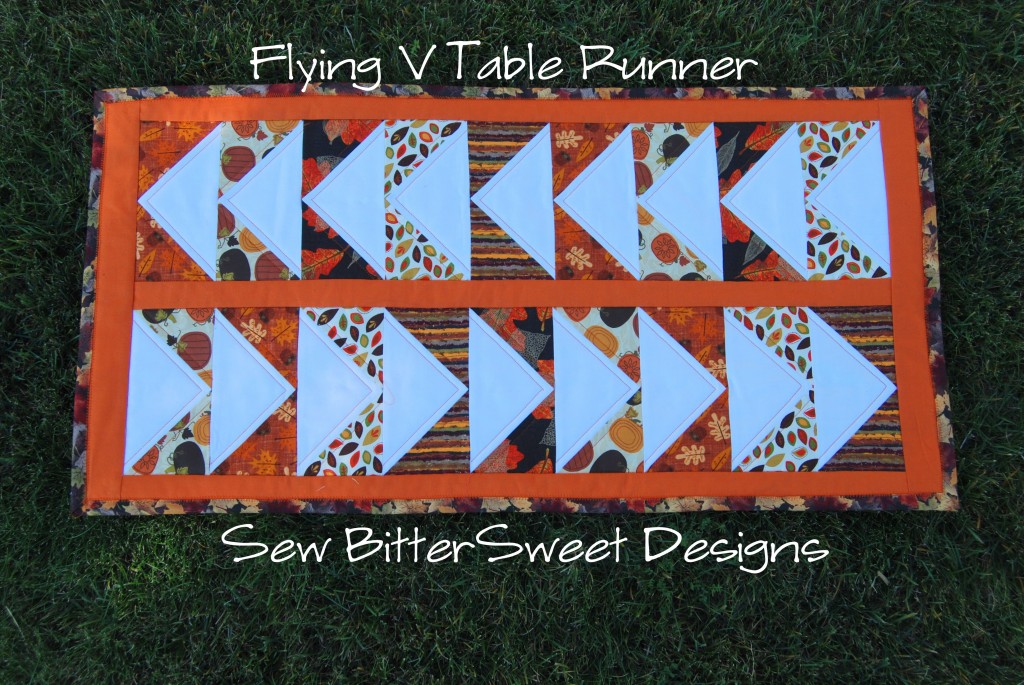
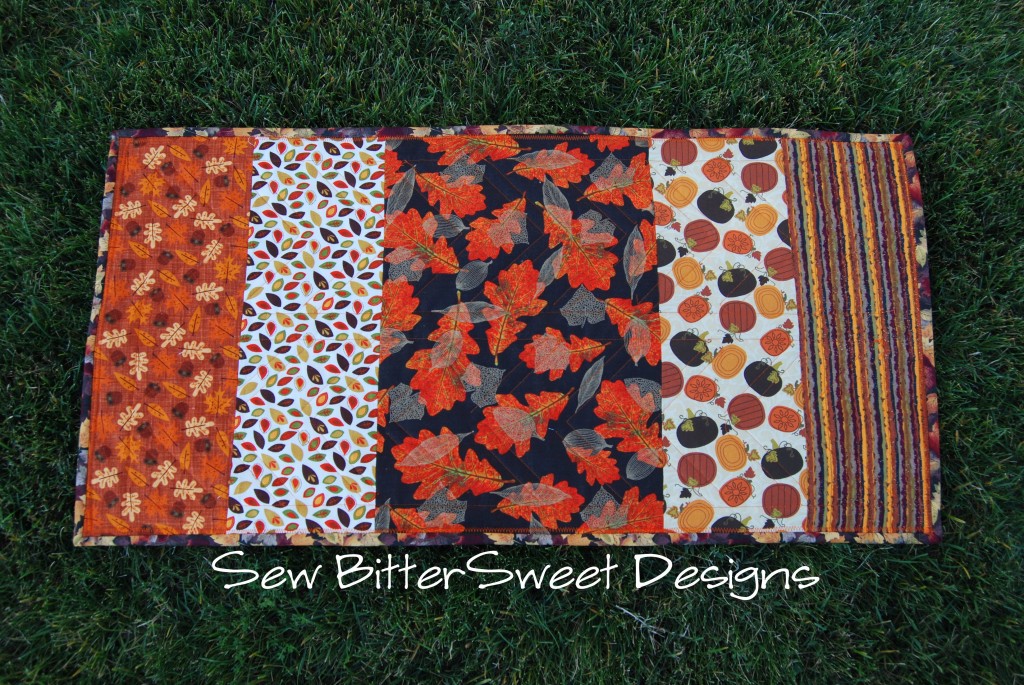
I belong to a swap group on Facebook and for our last swap we made Fall or Halloween table runners measuring 15” x 30”. This is my table runner. I was inspired by all of the Canadian geese flying over our neighborhood, nothing makes me think of fall more than geese and falling leaves!
Supplies:
5 Fat Quarters
¼” yard of white solid
¼ yard of the Orange Solid
¼ yard of the leaf print – binding
Scrap of batting – at least 15” x 30”
Cutting:
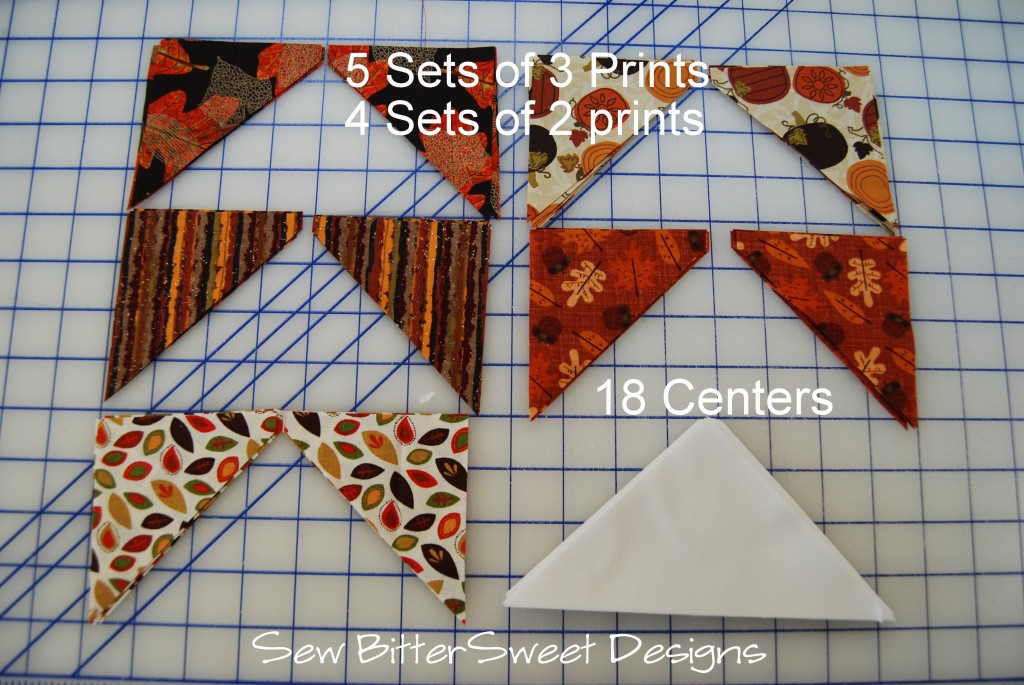
I used the Easy Star and Geese Ruler which I think makes flying geese TOO easy for words! My cutting and sewing instructions will be for this ruler. However, if you don’t have one, for the white center sections of the geese you will want to cut 18 3.5”x6.5” sections and then you will need a total of 36 squares measuring 3.5×3.5 for the wings.
For Geese: For those using the Easy Star and Geese Ruler – cut 3.5” strips from your fat quarters and 2 from your white solid, then sub-cut according to picture below:

For Sashing and borders: from Orange fabric cut four 1.5” Strips
For backing: From 4 fat quarters cut a strip from each measuring 18” x 5.5”, from 5th fat quarter cut 18” x 10.5” strip.
Sewing:
Use ¼” seams throughout.
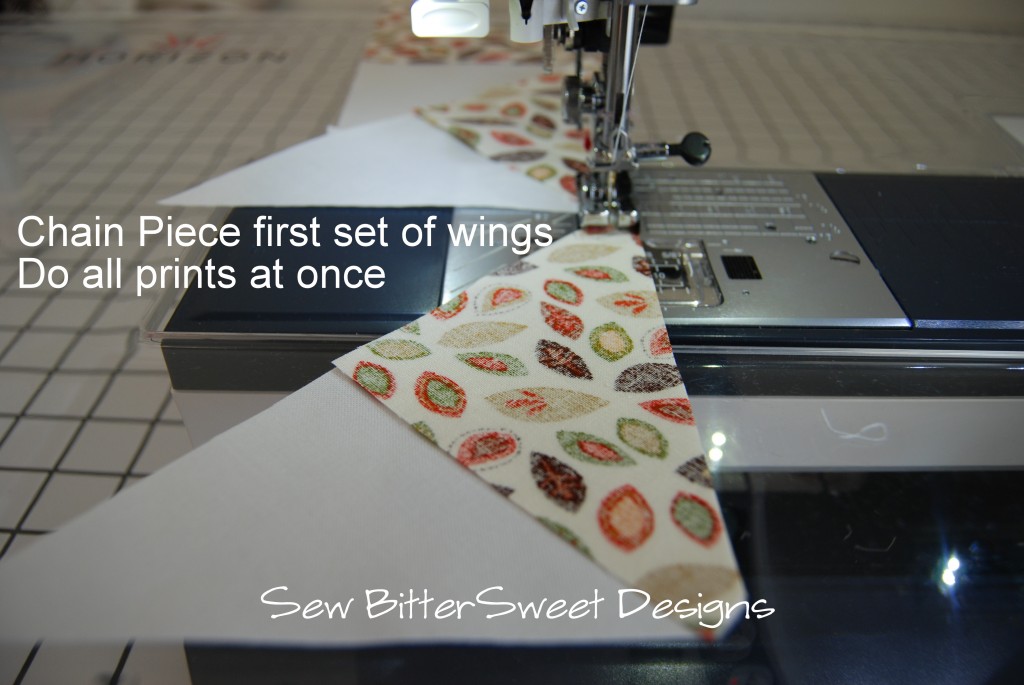
Start by sewing on your wings.
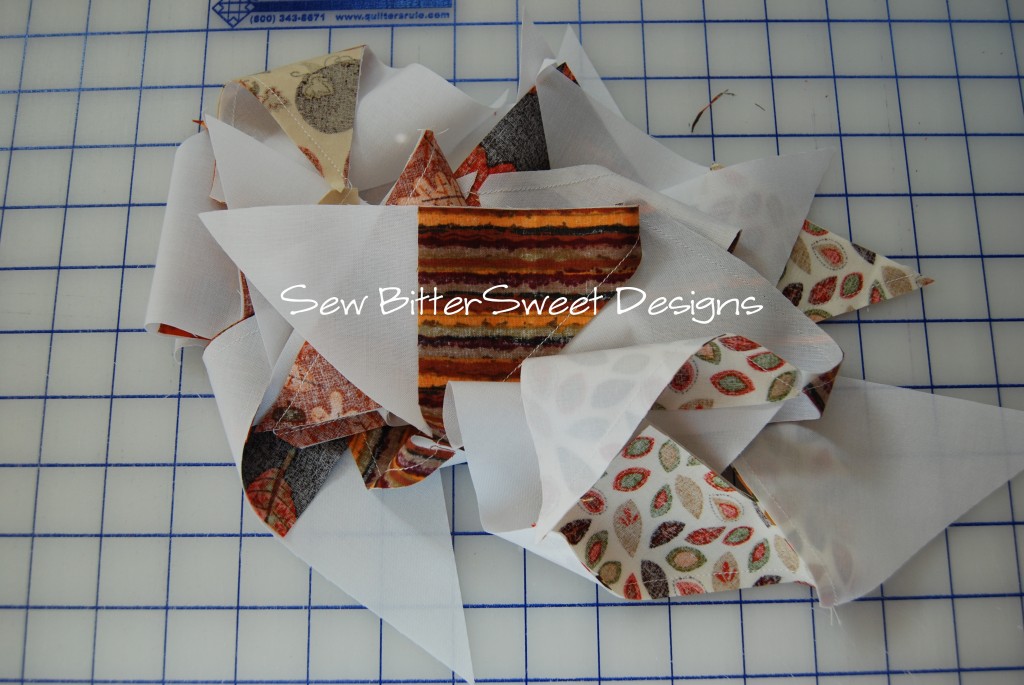
 Cut them all apart.
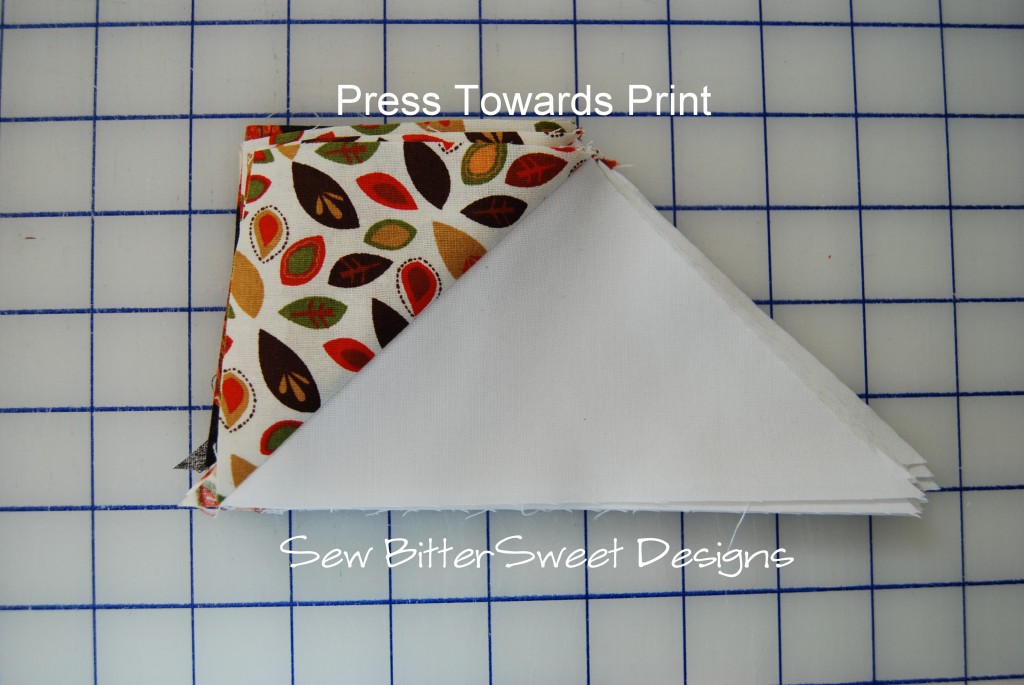
Press towards the print.
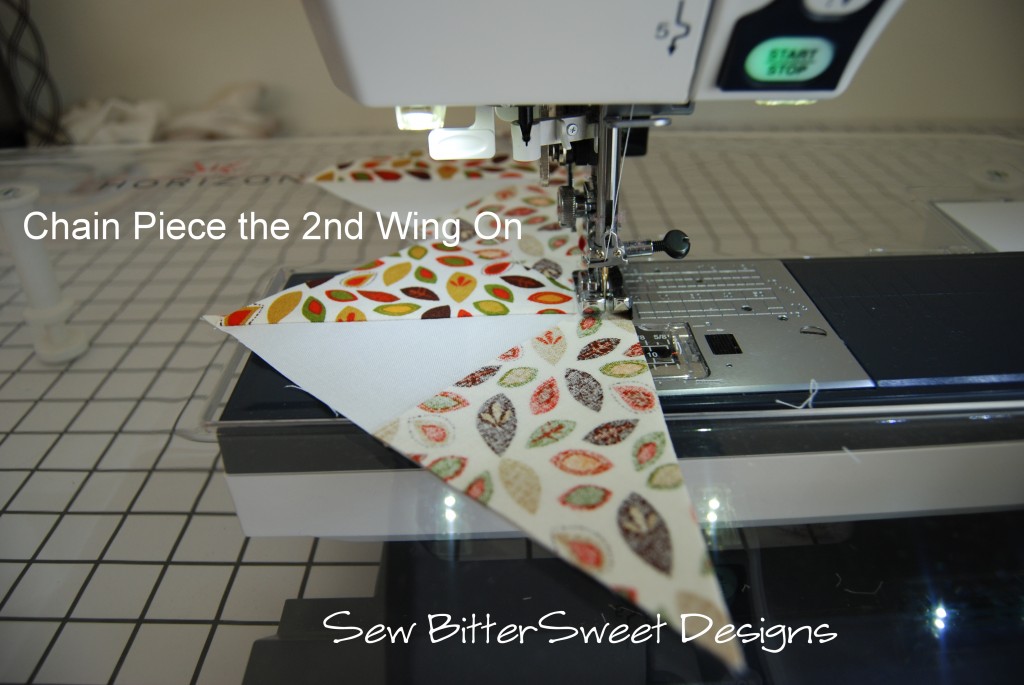
 Chain piece on the second set of wings.
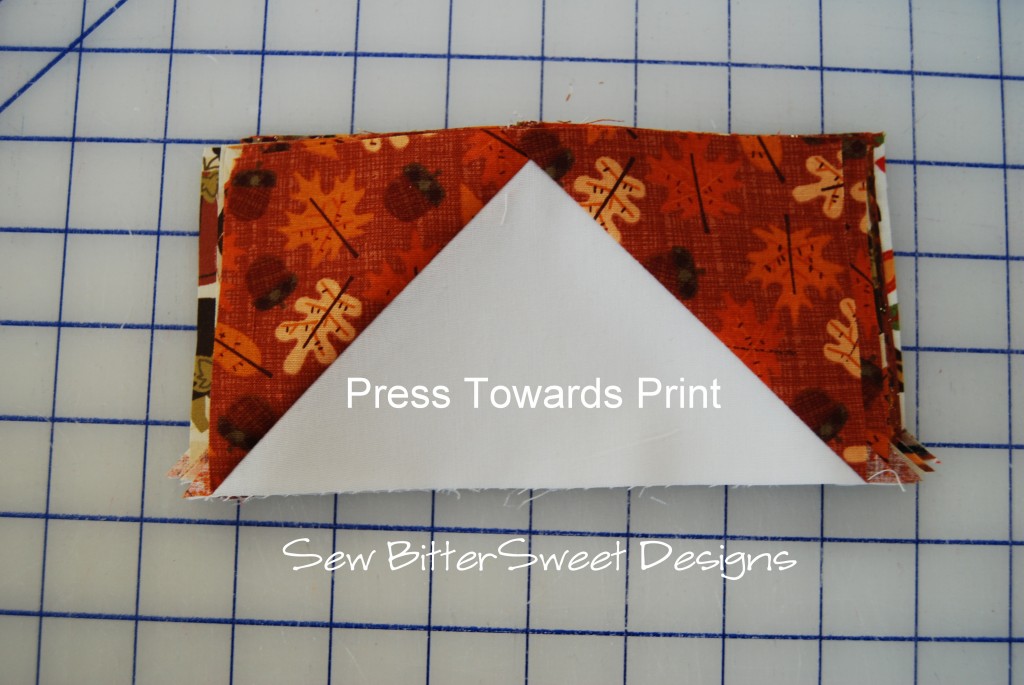
 Cut the geese apart and press towards the print again.
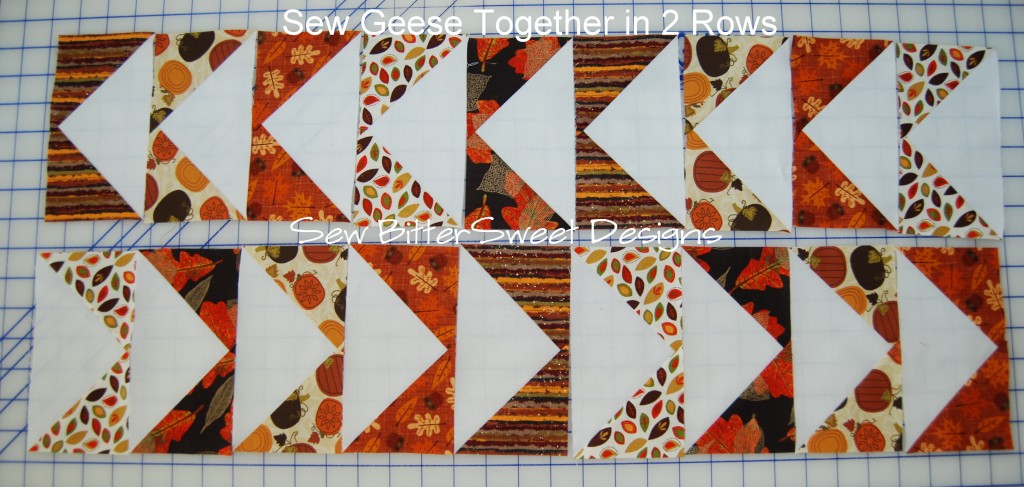
 Lay out your geese and sew them into 2 rows.
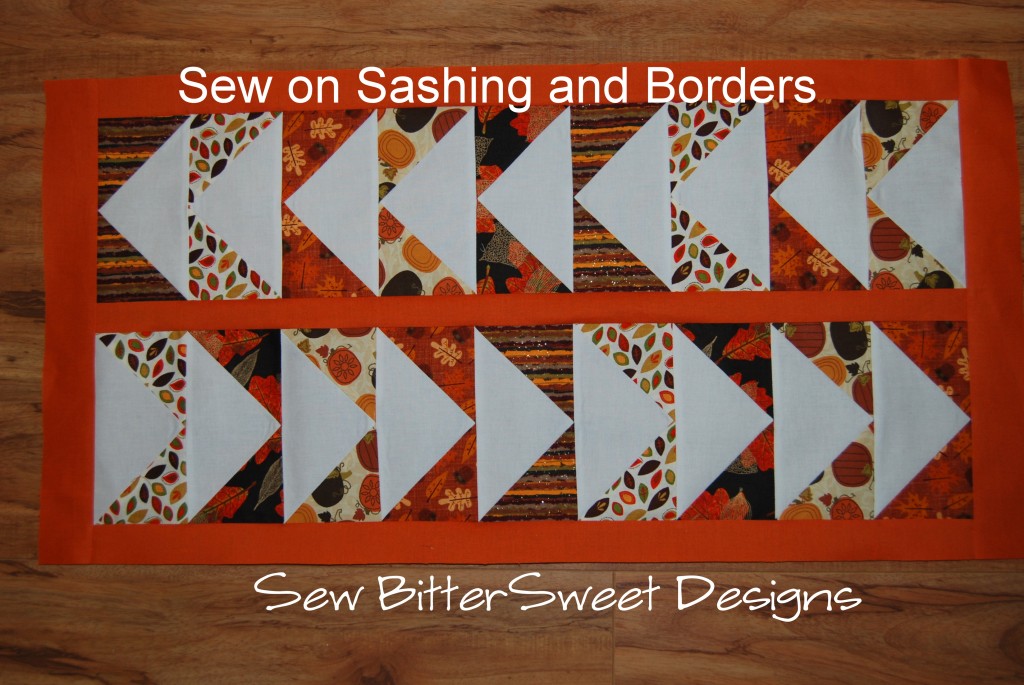
 Sash the rows and add borders.
 Sew together your backing, quilt, and bind.


I hope you enjoyed my stop on the Let’s Get Acquainted Blog Hop, make sure you head on over and visit Martha from Weekend Doings.

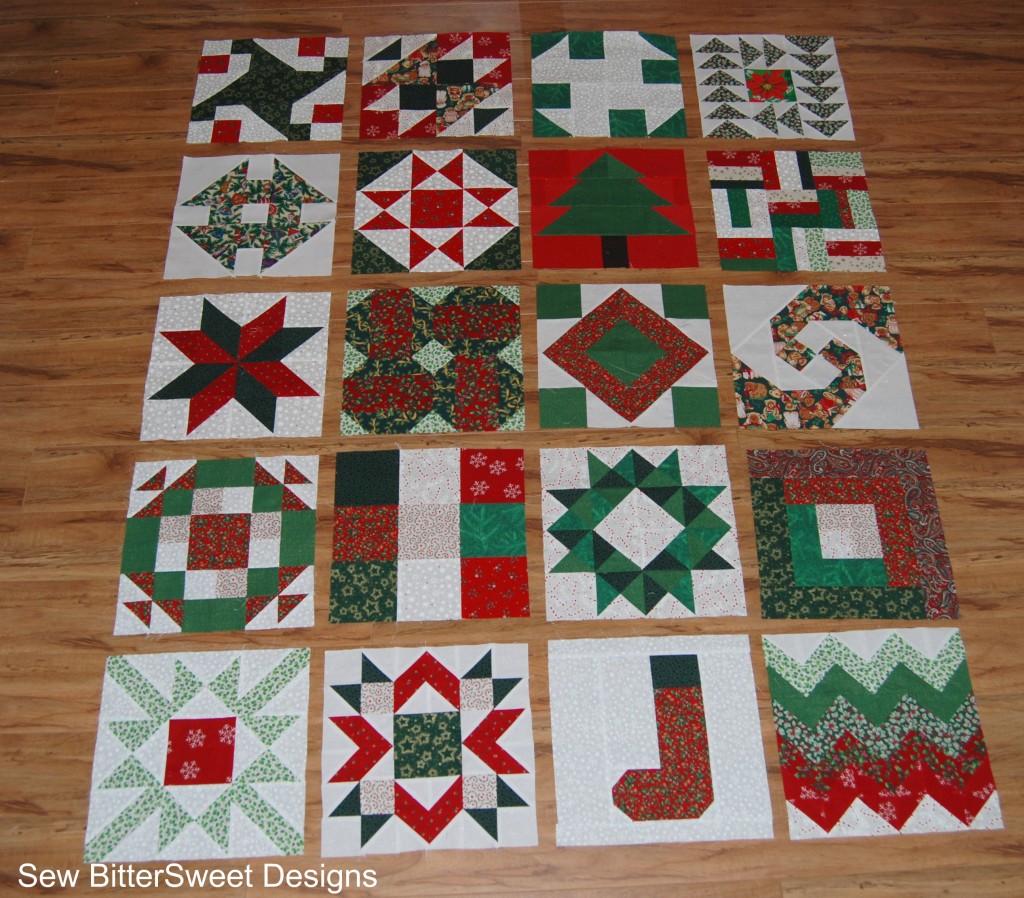
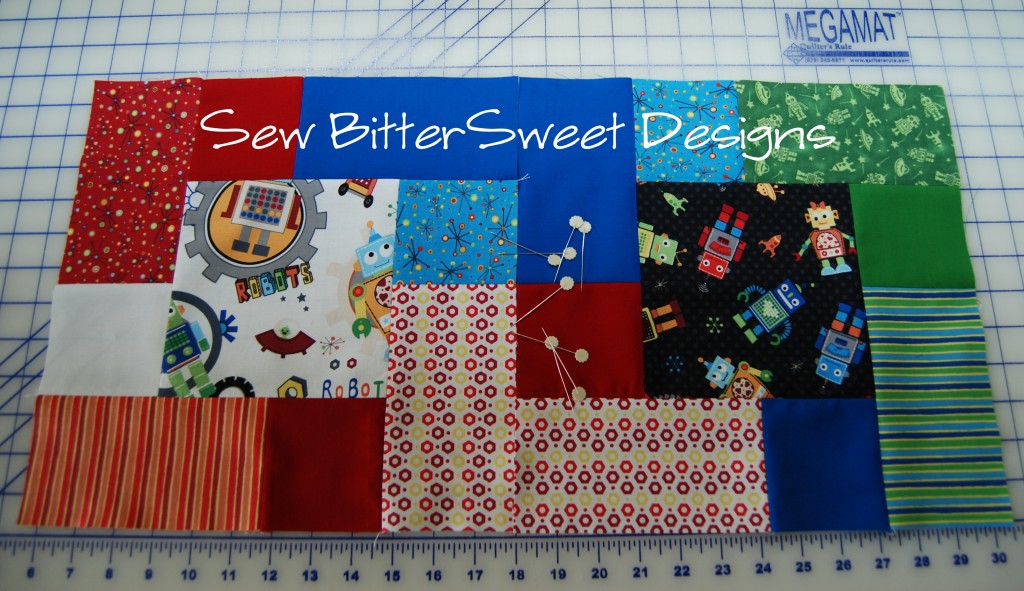
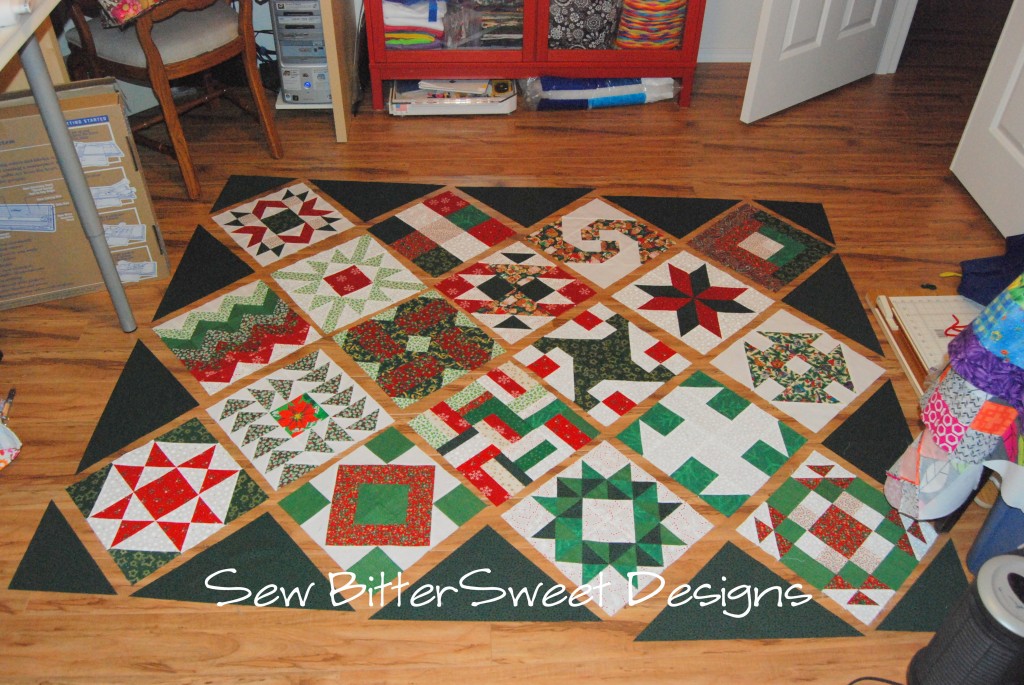 Last night I started putting the rows together with some red holy print fabric. I am so happy with the results – can’t wait to share the big finish with you!
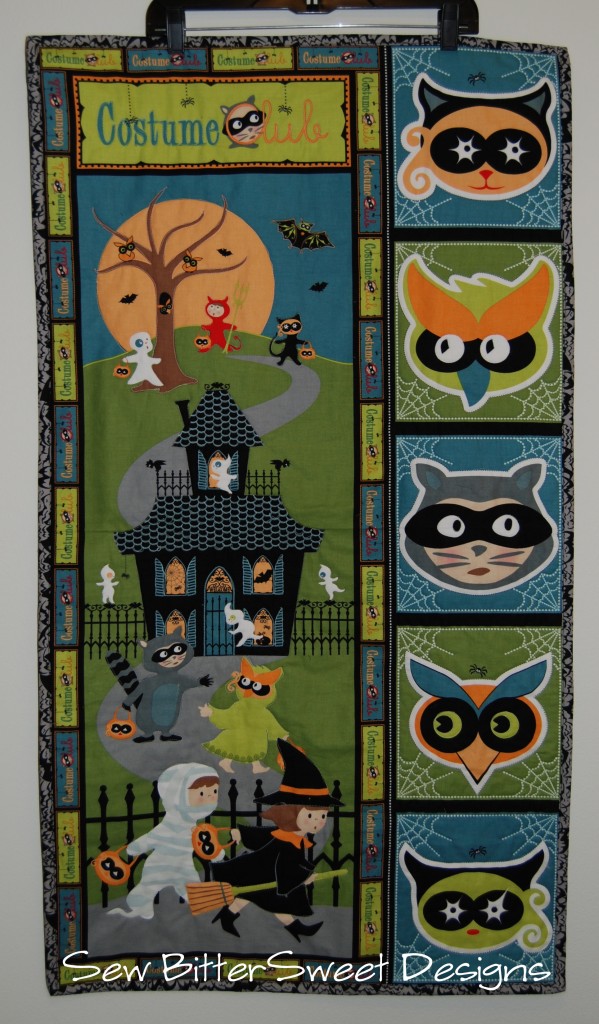
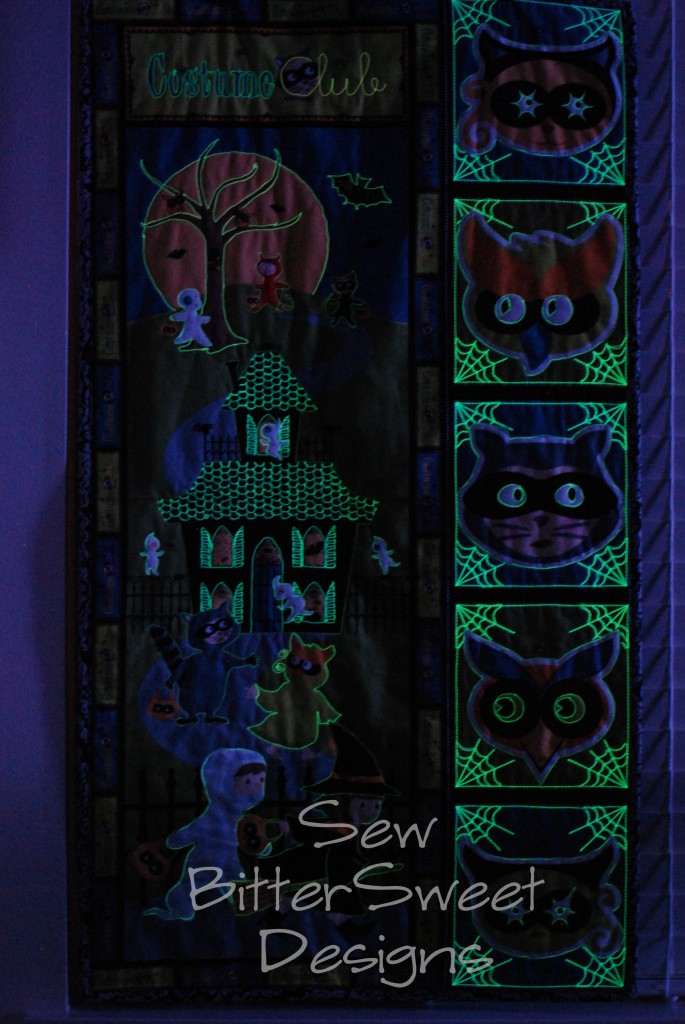


 I love both of these lines and can’t wait to see them in person.