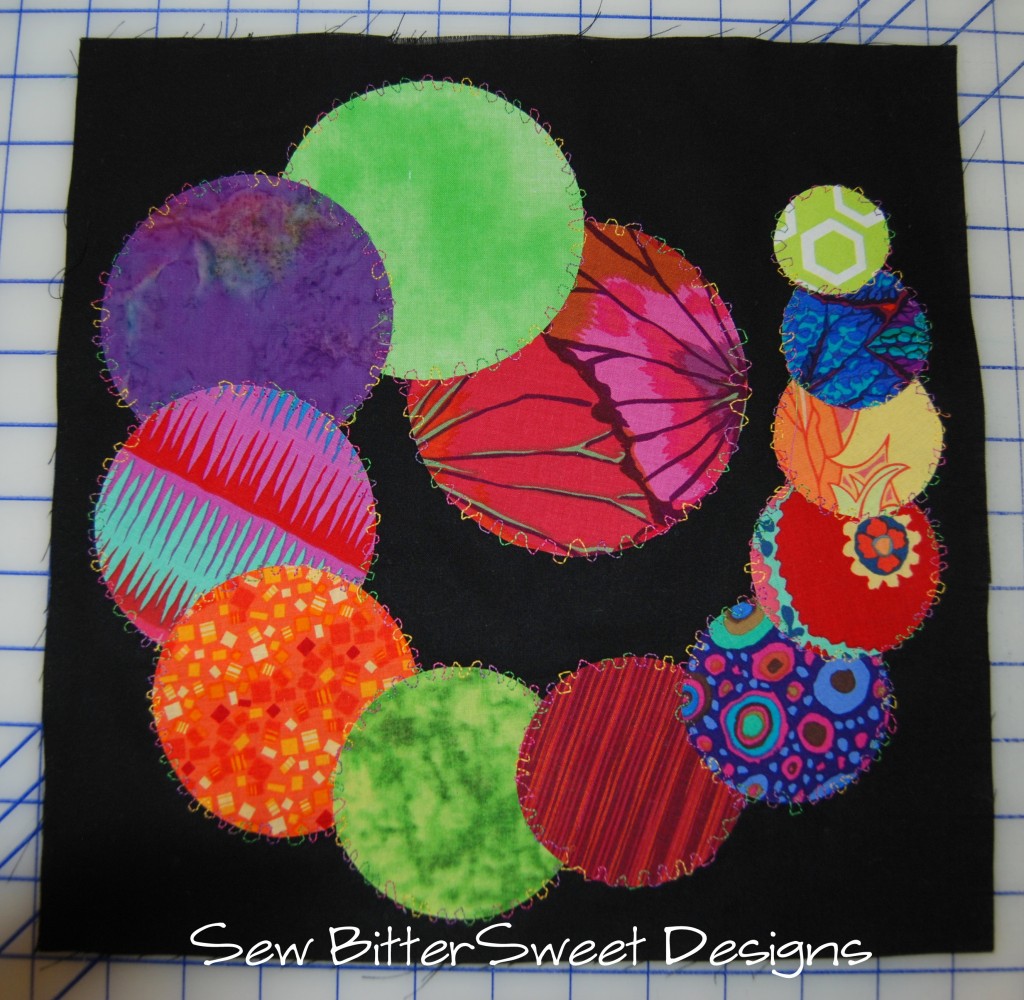
When I was working on my row for the stripper quilt entitled “Do Strippers Make More When They Ovulate” I was very inspired by the word ovulate and for some reasons I kept thinking of spirals. This is one of the blocks I designed for the row.
This block is fairly simple to assemble. You will need a 12.5″ square background fabric. Fusible web, I used Pellon Wonder Under 805, 12 scraps of fabric in varying sizes and I highly recommend the Olfa Rotary Circle Cutter (though you could draw your own templates).
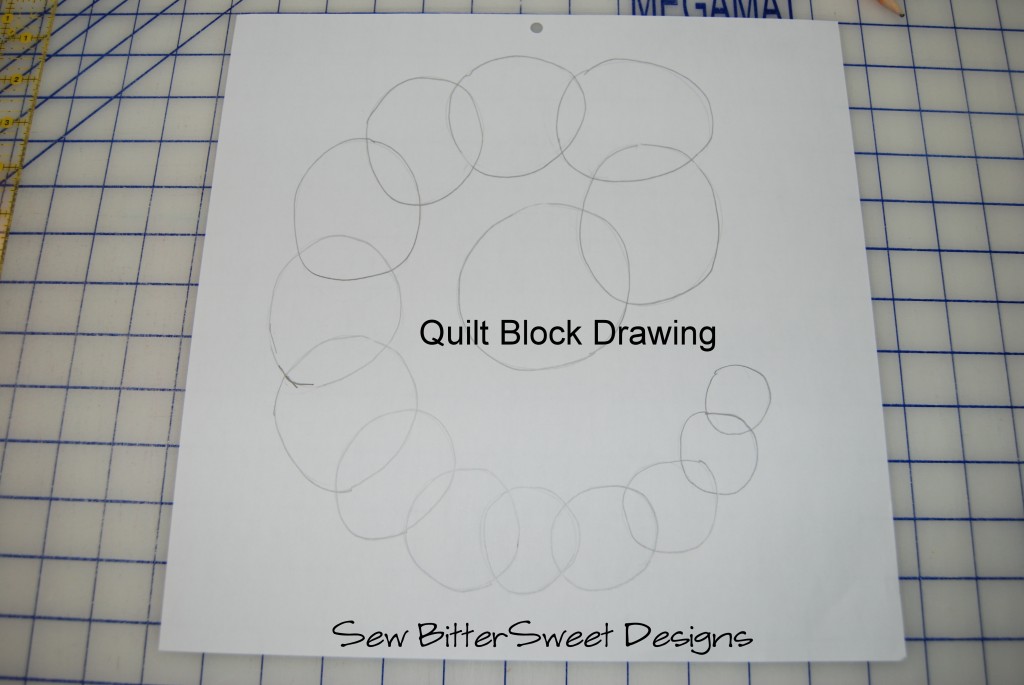
All of my blocks start out as drawings, whether it be on quilting graph paper or in Electric Quilt 7. Due to all the circles in this block I used graph paper for my design and pretty much eyeballed everything. Here’s what I started with.
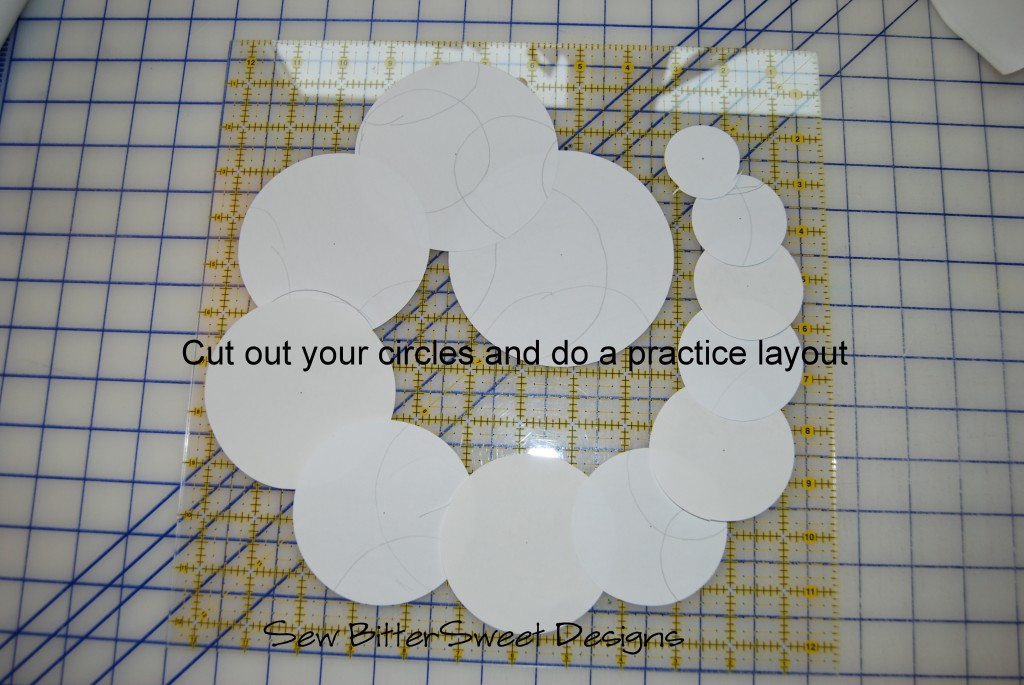
My next step was to use my Olfa Rotary Circle Cutter and cut paper circles. I started as small as you could cut and cut 12 circles making each one larger by 1/8″ (there are very easy to read grid marking for inches and metric readings on the compass). Next I took my 12.5″ quilting square ruler and laid out the circles so I could get an idea of my final layout before cutting into my scraps.
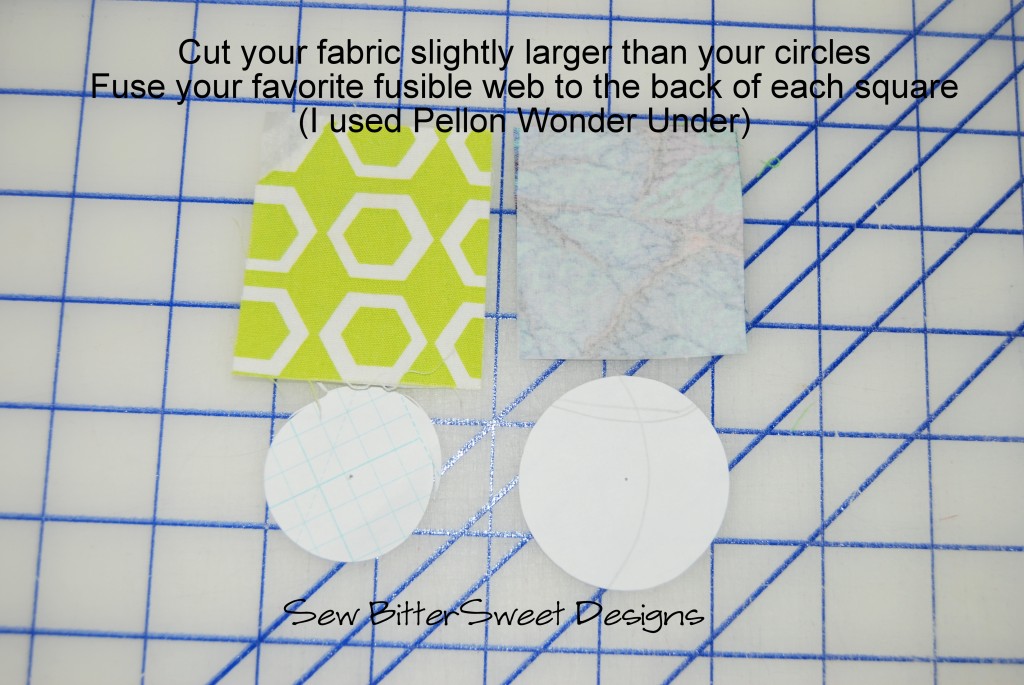
Next using my paper circles for a size comparison I cut squares that were ever so slightly larger than each circle from my fabric and the same size squares from the Pellon Wonder Under 805. Fuse the Wonder Under to the back side of your fabric and you are ready to cut your circles.
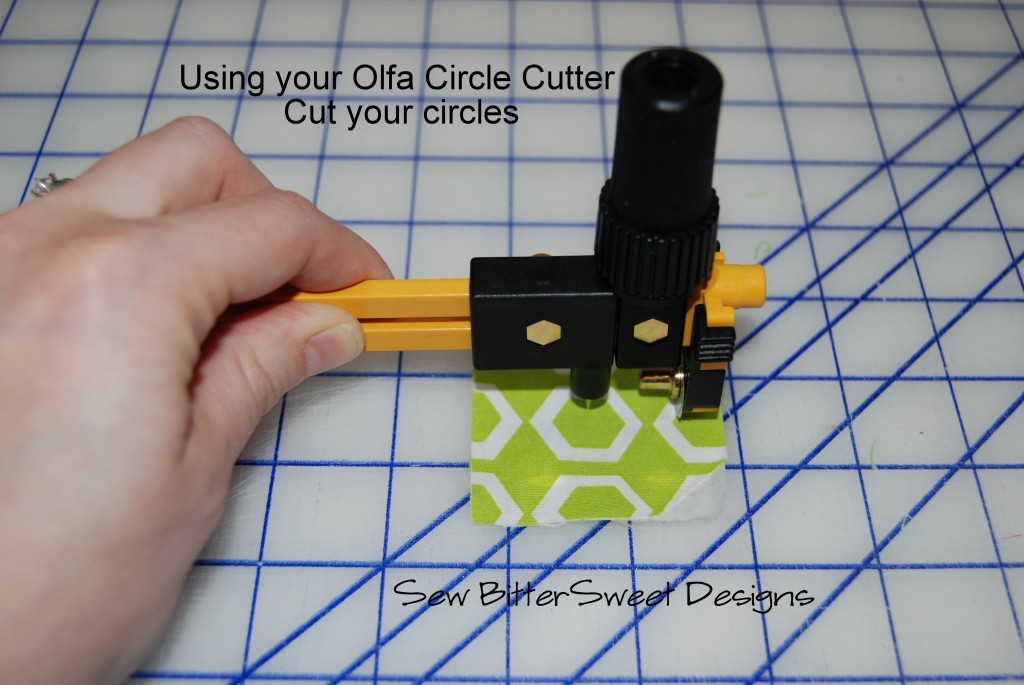
Next you will cut your fabric circles – it is very important that you fuse the fabric to the wonder under prior to cutting your circles. It will make cutting SO MUCH EASIER!
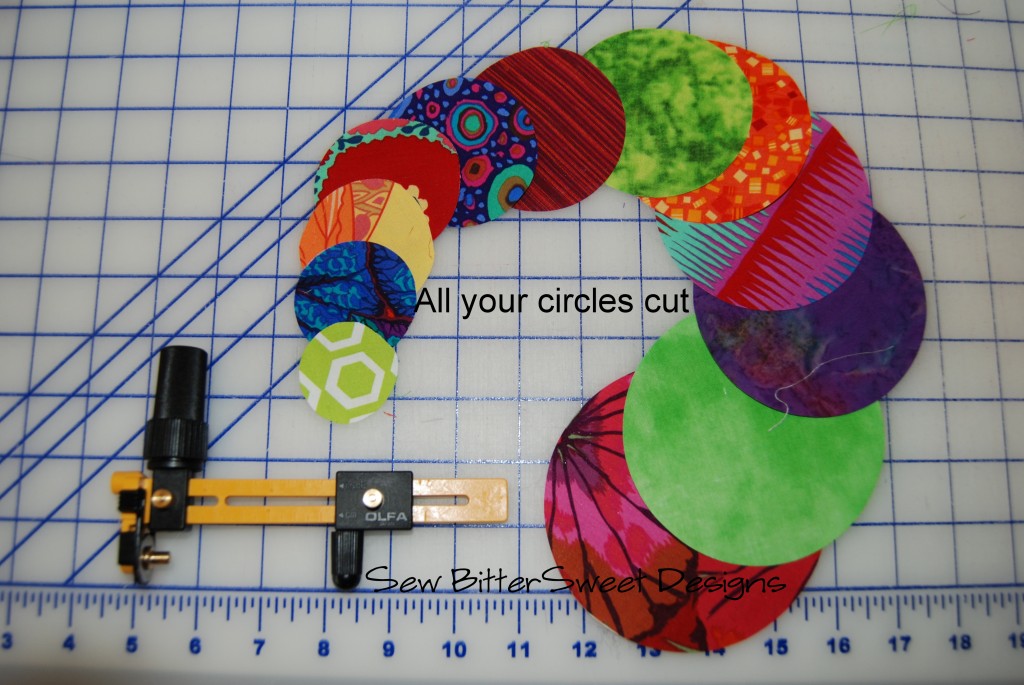
Remember, each circle will be ever so slightly larger than the last because you will be increasing the radius by 1/8″ of an inch each time.
Here is what your circles will look like after they are all cut out:
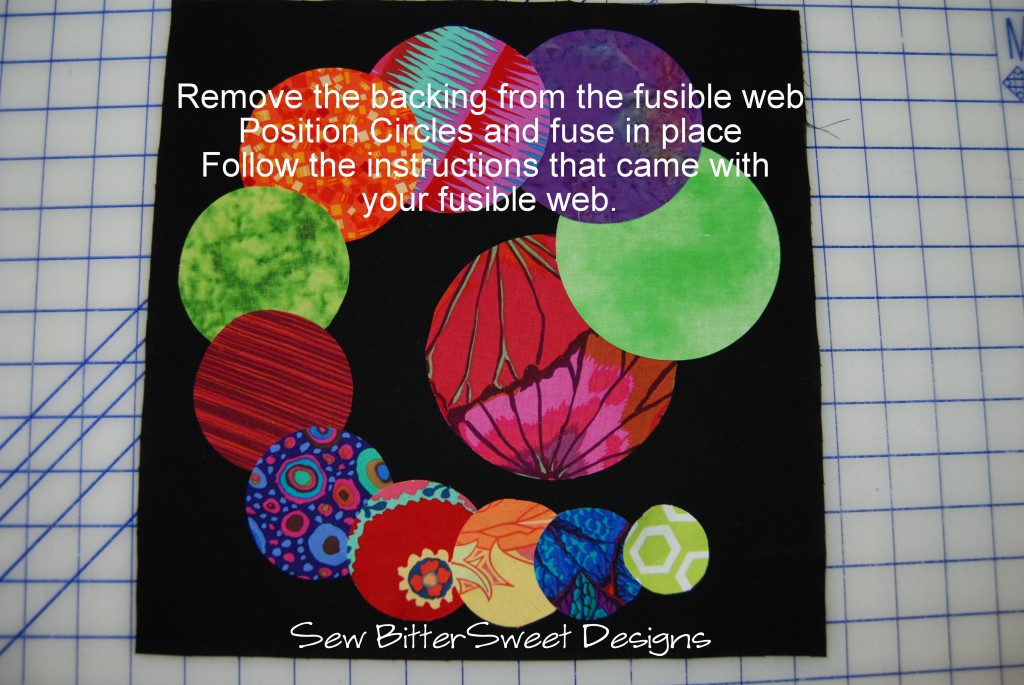
Remove the paper from the fusible web and lay your circles out on your background. This is when you want to perfect your layout, once you fuse them, you won’t be able to change the look of the block.
From here you can applique them circles down in any manner that you like. I decided to throw my Free Motion Quilting foot onto my machine and do a little thread painting of sorts. My block is definitely “raw edge applique”. I truly love how it turned out!
If you decide to make this block I would love to see a picture of it!
Don’t forget that as February is almost over it is time to link up your finish for this month! Head on over to this post to do so (and you can also see the rest of my stripper row too!) and make sure you check out Shanna’s beautiful finish over here.

I absolutely love this block!! Especially the wonderful fabrics against the black background!! 🙂
I love my Olfa Circle Cutter!!
this is really wonderful. i love how the black makes the circles pop. and your applique truly completes it. thanks for the tutorial.
This is so neat Melissa and I bet you get hooked on free motion appliqueing now!
Makes a very interesting block and doesn’t look too hard for us beginners. Since I love gadgets, maybe it is just an excuse to buy a circle cutter.
I love the variegated thread you used to stitch down the blocks!
Love the circles Melissa!!!
Ilove this block. I havent ever tried the olfa circle cutter . Love the tutorial. Love the black backround in the whole quilt. Nice.
What a fun quilt! I so want to buy me a circle cutter!!!
Woo Hoo,just used a 50% coupon for this tool at Jo Ann’s this month! Thank you so much for the tutorial Melissa :0) Your block is awesome! Will be making at least one of these for sure!
Hoping to link up my finishes tomorrow…
Mmmmm maybe I will look for one of those circular cutters at Joann’s for myself – using the 50% off coupons of course. 🙂