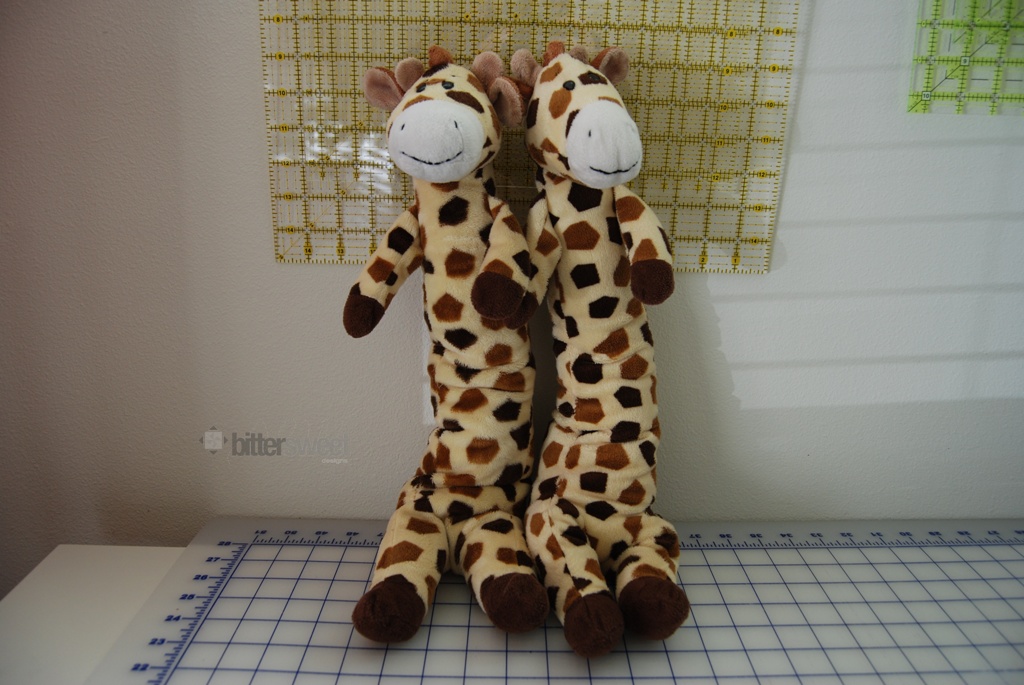
 Meet Joe and Bob (don’t ask me who is who, I can’t tell them apart…but Anne can!).
They both had a problem. They are 4 years old and were beginning to look a bit…thin. Anne asked if I could fix them. I fixed Bob first and then took a picture of him and Joe. Check them out and you will see why they needed a little surgery.
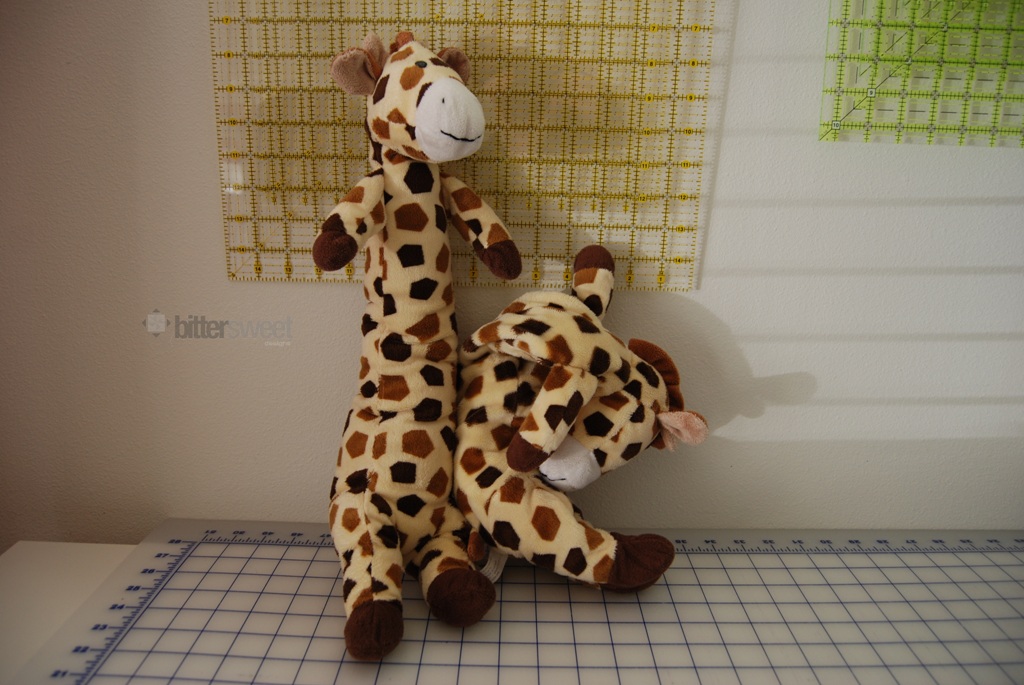 Now, you might wondering why there are 2 and you also might be wondering why we just don’t get rid of them and move on to newer stuffies. Well, here’s why:
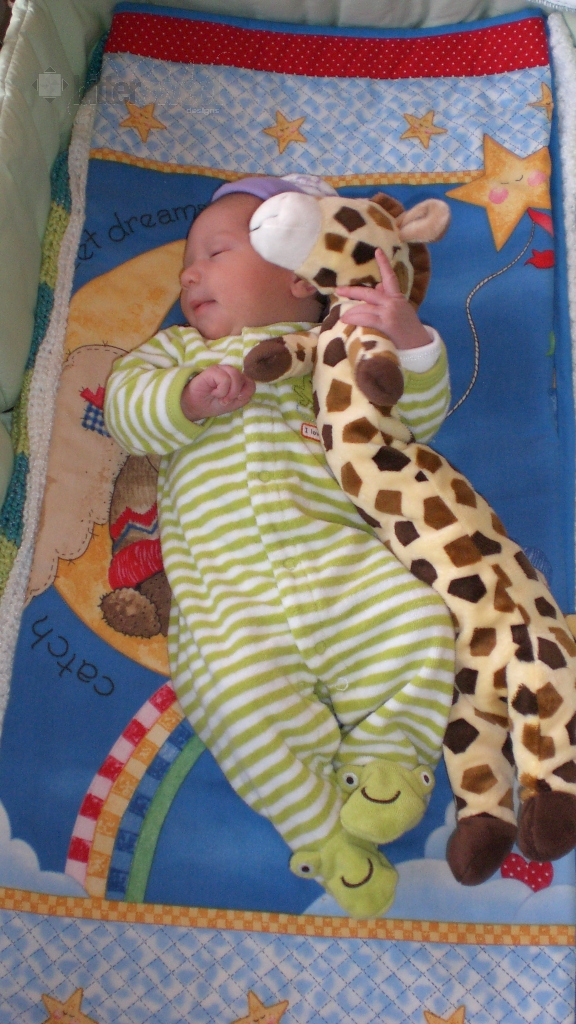 This is Anne at 2 weeks old. Bob (or Joe, not really sure which one this is) was the first animal she latched on to. We bought a second one in case anything happened to the first and then started rotating them. After 4 years they were both a bit tired. So I needed to perform some surgery to perk them back up.
For Stuffie Surgery you will need the following items:
Fluff (any brand, make sure it is washable if you plan on washing the stuffie)
Seam Ripper
Thread that will match or blend well with the fur
A good sharp needle
 First thing is to find a seam that is on an inconspicuous side, there was no really good seam on the giraffe but ideally you would do one that isn’t front and center. Then you want to gently pull out the stitches. Try to create a hole at least big enough to fit your hand in.
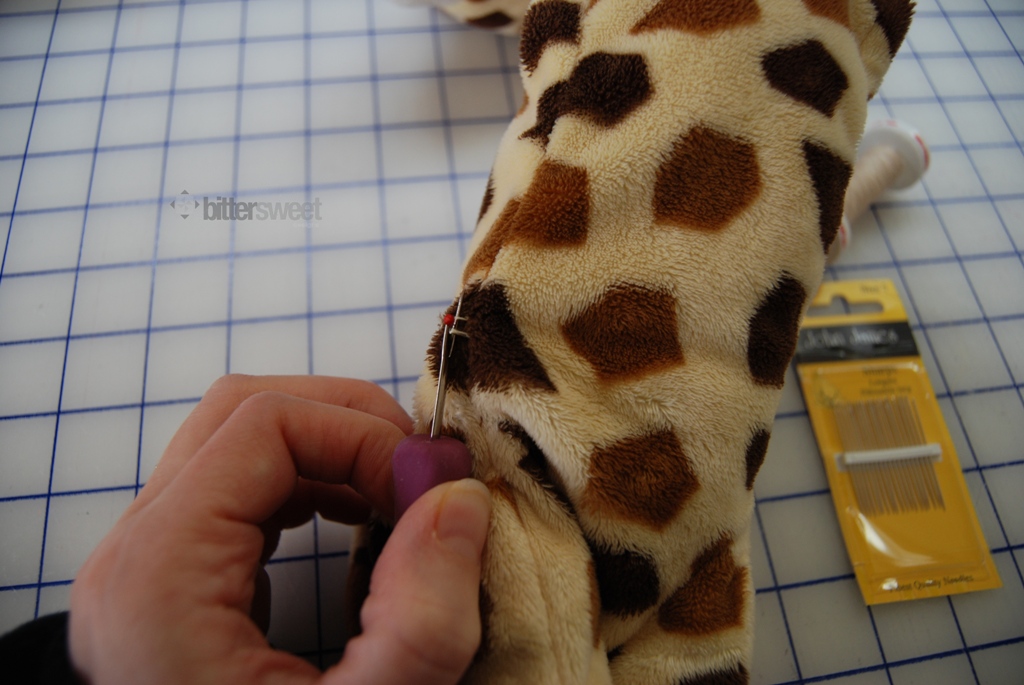 Next pull out all of the stuffing. Now I have machine washed and dried these guys many many times over the years and I was surprised by the smell, so be prepared for a potentially unpleasant smell. The stuffing will likely be matted and very icky. Joe is now a shell of his former self.
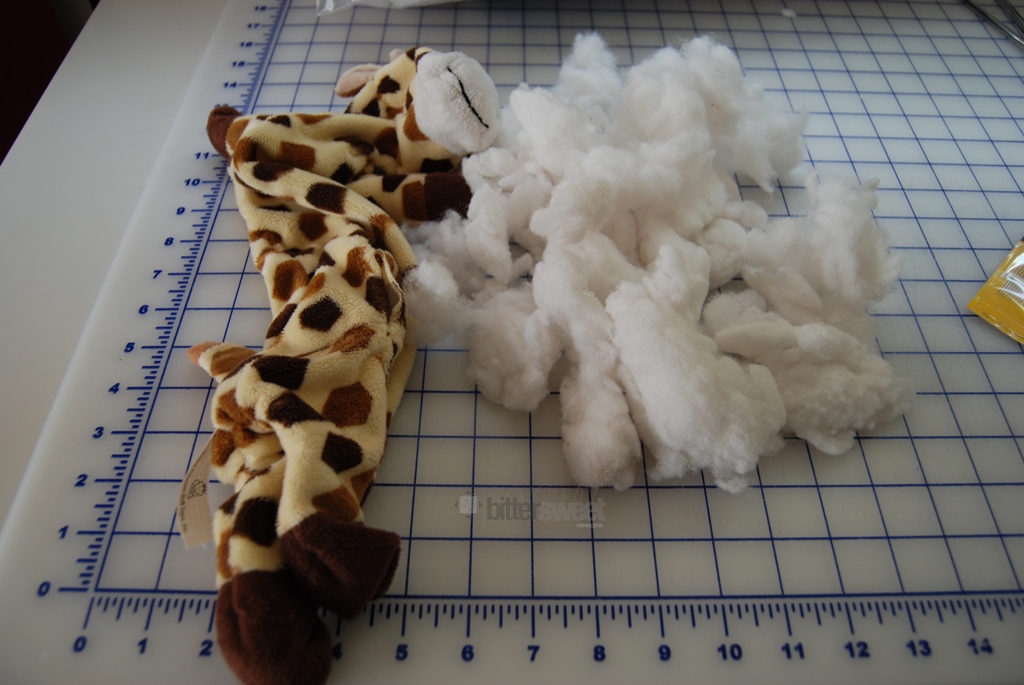 Next it is time to stuff him! I used a hemostat at times to get into places like his head, the hole for his head was no larger than the tip of my thumb and I needed help.
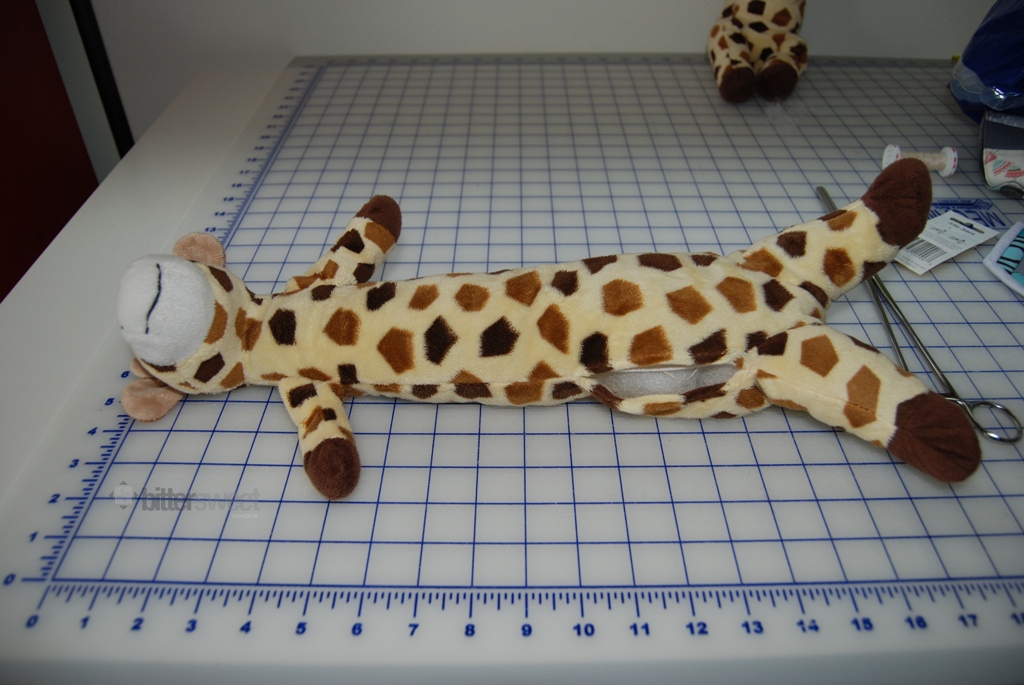 Next you want to sew up the hole that you created. Remember to use an invisible stitch. I used a ladder stitch, the same one I use when I sew bindings onto quilts. It is invisible and holds up rather nicely to washing (never once have I had a binding come off!).
 And as you can see below…I had one very happy customer once I was done operating!
 So if you have a stuffie in need of a little revitalization now you know what to do it, operate!

YEAH!! We have surgery here, often! Now, if filling myself with fluff worked.. man, I’d be set! ;))
Have a good day!
K-
The things we do for our kids 🙂 I sewed plastic leg onto Polly Pocket doll. Recently it came of once again so I might be playing surgeon soon.
You are an incredible surgeon……A is so grategul! Best mom!
OH my goodness these photos of your baby/daughter with her stuffie friends are so adorable!
You are such a good Mom Melissa!
awww so cute, I did this numerous times for my two. It means so much to them to have their stuffie fixed and especially done by mom. Keep up the good work.
🙂 Hooray for stuffie surgery! Good job!
I usually slip a little heart inside the stuffie after I perform surgery. My girls used to love this.
Hey, Dr. Mommie, you done good!!
Great tutorial. You have so much more patience than I do. Amazing how they have shrunk in the last four years. =)
My last surgery was on my grand cats favorite stuffed toy that had a gaping neck wound. “Girlfriend” is a stuffed little pink Victoria’s Secret dog that her cat has carried around by the scruff of it’s neck since he was a kitten. I’ve never seen a cat do that before! Pretty soon Girlfriend might need a collar for reinforcement.
My parents gave my poor teddy bear ‘interesting’ surgery. I could probably fix it all now, but you know, the wee holes, the fur retread in completely different, cheap fake fur on his arms and legs that totally don’t match his head and body, kind of make him him!