As you may already know I received a beautiful new sewing machine for my birthday – but what you may not know is that my wonderful husband also surprised me with an AccuQuilt GO!
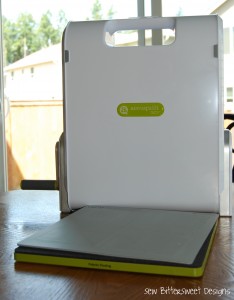 |
| Isn’t it pretty?!? |
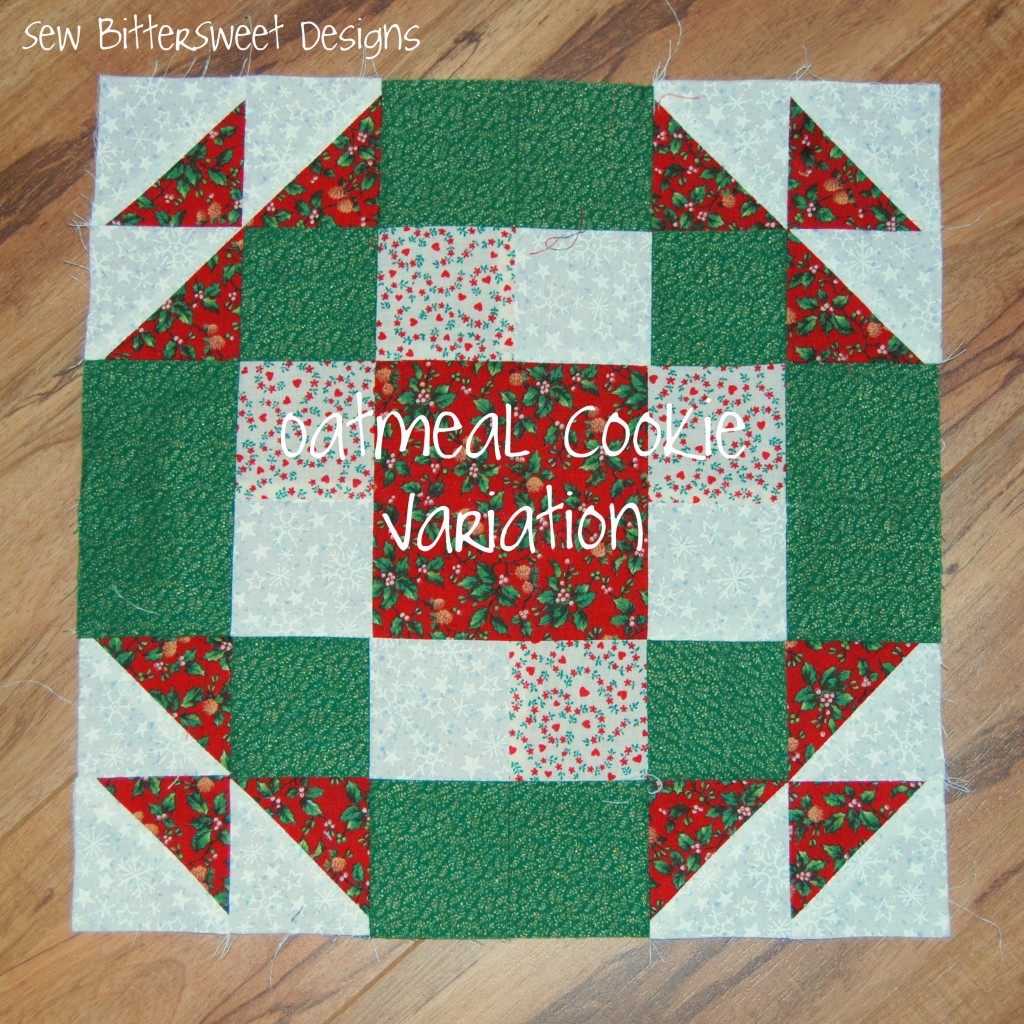
I used my GO! to make my latest quilt block for my Christmas Sampler Quilt. I found a diagram for the block on quilting forum but NO instructions – so all the quilting math is my own.
I couldn’t be happier with how it turned out – get the know how after the jump!
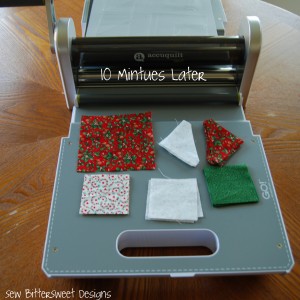
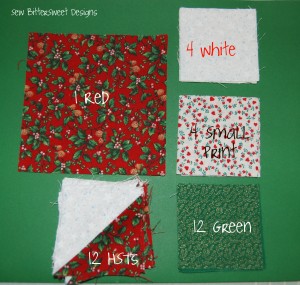
Bust out your GO! Value Die and cut out your shapes – this took me less than 10 minutes – I am in love!
1 Red Square – 4.5 inches
4 White Squares – 2.5 Inches
4 Light Print Squares – 2.5 Inches
12 Green Squares – 2.5 Inches
12 HSTs with White and Red fabrics – 2.5 Inches (for HST instructions see my Chevron Block Tutorial)
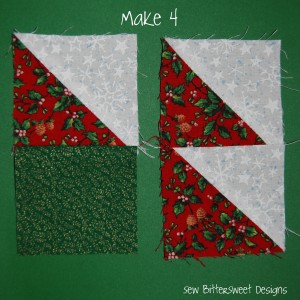
Assemble your corner squares:
Sew 1 HST to 1 Green Square. Sew two HSTs together. Connect them to make a square – should measure 4.5 inches. Do this 4 times.
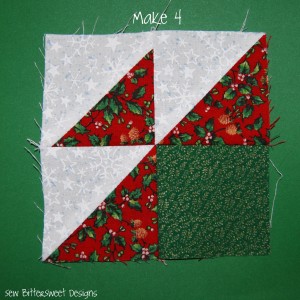 |
| These are your corner squares |
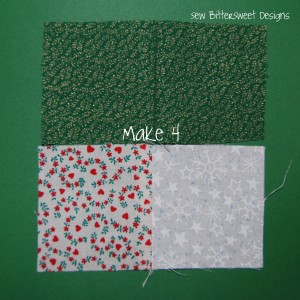
Assemble your center Squares:
Sew two green squares together, then sew one white and one light print together. The sew these together to make a 4.5 inch square.
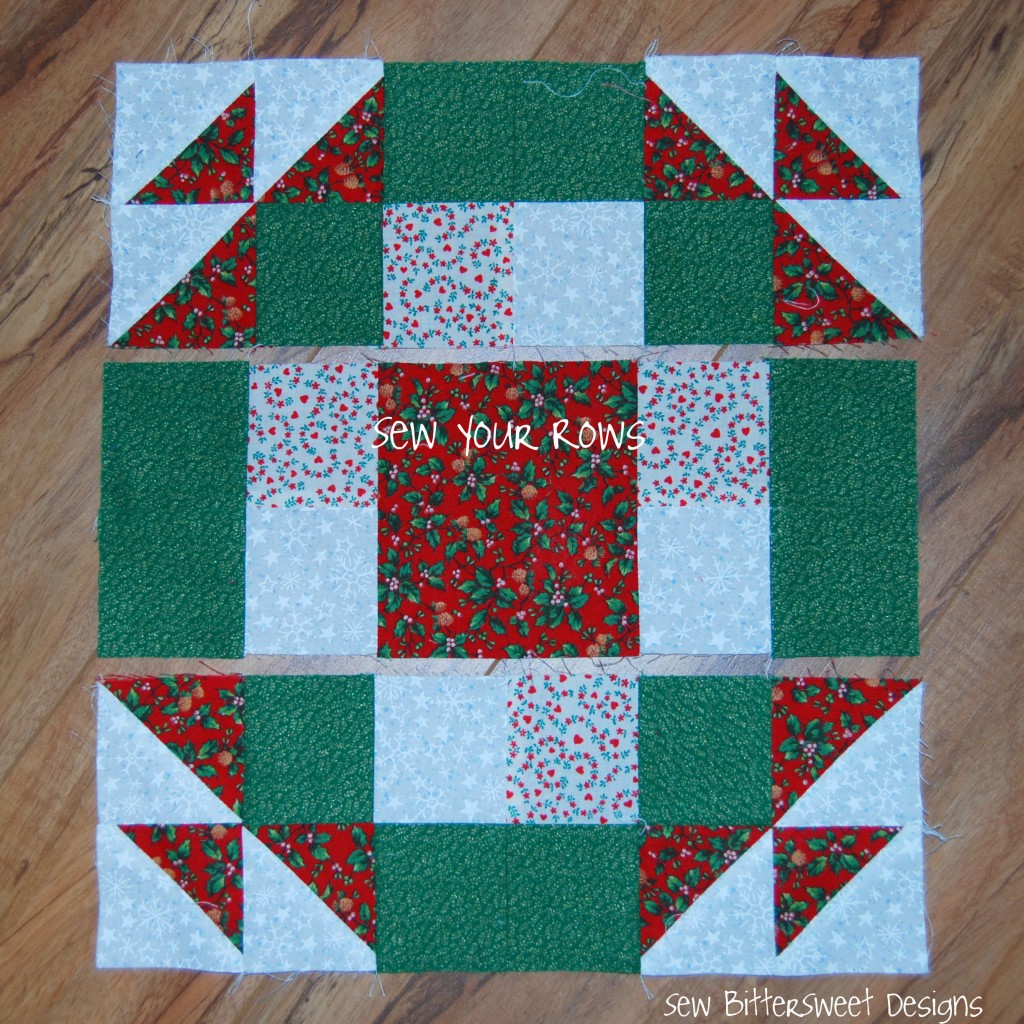
Layout your rows:
Have you made a version of this block before? Have you used a GO! to make it? This is the first block of my series that I have done using the GO! and I have to tell you that it measure EXACTLY 12.5 inches, it is amazing how accurate cutting and an accurate 1/4″ seam can help in that aspect. Tune in next week for a mini tutorial on how to get an accurate 1/4″ seam!
Make sure you check out the other blocks and tutorials in my vintage sampler. And don’t forget this block could easily be updated to a more modern block by simply changing the fabrics!!!


Congrats on your new toys! You'll love your Go! cutter a lot!
Aren't those cutters great?
Such a great square!!! I need a Go! badly!