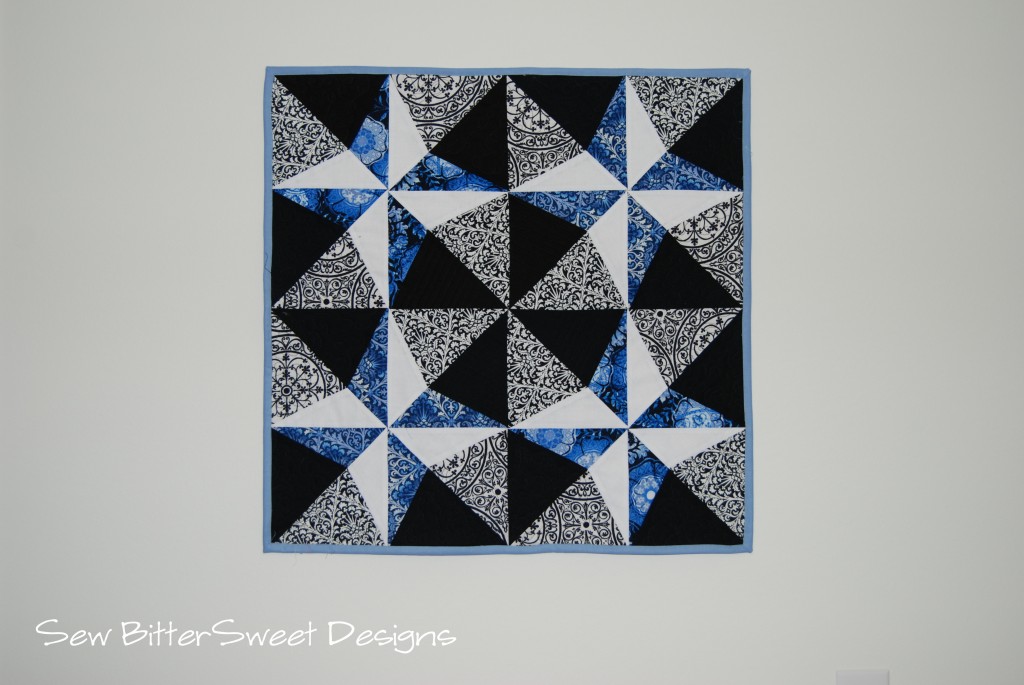
This is block is called Star & Dot and is attributed to “Comfort” from the year 1910.
You will want to download the cutting templates and the paper piecing templates.
(Please let me know if you have any trouble downloading these files – I would be happy to email them to you as well.)
You will need:
- 16 copies of the Paper Piecing Templates (printed on Carol Doak’s Foundation Papers)
- 1 Copy of the Cutting Templates
- A layout diagram
- Fabric – ¼ yard of Avalon Black Diamonds, ¼ yard of Avalon Black Medallion, ¼ yard of Avalon Blue Diamonds, ¼ yard of Avalon Blue Floral Medium, 1/3 yard Kona White, 1/3 yard of Kona Black, ¼ yard of Blue Solid for binding (all of these fabrics are available from Fat Quarter Shop and were generously provided for this tutorial)
Helpful Supplies Include:
- Fabric Glue Stick
- Pins
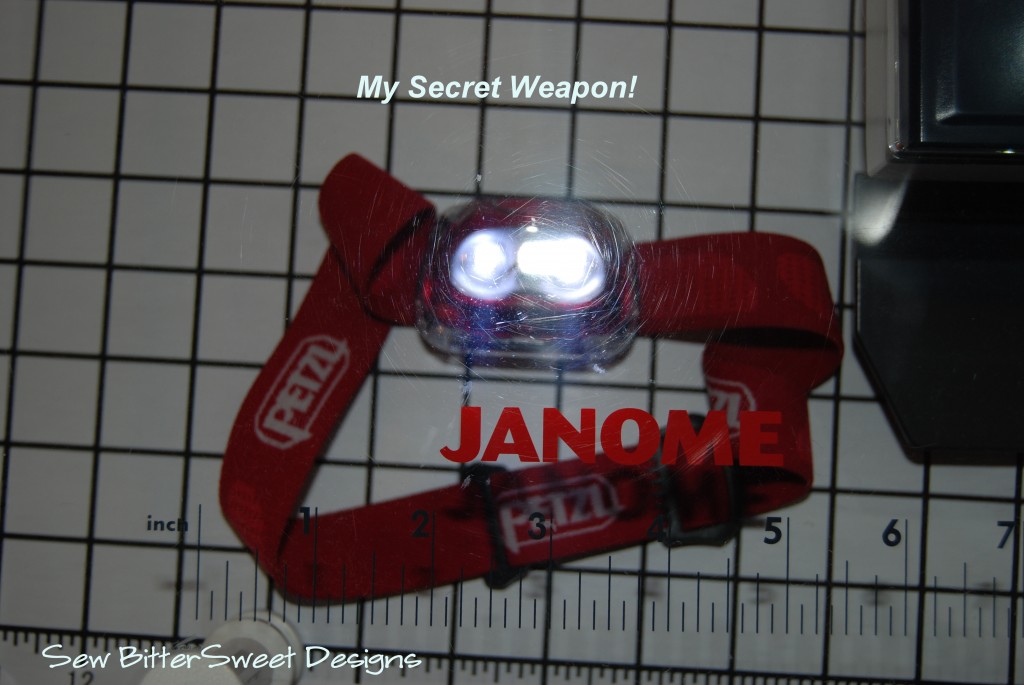
- Light Box or hiking head lamp
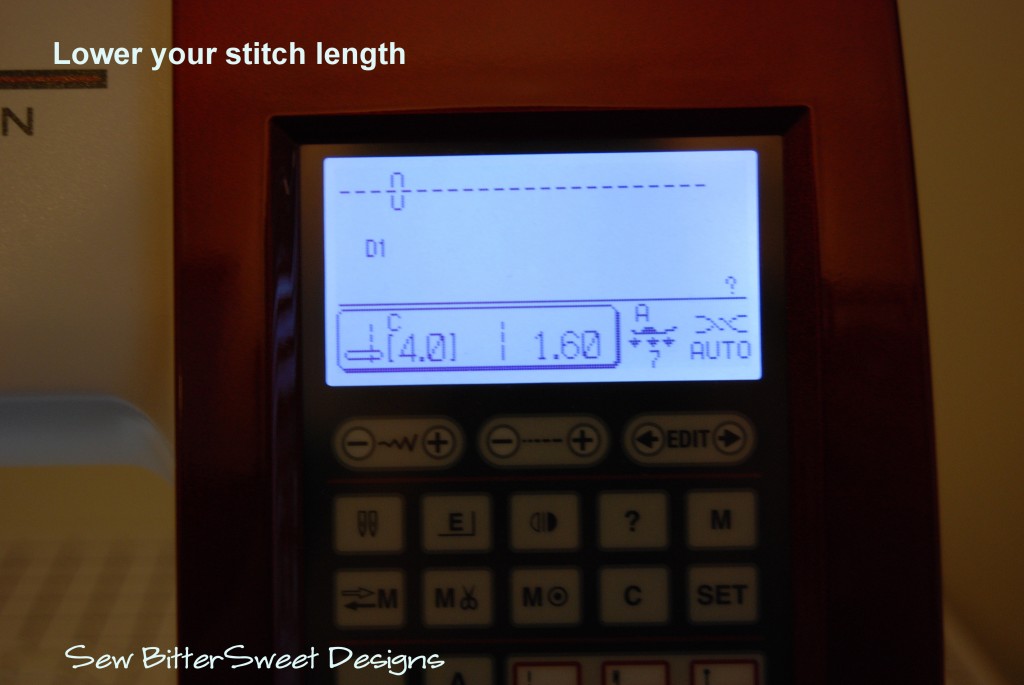
I like to start by lowering my stitch length; this makes it easier to tear off the paper when you are done with your piecing. I lower mine down to 1.6.
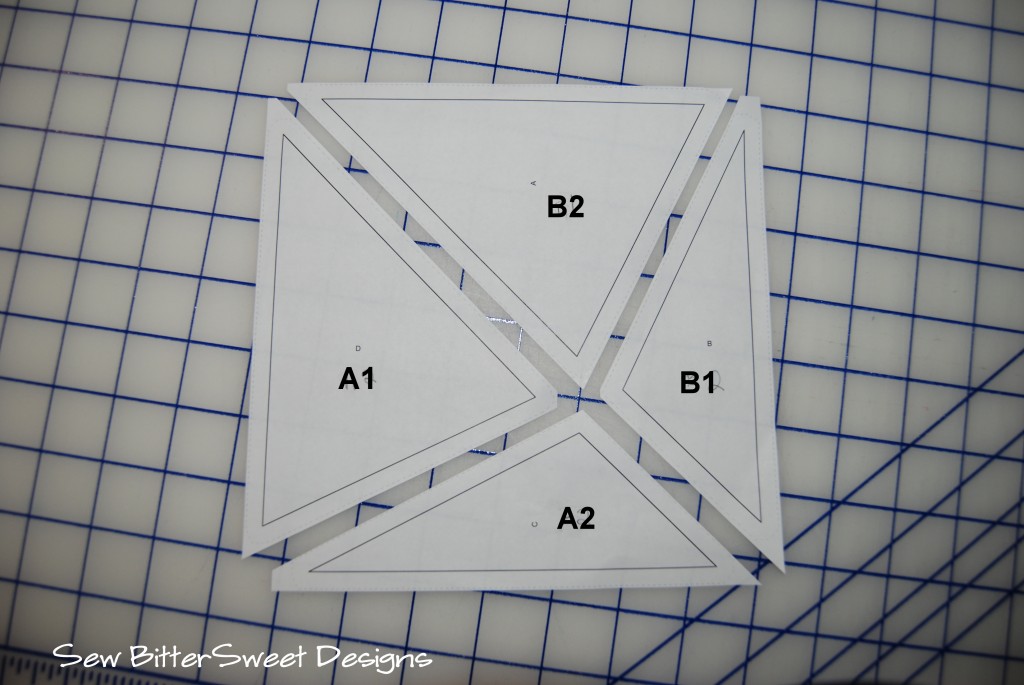
Using your cutting templates, with the fabric right side up, cut the following (I like to cut mine slightly larger (about 1/8”) than the templates – gives you a little wiggle room):
White – 16 pieces with A2
Black – 16 pieces with B2
Black Medium Diamond – 8 pieces with A1
Black Medallion – 8 pieces with A1
Blue Medium Diamond – 8 pieces with B1
Blue Floral Medium – 8 pieces with B1
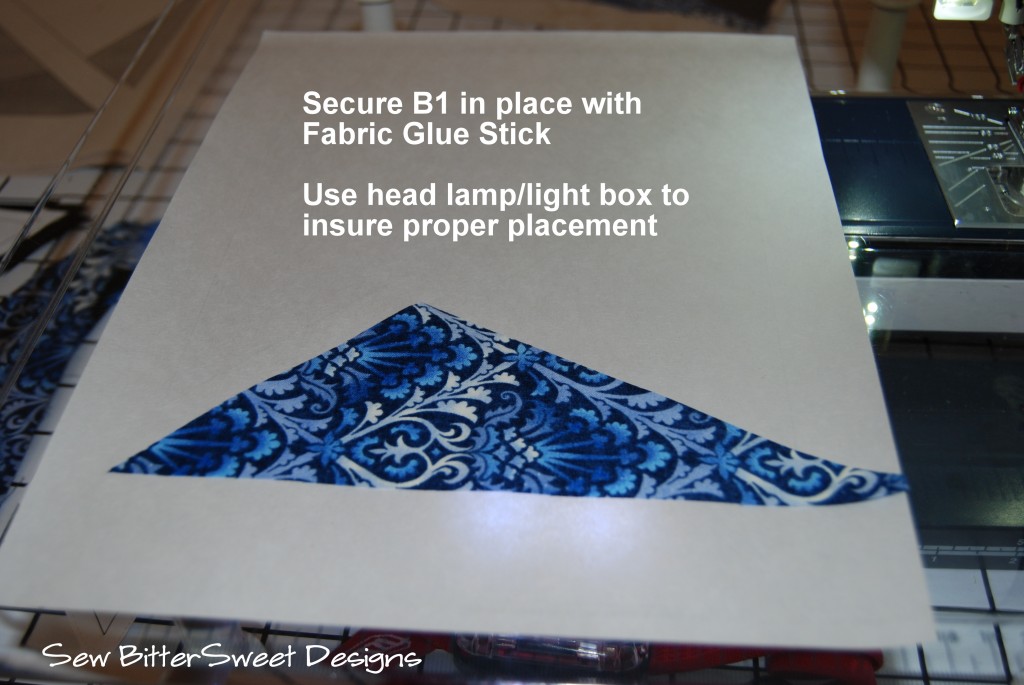
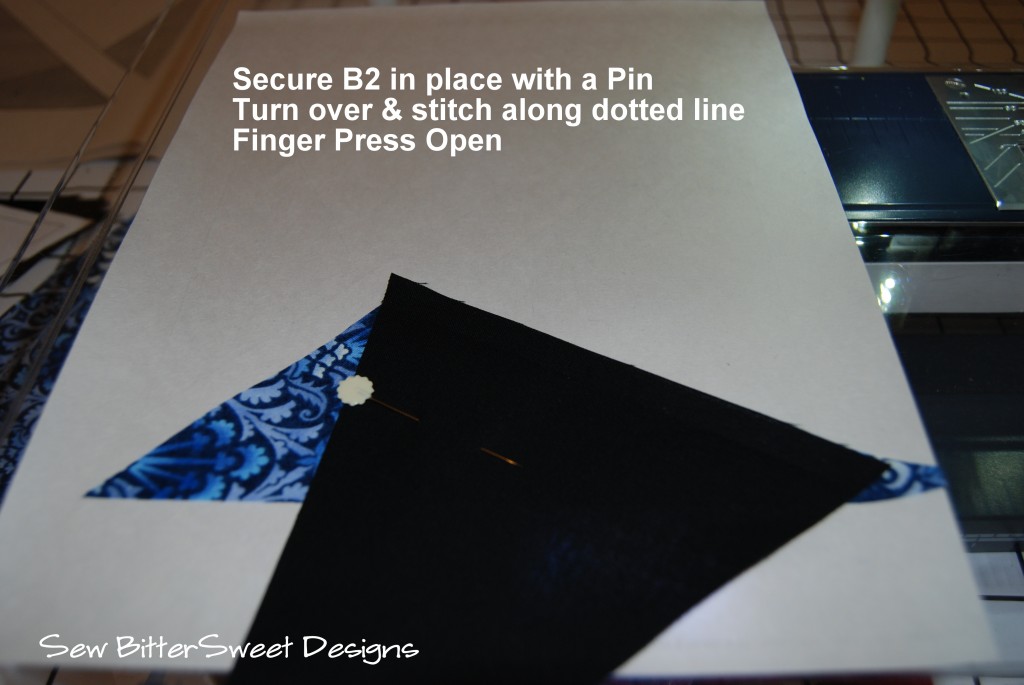
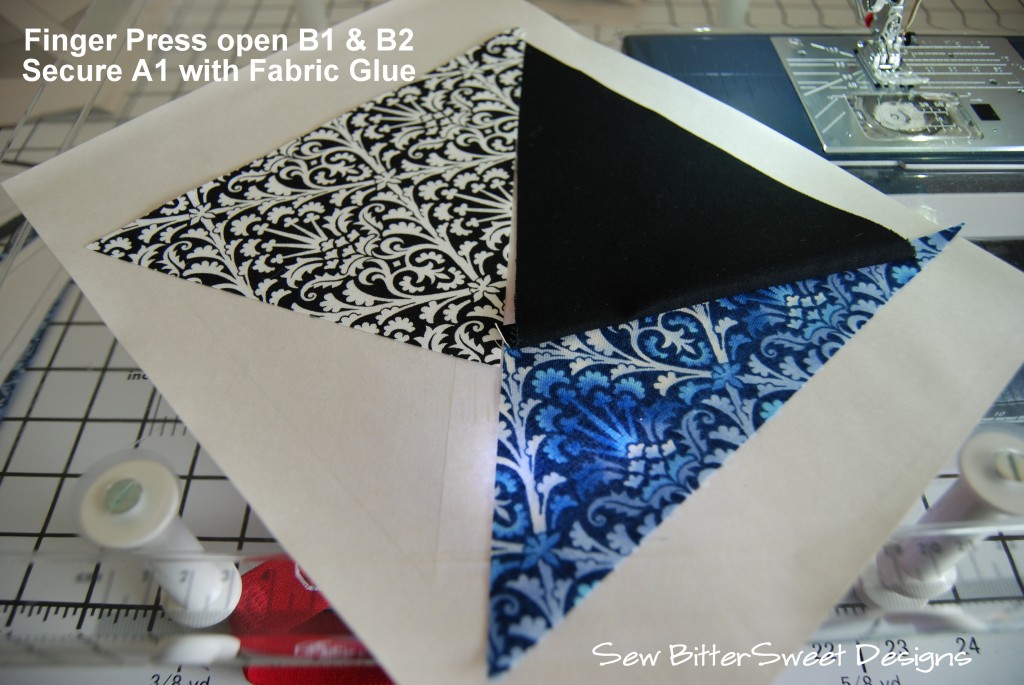
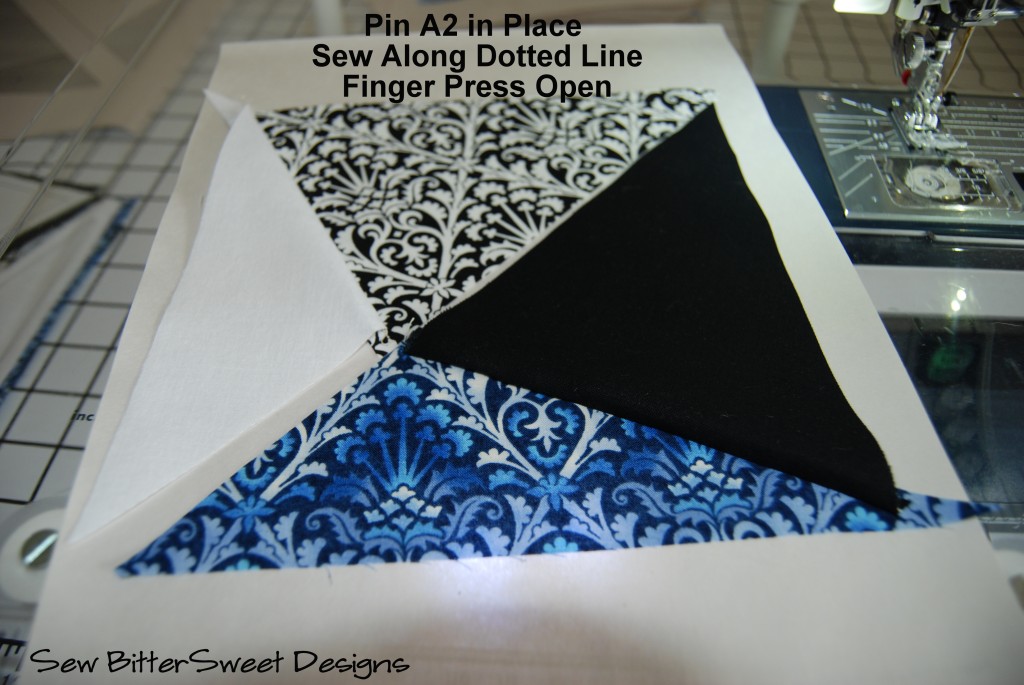
Starting with the B Sections follow the picture tutorial:
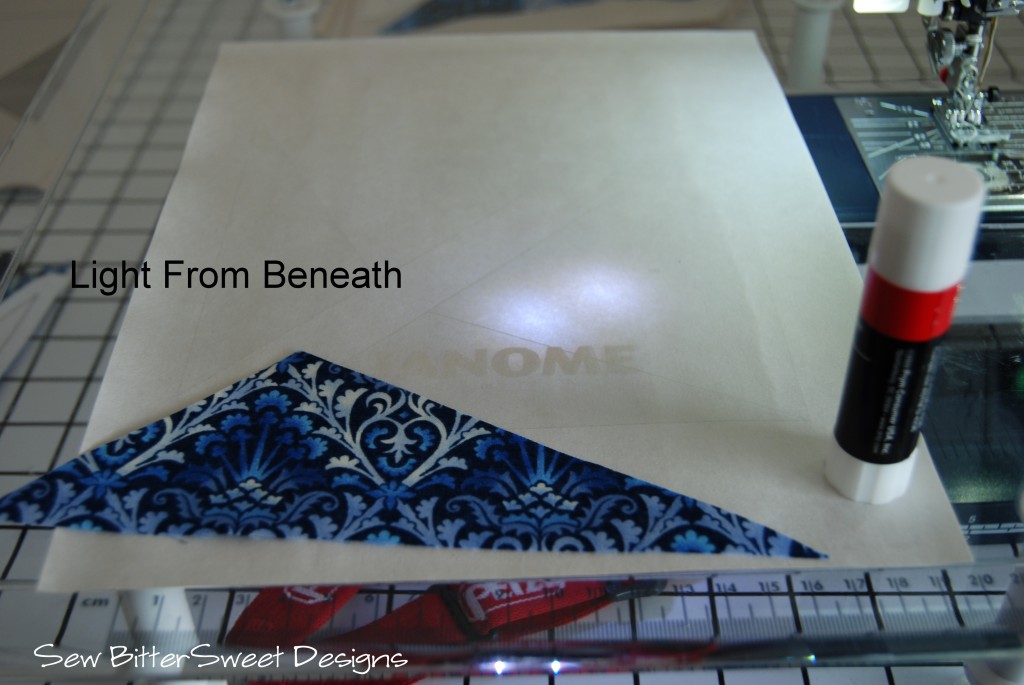
If you have a clear plastic sewing table – like the one that came standard with my machine, I recommend putting a light underneath it – this will help you arrange your pieces to be perfectly in line with your paper piecing template.
As you can see in the picture below, the bright light from underneath will help you align your pieces and it allows you to not only sew at night when you can’t look out your window for natural light, it also saves fabric – you can more precisely line things up and won’t have to use big pieces.
You are now ready to sew!
NOTE: It is important that you sew each piece in the order, I’ve listed – this will help you match up your seams when you piece your sections together!
Make all 16 of the paper pieces. Then bust out your iron and press the sections down.
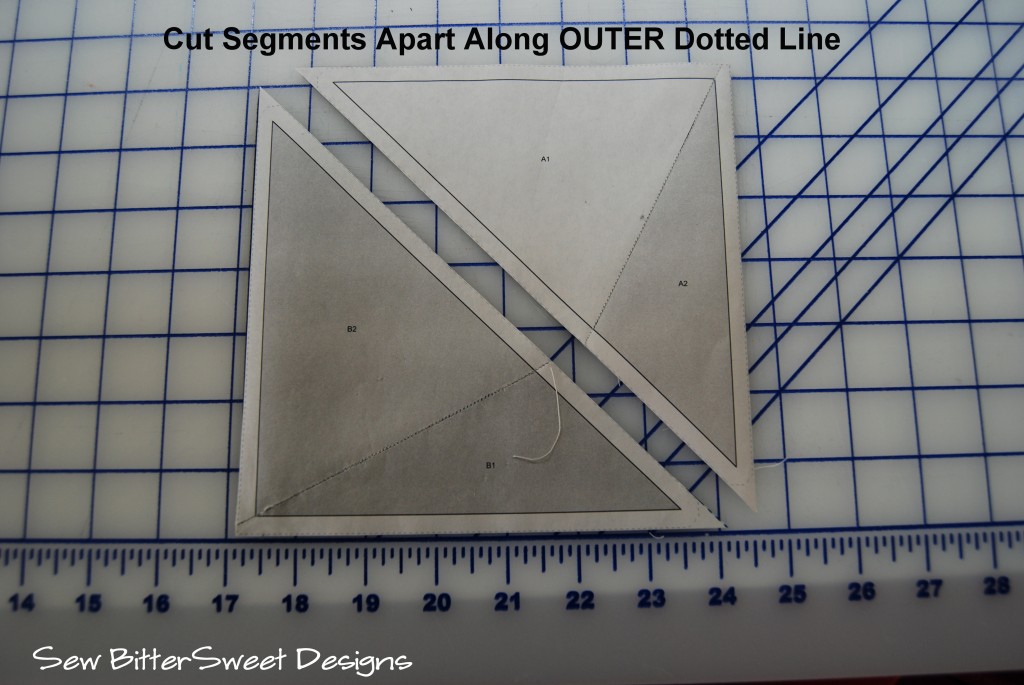
Cut your sections apart along the outer dotted lines.
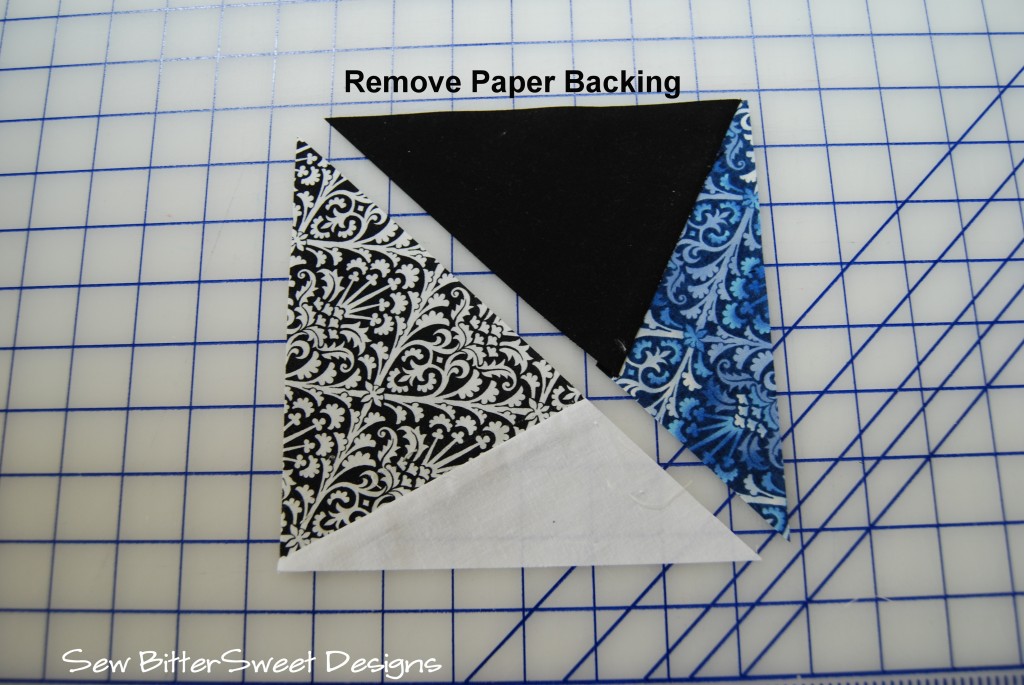
Remove your paper backing – if you are using the Carol Doak’s Foundation Papers, they will virtually fall off! Don’t worry, with a small enough stitch length regular printer paper will come off fairly easily too.
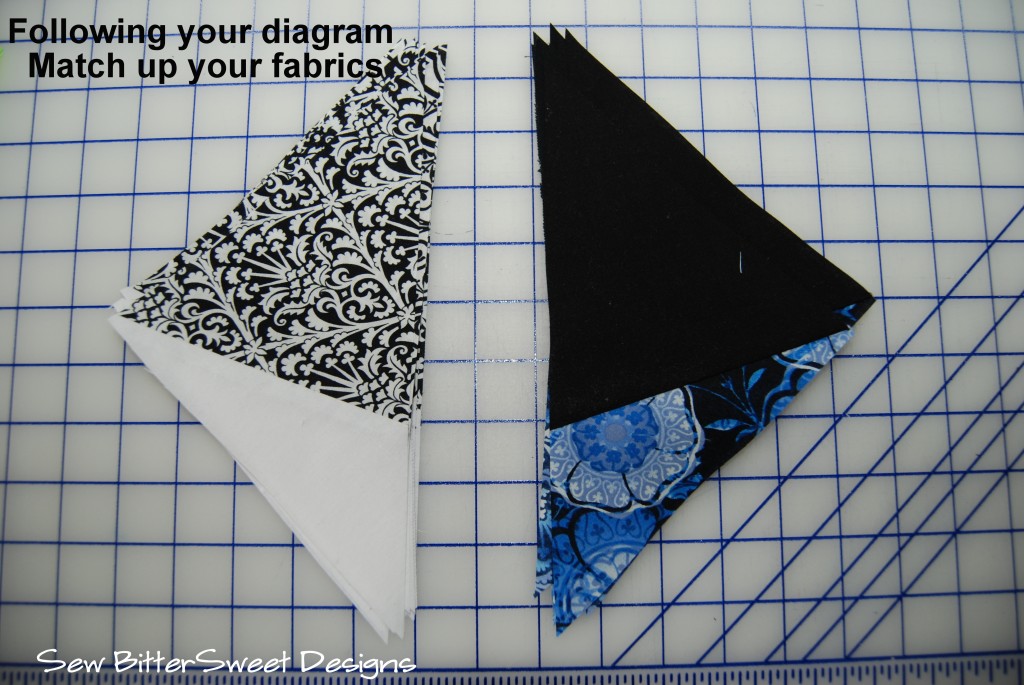
Next, pull out your diagram and match up your sections, place them in two piles – white pile and black pile.
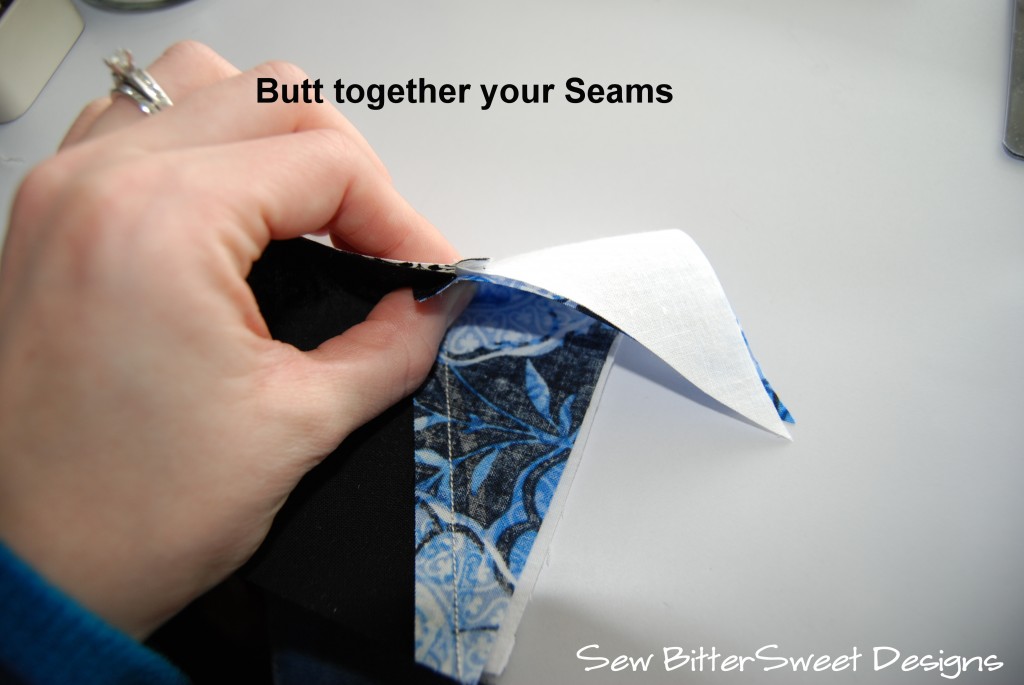
Remember how I had you sew your sections together in a VERY specific way…this is because it will make joining your sections super easy. Your seams will lock together.
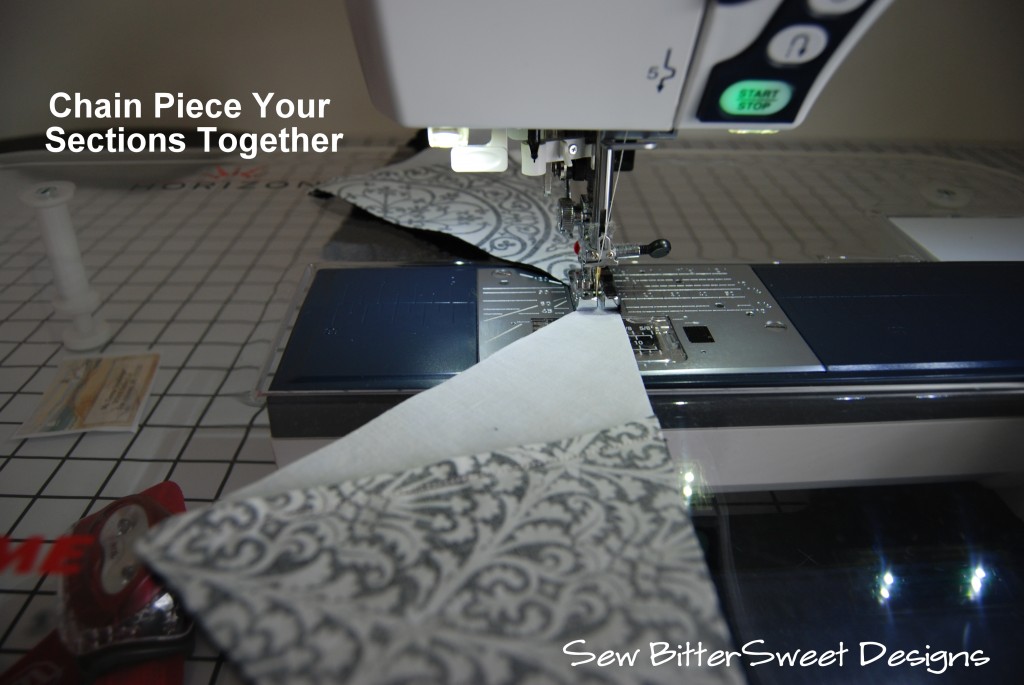
I love chain piecing, I think I have said that about 10 other times on this blog, and here again I am employing it. If you don’t already chain piece, I would highly recommend it! Saves lots of time!
You will have sixteen 6 inch blocks, I press mine open and trim the dog ears.
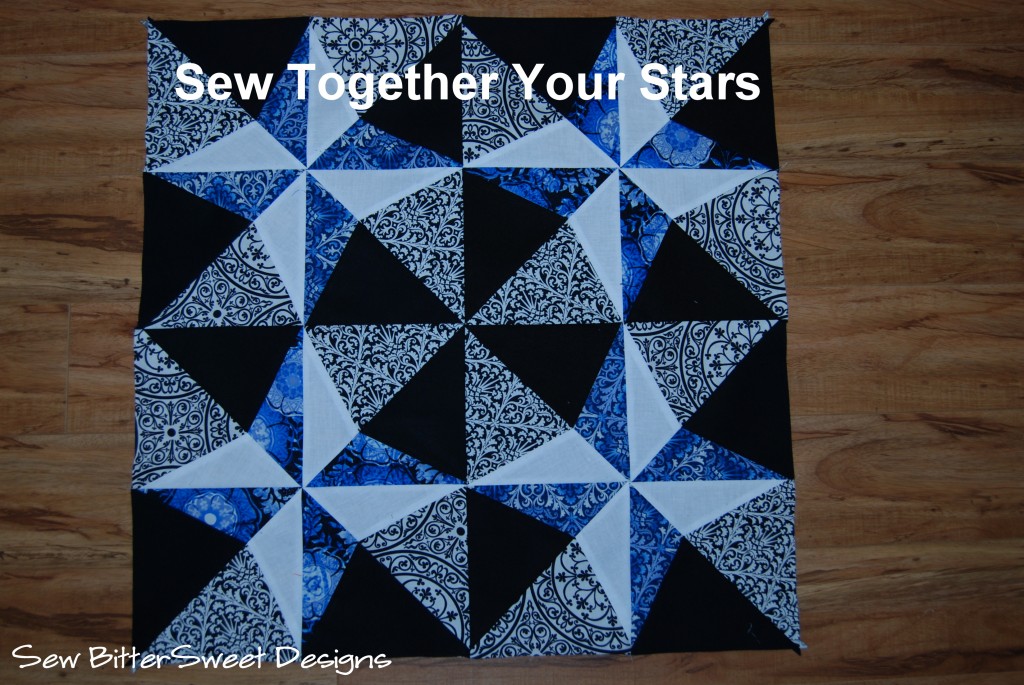
Next layout your blocks and sew your stars together.
NOTE: When sewing your squares into blocks – it is more important that seams match up rather than the squares fit perfectly together. The seams matching up (interlocking together) is what will give you the perfect star points!
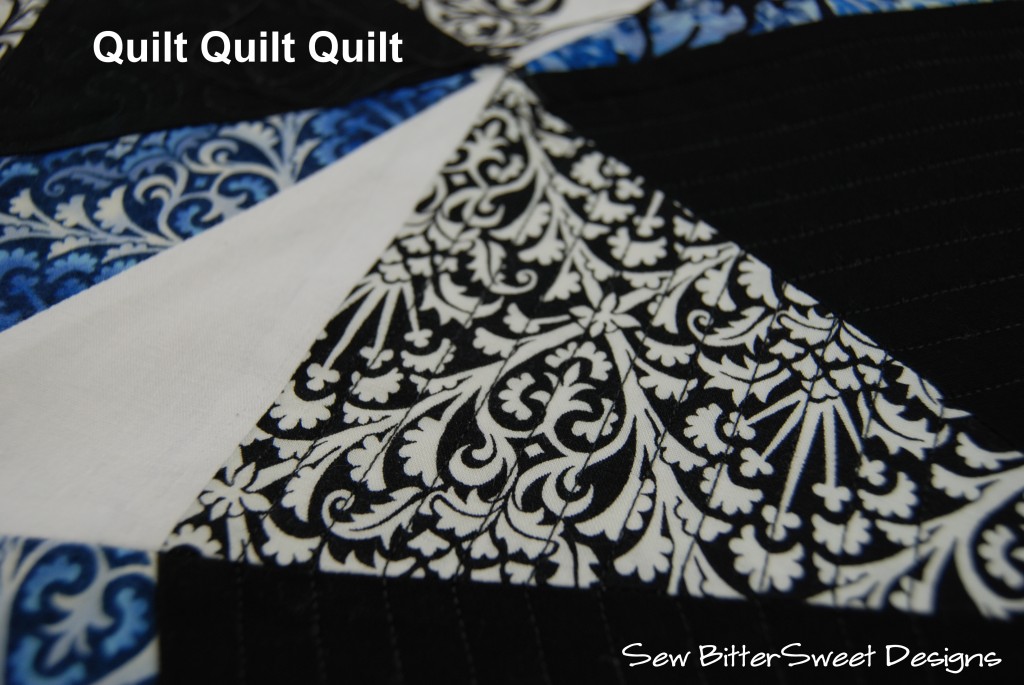
Time to quilt! I used black thread to quilt mine so it would blend in nicely. White would have stood out beautifully and made a great statement, but I wanted the quilting to blend.
You will need three strips for the binding in a solid blue. Feel free to follow my binding tutorial.
Bind and voila!
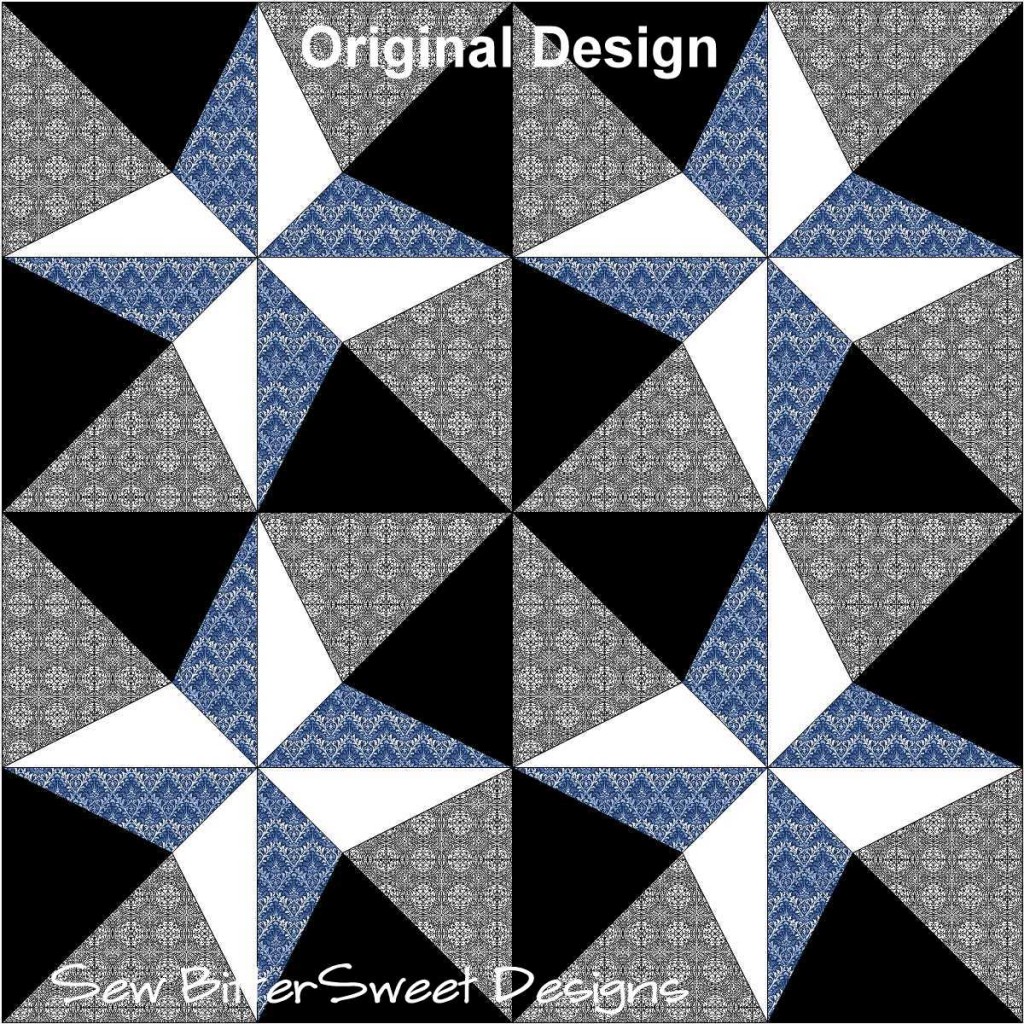
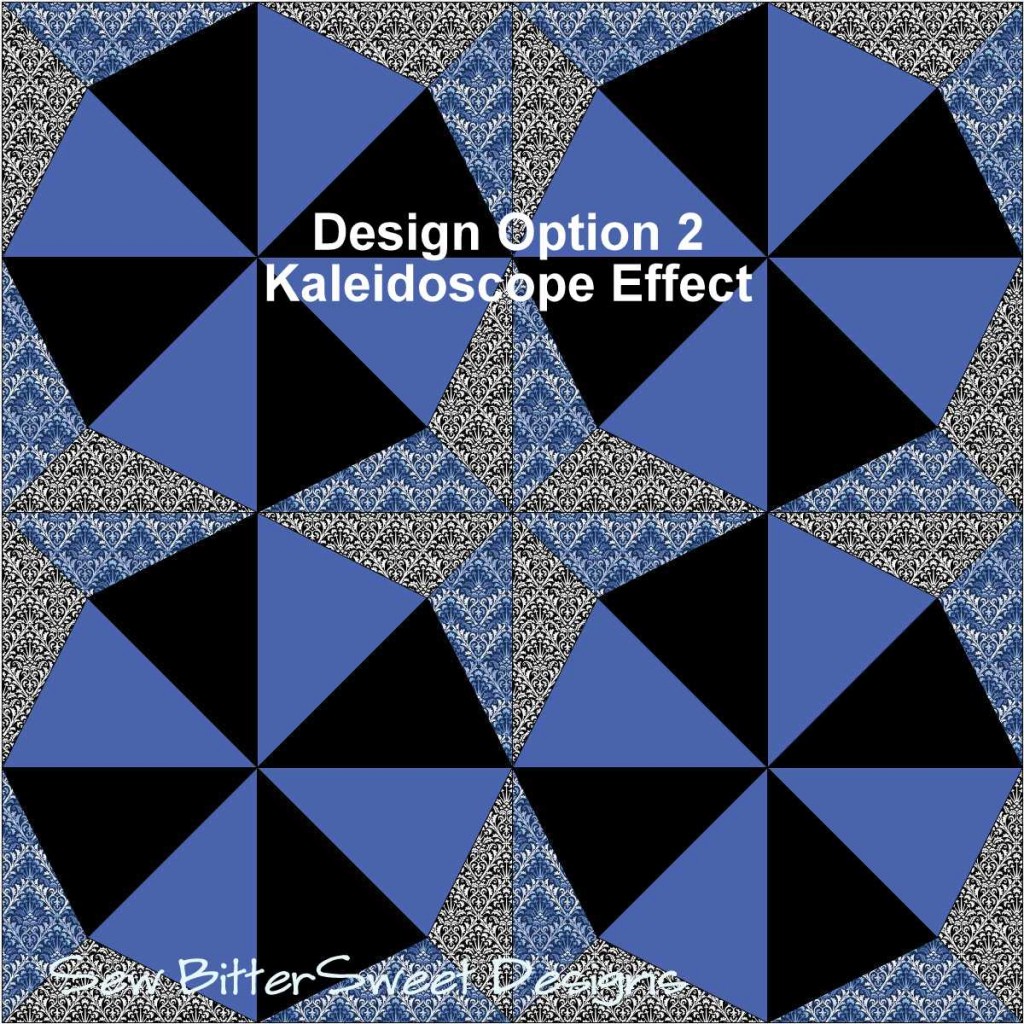
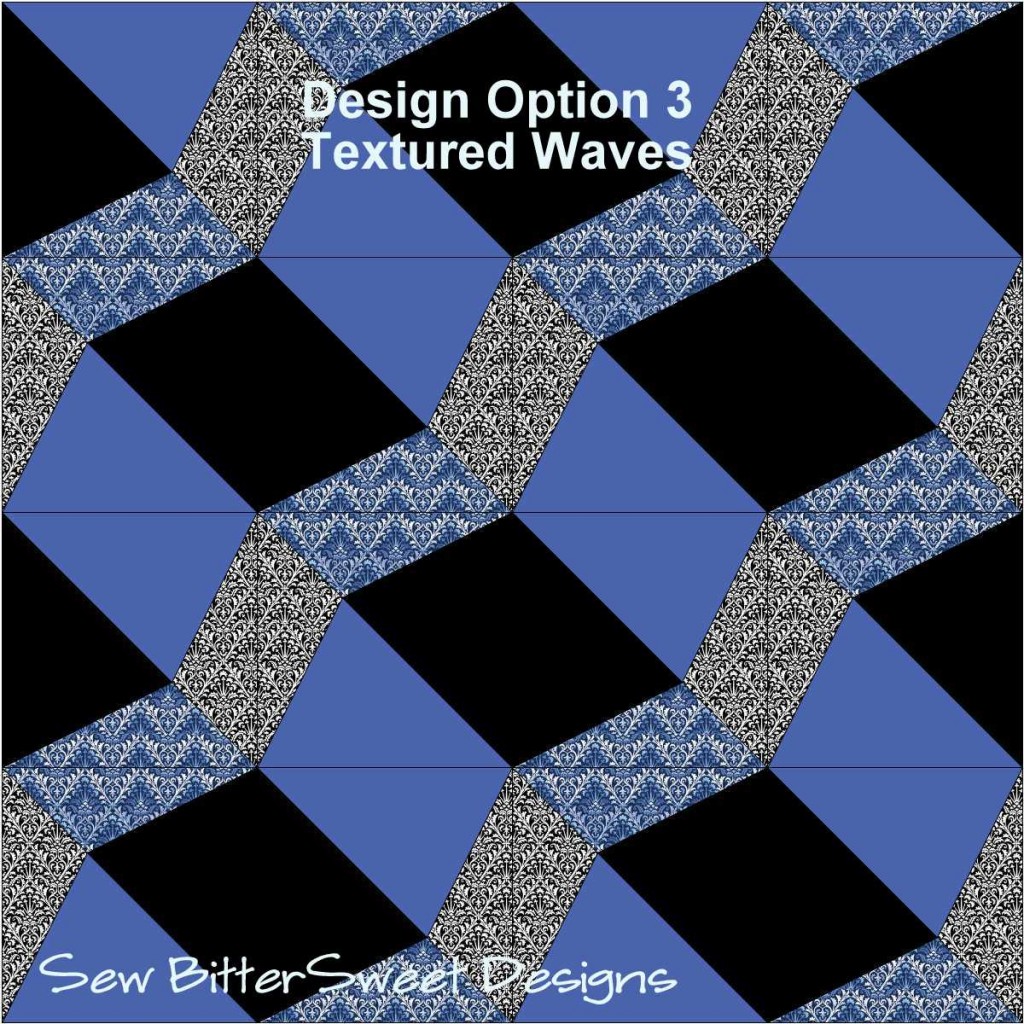
If you are not a fan of this particular design, here are a few other options, all made with the same paper pieced template and the same number of segments.
Enjoy! And if you end up making anything from one of my tutorials I would love to see it!
Make sure you enter to win the Fat Quarter Shop giveaway that I am hosting – you could win a Fat Quarter Bundle of Avalon AND a set of Carol Doak’s Foundation Papers.

Those are cute. I’m getting some things finished up and then I’m going to have to try these. I love paper piecing in general so this should be fun.
great secret weapon!!
Beautiful Melissa and thanks so much for sharing!
Quilting at the River Linky Party Tuesday
Ummmm….I thought we were suppose to see that headlamp modeled…. 😉
I especially love the last way of putting them together. I always like designs that make more than one possibility. The blue you used looks so great in the distance pictures, as if it’s flowing water. I didn’t realize until the close-up what kind of print it was!
great tutorial! I really love the colours
thanks for the down load
I agree with Susan! Melissa thanks so much for showing other possibilities! That’s especially good for those new quilters (like me). 😉
Love it! I’m so scared of paper piecing! That’s one thing I haven’t spent much time doing.