Welcome! Today is my stop on the Quilting Gallery Glorious Autumn Quilter’s Block Party and I can’t tell you how excited I am! I would like to take a moment and thank Michele for all of her hard work putting all of this together for us, due to her hard work of gathering some AMAZING designers there are 45 free block designs available for you! In addition to 45 new block designs, Michele has also arranged Quilter Super Deals, so make sure you head over to Quilting Gallery and check them out. While you are over there make sure you check out my Designer Profile, you can see a picture of the first quilt I ever made! I haven’t been able to share it before because I never took pictures until this summer!!!
On with the block making! My block is called Mirrored Diamonds (pdf of tutorial: Mirrored Diamonds Tutorial):
 The cool thing about this block is that in order to make one, you actually make two! Two blocks for the price of one!
You will start by cutting the following: (the fabrics on the left are for your QSTs, the fabrics on the right are for HSTs)
Next you will want to pair up your fabrics that will become your eventual Quarter Square Triangles (QSTs), prepare them for sewing by drawing a diagonal line corner to corner. Sew ¼” one either side of the line. Note: when you construct QSTs the first step is always to make Half Square Triangles (HSTs).
Time Saving Tip: Chain piece all of your HSTs and QSTs, and then snip them apart before you cut them in half!
Cut them along the line that you drew and press to the side. You will have 16 HSTs that are destined to become QSTs:
Next take your squares measuring 4 1/8” and draw a line corner to corner as you would for HSTs (for my block this is the solid orange and the stripe fabric pictured). Then you will want to center the already made HSTs (which will become your QSTs) on the square right sides together. You will want to make sure that you are making an X. The seam from your HST should cross the drawn line diagonally; you DO NOT want them to line up!!!
Sew ¼” one either side of the drawn line on the 4 1/8” square.
Note: I was using smaller measurements when I sewed these two blocks (4.25 for the QST fabric, and I found that going to a larger size made a world of difference). That is why mine seem a touch off, yours will not if you are cutting your QST fabrics to 4.5”.
Again, chain piece these to make the process go by faster, snip them apart, cut along the drawn diagonal and press to the side. Then you will be ready to layout your blocks!
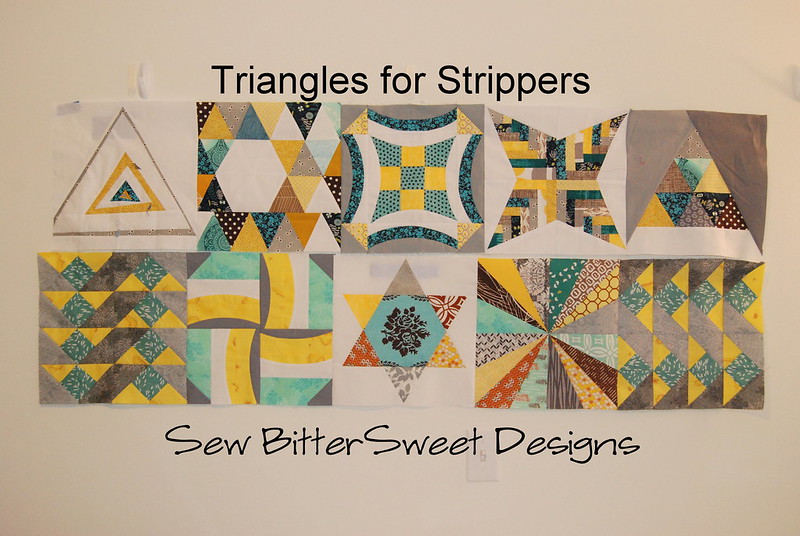
Not keen on this design, you can play with it and switch it up. There are endless possibilities. Here are 4 blocks I have made with this design.
 If you totally love the mirrored image design, here is an example of a quilt that could be made using the first two blocks pictured above:
 If you decide to sew this block, make sure you upload it to the Flickr Group so everyone can check it out!
Make sure you take the time this week to check out the other two amazing designers that are presenting block on Wednesday and Thursday:
Wednesday, Nov. 14
Soma – Whims and Fancies
http://www.whimsandfancies.com/
Thursday, Nov. 15
Mickey … It’s a Fiber Life
http://www.itsafiberlife.blogspot.com/
Now just for coming by and having some fun with me today! I have a fun giveaway for you! I am giving away 2 charm packs, so there will be 2 winners!

Enter using the Rafflecopter below and Good luck! I will leave this giveaway open until Monday, November 19, 2012 at 9 pm Pacific Time.
a Rafflecopter giveaway
Thank you so much for stopping by today!!!

 Here is the finished block, this was assembled using the Hex N More Ruler:
 Using your Hex N More Ruler cut the following pieces (Note: I am not demonstrating how to cut the individual pieces, the ruler instructions do an excellent job of that):
 For the 4 white sections, cut 8” x 3.5” white pieces and then use the 60⁰ triangle to cut on edge of each piece at a 60⁰ angle.