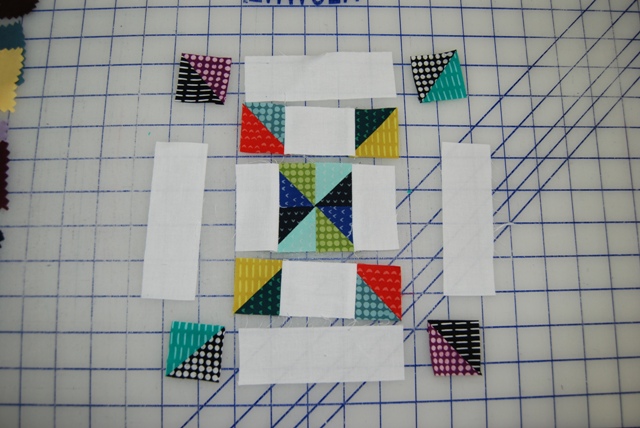
In light of several patterns I have coming out in the near future, I thought it would be a good time to put up a very simple paper pieced pattern with a picture tutorial. These techniques can be used on virtually all foundation paper pieced patterns (they do not work with English paper piecing as that is a different ball of wax entirely). So without further ado, print off the templates. Make sure your printer is set to print actual size and we will get going. Please note, there are many 5 point stars floating around on the internet, I drew this one in EQ7 because I did not feel it was appropriate to host anyone else’s templates on my site other than my own.
 Materials:
Paper Piecing Templates
White Scraps for Star
Blue Scraps for background
Fabric Glue
Basic Quilting Supplies
Preparation and Cutting:
Print pattern pieces and cut apart.
Paper Piecing:
Start with any section you like. The sections are labeled A, B, C and D
Before sewing lower your stitch length to 1.5 – this makes tearing the paper at the end easier.
Lay your template on top of your fabric, cut the fabric to be slightly larger than the template. Use a small amount of glue to secure the fabric to the paper. Note the back side of the template is secured to the back side of the fabric.
 Next fold the template back along the first sewing line and trim the fabric 1/4″ from the sewing line.
Next lay your second piece of fabric, right sides together on your first piece of fabric. Arrow is pointing to the edge where the first piece of fabric and second piece of fabric meet.
 Flip pieces so that the paper is right side up and sew along the line on the pattern. It is important to start sewing 1/4″ before the solid line and end sewing 1/4″ after the end of the solid line. This is your seam allowance.
Press the towards the mostly recently sewn piece.
Next fold the paper along the next seam to be sewn and trim to 1/4″ away from the sewing line. The dashed line is the trim line.
 Place next piece right sides together, lining up the trimmed edge. Sew along solid line as in the previous step.
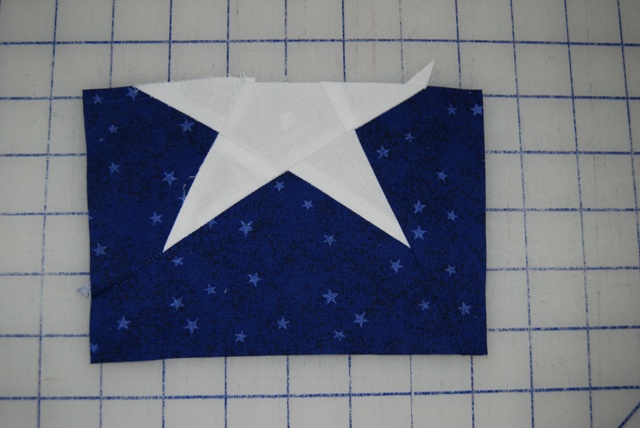
After all sections are pieced, trim each section. It is important to trim pieces 1/4″ bigger than the solid outer edge, please cut on the dashed line only.
Remove papers, crease along the stitching and gently tear away.
Piece section C and D together first. Match up the seam allowance and piece with a 1/4″ seam.
Next attach section B as pictured below. Don’t worry if the pieces appear a little wonky, there will be a final trim.
Finally attach section A.
Trim block to 6.5″ and you are done!

There are lots of ways to paper piece. This was the first way I learned and it is the easiest of all of them. Remember when paper piecing there will be a certain amount of waste, you just need to come to terms with that and be ok with it. It is just fabric after all! Other methods of paper piecing include the use of freezer paper, or a simple seam folding technique – which will perhaps become a tutorial at a later date. In the meantime, don’t let paper piecing scare you. Once you master this technique it opens a whole new world of quilting to you!