Superior Threads – King Tut
(Full Disclosure: Superior Threads provided me with samples of their threads and needles – the thoughts and opinions presented are my own)

King Tut was the first thread from Superior Threads that I ever saw. It was in their booth at the International Quilt Festival in 2002. The sheer number of colors and variegated colors is what first caught my eye. Then of course I got the chance to sew with it!
King Tut is advertised on the Superior Threads website as being “extremely low lint #40/3-ply extra-long staple Egyptian-grown cotton.” The low lint part is what attracted me to the King Tut thread – I have a lint problem – mainly because I sew with a lot of pre-cut fabrics (ie. jelly rolls, charm packs and layer cakes). According to the Superior Threads “Thread Reference Guide for Home Machines” – King Tut is recommended for quilting. I put King Tut through its paces on a project that required applique, quilting, and decorative stitching. As always before trying out a new product – I decided to start with the most ideal conditions: I cleaned out my machine using the same pipe cleaner technique that I did the last time.
 King Tut calls for a 90/14 Topstitch needle and a 3.0-4.0 Top Tension. It recommends using MasterPiece or So Fine for a bobbin thread – I ended up using the King Tut in my bobbin because I wanted the nice variegated thread on the back of the mug rugs too.
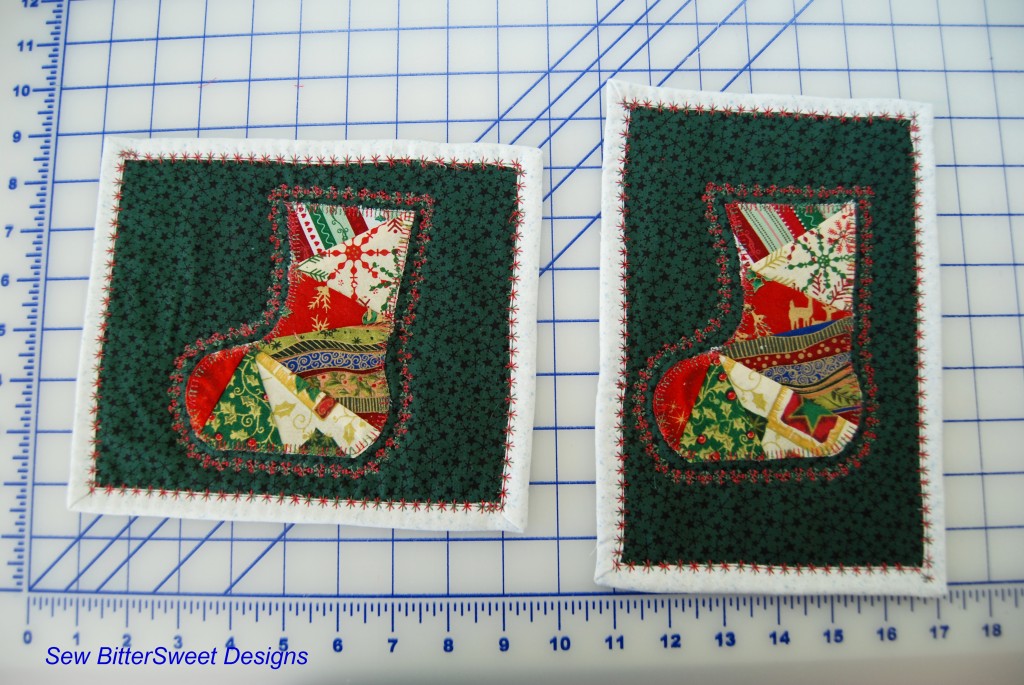
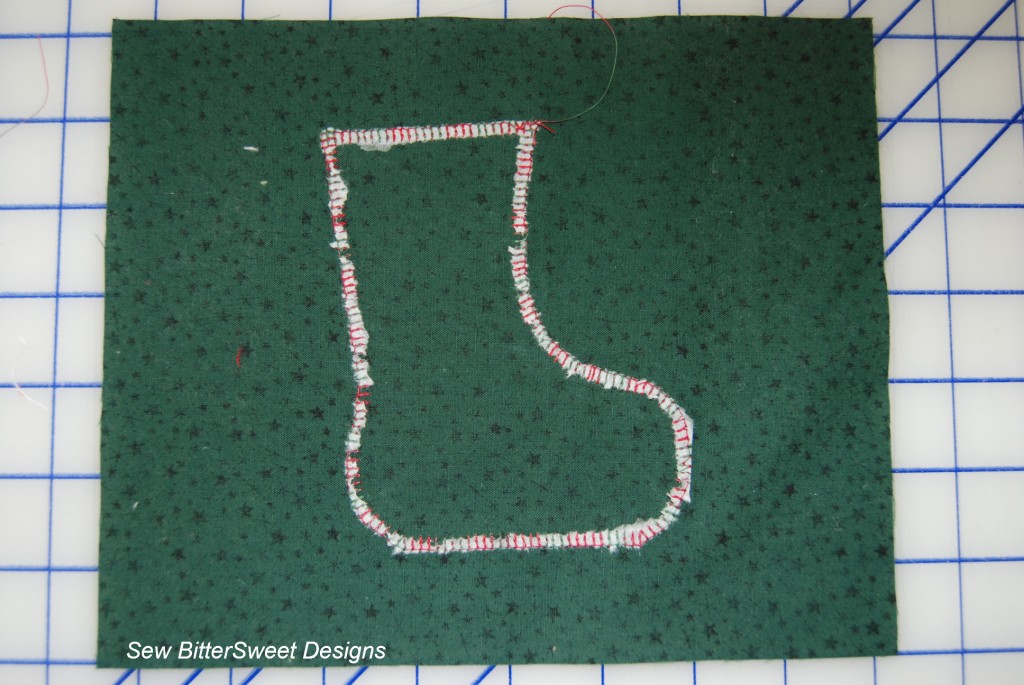
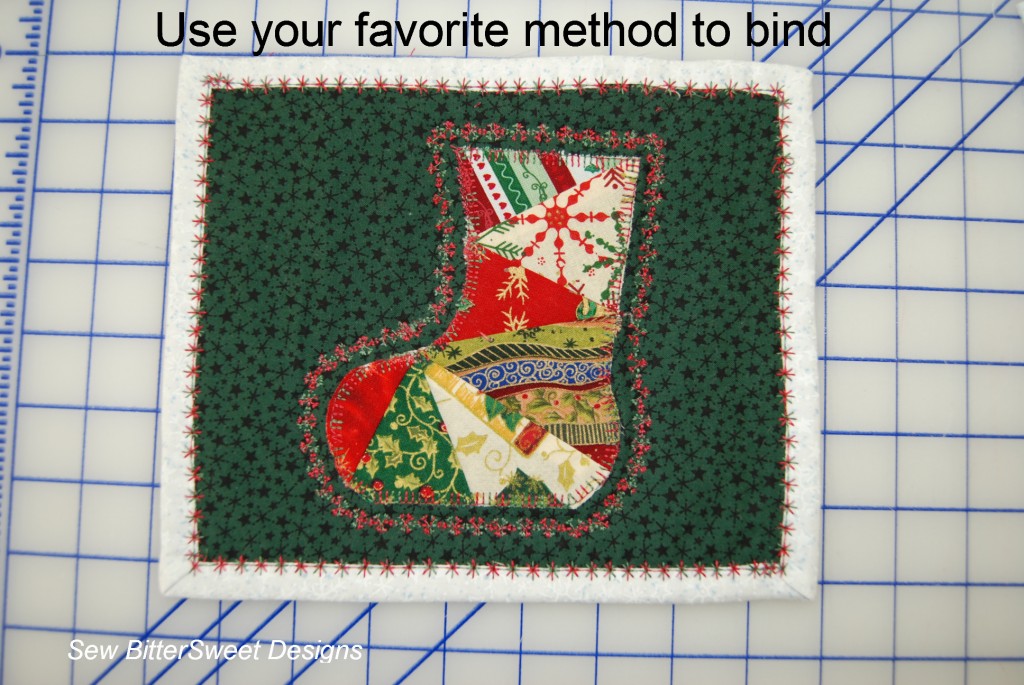
After I had my machine all set up with the ideal conditions suggested by Superior Threads – I got sewing. I started with appliqueing the stockings down, and I was really impressed with the thread, not a single break and the tension on the back was perfect.
 When I do an applique project, it is important to me that the thread blend well with my project – and it is also important that the stitching on the back holds up – I want these projects to wash well and if I have tension problems that will never happen. King Tut worked beautifully for my applique project.
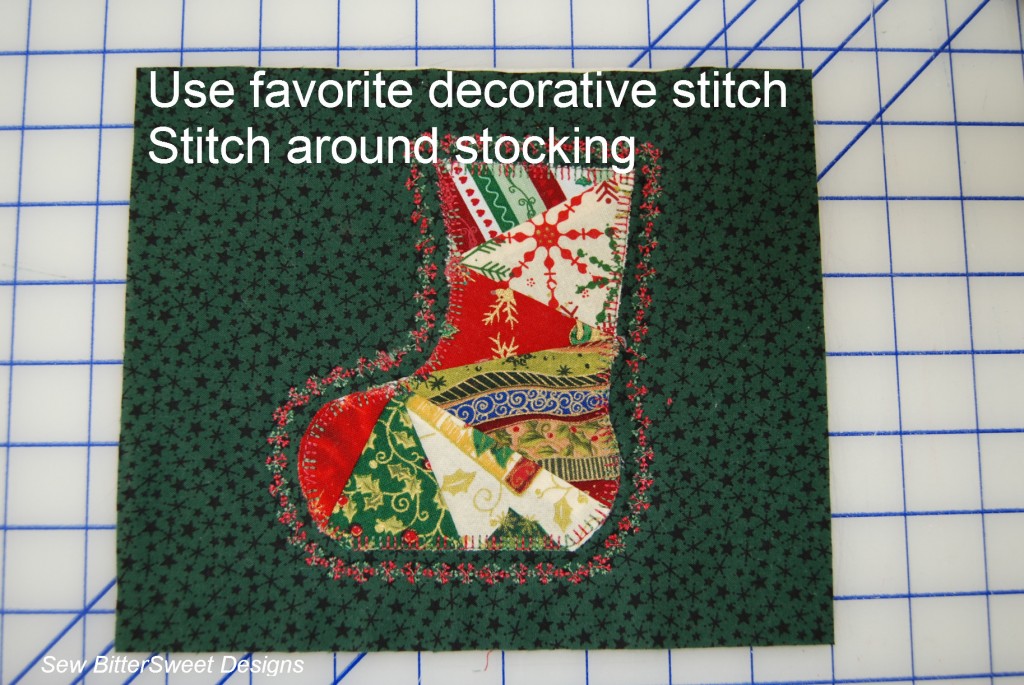
Next I decided to do a little quilting – I used a decorative stitch for quilting the mug rugs together – it is a snowflake stitch with lots of detail in it. I have had problems in the past with my thread breaking when doing decorative stitching in my quilting and I wanted to see if the King Tut would be able to stand up to the challenge.
 As you can see I did almost 100 repeats of the decorative stitch and I did not have a single thread break. I was sewing through 2 layers of fabric and a layer of batting.
The final test I put the thread through was seeing how it would hold up sewing on binding. This means it had to sew through 6 layers of fabric and a layer of batting.
 Again I used decorative stitch – which seems to put a strain on most threads and again, the King Tut held up beautiful, not a single fray or break.
Things I Noticed:
- Starting with recommended machine and needle settings make all the difference when working with a new thread – take the time to find out what those settings should be for any thread that you work with – if one isn’t recommended then maybe you should consider a different brand of thread.
- As with the MasterPiece Thread – there was virtually NO LINT – which is always a plus for me
- While King Tut is recommended as quilting thread, it also worked quite nicely for applique and for decorative stitch work.
- King Tut is a #40 thread and is strong and durable – this is important in quilting – it means the thread will stand the test of time. I make a lot of quilts for kids and I need a thread that can stand up to multiple washings and a toddler playing with the quilt. I believe King Tut will stand up to the toddler test.
- King Tut is readily available at my Local Quilt Shop – this is important to me, when I run out I can easily get more.
- King Tut comes in multiple size cones – you can buy a small amount when working with a specialty color variegated thread (like the Holly and Ivy I used in my project above), or you can buy 2000 yard cones when you know you will be using a lot of the same color thread.
- There are FIVE videos on the Superior Threads website for King Tut – the fact that education is offered for thread is outstanding to me. Anything that will help keep my frustration levels low when I am sewing is wonderful.
Recommendations:
- As with MasterPiece Thread – make life easy on yourself and take the time to put your machine on the right settings for the thread you are using. Sewing should be fun and if you are battling the thread and tension rather than working with it, it will never be fun!
- Watch the videos for King Tut thread and also on cleaning out your machine – I can’t stress enough how much better your machine will run when it is clean.
- If you want to try out the thread but are not really sure if you will like it – try out the “Try Me Specials” that Superior offers – it is a great way to try out a new thread and see if it is something that you will want to use in the future.
I have no improvements to offer Superior Threads on the King Tut thread – I like that it is so readily available and that it is offered in two different size spools. It is durable and strong, two of the most important things I look for when trying out quilting threads.
Do you use King Tut? What do you like about it? Do you have any improvements to offer?
Did you know that Superior Threads now has a daily deal that they offer? On their homepage and on their facebook page every day they advertise the deal of the day – and let me tell you it is always an awesome deal. Check it out!

PS. I have two active giveaways right now that you can still enter – my Blog Hop Party Giveaway and my SewMamaSew Giveaway!
NOTE: Don’t forget, I am one of the bloggers who is going to lose Google Friend Connect in March 2012, please take a moment and follow me via Bloglovin’, Facebook, RSS or networked blogs. You are important to me and I want to be able to stay in contact with you! Check my side bar for all the best ways to stay in touch after GFC goes bye bye!
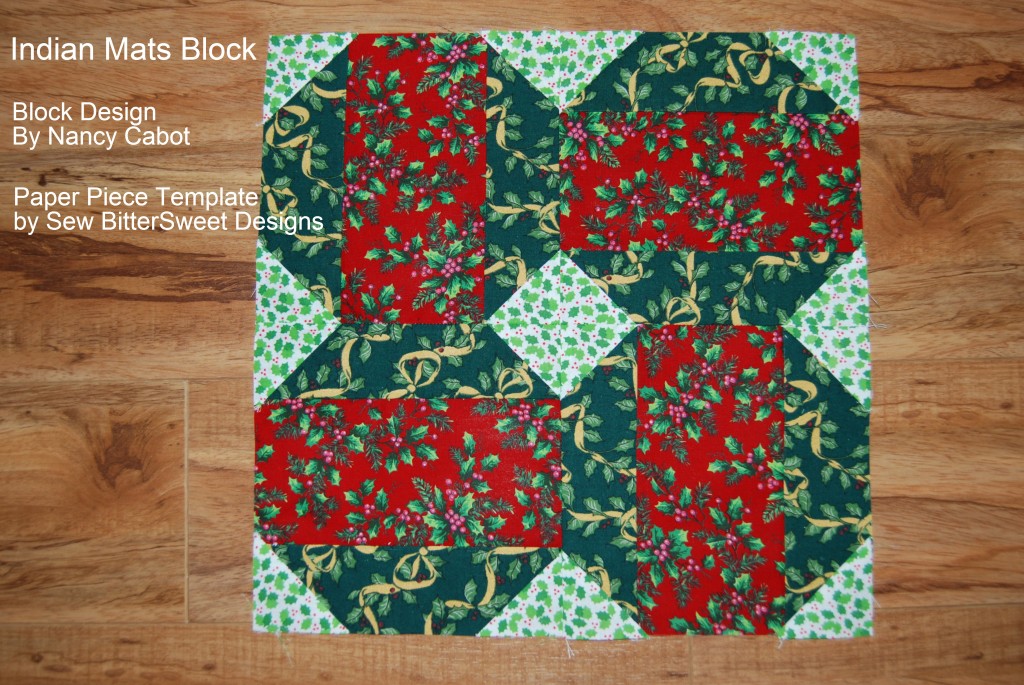
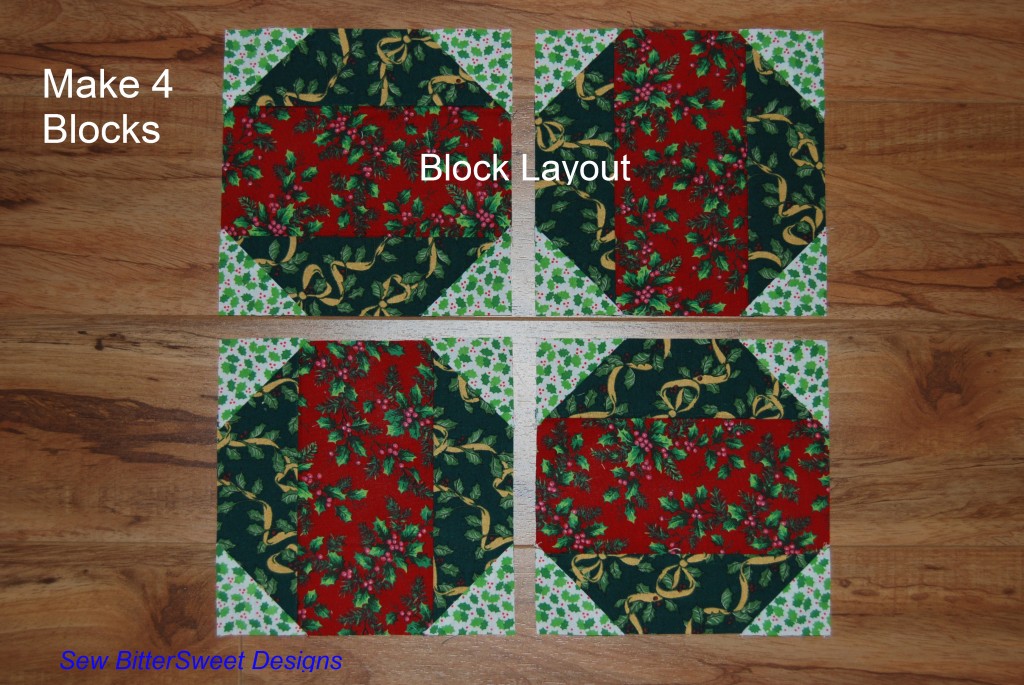
 This is the final block of the Vintage Christmas Sampler Quilt, if you have made it this far, CONGRATULATIONS! As of this post, all my blocks are completed but I have not finished the top. My plan is to border each block alternating between red and green solid and then sew the blocks together to make the top. I am certain this won’t actually happen until some time next year!
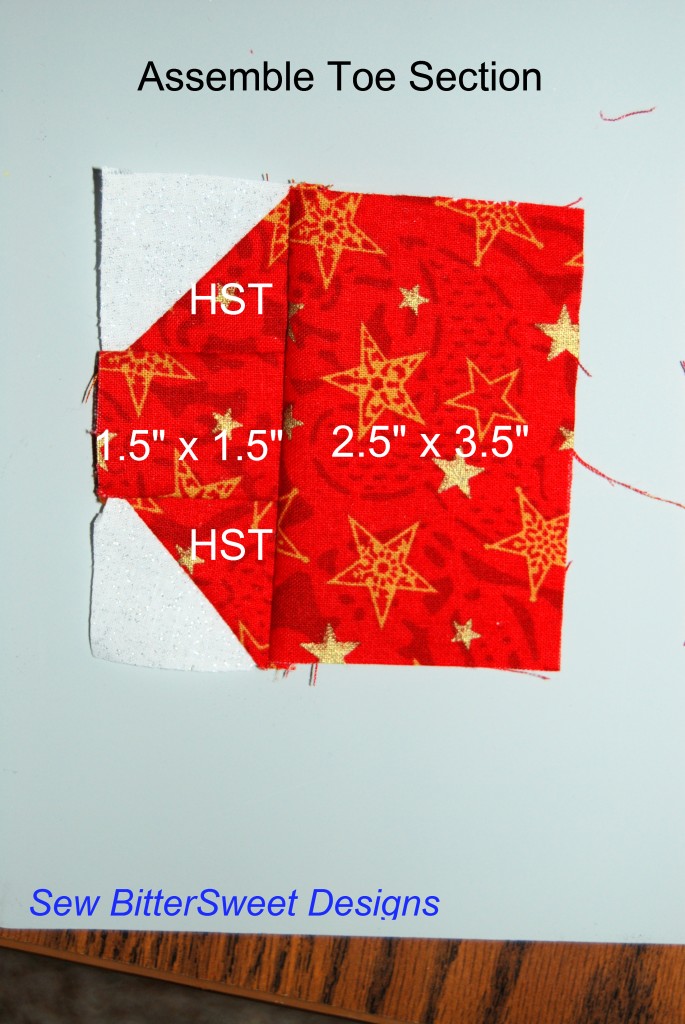
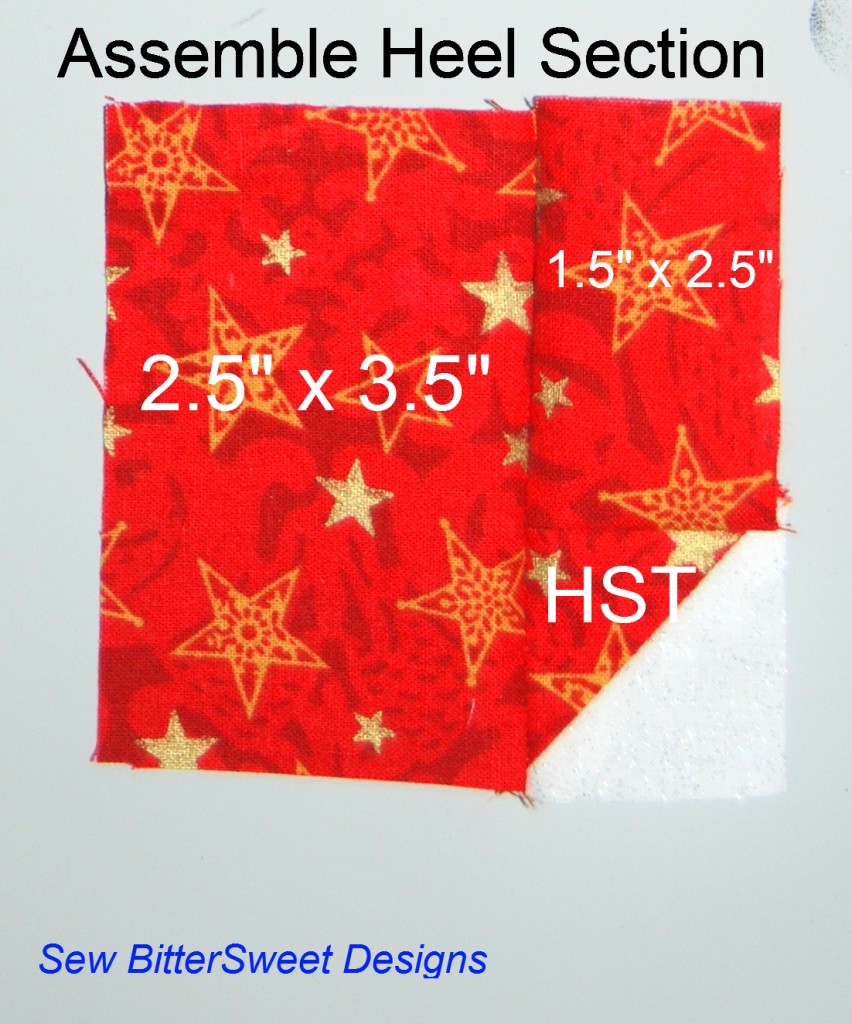
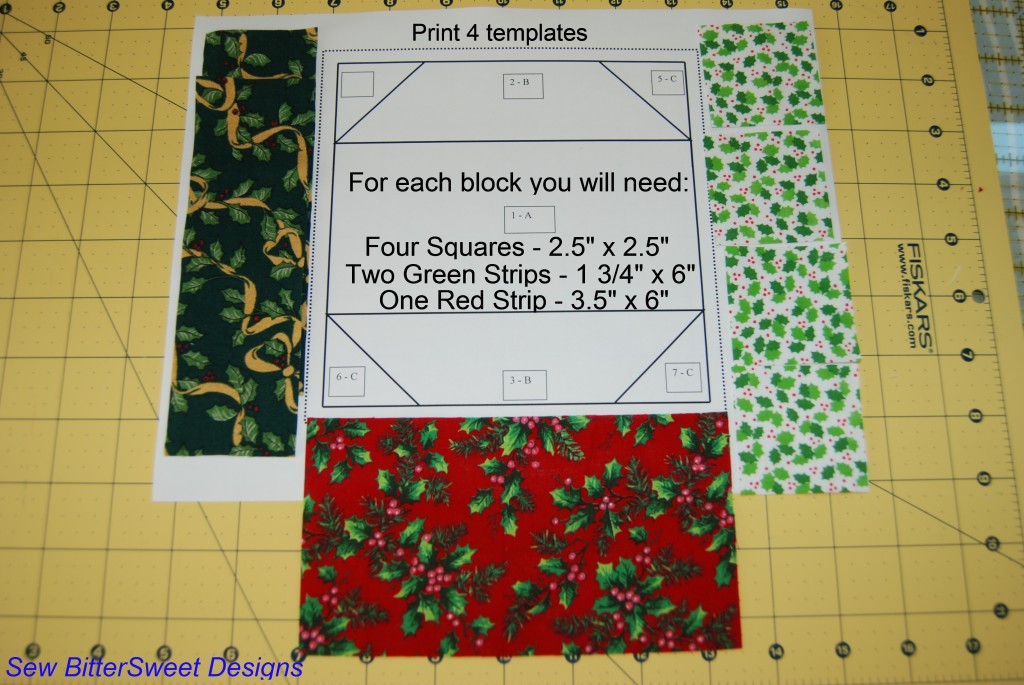
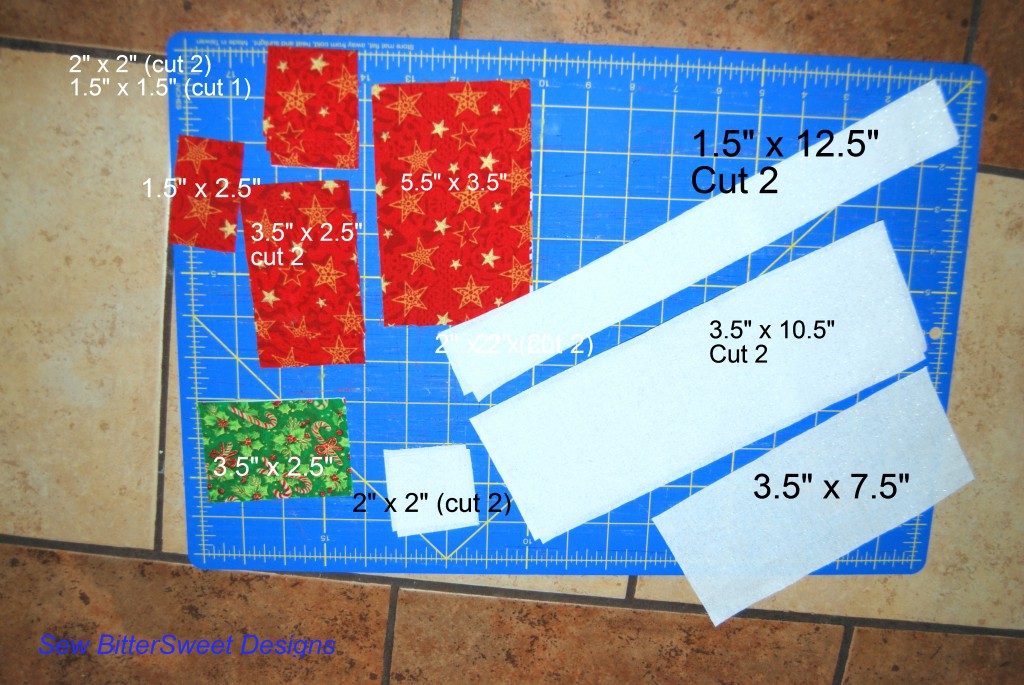 From red cut: two 2″ x 2″ squares, one 1.5″ x 1.5″ square, one 1.5″ x 2.5″ rectangle, two 3.5″ x 2.5″ rectangles, and one 5.5″ x 3.5″ rectangle.
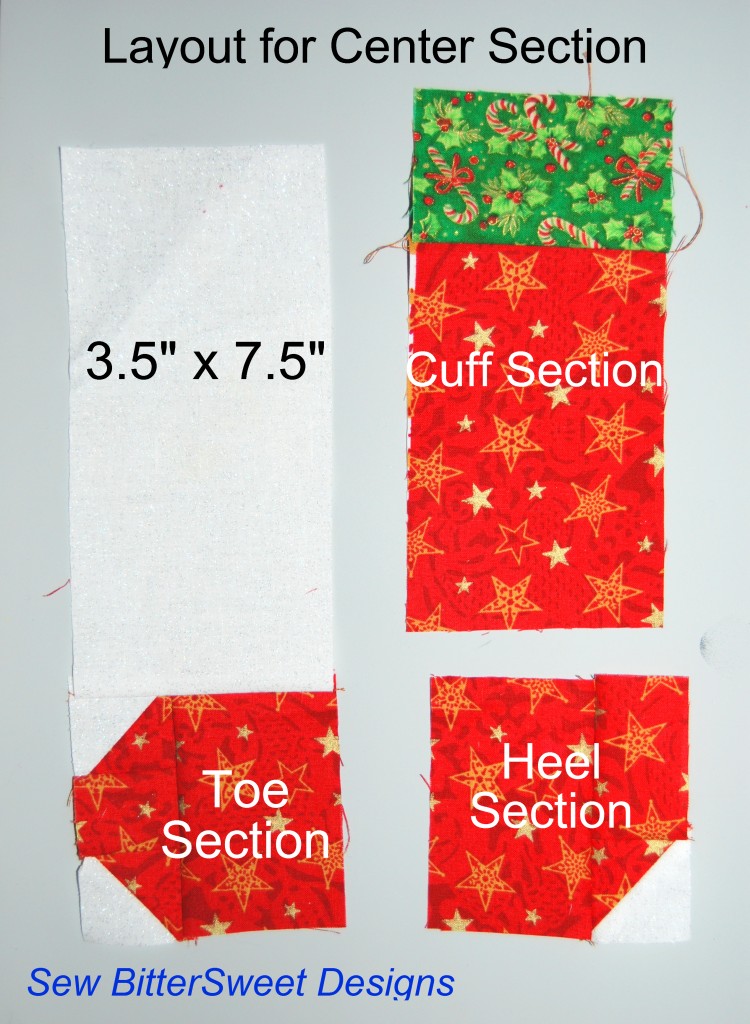
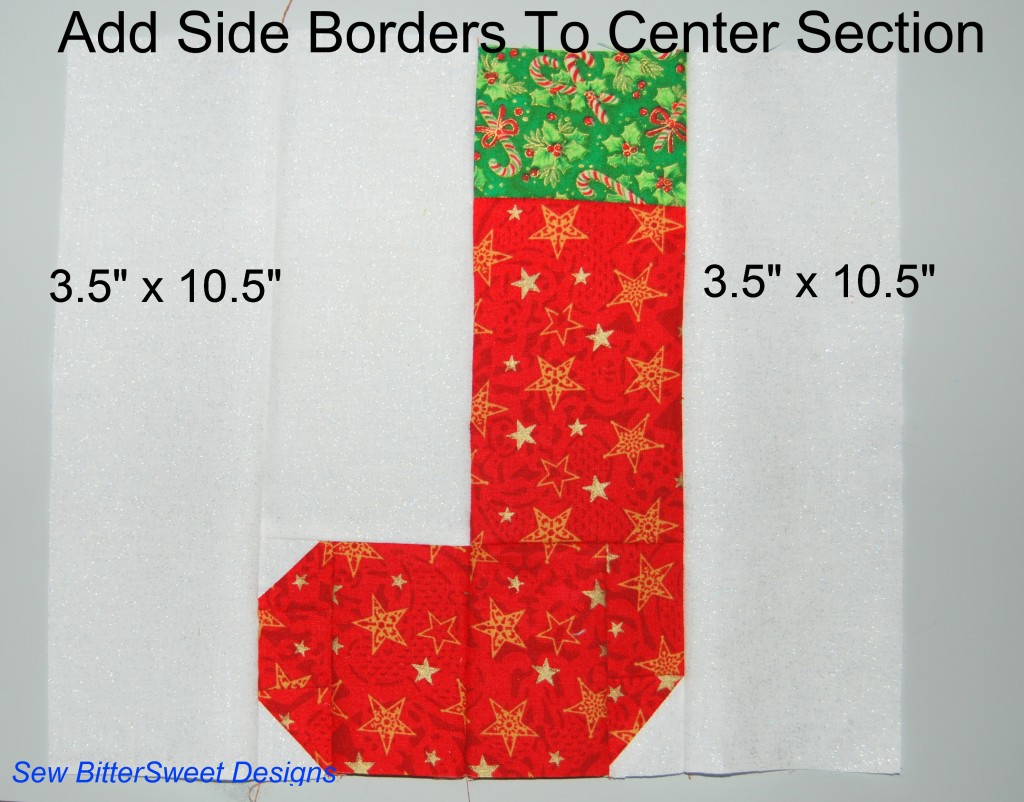
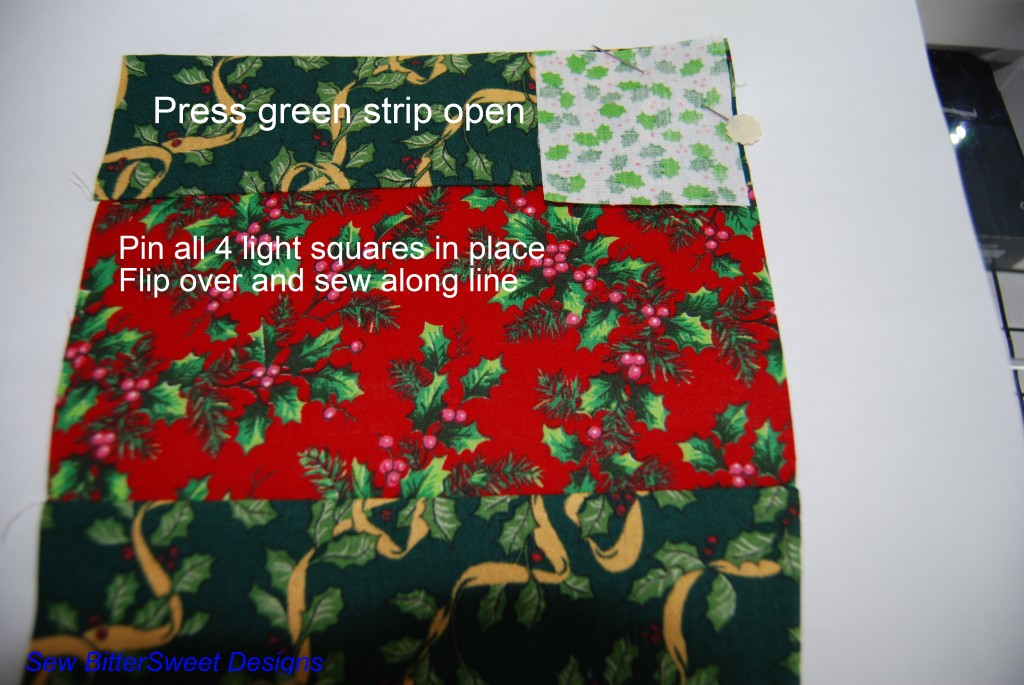
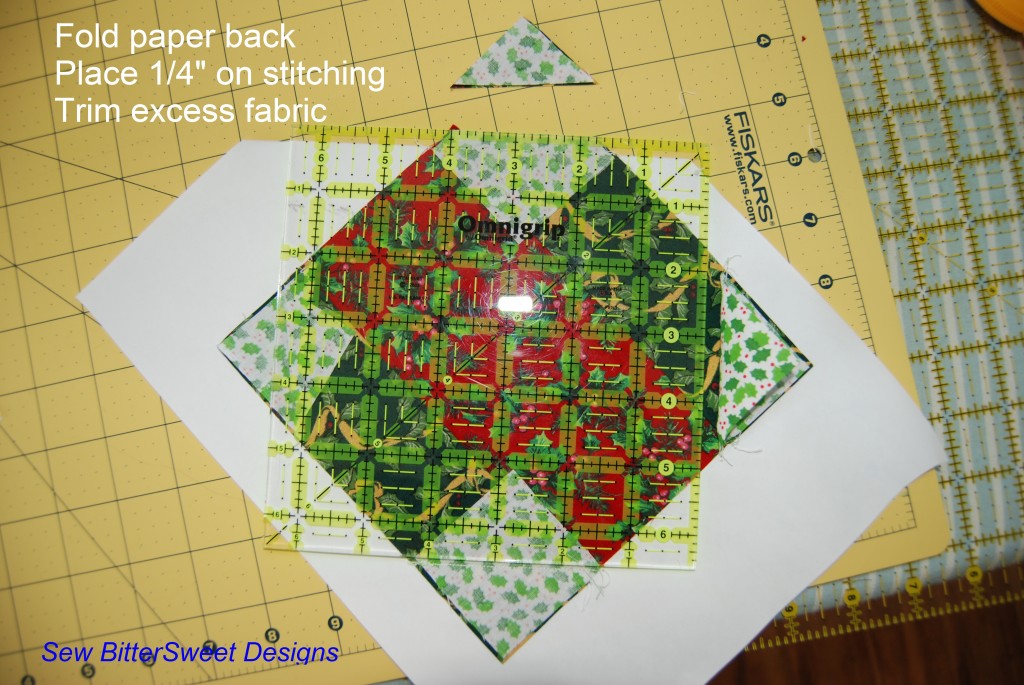
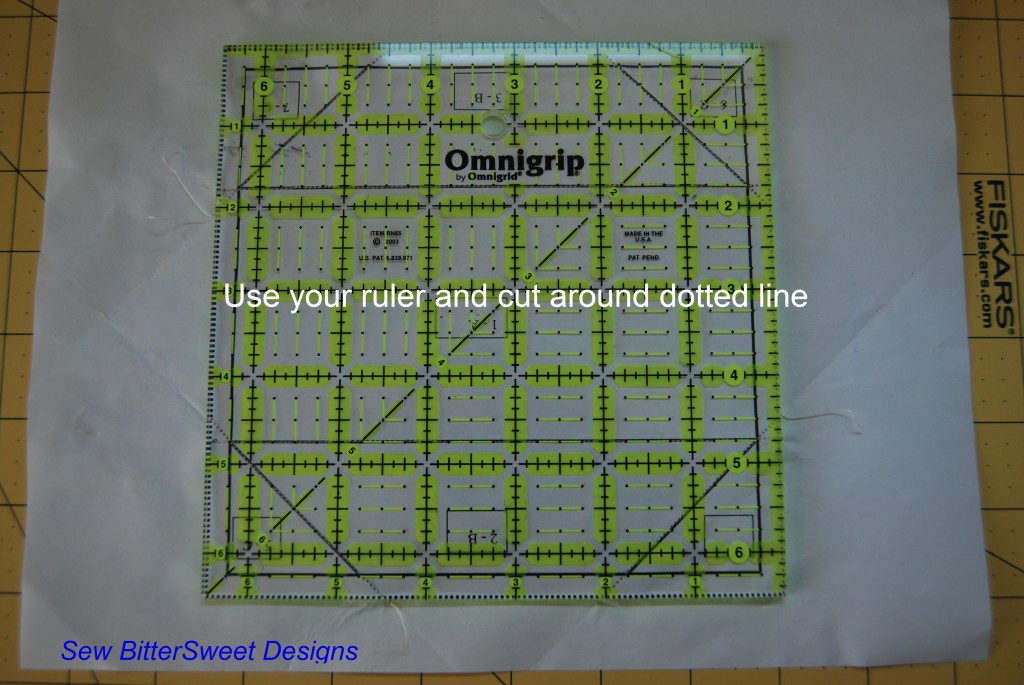
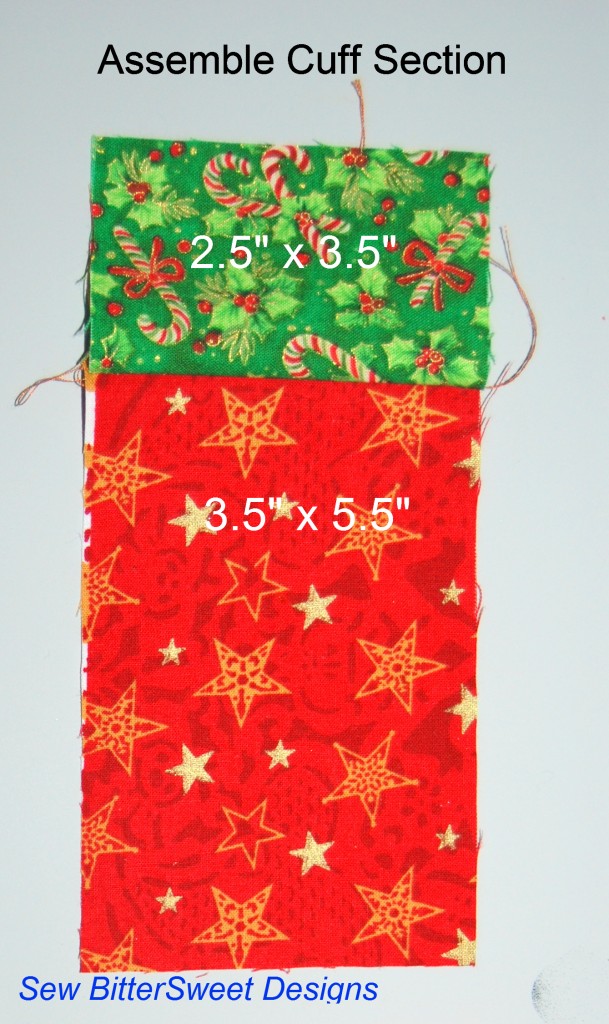 Next, assemble center section of block:
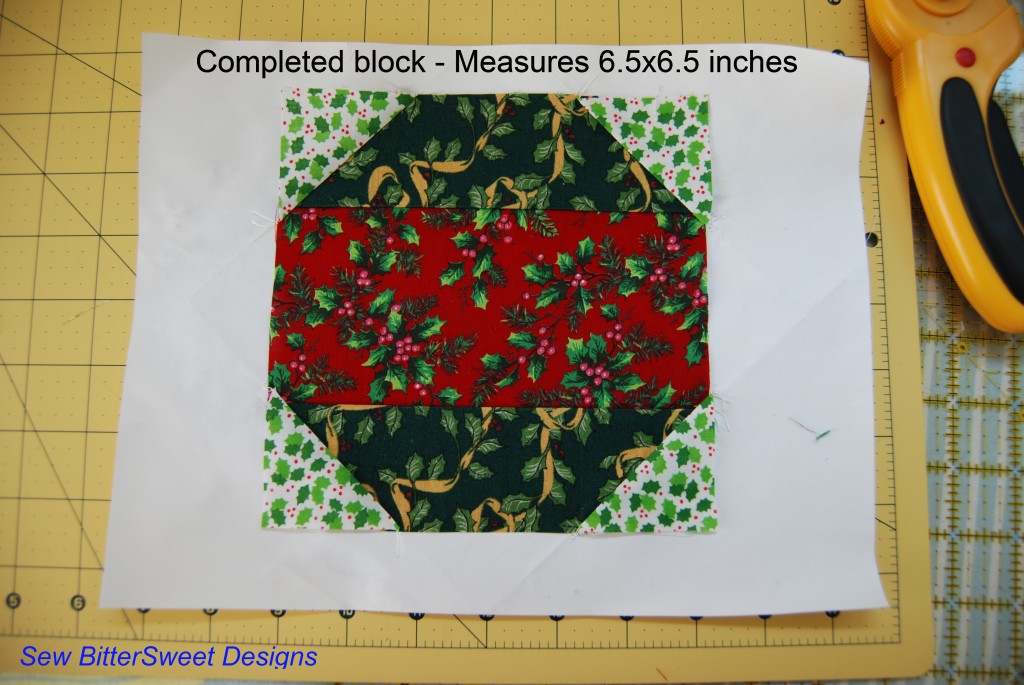
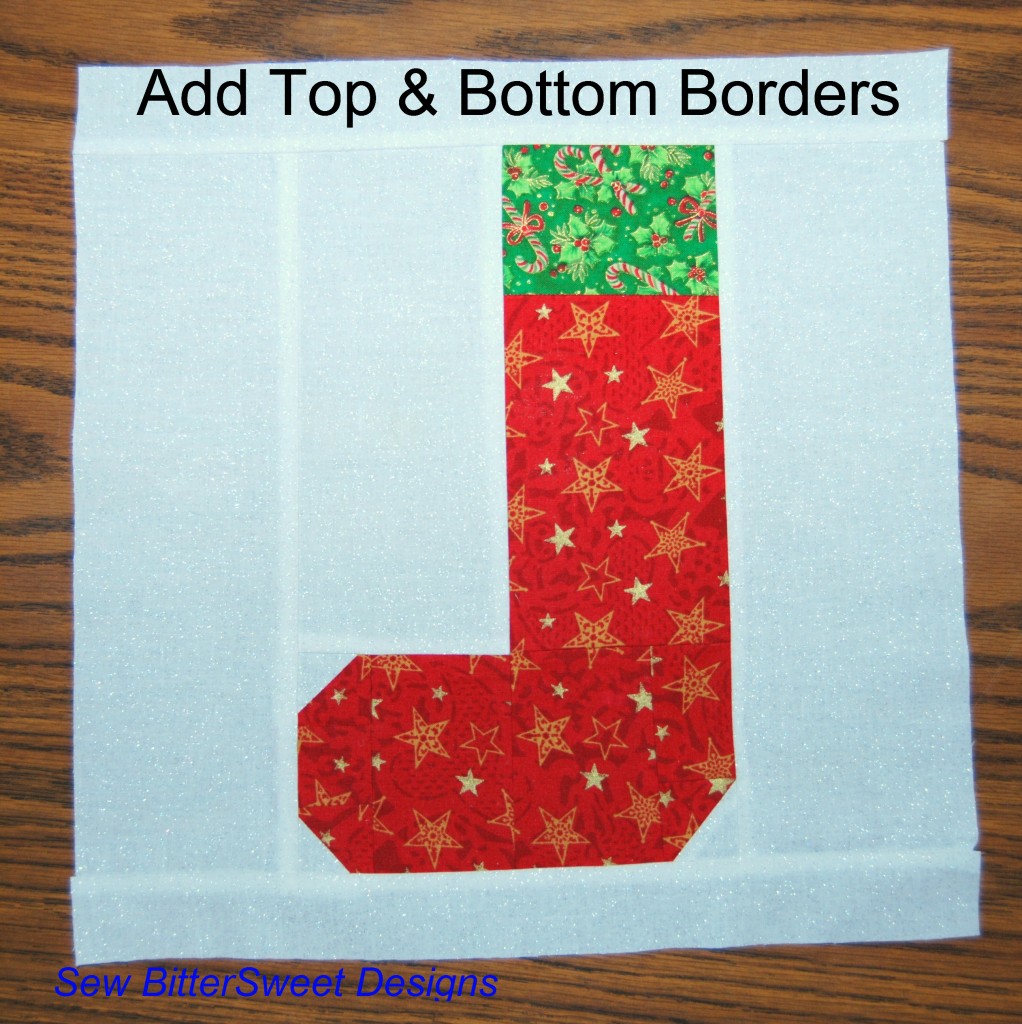 Congratulations! Another finished block! If you are like me and this is your last block then you have finished all the blocks for your quilt!
![]() NOTE: Don’t forget, I am one of the bloggers who is going to lose Google Friend Connect in March 2012, please take a moment and follow me via Bloglovin’, Facebook, RSS or networked blogs. You are important to me and I want to be able to stay in contact with you! Check my side bar for all the best ways to stay in touch after GFC goes bye bye!
NOTE: Don’t forget, I am one of the bloggers who is going to lose Google Friend Connect in March 2012, please take a moment and follow me via Bloglovin’, Facebook, RSS or networked blogs. You are important to me and I want to be able to stay in contact with you! Check my side bar for all the best ways to stay in touch after GFC goes bye bye!
