Author name: Melissa Dunworth

Owner/Operator

Thankful Thursday

Every day I try and take a few moments to reflect on several things in my life that are good and wonderful. This helps me on even my worst days to realize just how blessed I am.  There is a lot of good in my life, and while we do struggle with some issues – mainly health related in my family – I want to make sure that we spend time focusing on the good more than the bad.

Today I wanted to share with you a few of the things that I am thankful for and if you feel up to it please do the same with me.

Today I am thankful that I have a husband who supports my creative endeavors – it is so awesome when he takes the time to look at what I am working on and give me positive feedback and I especially love it when he throws in his 2 cents. You wouldn’t believe how many of his ideas are pure genius – I wish he would give me more of that, but I don’t want to push him.  I am blessed to have someone who does not freak out when I go to the fabric store – instead he likes to see what I bought and hear about my next project.

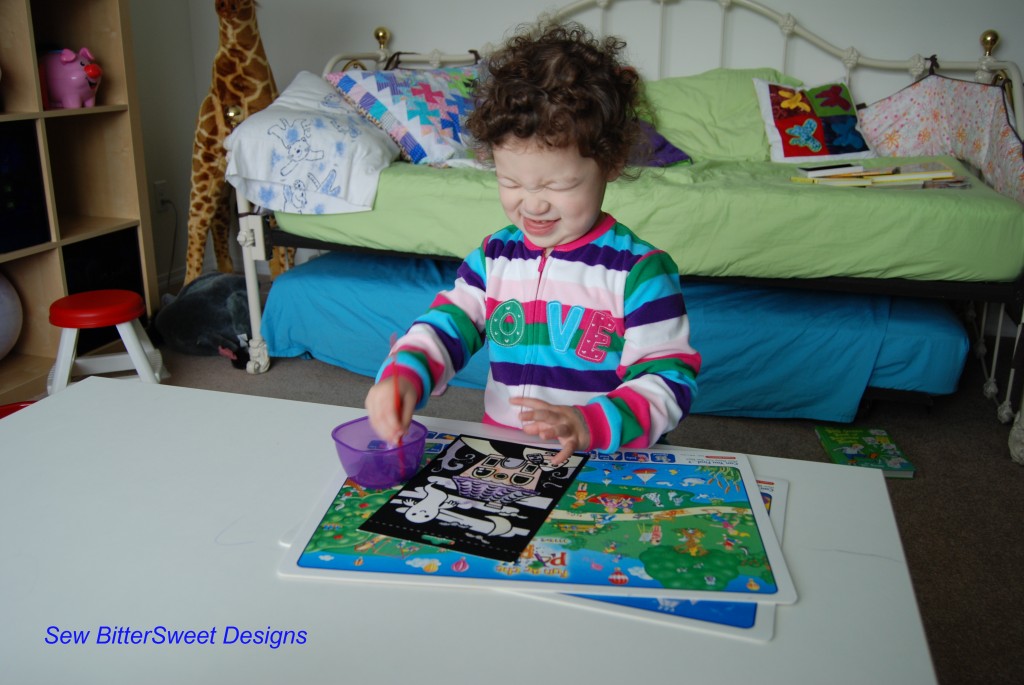
Today (and everyday) I am thankful for Anne, at 2 years old she is already showing an immense interest in art – painting, drawing, sticker art – you name it!  I love that she shows off her creative side regularly.

Can you tell she loves to paint?

Oddly enough, today I am thankful that my neighbors dog woke up me. I know – totally weird!  However, if the dog hadn’t woken me up I may have overslept seeing as I don’t use an alarm clock and I may have still been sleeping when Anne got up (coincidentally as I write this she is still asleep – baby girl had a rough night last night).  Even the obnoxious barking dog has a place in my life today.

I hope you have a wonderful Thursday – be sure to come by tomorrow AND Monday – I have a couple of really fun and exciting surprises in store for you!

NOTE: Don’t forget, I am one of the bloggers who is going to lose Google Friend Connect in March 2012, please take a moment and follow me via Bloglovin’, Facebook, RSS or networked blogs.  You are important to me and I want to be able to stay in contact with you!  Check my side bar for all the best ways to stay in touch after GFC goes bye bye!

Monkeying Around

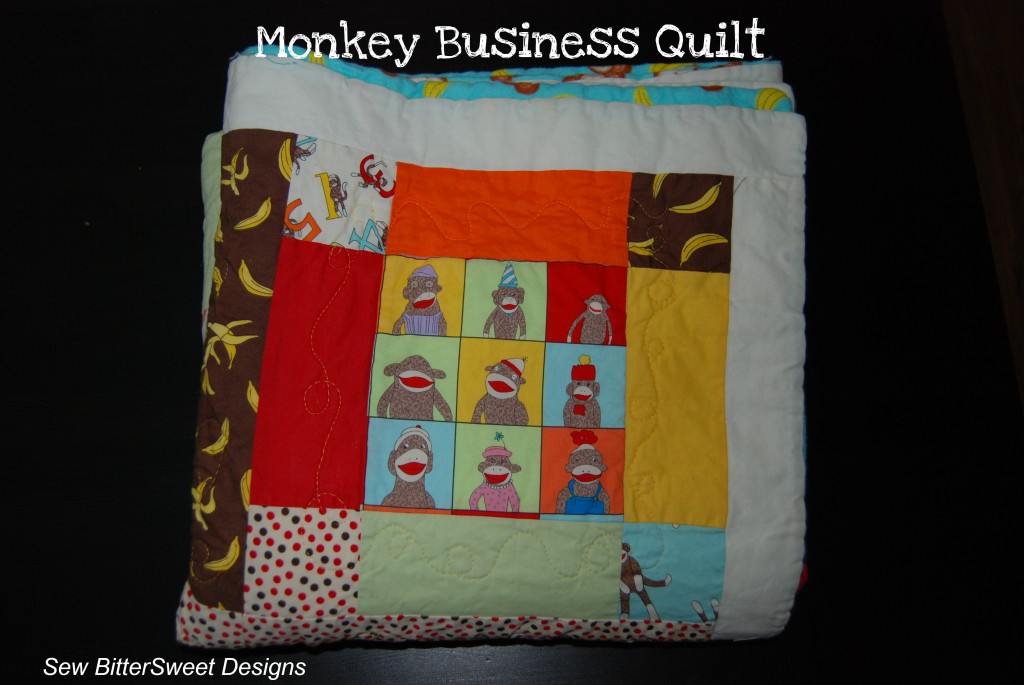
The past few days I have been monkeying around in my sewing room working on my last “official” Christmas present and I am delighted to say that it is DONE!

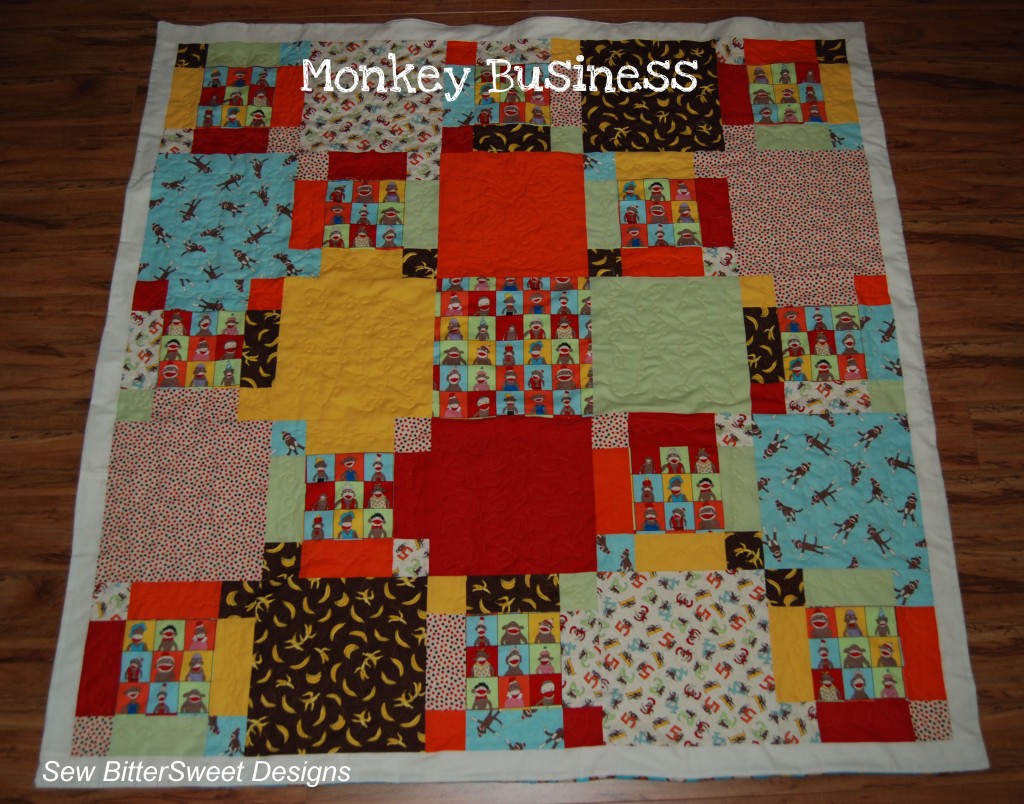
Here is a wide shot of the entire quilt – this is minutes after I finished sewing it – no ironing or washing yet. You may notice that there is no binding on this quilt – I decided to do the quick turn method because I did flannel on the back and quilting cotton on the front.  It was nice not having to bind a quilt for once!

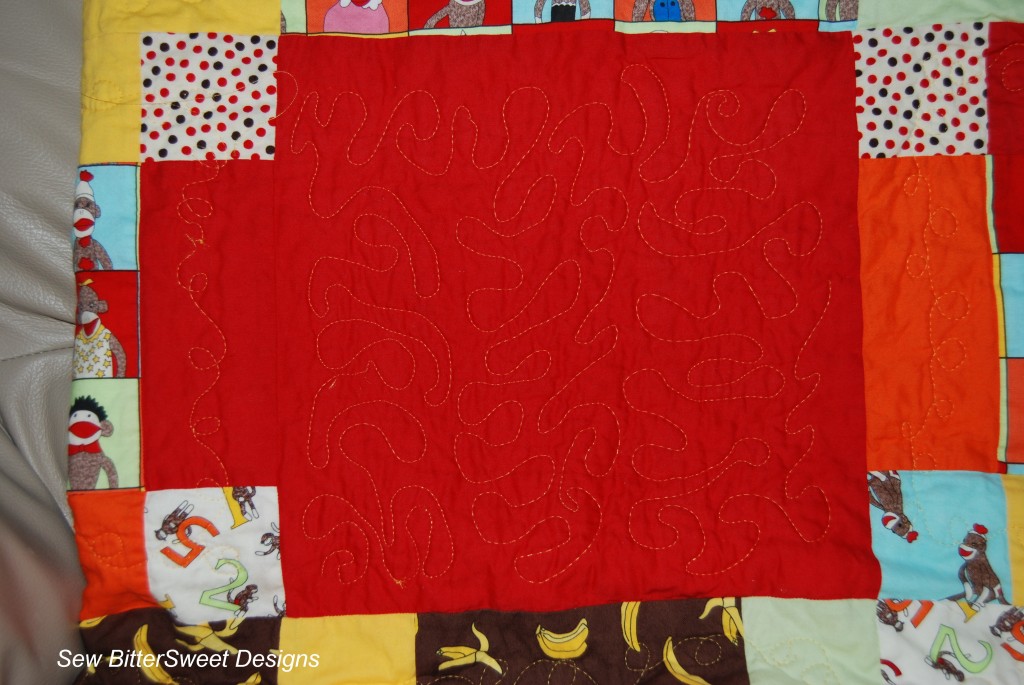
This is the first quilt that I did Free Motion Quilting on my new Horizon machine. I did swirlies around the nine patches and each of the large 12″ blocks I just did a random meandering. I wanted to play around as much as possible in each block to really get a feel for it. Here is a picture of my favorite square – I am pretty pleased with how it turned out – but I know I have a lot more to learn when it comes to FMQ!

Quilt Stats:

Measures: 60 x 60 inches

Front Fabrics: 5 Funky Monkeys by Erin Michaels for Moda & cooridnating solids

Backing Fabric – flannel monkey & banana print from JoAnn’s

Quilting – Free Motion Quilting

Thread – Bottom Line by Superior Threads

This is one of my original designs 🙂

My nephew just turned 1 and I think he is going to love this. I have made baby quilts for all three of my nieces and nephews. My newest niece is 9 and I just bought fabric to make her a quilt for her birthday. I want her to feel special and included and I can’t think of any better way than to make sure she has a quilt just like her brother’s and sister.

Happy Wednesday!

NOTE: Don’t forget, I am one of the bloggers who is going to lose Google Friend Connect in March 2012, please take a moment and follow me via Bloglovin’, Facebook, RSS or networked blogs.  You are important to me and I want to be able to stay in contact with you!  Check my side bar for all the best ways to stay in touch!

How do you bind your quilts? A few tips

I have been quilting for about 10 years now and until October I have always bound my quilts the exact same way each time. I have cut 2.5 inch strips, sewn them together, folded them in half, sewn them to the front of the quilt and hand sewn them in the back. A couple of times I have skipped binding all together and just used the quick turn method (which really ISN’T that quick if you ask me!).

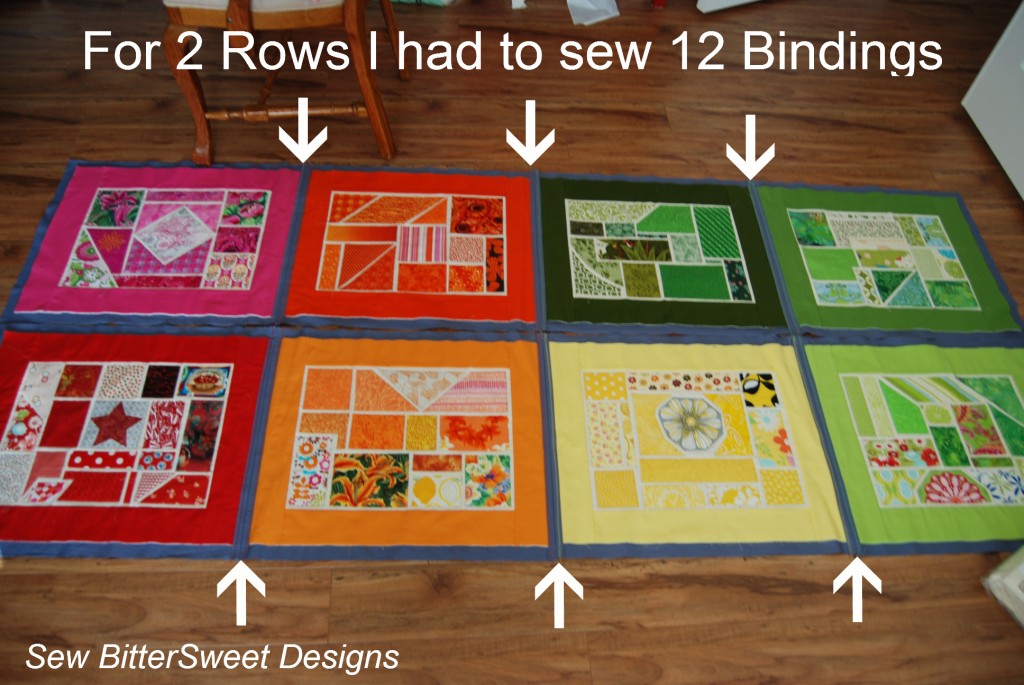
In October, I started working on Bottled Rainbows and I decided to do it as a quilt as you go project. This meant that instead of just having a binding around the outer edge of the quilt blocks, I had a binding around each block – that is 16 individual bindings…which is A LOT of hand work for someone who has arthritic hands.

Solution for tired hands:

When I blogged last week saying that the Flora quilt would be the first time I machine stitched a binding – I had actually forgotten about the Bottled Rainbows quilt – mainly because in the QAYG technique this is considered to be sashing – even though it is really the exact same method as binding.

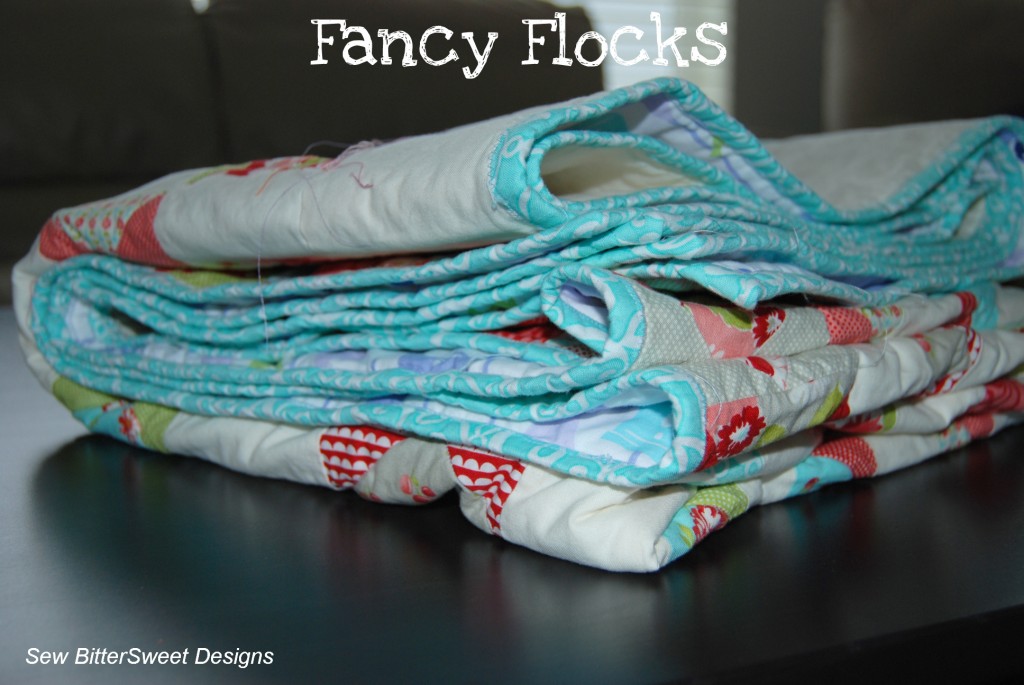
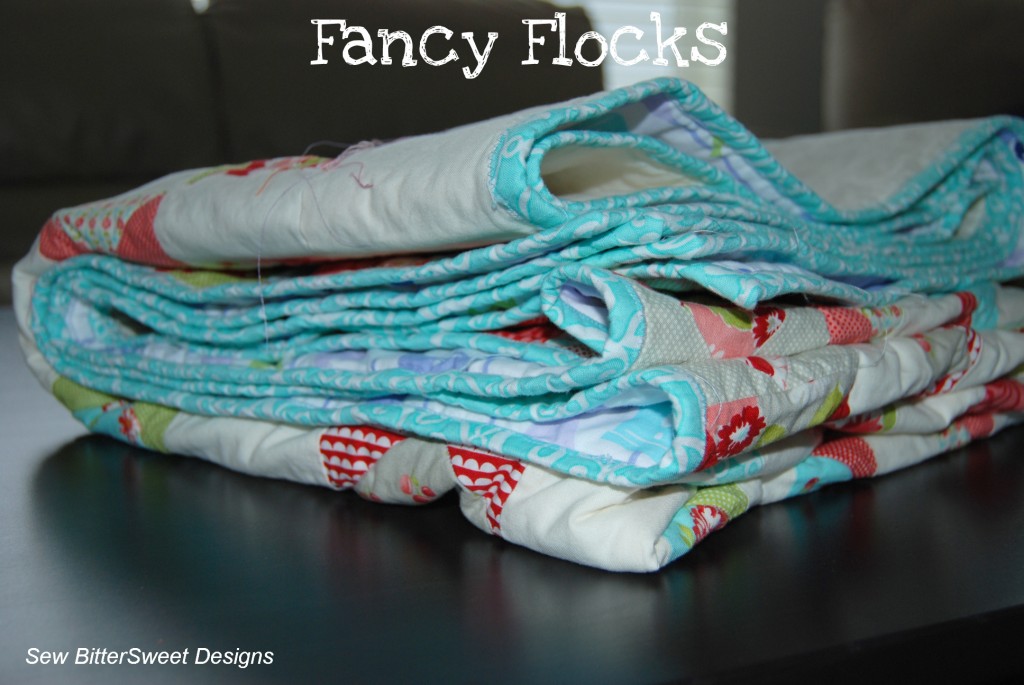
I don’t have a great pictures of the binding on Fancy Flocks, you can kind of see in this picture that I just did a basic zig zag stitch on the binding.

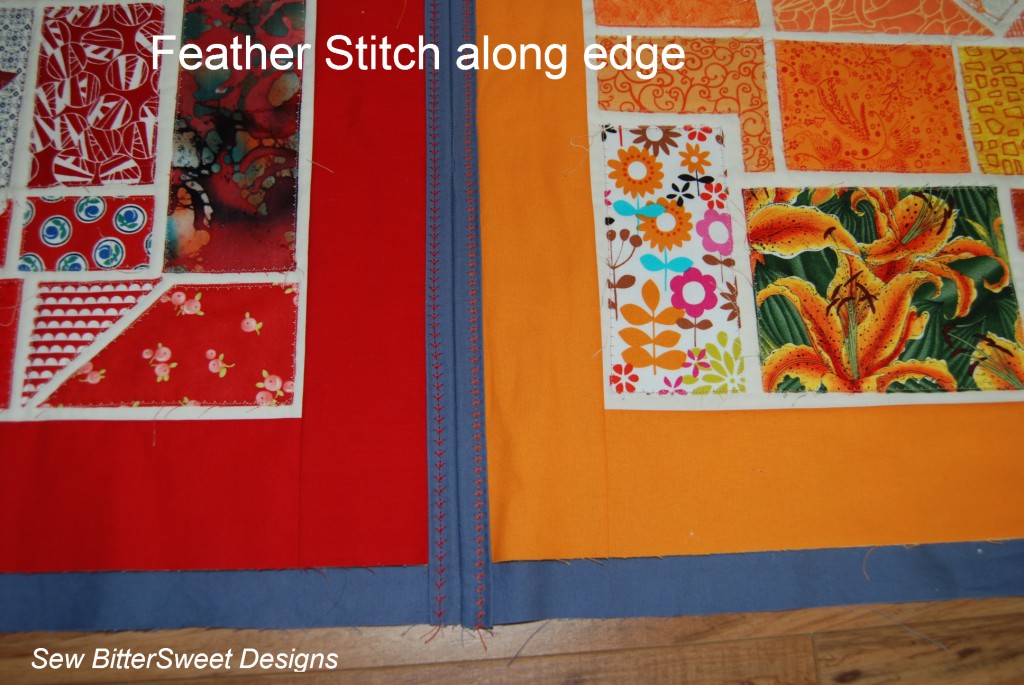
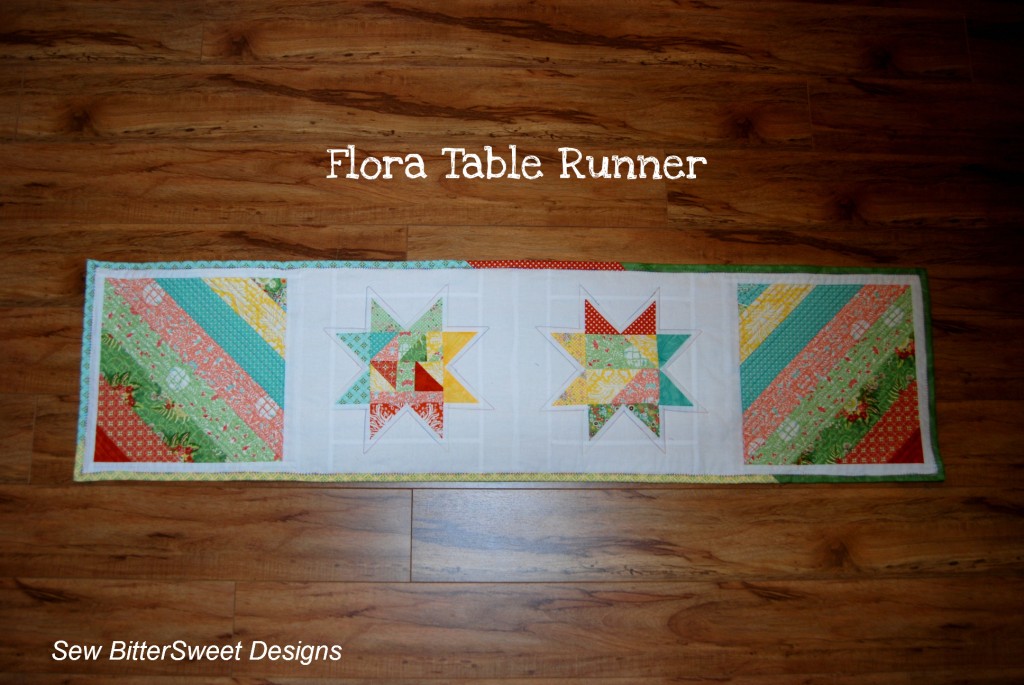
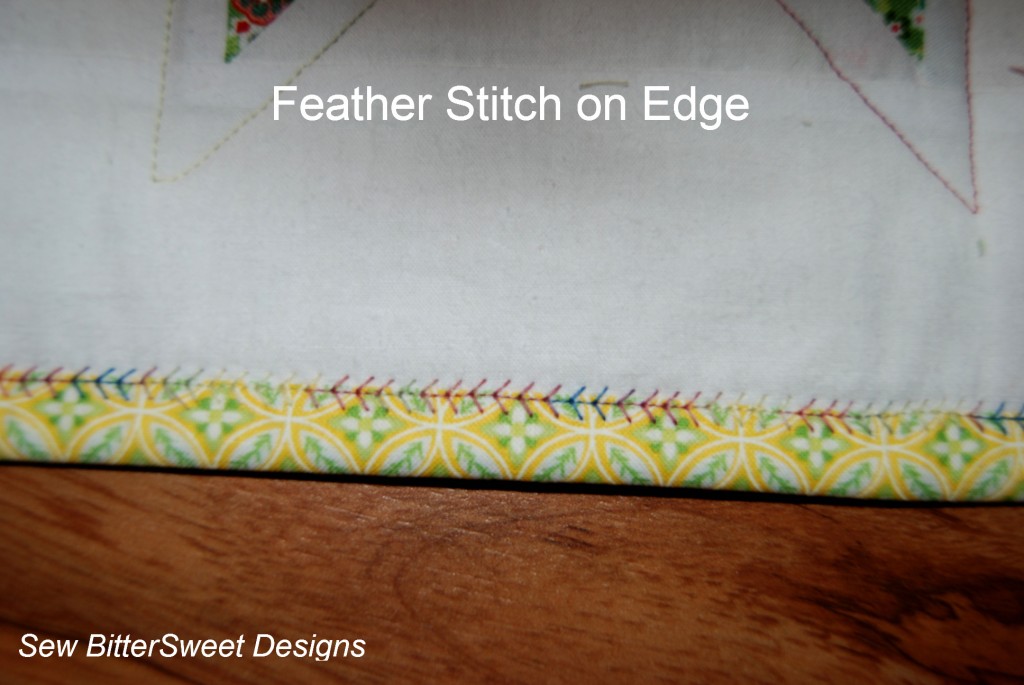
For the Flora Table Runner I used the same Feather Stitch that I used for Bottled Rainbows, but I put the stitch right at the edge of the binding.

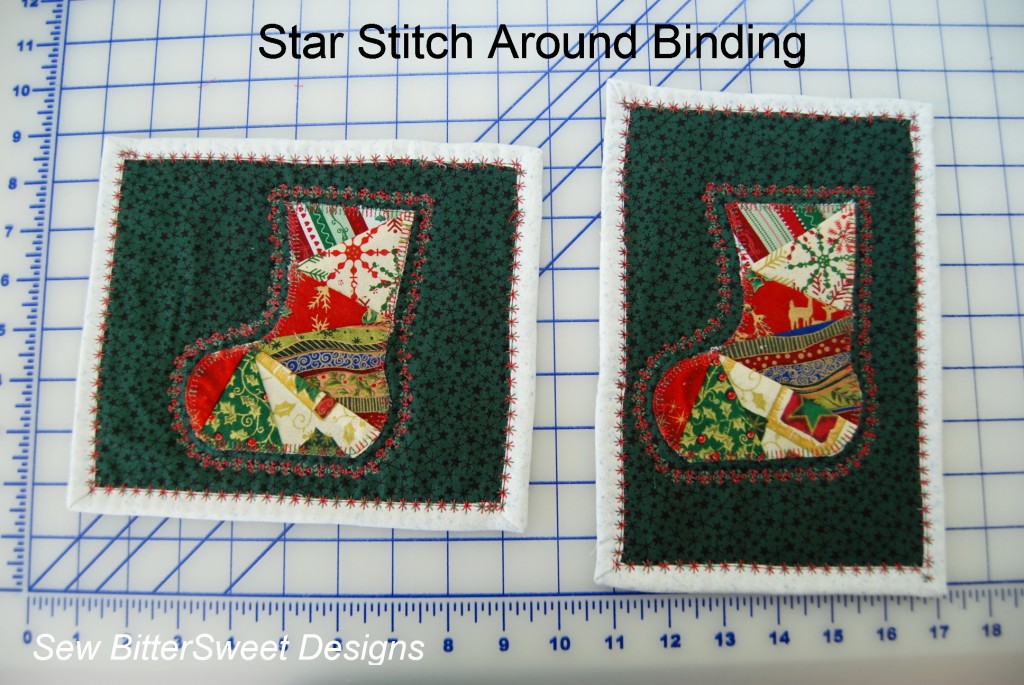
Finally I used it in a couple of mug rugs I made this weekend, I definitely could have hand sewn these because they are so small, but I was finally starting to really get a handle on machine sewing the bindings and it had finally become fun instead of frustrating (it takes a little practice).

For this project, I used a decorative star stitch on the binding and it turned out really cute – love the Christmas colors!

A quick break down of how I did it:

1. Make your binding strips using whatever method you usually do.

2. Attach them to the BACK of your quilt (when I hand sew I usually attach them to the front so my horrible stitching is on the back of the quilt)

3. Fold the binding to the front – now here you can choose to pin or not pin, I only pinned in half the projects I made (Bottled Rainbows and the mug rugs)

4. Select your stitch: Straight stitch, decorative, basic zig zag

5. Start sewing, if you are holding down the binding or pinning, simply make sure that you have folded the binding over far enough to cover the stitches from attaching the binding to the back you don’t want those to show after you have done your decorative stitching.

6. When you get to your mitered corners, put on decorative stitch in each corner and that will be sufficient to hold down the corner

Easy Peasy!  Lyanna from Purple Panda Quilts – left me an awesome comment with a description of a technique she uses to bind quilts on this post here, check it out to for more ideas on how to machine bind your quilts. I seriously need to find the fusible tape she is talking about – that would make it SO much easier! I hope she does a more complete tutorial of her method soon!

Have a great Tuesday!

NOTE: Don’t forget, I am one of the bloggers who is going to lose Google Friend Connect in March 2012, please take a moment and follow me via Bloglovin’, Facebook, RSS or networked blogs.  You are important to me and I want to be able to stay in contact with you!  Check my side bar for all the best ways to stay in touch!

Guest Posting Today

You may have noticed that last week I didn’t have a tutorial for you – I’m sorry. I have been super busy with finishing up Christmas presents and dealing with family things that I just didn’t have the time. I do have a special treat for you today though…I am guest posting over on Fat Quarter Shop‘s blog – the Jolly Jabber!

It is a tutorial on how to use their notion of the month – Half Square Triangle Papers. I am a huge fan of these – as they completely eliminate the need for drawing lines!  They save time, fabric and you don’t have to measure anything! Please take a few moments to check out the tutorial and leave a comment while you are over the too!

Hope you are having a great Monday.

Oh yeah, and make sure you stay tuned later in the week for a special giveaway related to today’s tutorial! (Hint Hint Wink Wink)

Two Finishes

This week I have two finishes! That rarely happens, but I have been trying to make the best of the time that I have in the sewing room.  For me there are only 16 sewing days left!

I get to cross two things off my life: my blocks for do. Good Stitches:

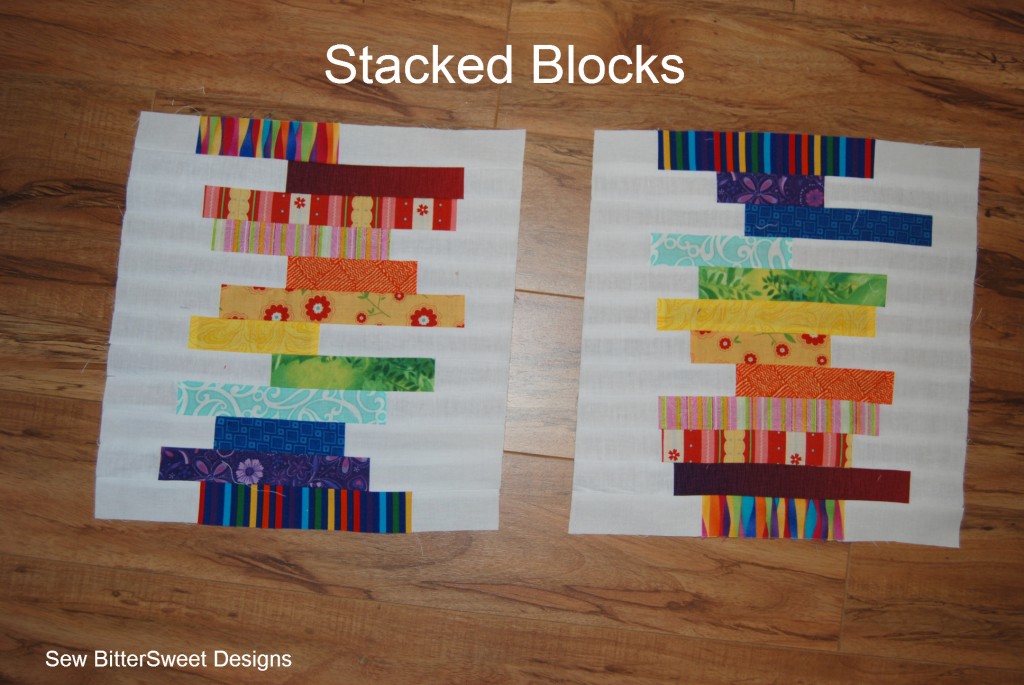
Our Quilter this month s.o.t.a.k handmade and she picked out Stacked Blocks – and sent us a link to this great tutorial by The Sometimes Crafter.  Don’t you just love them? We were asked to make them bright and colorful, for a girl, but for someone who is a little older. I hope I hit the mark!

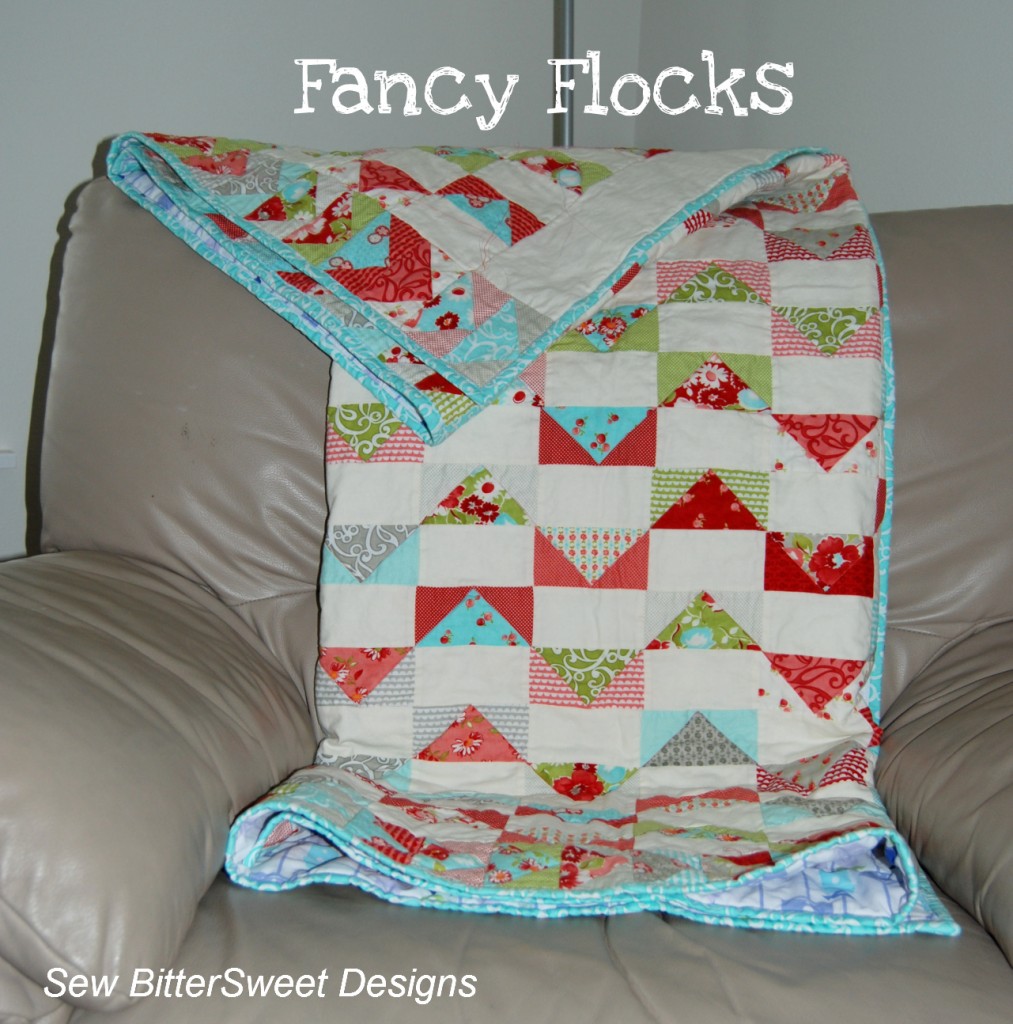
In other big news, I finished Fancy Flocks!  This is the first time that I have machine sewn a binding on…sorta.  I have done sashing that is somewhat like binding on my Bottled Rainbows Quilt As You Go project. I think it turned out pretty well, there are some mistakes, but it is made with love and in the end that is what should matter most!

I used Aqua Sublime from the Ruby Collection for the binding. It was the perfect print from the Ruby line, it blends nicely with the backing and makes the front of the quilt pop.

Up next is the Flora Table Runner and then the Monkey Business Quilt. I am contemplating not binding the Monkey Business Quilt. I think I might make a sandwich and turn it, then quilt it. What do you think of that idea? I am thinking it might work because it is going to have a flannel backing and a cotton front. I love the idea of a flannel backing because it will make it super cuddly for my nephew.

Hope you have a great weekend!

Don’t forget, I’m now on Bloglovin’ and on Facebook – check out my sidebar!

Scroll to Top