Author name: Melissa Dunworth

Owner/Operator

LeMoyne Star Block

I told my bff just before Christmas last year that one of my goals for this year was to make a Christmas quilt out of all the vintage Christmas fabric I have from the late 80s and early 90s.  Here is my first block:

This is a LeMoyne Star
This block was on the beautiful quilt that  Sunni from Love Affair With My Brother and all of my quilty friends made for my 30th birthday. I knew when I saw it that it would be perfect for my Christmas quilt and also that I could easily make it myself!  (my mom made the Le Moyne Star!)
I’m just so lucky!

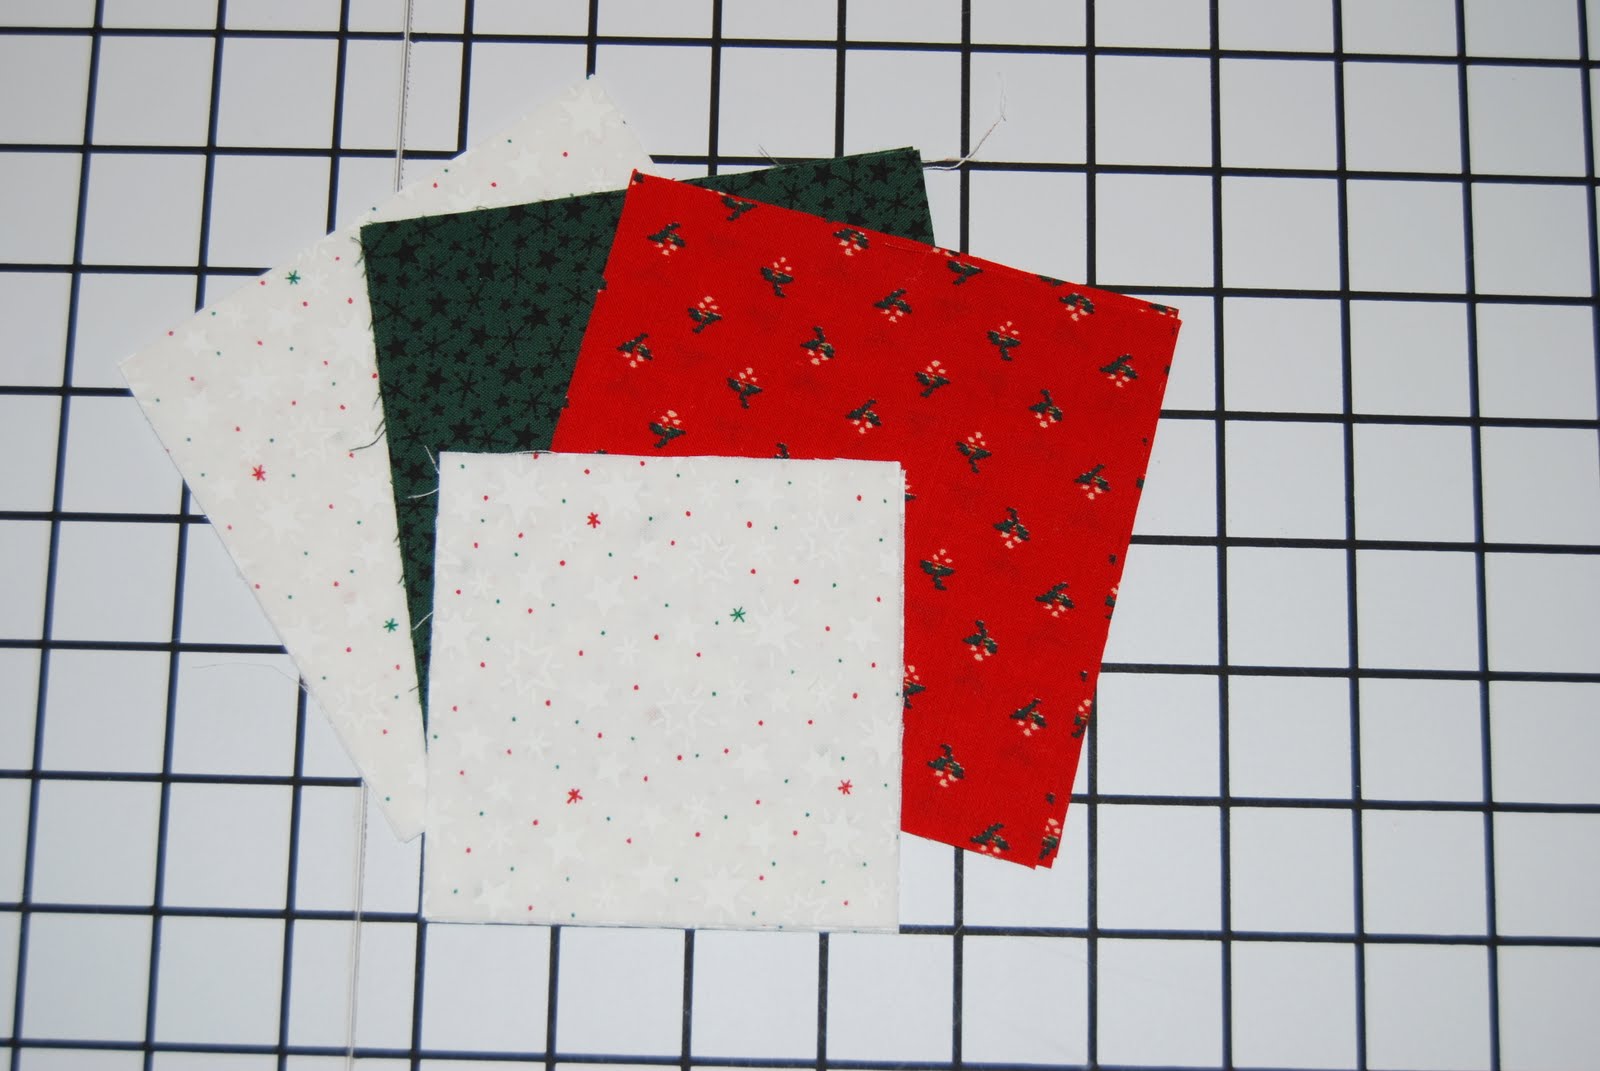
I used 3 Christmas fabrics that I already had cut from a project that never happened last year.

I used two 12″ squares of the white stars, one 10 inch square for both the green and red.

Cut your fabrics:
From the white cut four 3.5 inch squares
From the white cut four 4 inch squares
From the red and green cut four 4 inch squares each

Start making your Half Square Triangles (HSTs)

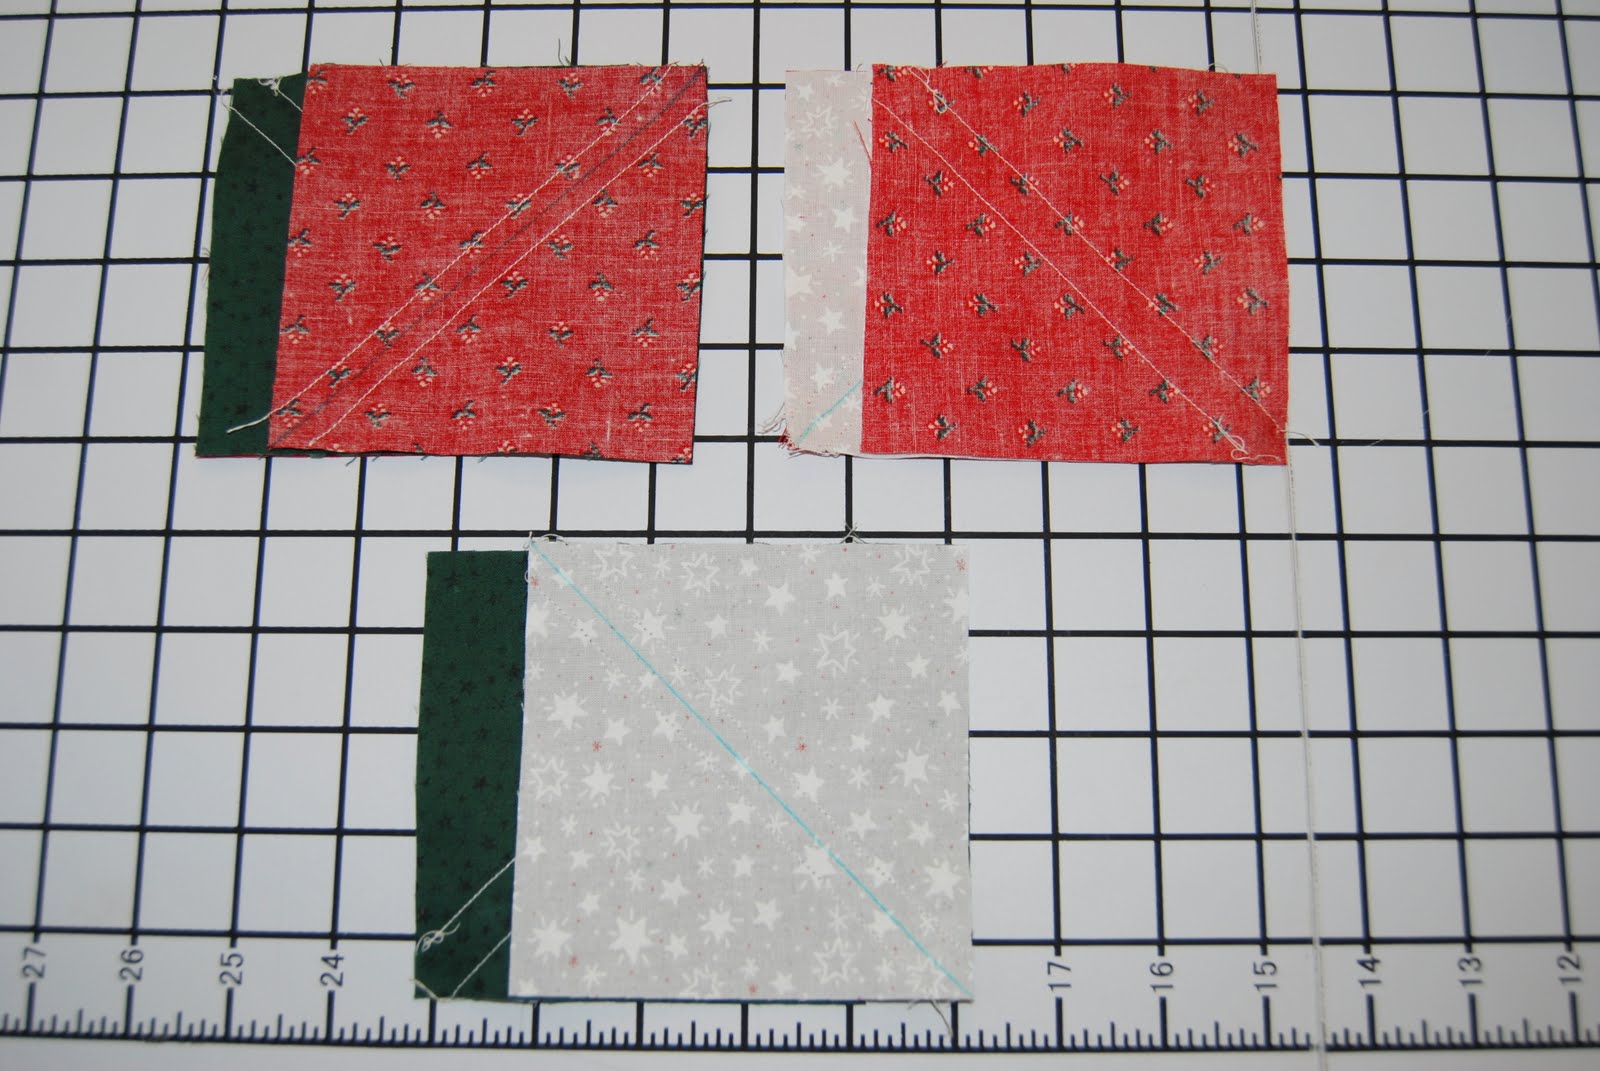
Pair your fabrics up as follows:
Two pairs: 1 green square with 1 white square – right sides together
Two pairs: 1 red square with 1 white square – right sides together
Two pairs: 1 red square with 1 green square – right sides together

Using a fabric pen or pencil draw a line down connecting opposite corners, sew with your 1/4 inch foot on that line in both directions,

Next, cut along the line and you will end up with two matching triangles.

You should have a total of four triangles from each pair set of fabrics. For more detailed instructions on Half Square Triangles please see my Chevron Block Tutorial.

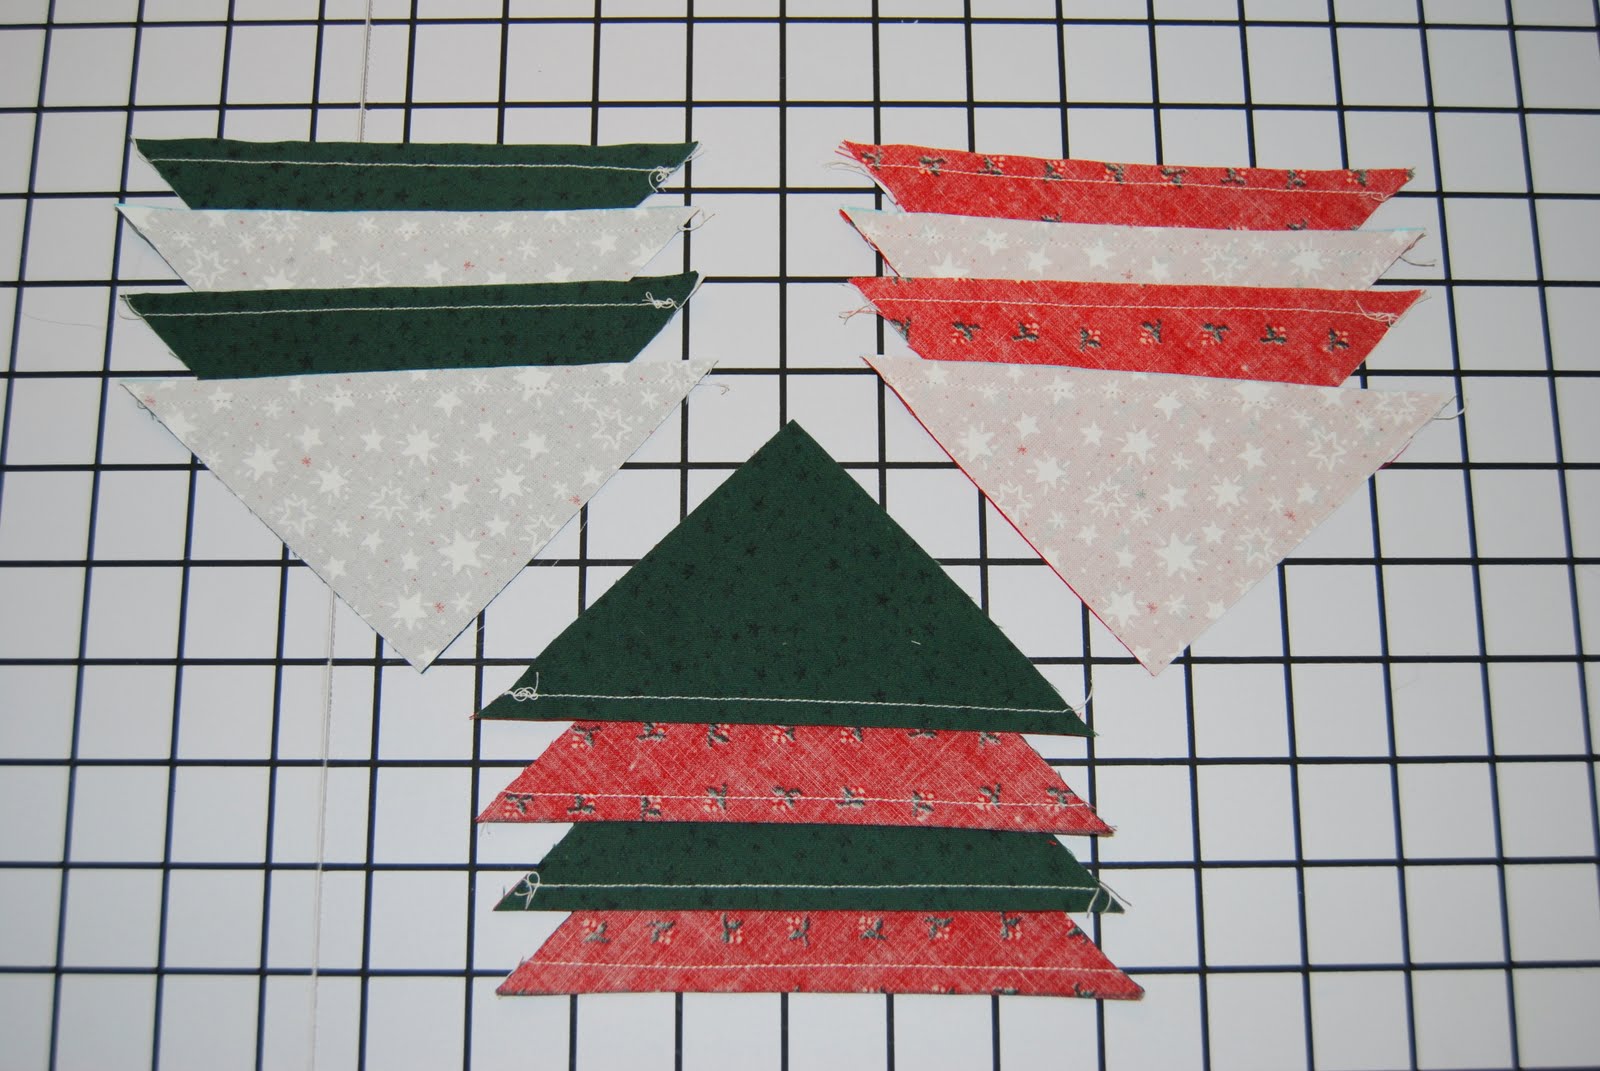
Iron your fabrics flat and layout your rows matching the picture below.

Sew your rows together. Press the seams from the top row to the left, second row to the right, third row to the left, and bottom row to the right – this will make it much easier to line everything up when you finish sewing your block.

Once all rows are completed pin them together at the seams:

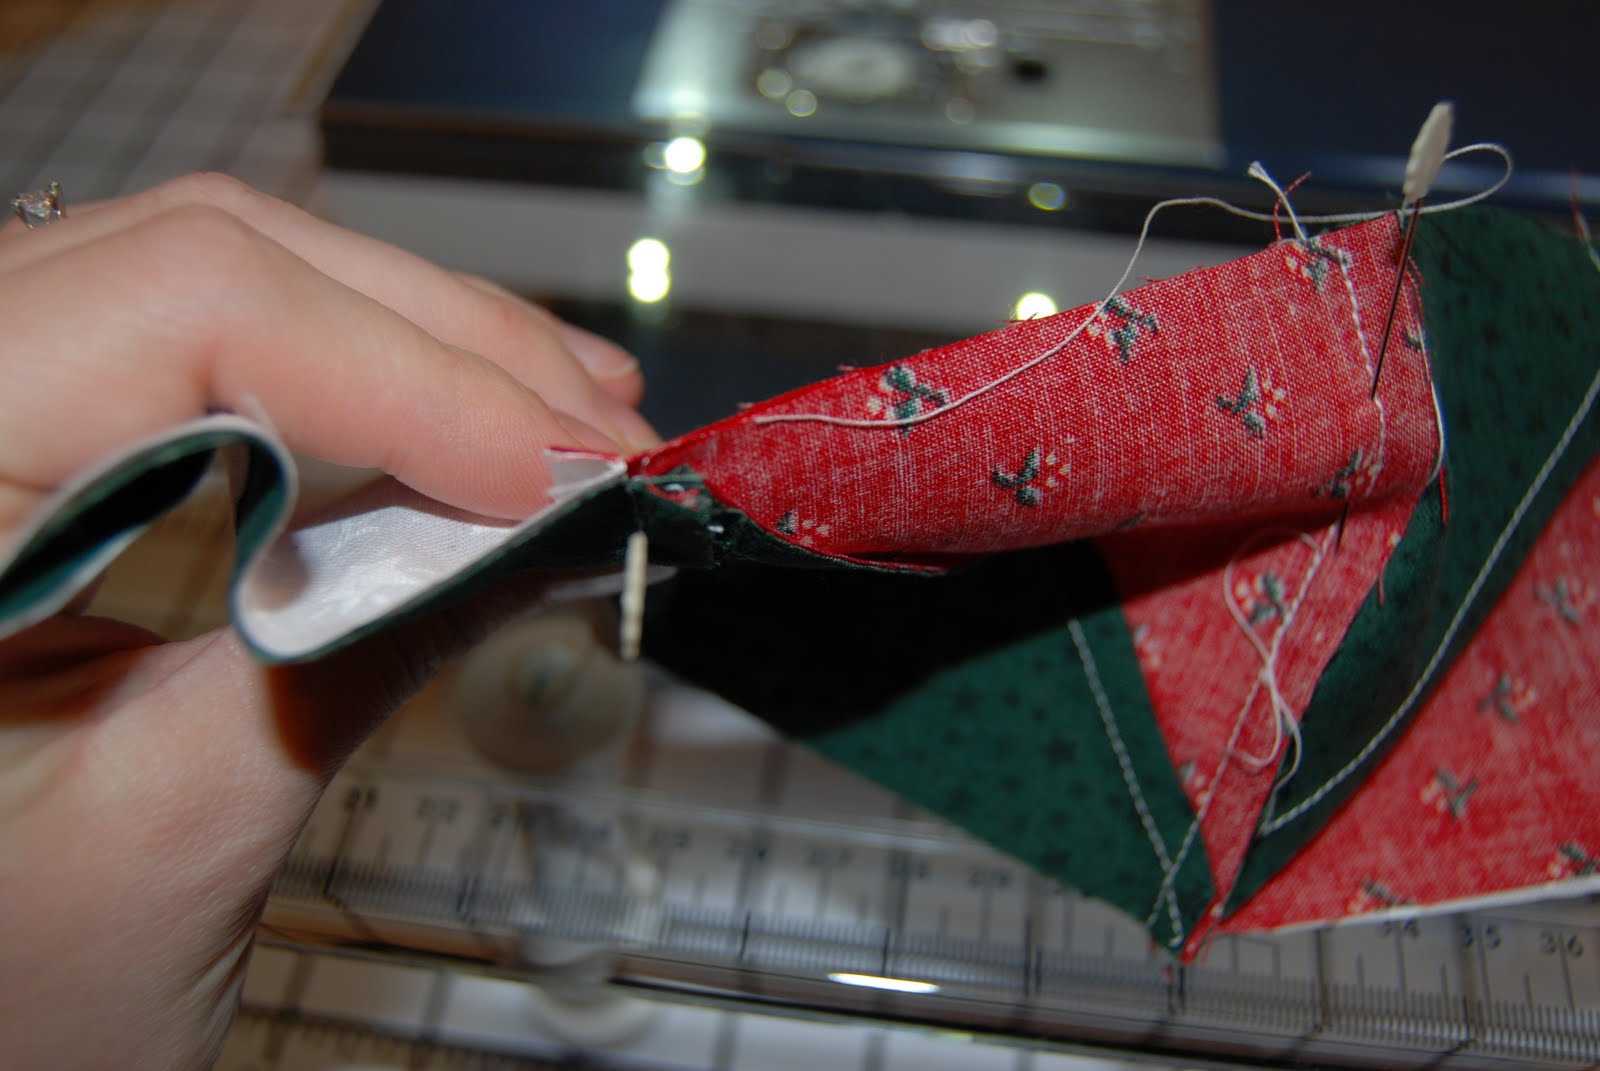
This will ensure that your blocks line up properly (believe it or not I never pinned my blocks until the last month or so when I decided that perfection does sometimes matter!)

Sew your rows together and voila!

Sorry for the dark pictures, the weather has been typical rainy Washington weather and I haven’t been able to get outside to take any natural lighting photos.

Cutting and all, this block took me less than 30 minutes to make!  Good luck!

Squishy Package!

Today I got something so fun in the mail – a squishy package from the Fat Quarter Shop! I entered a giveaway on their blog – The Jolly Jabber two weeks ago and last week I got an email saying I was a winner. I can’t tell you how excited I was. Here’s what I won:

I won Amanda Murphy’s entire quilt pattern collection – 6 patterns in all!  I am so excited and can’t wait to make one of these beauties.  Thank you Fat Quarter Shop and Amanda, you made this quilter very happy today!

And the winners are…

Thank you so much to everyone who entered my giveaway! I had a record 85 entries!  I couldn’t be more excited to celebrate my birthday by giving away something to our readers.

The winner of the name my machine contest is…

74

Heidi@TheCraftMonkey said…

I like Sadie! Sadie Sewer!

Thank you so much for entering Heidi, I absolutely love the name Sadie! I will be sending you an email shortly and so you can let me know your wallet preference your mailing address.

Now without further ado, the second winner, being picked by none other than Mr. Random Number Generator is…


58

Pam said…

I liked you on FB. I would like large if I win.

Congratulations Pam! I will be sending you an email as well for your mailing address.

Thank you to everyone for the birthday wishes!

Last Chance to Enter

Today is the last day to enter my current giveaway!!!

Here’s what’s up for grabs:

A Heather Bailey Pattern
A Stash Busting Book
& A Wallet made by yours truly
Make sure you check it out and tell your friends! You must comment on the original post to be entered!  Blogging, tweeting or facebooking about the giveaway gives you an extra entry!

4th of July Chevron Block Tutorial

Chevrons seem to be all the rage these days. I have seen them EVERYWHERE!

I decided that it was time to add my own take on the situation and it is made in 4th of July celebratory colors!

This is a block that I made for a block swap I participate in, my partner asked for Red, White & Blue and I thought a tutorial might be in order!

Supplies:

Each square measures 4 1/8″ to get a 3.5″ block after cutting.

Top Chevron – White – 2 squares
Second Chevron – Light Blue – 4 squares
Third Chevron – Medium Blue – 4 squares
Fourth Chevron – Dark Blue – 4 squares
Fifth Chevron – Red – 2 squares

6.5″ square
Marking pen or pencil

Sewing – (make 12 Half Square Triangles)

Step one: white and light blue, right sides together – take a 6.5″ square ruler and a marking pen/pencil and go corner to corner – see example:

Step 2: Line up your foot on the line and sew along each side with a 1/4″ seam.

Sorry for the orientation of the pic – I had trouble rotating it 🙁

Step 3 – Cut the squares apart on the line

Press your seams – depending on how you put your chevrons together you will want to press towards the dark or the light fabric.

Construct your chevron block:

Follow my block for constructing your finished block

Sew your rows together. Top row – press your seams left, next row down – press your seams right, next row – press your seams left, bottom row – press your seams right.

Sew your rows together – the cutting measurements above will get you a 12.5″ square block.

Remember, you don’t have to do your chevrons in so many different colors, you can use as few as 2 or as many as 5.  Good luck!

I hope you have a Happy and Safe Fourth of July!

Here’s where I’m linking up this week.

Scroll to Top