Author name: Melissa Dunworth

Owner/Operator

Tip – Do it yourself cutting templates

I really had hoped to do an update post this week regarding my status on my Mystery QAL. Well…Part 2 turned out to be more complicated than I bargained on.

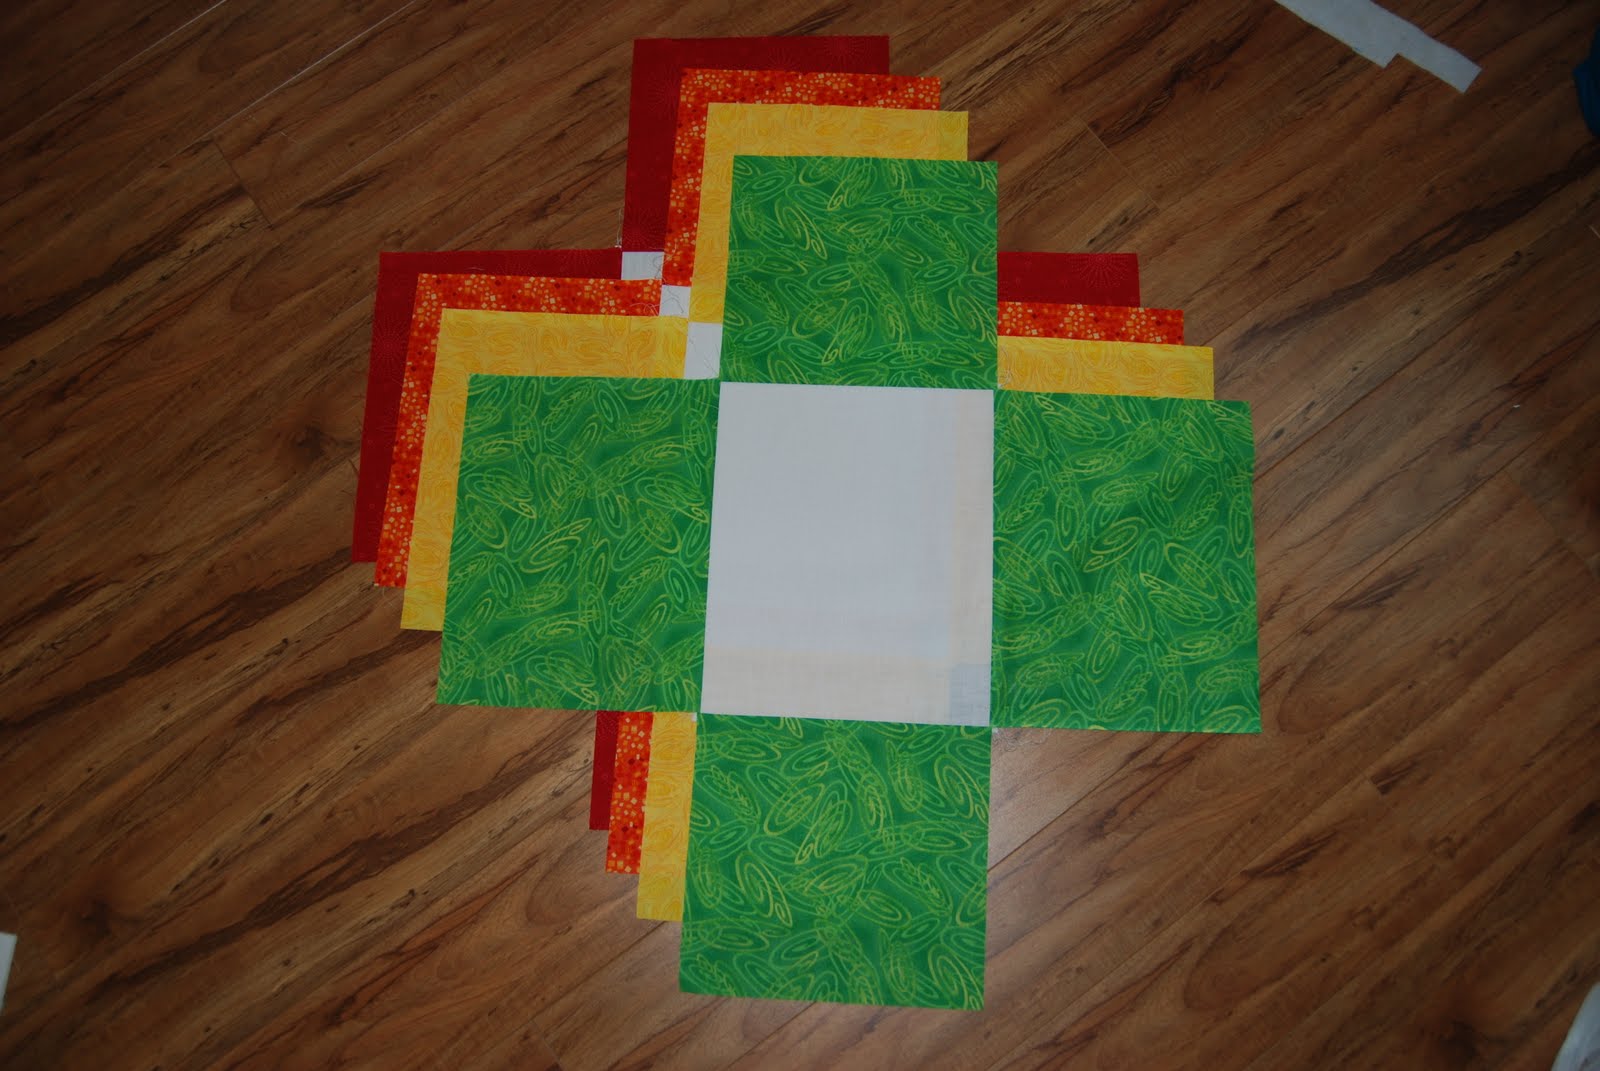
To start out you need to cut wonky triangle shapes and sew them together, not so bad, but it called for either just straight piecing or foundation (paper piecing). I HATE paper piecing…so far, I haven’t found a pattern that I love yet.  Maybe someday.

The wonky triangles weren’t so bad but cutting them out from a photocopy was proving impossible, so I made my own templates and I’m going to show you how I did it!  It is four easy steps and takes about 5 minutes if you aren’t taking pictures of each step 🙂

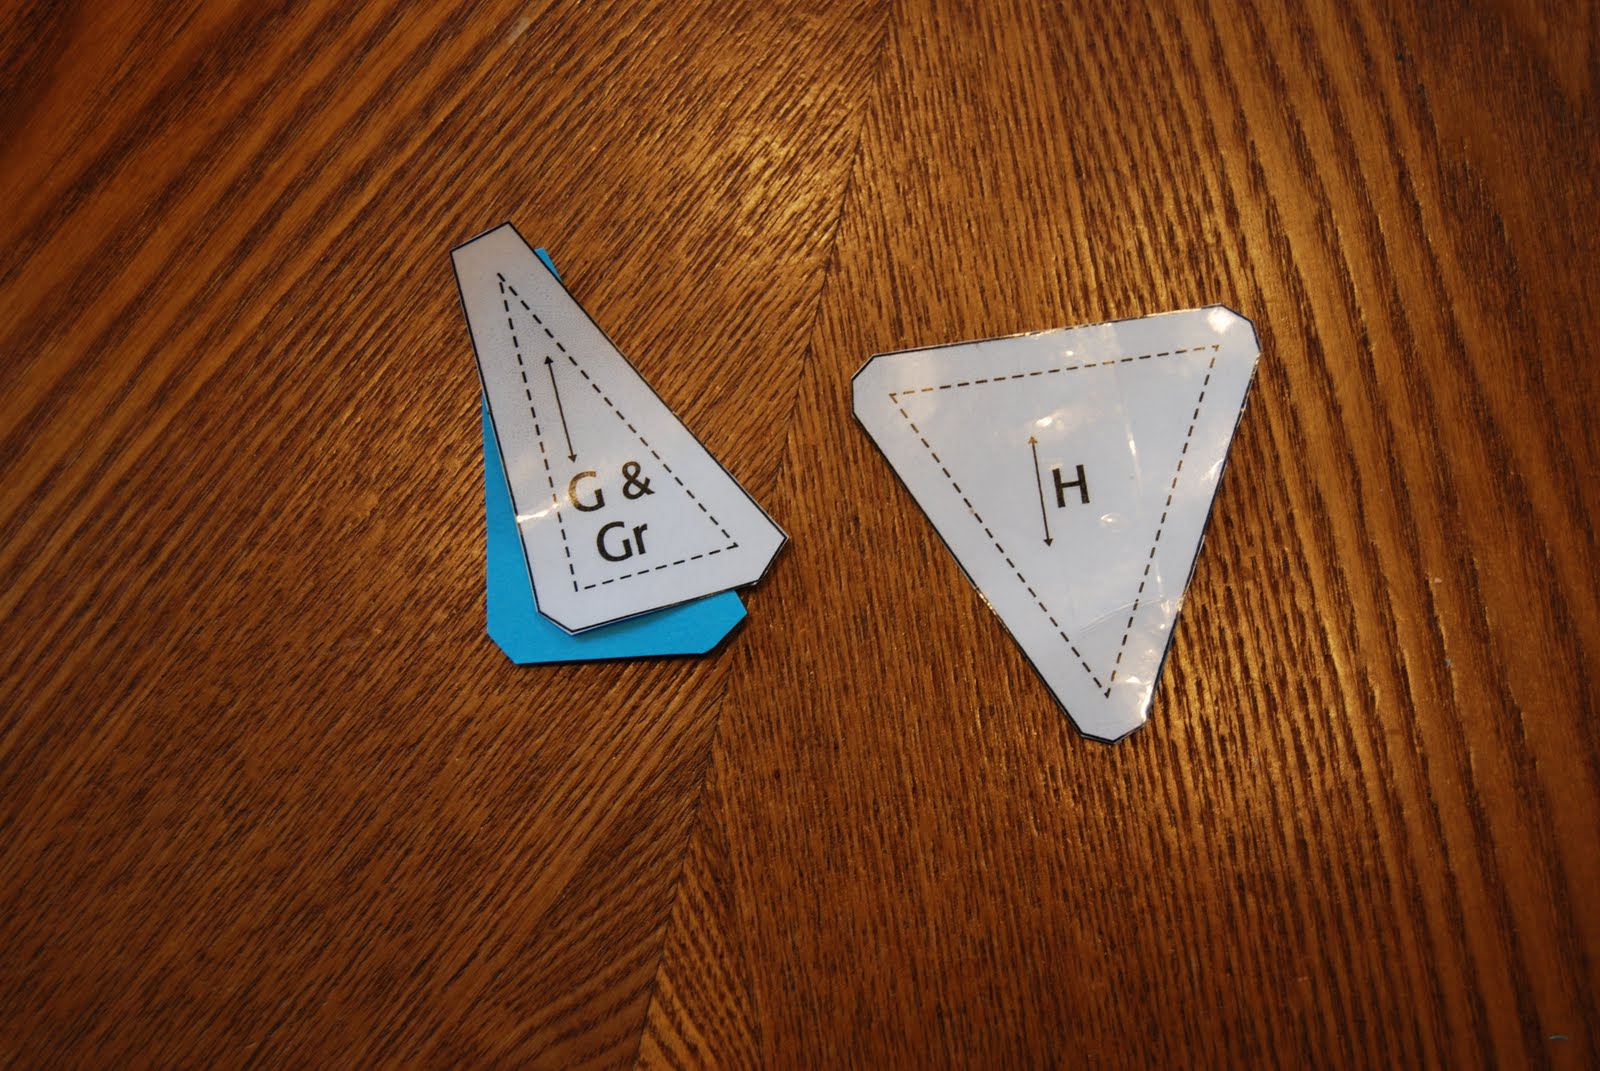
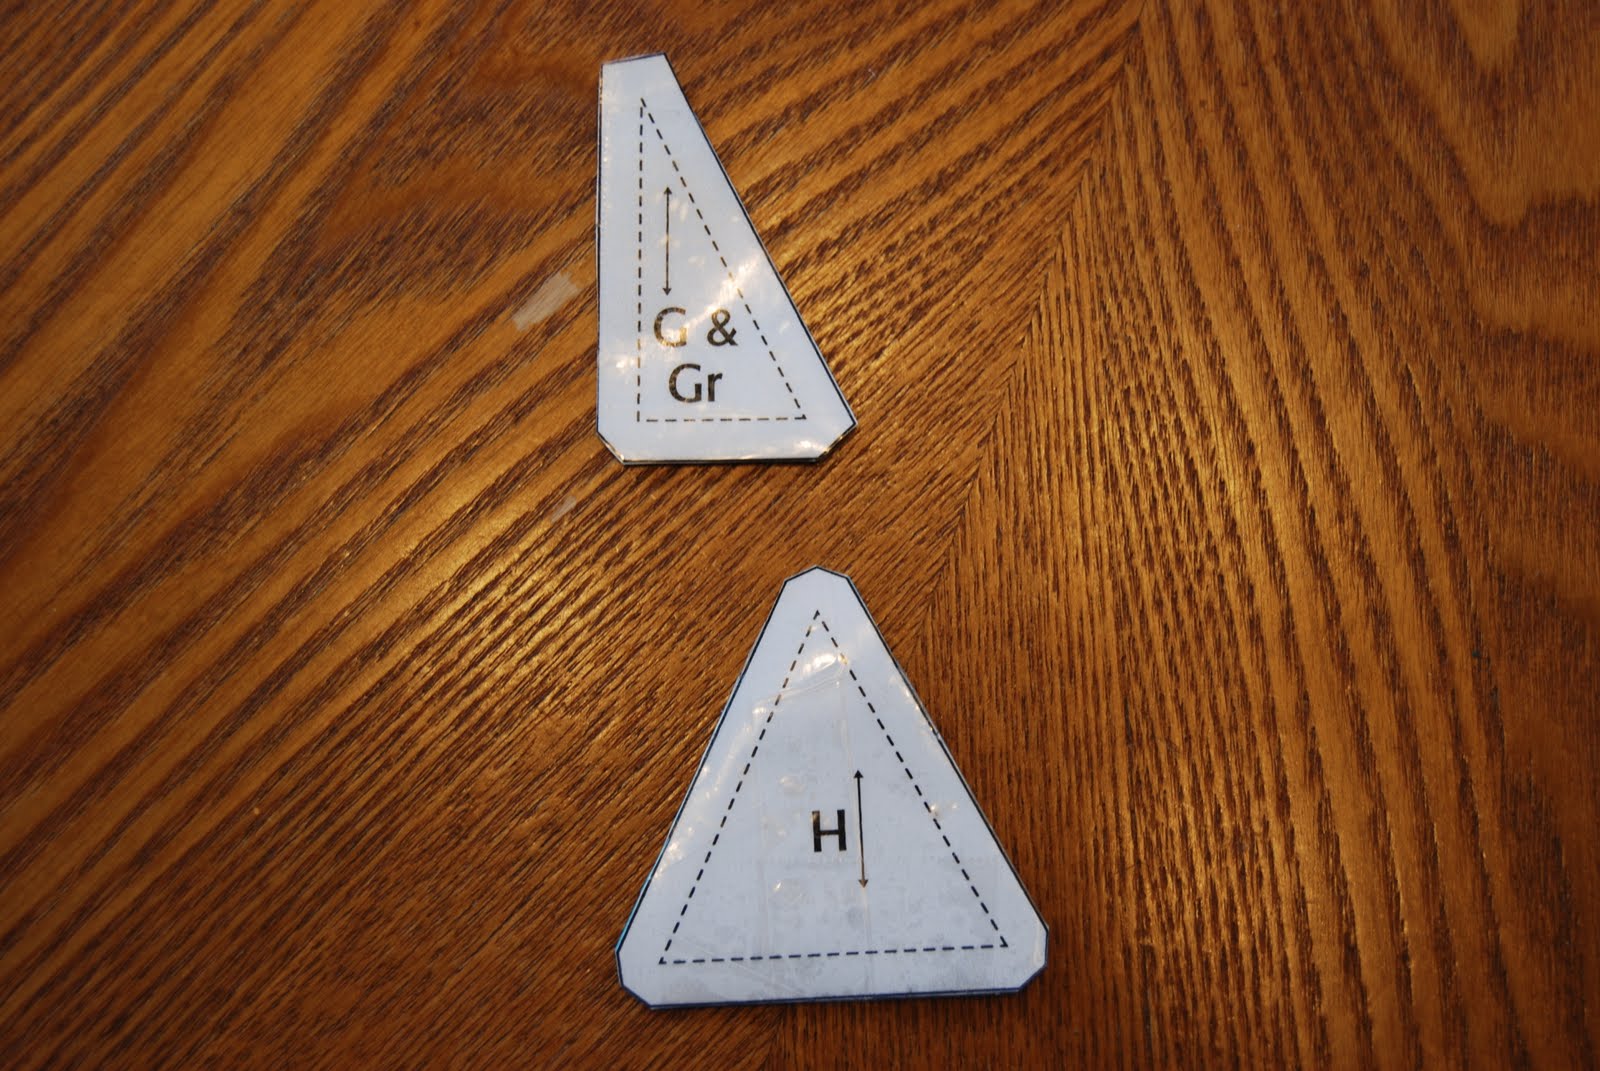
Here are my finished templates

After making these I was able to use my rotary cutter to cut out my pieces, this was important because I had to cut 48 H templates and 48 G templates, flip that template over and cute 48 GR templates!

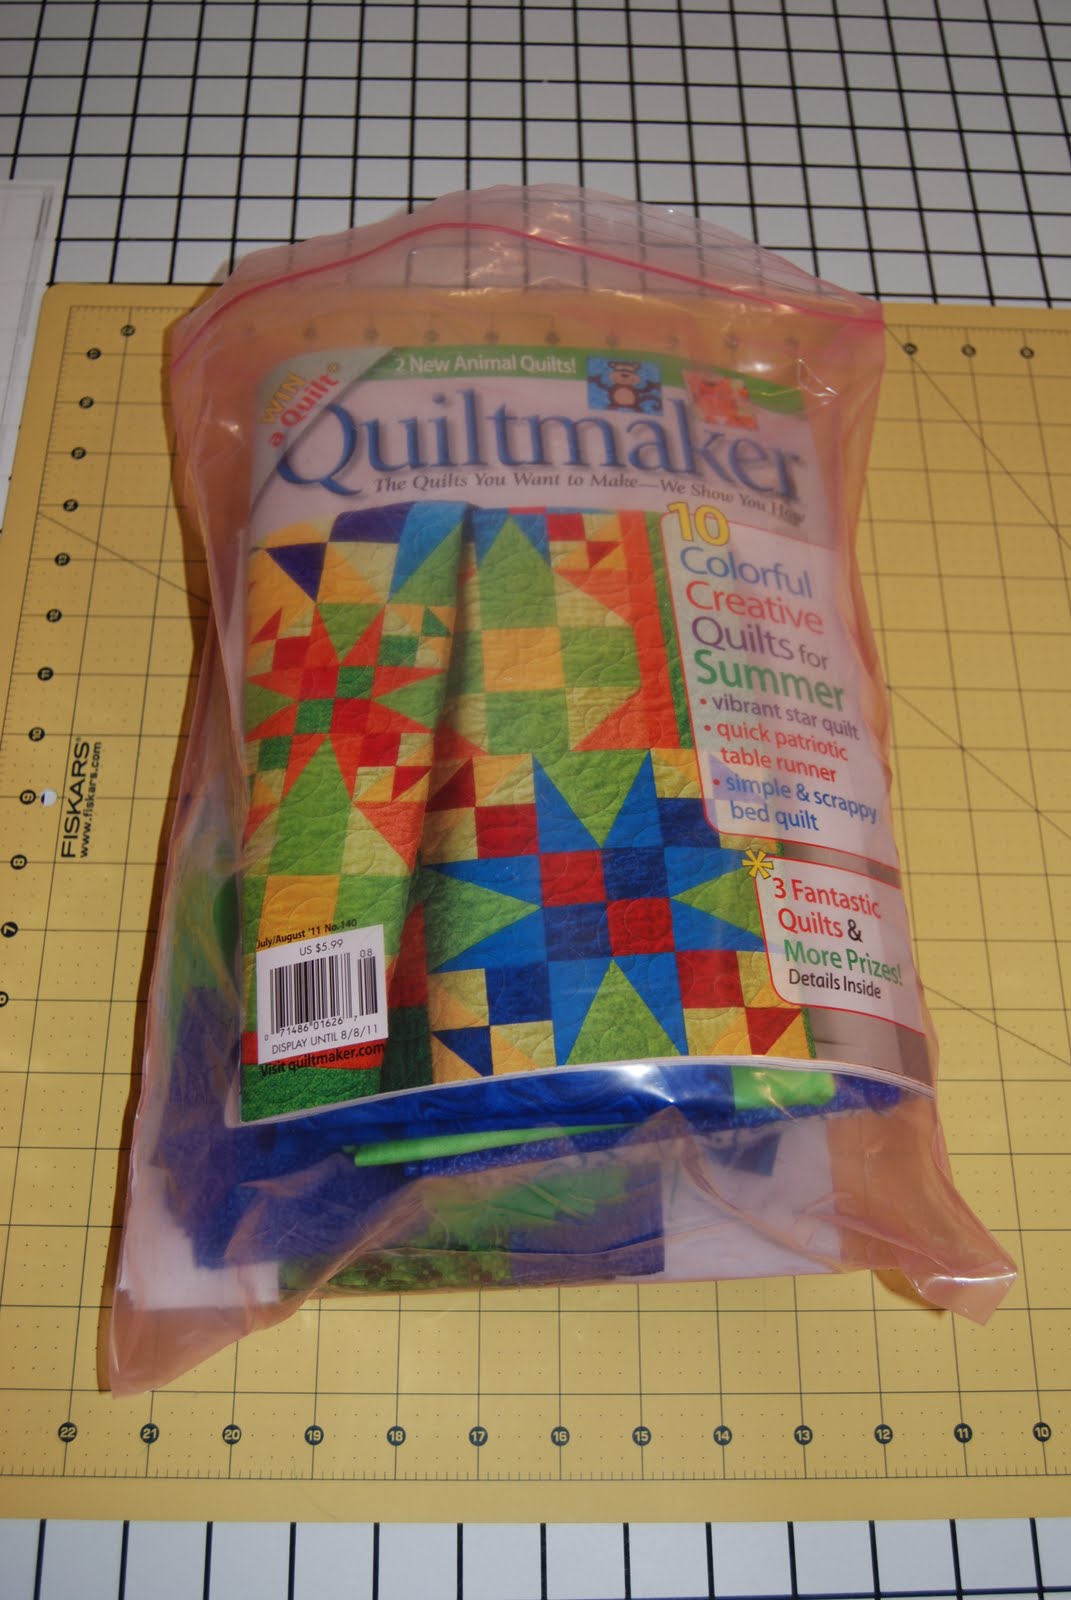
Here are the supplies:
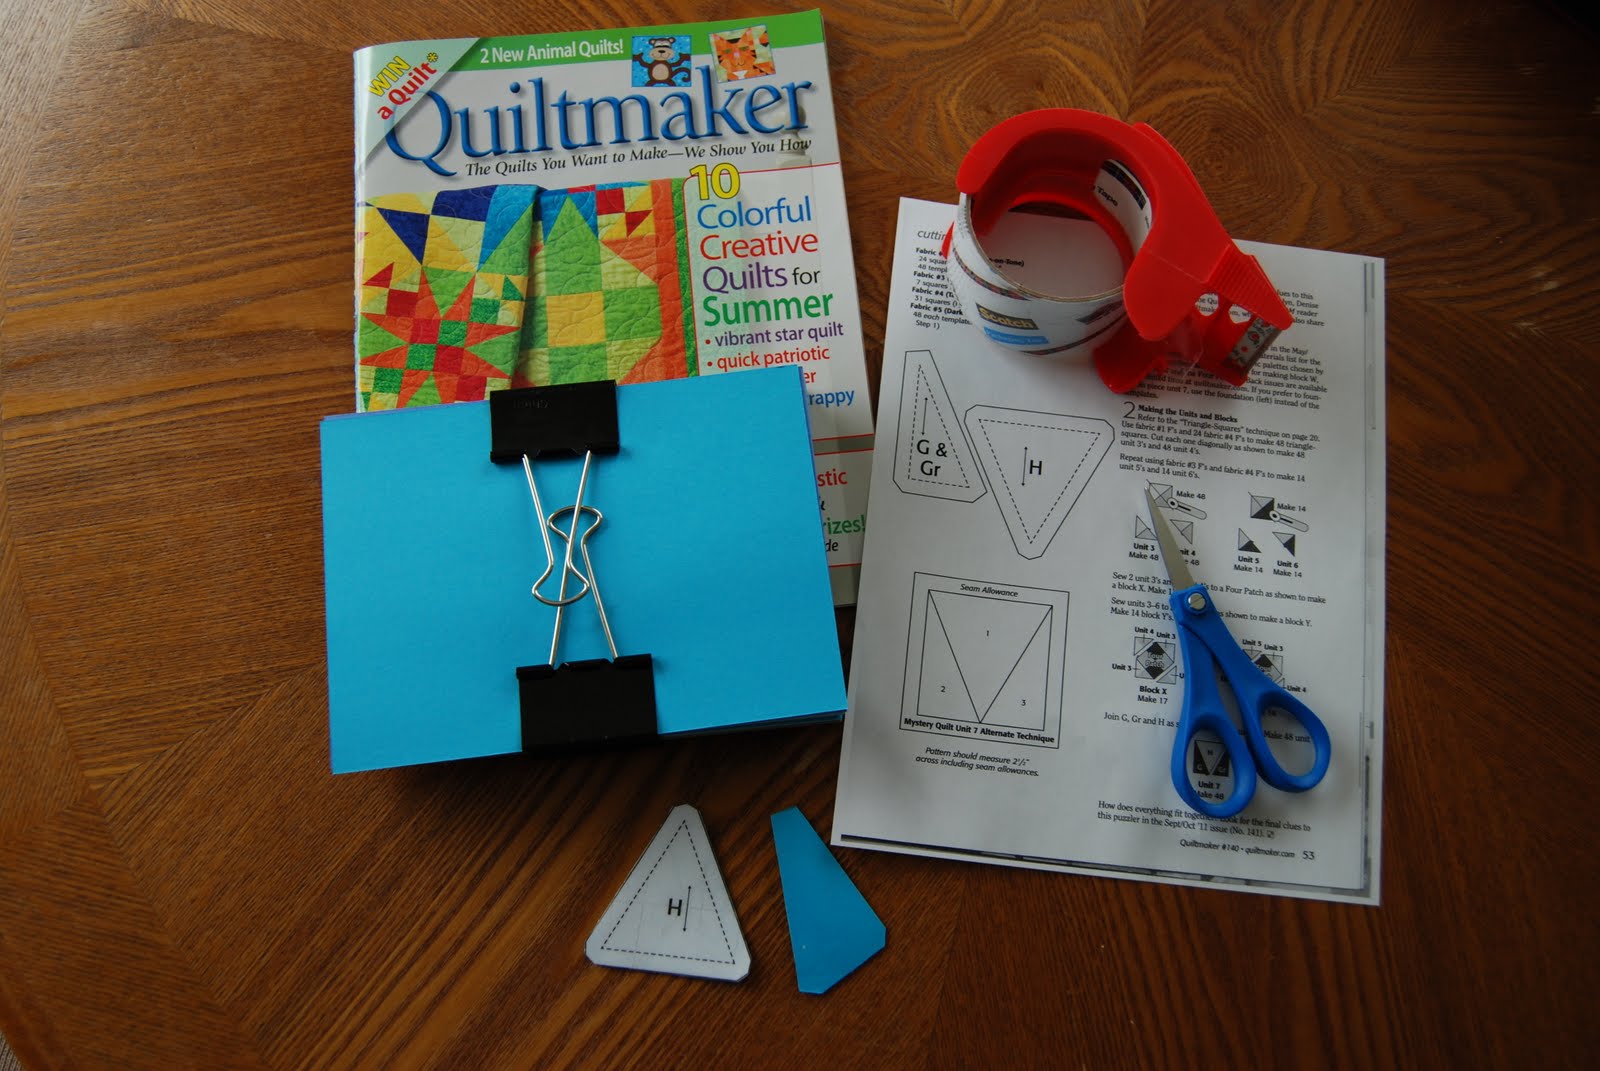
You need:

  • The magazine
  • A photocopy of the page with the templates
  • Card Stock
  • Packing Tape (we just moved and have TONS)
  • A pair of scissor that you don’t mind getting a little sticky from the tape
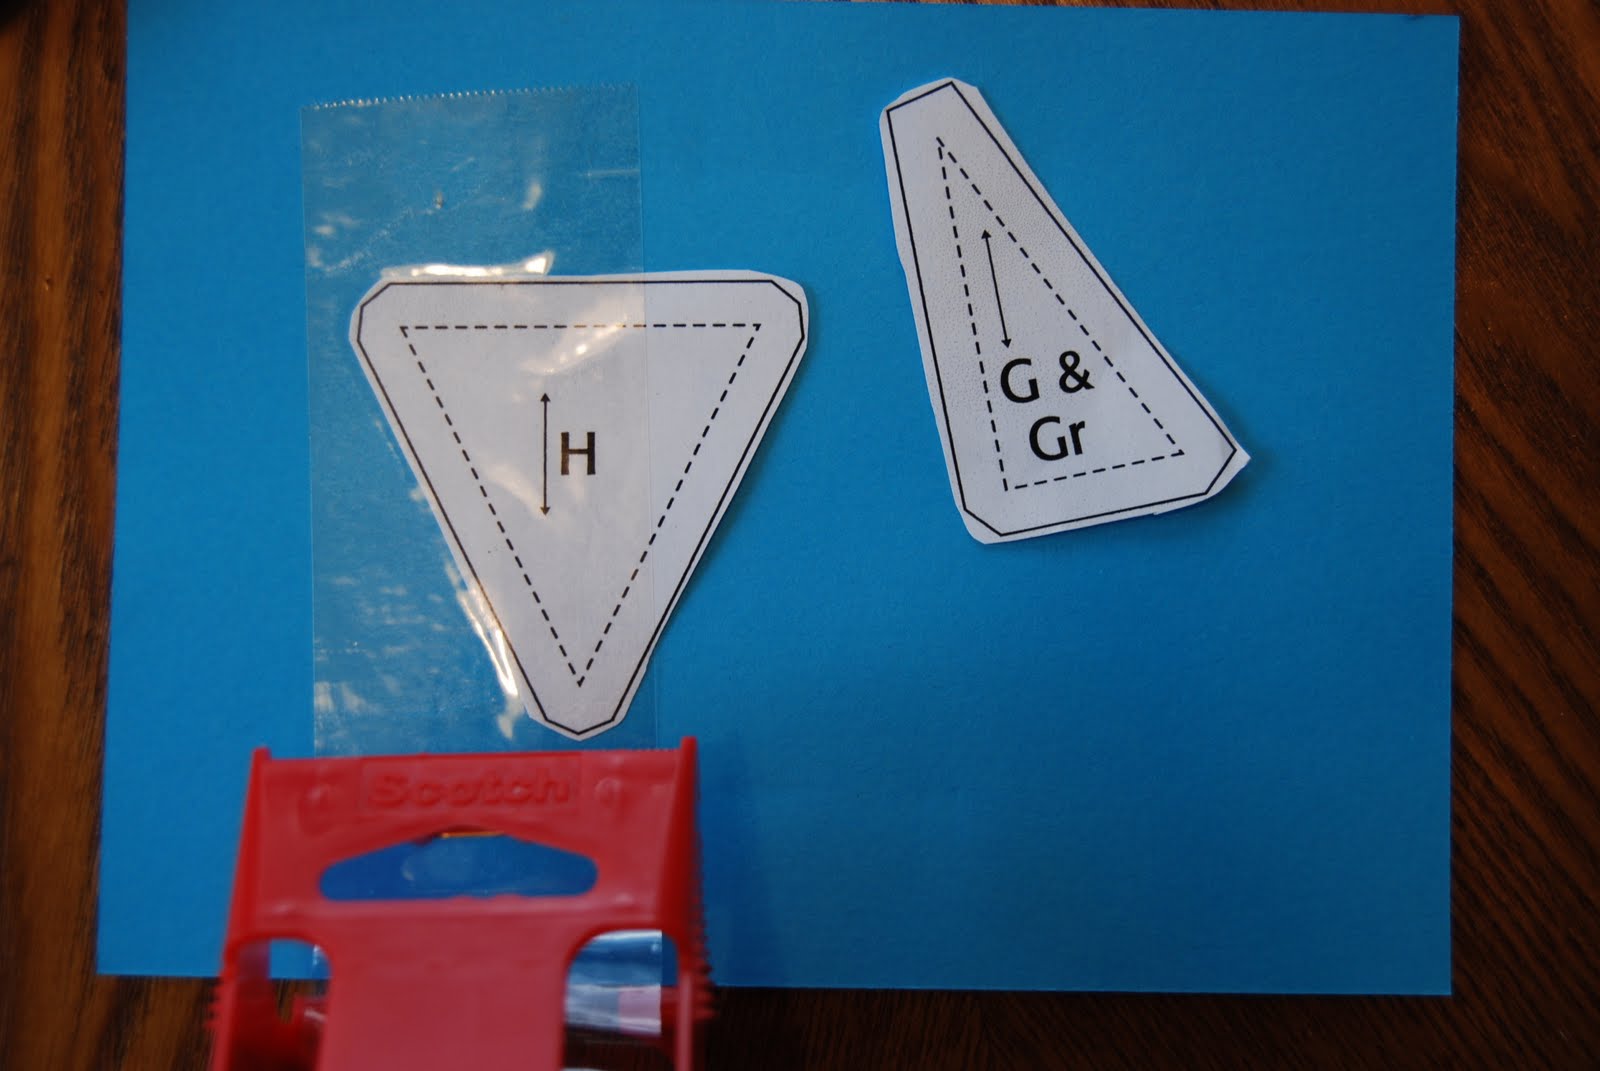
Step 2:
Cut out the templates from the photocopy – the photocopy is nice because you won’t ruin your magazine by chopping it to bits!

Don’t worry about being exact – neatness doesn’t count yet!

Step 2: Tape both pieces to your card stock with your packing tape – make sure it is smooth!

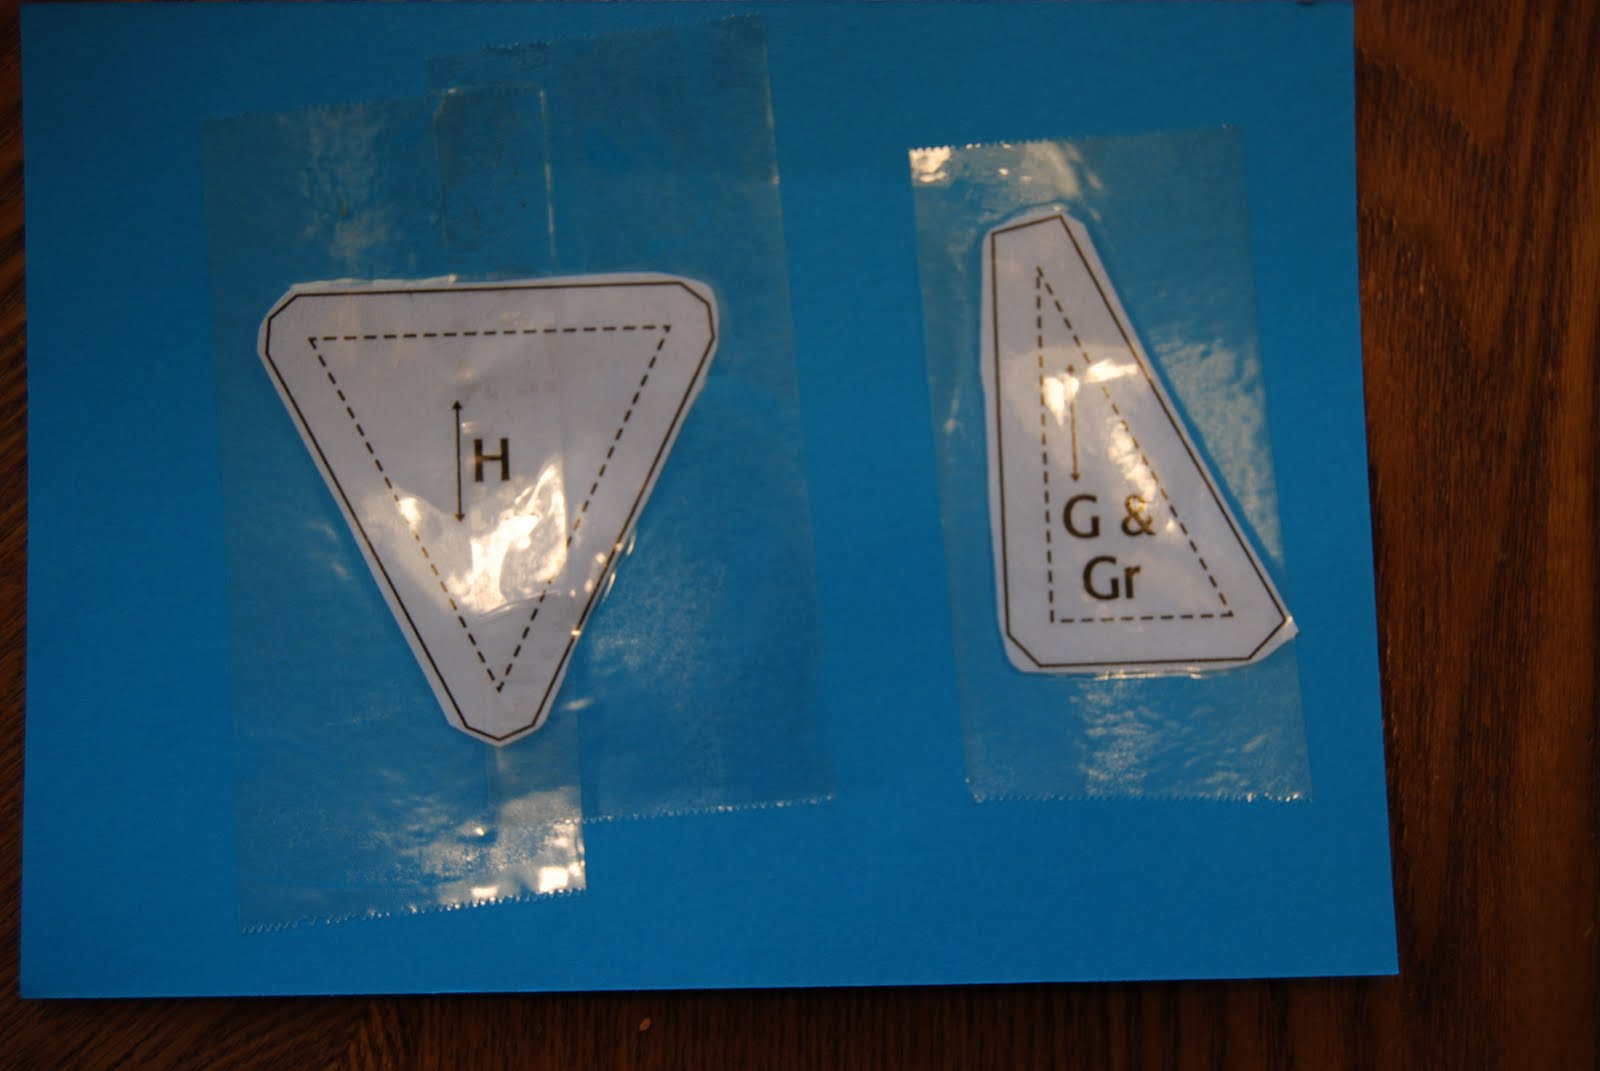
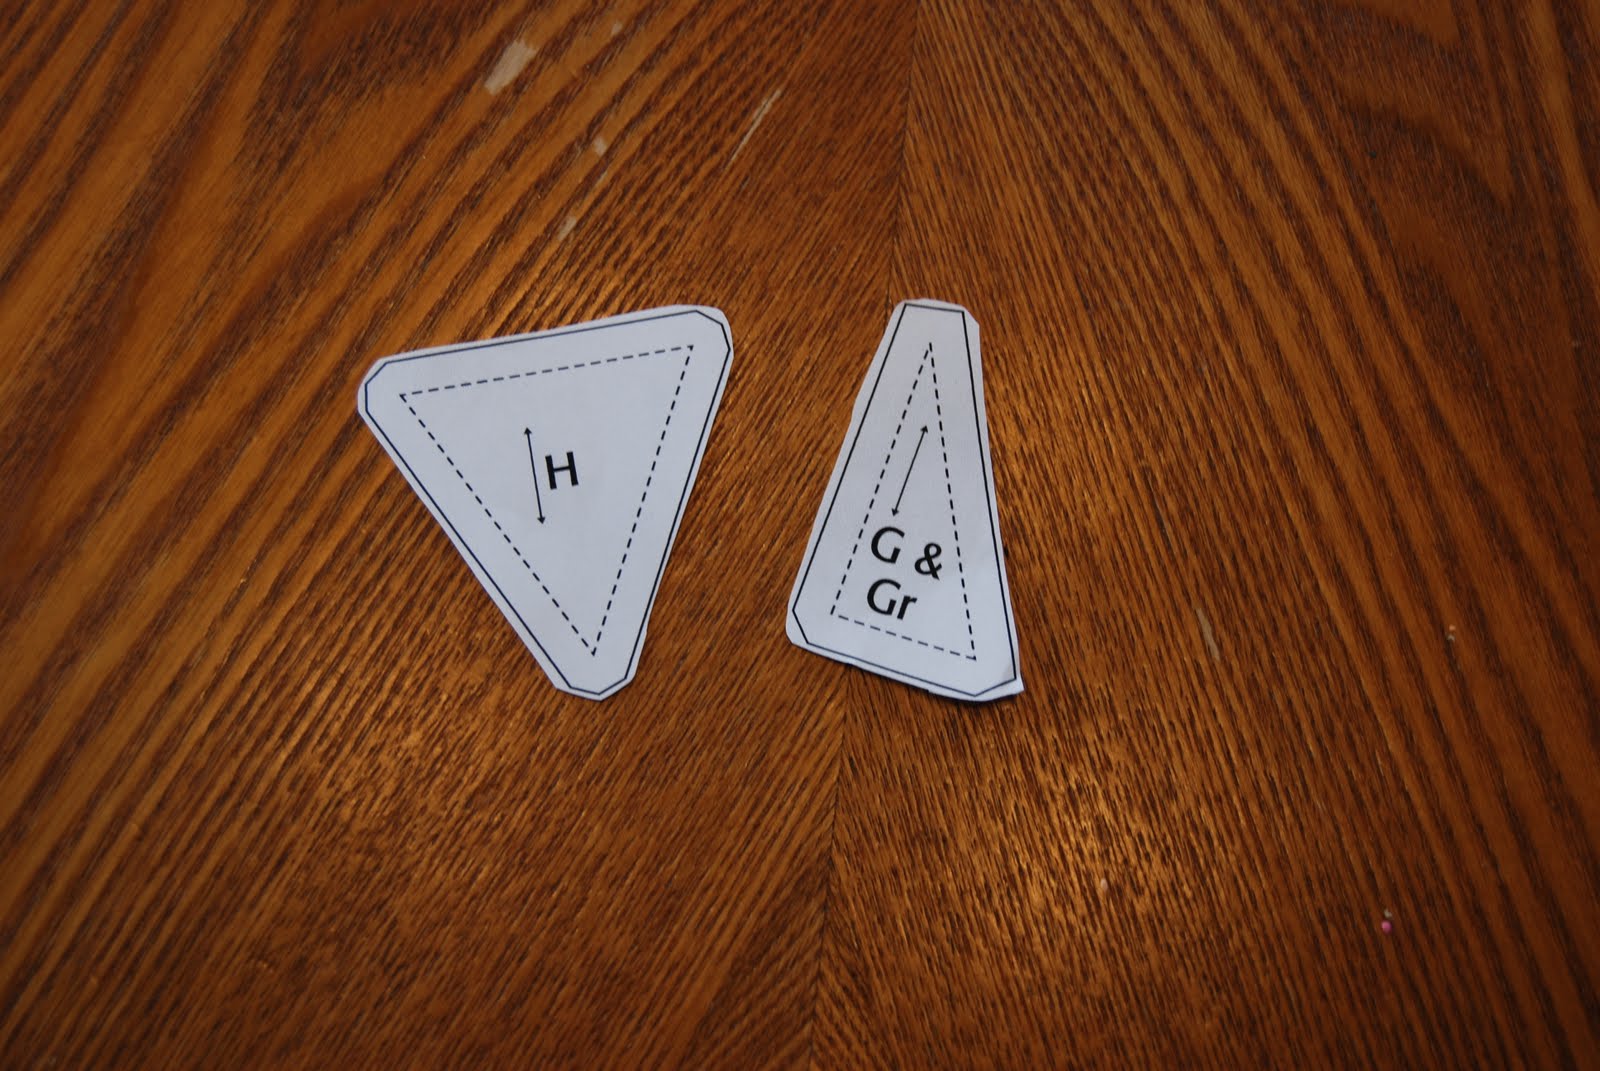
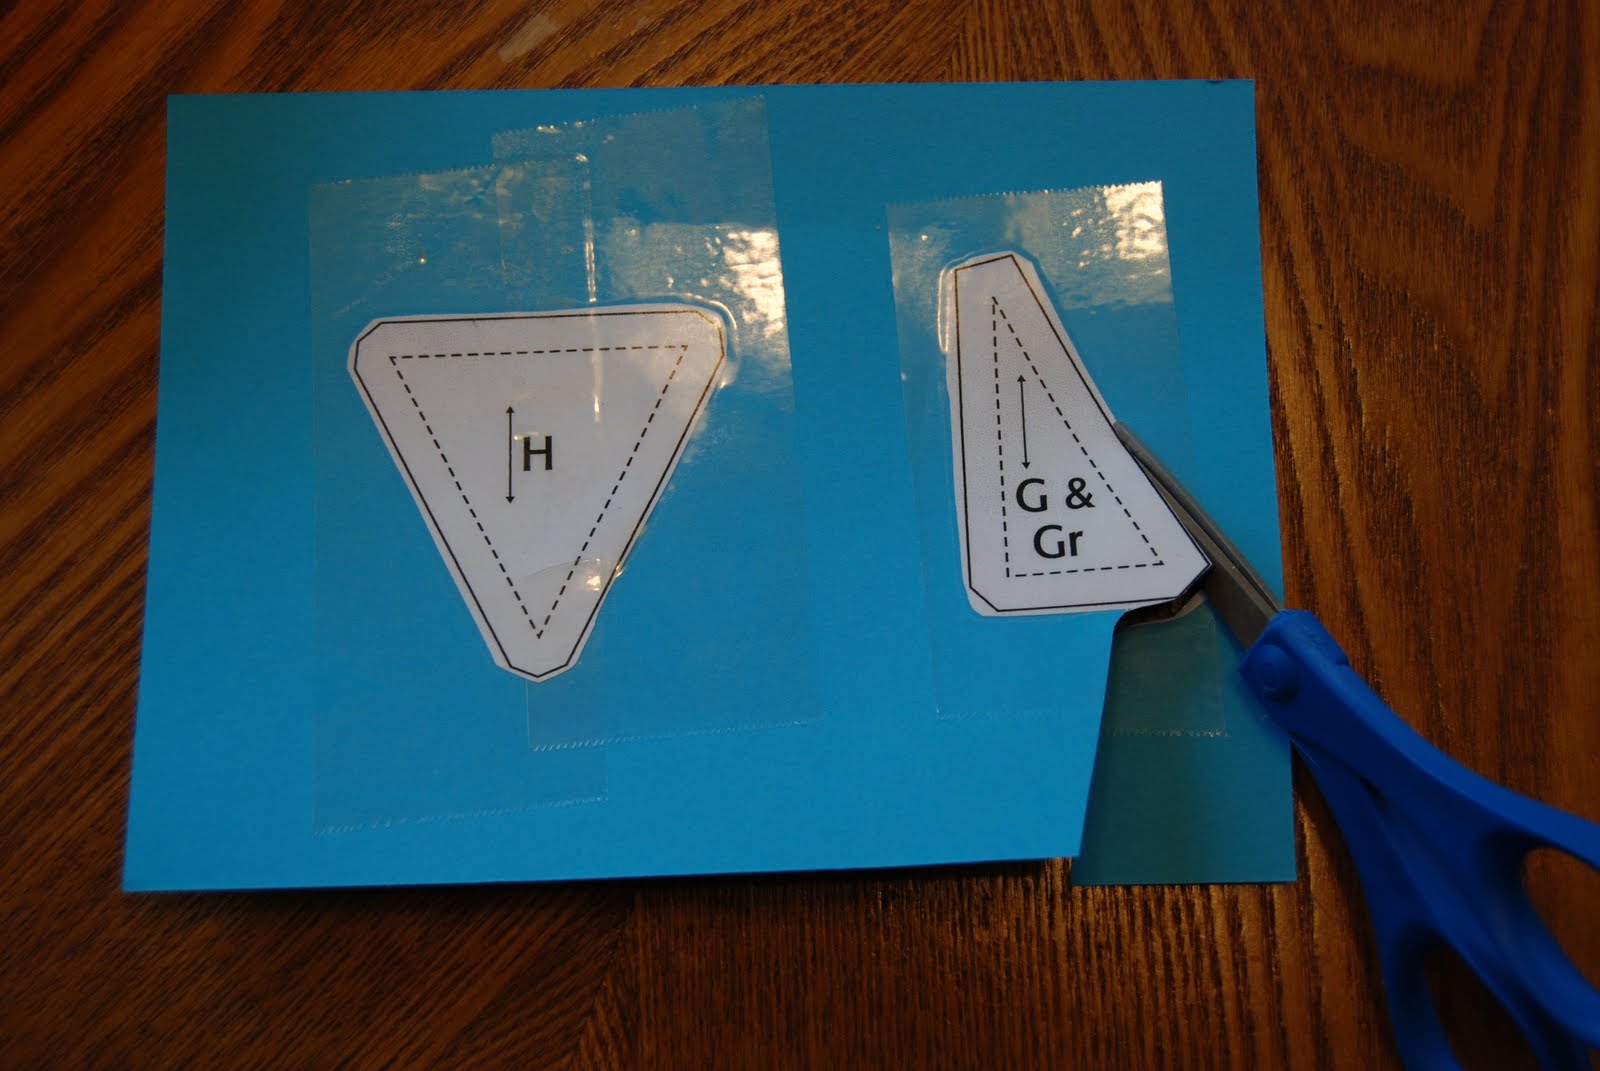
Step 3: Cut the pieces off the card stock – this is where neatness begins to matter!

You’ll notice that the pieces are not taped to the card stock anymore

Step 4: Place the template cut out onto the card stock cut out and wrap with packing tape and you are done and ready to get cutting!

All Done!

Super easy and it really does make cutting out templates from magazine so much easier! Give it a whirl the next time you are working on a pattern from a magazine – it really does make the whole process faster and more accurate.

Do you have tricks when using templates?

Here’s where I’m partying:


Ladybird Ln 


Tickled Pink at 504 Main 


They are talking about me at CraftGossip.com 

Work It Wednesday

This has been a busy week so far. I think that doing “Make a List Monday” has really helped me get things done.  So far I have made my first ever Apple Pie and I finished my big organizational project for my sewing cabinet – check back later this week for the big reveal!

Right now I am working on Part 2 of the Mystery Quilt Along that I am doing from Quiltmaker Magazine.

I completed my blocks from Part 1 before we moved and luckily I was smart enough to put all my fabric for the project into a giant ziplock bag so there were no losses from the move!

(How do you store WIP’s?)

Now I am working on cutting out the squares for part 2 – there is optional paper piecing or you can just sew the triangle templates that they provide you with, I am going to attempt sewing the triangle templates before I try paper piecing, it just seems like such a waste to me…besides, I’m out of printer paper!

I’ll put up a post when I complete my blocks from Part 2 and I’ll put up pictures of the blocks from Part 1 and we can all have a little fun trying to guess what the heck I’m making.

What are you working on this week?

P.S. If you are having trouble uploading images this morning switch to Edit in HTML mode – I picked up this tip from a commenter – Tiffany – on The Intrepid Thread blog – check out her blog, she is having a sale for her Blog Fans only today!!! Tiffany blogs at This Crafty Fox – check out her blog too while you are doing a little blog hopping, I think she is participating in every QAL that I considered joining this summer and I can’t wait to see her progress on each of them!

Apple Pie

For those of you who know me personally, you know about me and pies. I would rather have pie than cake on my birthday, heck if we had found a pie that was anywhere near equal to my mother’s we would have had pie at my wedding!  Making a pie has been a baking goal for a long time, it is also something that has severely intimidated me…probably for equally as long!

For Mother’s Day my parents got me a new book:

image courtesy of: http://www.marthastewart.com

I have baked from two of Martha’s previous books, Cupcakes and Cookies and been quite successful, so I decided for Father’s Day that I should bake my hubby a pie.

I bought all my ingredients and was home with them by 3:30 pm of Father’s Day. I started making my dough, according to Martha you need to make a Pate Brisee.  Little did I realize that the total refrigeration time for the entire pie would be a minimum of 2 hours. Needless to say, not much other than the dough got made on Father’s Day itself.  I made full use of Monday morning nap time though!

Here is my gorgeous pie in all its glory.

Don’t you just want to cut right into it?

I did!!!

And what is Apple Pie with out Vanilla Bean ice cream?

A match made in heaven 🙂

The hubby’s only critique was that it was not sweet enough, and on this one I had to agree with him wholeheartedly. Martha calls for only a 1/4 cup of sugar and it needed anywhere from 1/3 to 1/2.  Have you baked anything out of Martha’s Pies and Tarts?

This successful pie gives me the confidence to try more a more complicated recipe next time! Now if only I had all the fancy kitchen gadgets that Martha recommends, maybe then everything in her books wouldn’t take twice as long as her recipes say they should!

Make A List Monday

One of the blogs that I follow regularly, Confessions of a Fabric Addict does a regular Monday feature called “Make a List Monday”.  I decided that I would try it out. She does it to hold herself responsible for her projects and to see what she gets done. I have been following her for a couple of months now and decided that with everything I have on my plate these days this is a great idea!

This week – June 20 to June 27:

1. Finish my organization project for my fabric
2. Begin work on Part 2 of the QuiltMaker Mystery Quilt
3. Make an Apple Pie! – a late Father’s Day gift for my wonderful hubby 🙂

I know my list is kind of short this week, but they are all pretty big ticket items for me that require a lot of time and effort. Plus this weekend the hubby and I are going to install our new garage door opener, which is going to cut into any crafting time I may have.

Here is a sneaky peak at my organization project for the sewing room 🙂

What is on your list this week?

Amy's Creative Side

Testing A Tutorial

Sorry there was no Work It Wednesday this week. I spent a good part of Tuesday in the ER, luckily my bff Sunni, was able to not only drive me there but also watch Anne while I was there with my hubby.  Good friends are hard to come by and I am blessed to have her in my life!

Yesterday I got a little sewing done but more housework than anything else. Today though I finished up a little organizational project for my sewing room.

I have a lot of yarn, kind of like I have a lot of fabric. Until today this is what the yarn “section” of my sewing room has looked like:

Kind of ugly and drab and not enough storage.  The basket on the left is holding my acrylic yarns, the middle basket is holding mixed fiber yarn, and the basket on the right is holding 100% wool yarn. I wanted them separate for projects like felting. I still needed something more though because I had another entire BOX of yarn that I couldn’t unpack!!!

This is what my yarn space looks like now:

Don’t you just LOVE my new totes?!? I followed this tutorial that I found on Whipstitch. I struggled a little bit with the directions as far as the “box” corners go, but in the end they turned out really well.  I had to change her measurements to fit my needs.  If you would like to know my measurements to fit my shelf just let me know in the comments and I will send them to you!

Here is a close up of my baskets, and yes I do know that the print is going the wrong direction…I meant to do that!!! (Not! I just didn’t think about the directionality of the print when cutting.)

And they are jam packed with my yarn! Woohoo for a clean and organized space, now I just need to get to work on the sewing cabinet, wait until you see what I have planned for it!!!

What tutorials have you followed lately, tell me in the comments 🙂

Scroll to Top