Hello! And welcome to my blog! My name is Melissa and I am your host for today. I was so excited when Kim asked me to be part of the Scrap Quilt Challenge series that she is hosting on her blog Persimon Dreams.
A little bit about me first (sorry for all of my regular visitors!). My name is Melissa, I am an army wife to an amazing soldier and the mother to the most precocious and wonderful 6 year old girl. I’ve been quilting for 14 years and designing for the last 5 years. You can find me in Make Modern Magazine, the upcoming issue of Generation Q Magazine and at my pattern shop over on Craftsy. I also have over 60 free tutorials on my blog here!
When you have been quilting as long as I have you tend to have a large scrap collection (my husband thinks I am a hoarder, but I swear I haven’t reached that status yet!). One of the things I love most about scraps is that they lead themselves nice to improv quilting which is something I have been focusing on lately.

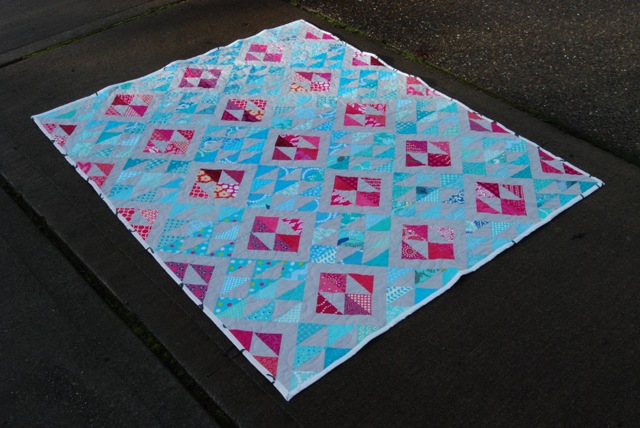
This is a mini I made for a friend recently, you can see I was focused on improv flying geese and improv curves.
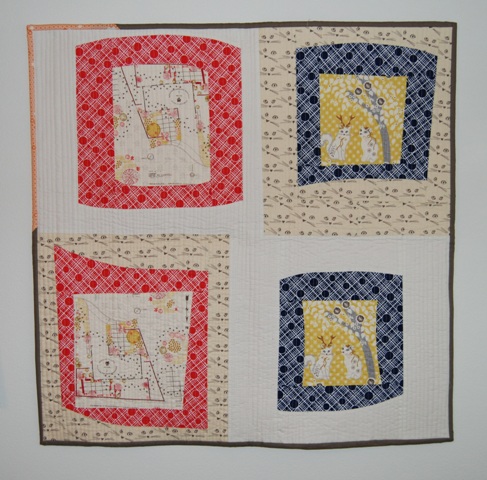
 This was a mini that I made for a challenge at Sewtopia Portland last November. I really wanted to focus on curves and was trying to echo the print on the left side. (Incidentally, my daughter loves this and it hangs in her room.)
Curves may seem intimidating and you may be thinking that you don’t want to pin, but the best thing about improv curves is that you don’t need to pin if you do a gentle enough curve!
The key to improv curves is in the cutting.
Step 1: Layer two fabrics. The bottom fabric for your curve should be on top, both should be right sides up. Layer your fabrics so that the bottom half of the curve is on top of the upper half the curve. They should only overlap just enough to cut the curve out – this prevents unnecessary waste. See picture below. The bubble fabric is the top half of my curve and the flower will be the bottom half, note how they overlap. Cut a gentle curve.

Here are the fabrics separated:

Step 2: Sew your curves. Place the curves right sides together and slowly sew them. As you are sewing them together gently ease the fabrics together.
 It is easiest if you hold one fabric in each hand and gently line them up together as you sew. Use a quarter inch seam.
Step 3: Press, I find it easier to press to one side when doing curves, but use the method that works best for you.
 You will notice that the pieces are slightly wonky, no worries, the next step is to trim!
Step 4: trim to desired size and shape.
 If the pieces don’t lay 100% flat, use copious amounts of spray starch and don’t panic, once you quilt it you will never know that it wasn’t 100% flat! I promise!
I hope you will give improv curves a whirl! If you use my tutorial please link back to me, I would love to see what you made. You can also use the hashtag #sbsdpatterns
You can also link up your finish here, I am sharing this link with Kim.


 I had so much fun making this little rainbow mini quilt. It measures 18″ x 18″ and was a great opportunity to use up some of my solid charms that I have collected through swaps over the years. This is the last project I will quilt on my Janome before my new Innova long arm arrives. I am heading to pick it up this weekend and it will be built on the 23rd. In the meantime, I will be starting on a king size quilt today that will be my first quilt on the long arm. Good thing I got a 12 foot table!


