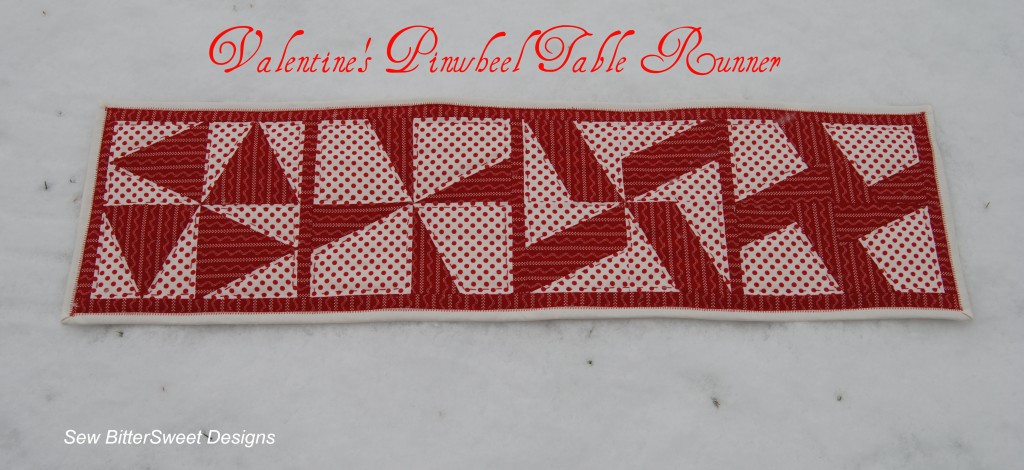
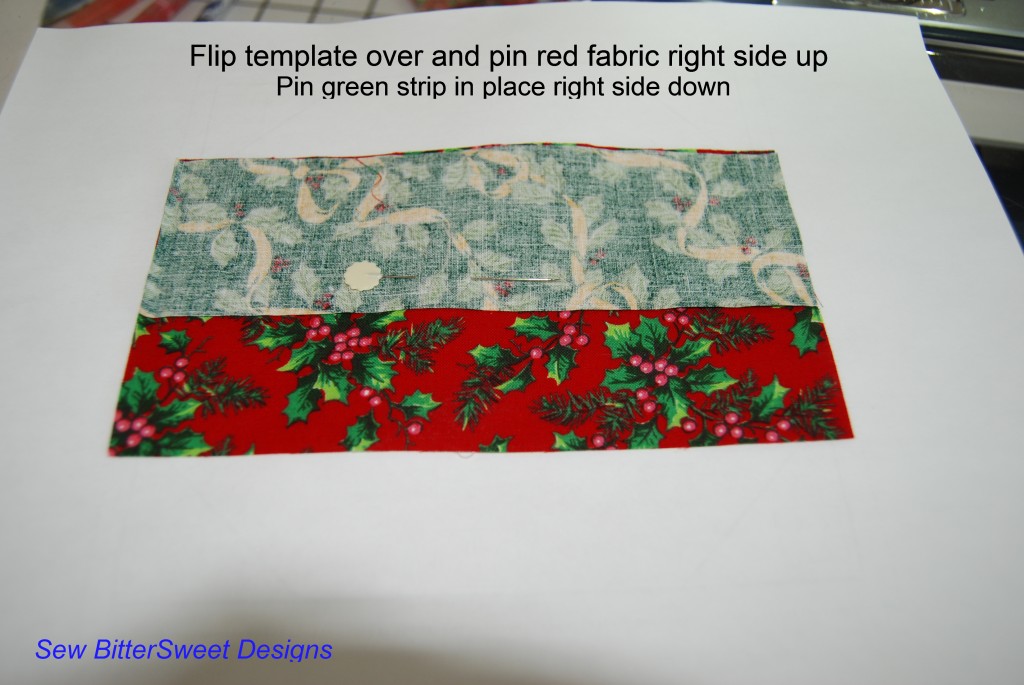
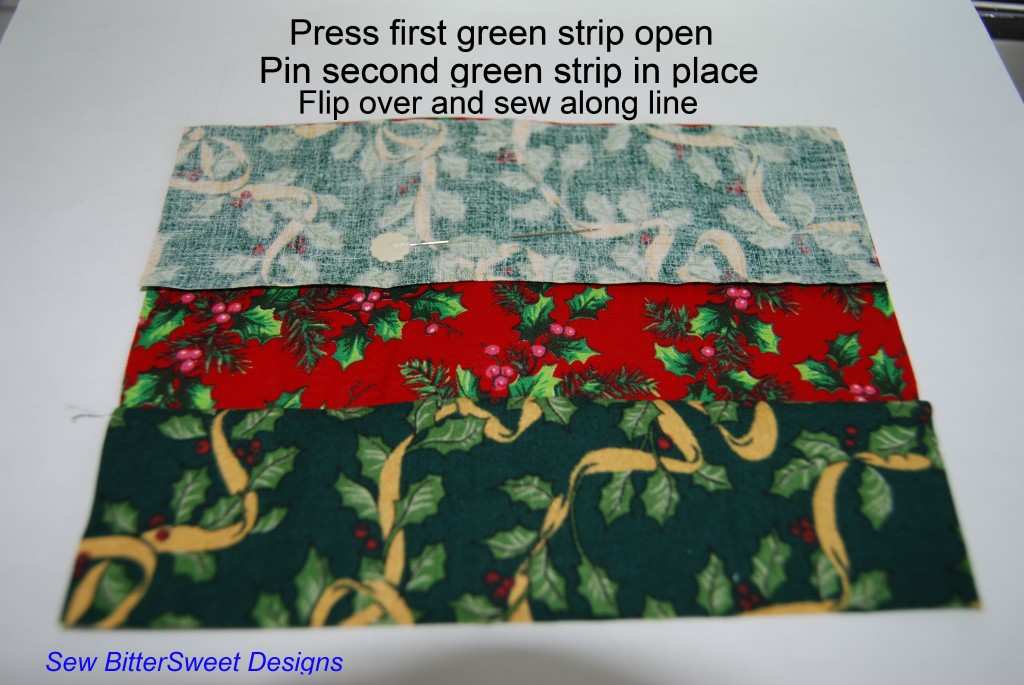
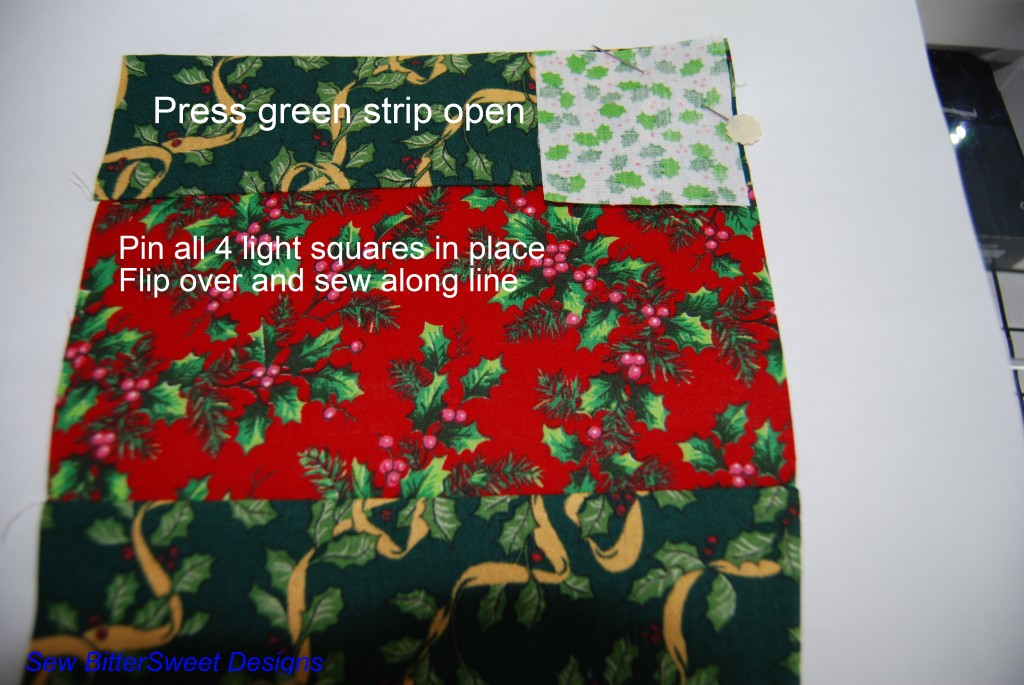
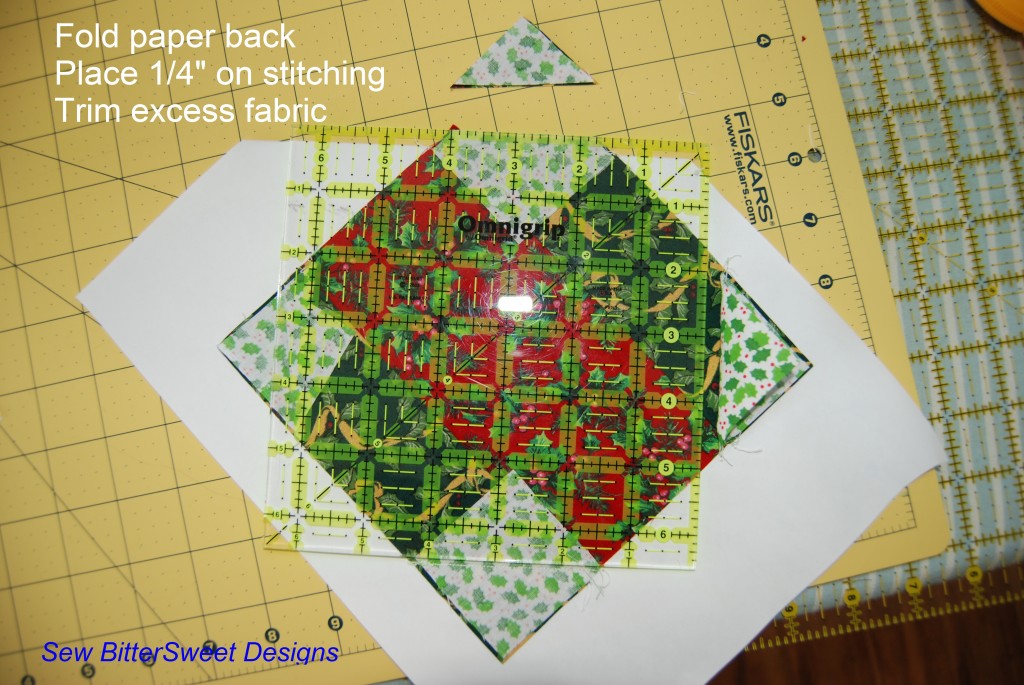
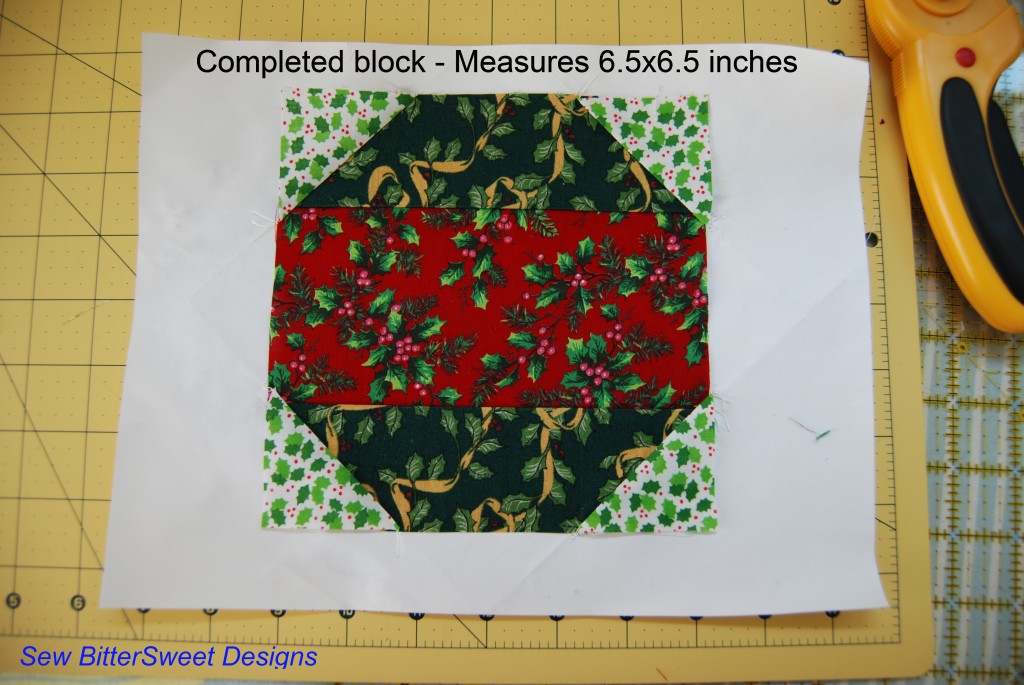
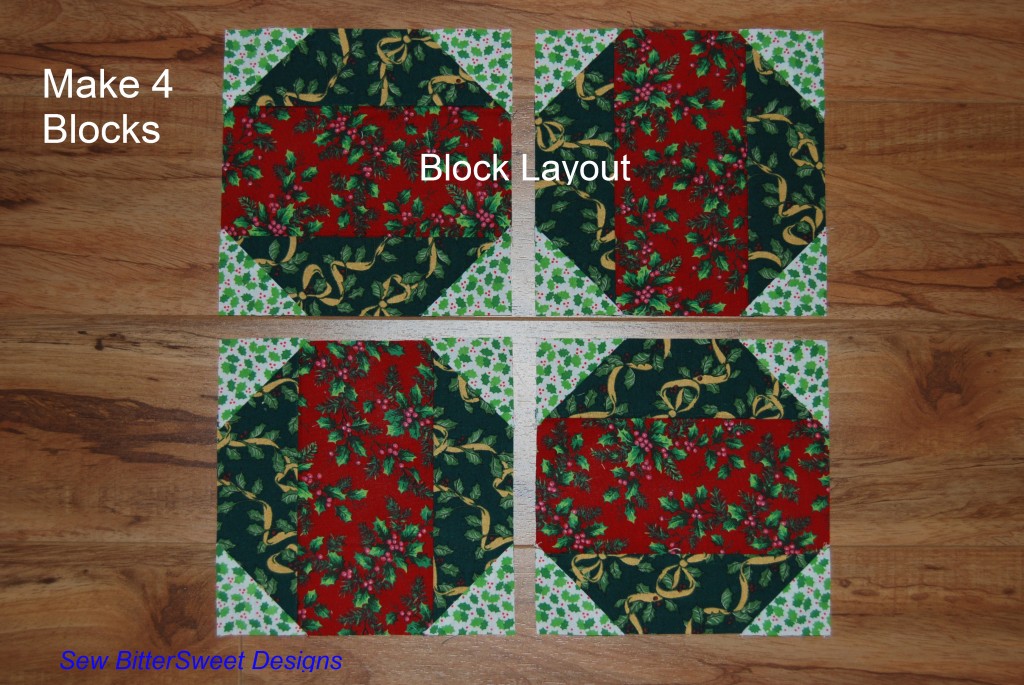
 Here are the tutorials for the 2nd, 3rd, and 4th blocks in my Valentine’s Pinwheel Table Runner. The first block can be found here.
You will want to continue using the two 4.5” strips that you cut yesterday.
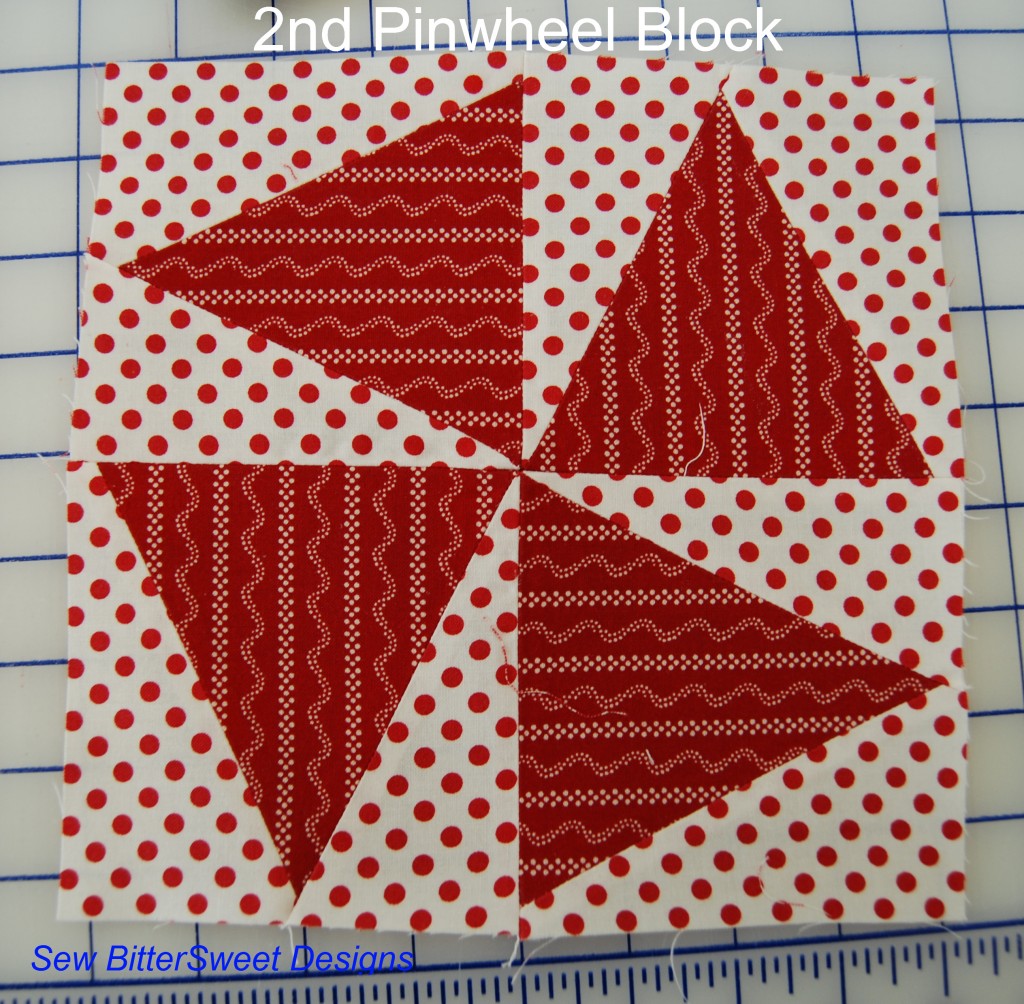
2nd Pinwheel Block
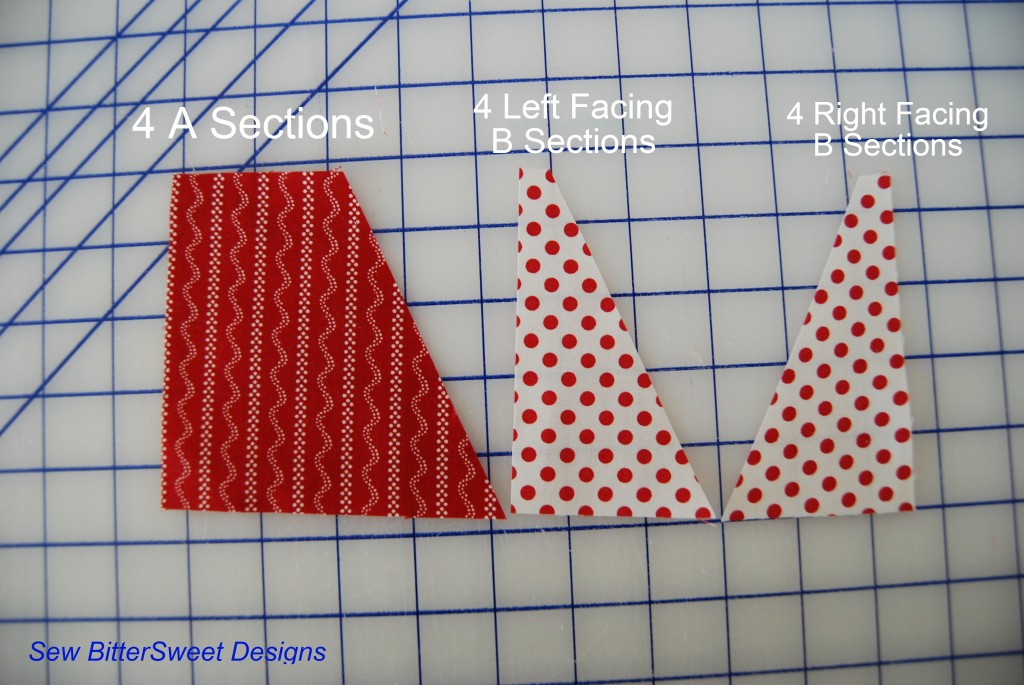
 Make sure that you cut your left and right B sections correctly – cut your first left sections from the left side of the fabric and your right sections from the right side of the fabric. Meaning when you have your strip laid out in front of you – cut 4 pieces starting on the left (which is probably natural for right handed people) and cut 4 pieces from the right hand side of the fabric (a little less natural for us righties).
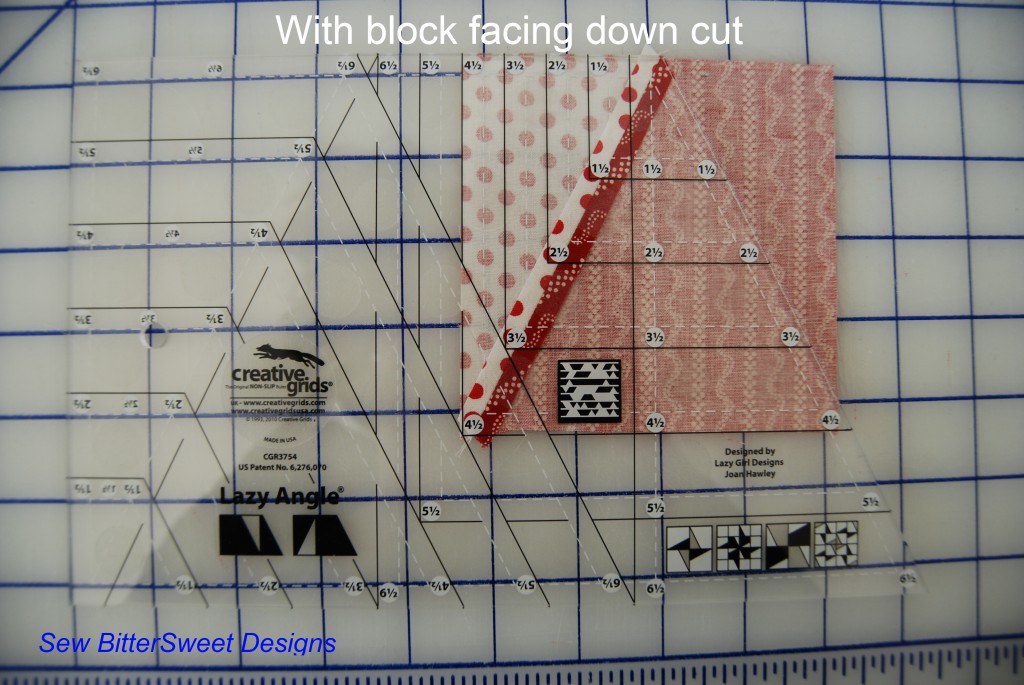
 Sew your first section together, then place the block right side facing down on your cutting mat and create a new A section (see picture).


 Following the photo above sew your sections together and voila – block 2 complete.
3rd Pinwheel Block
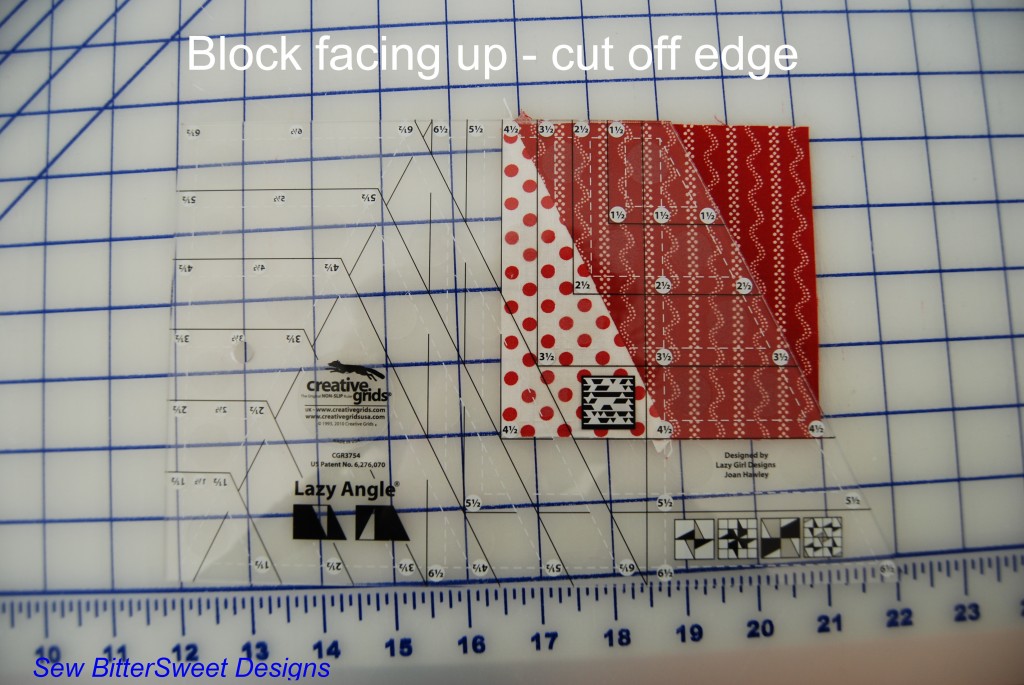
 This block is what happens when you accidently (ok, when I accidently!) cut your block right side facing up instead of facing down!
The cutting is slightly different:
 Sew your first section together and this time you will place the block facing up to create a new A section (see picture).

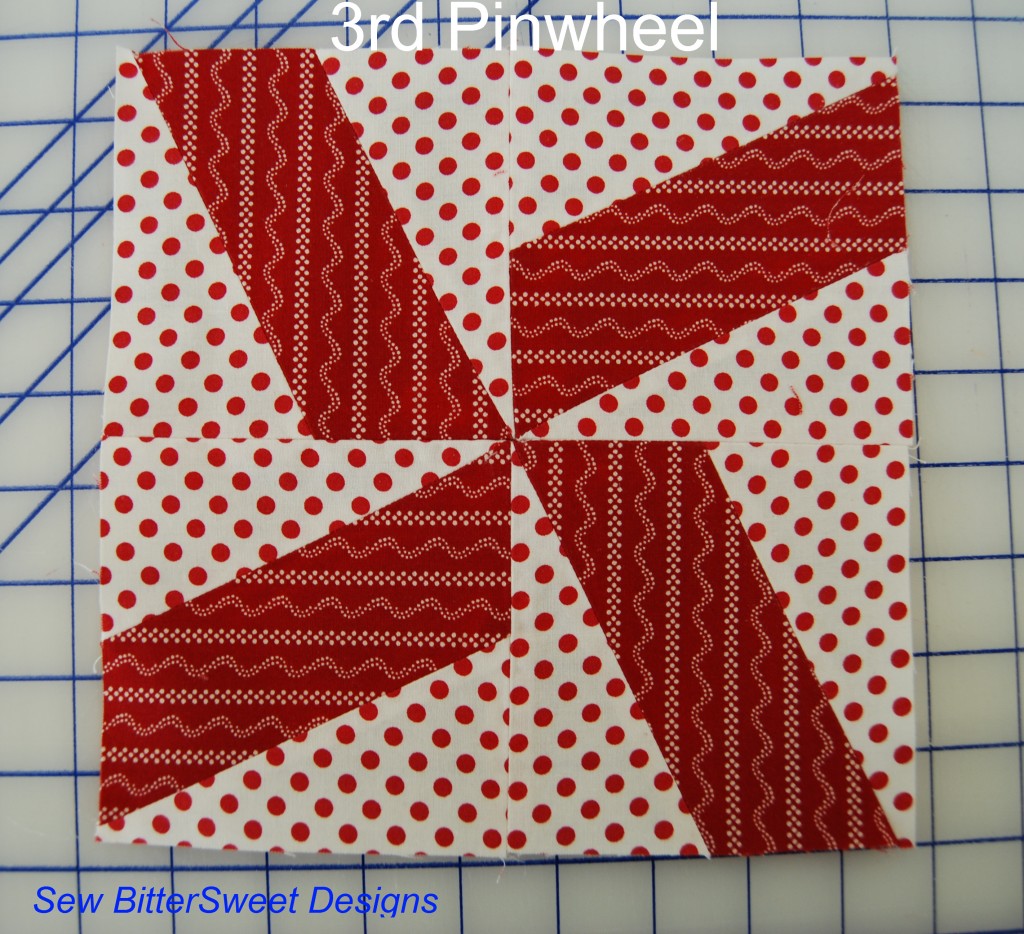
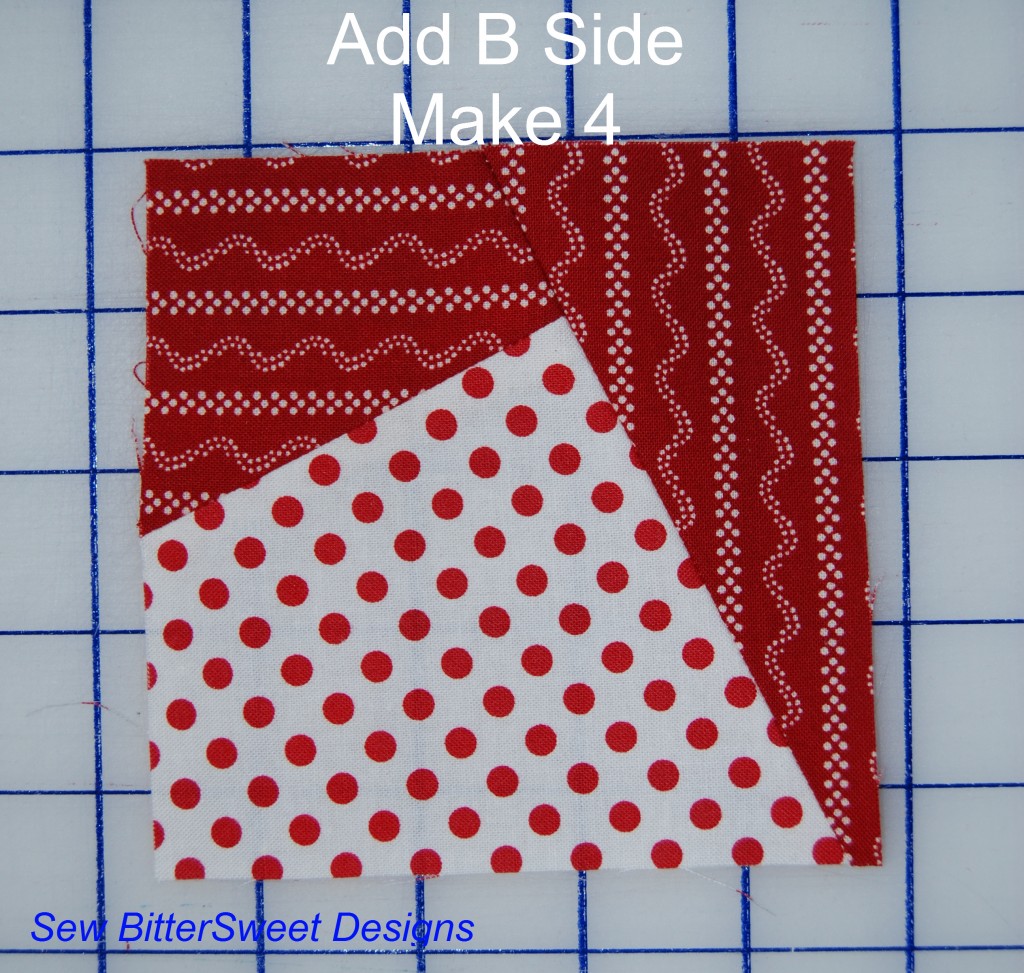
Attach second B section. Make 4 total – follow photo above to layout your block – voila! Block 3 complete!
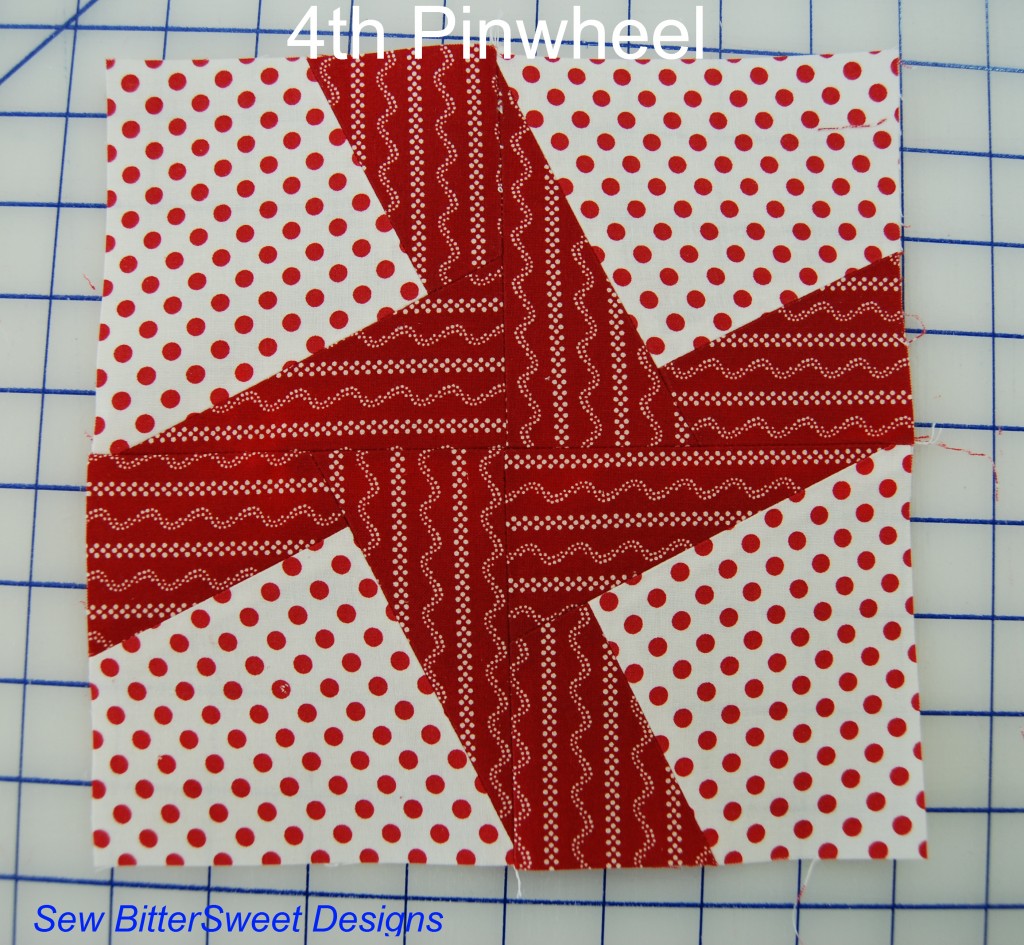
4th Pinwheel Block – this one is slightly more complicated, but I really love the way it looks:
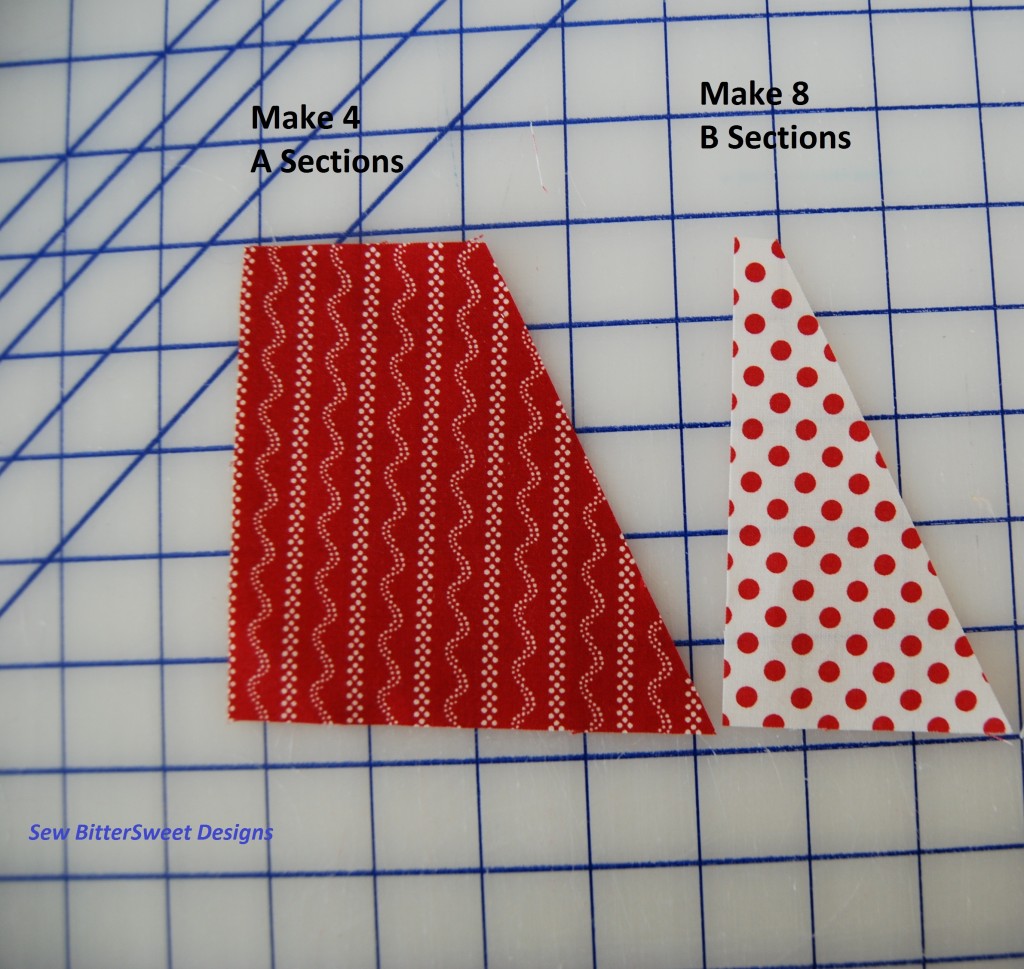
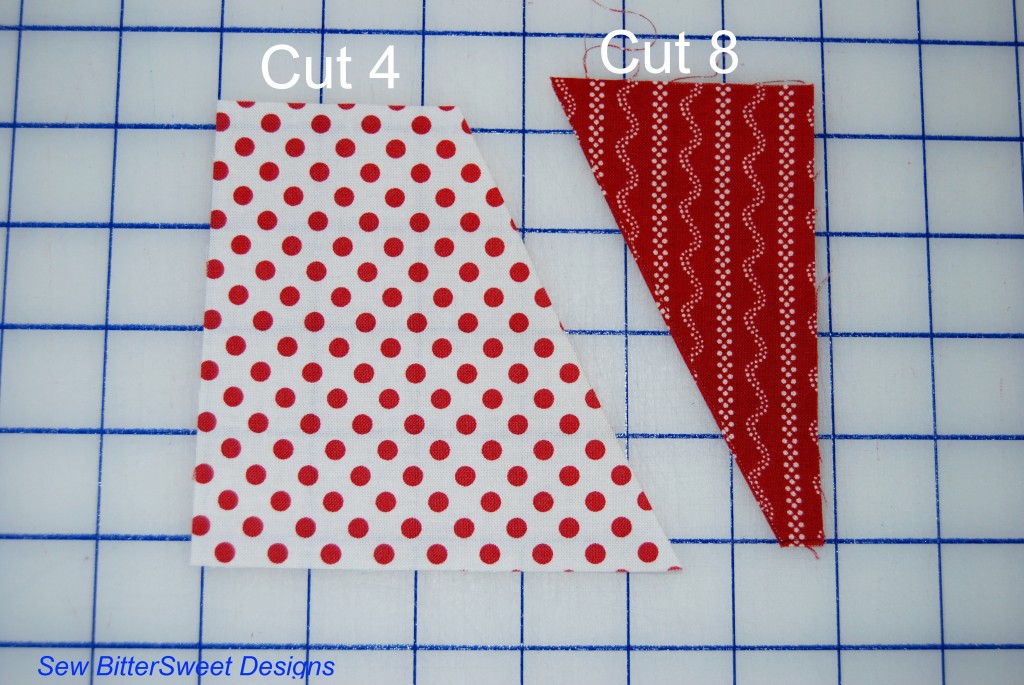
 This time you will need four A sections and eight B sections:
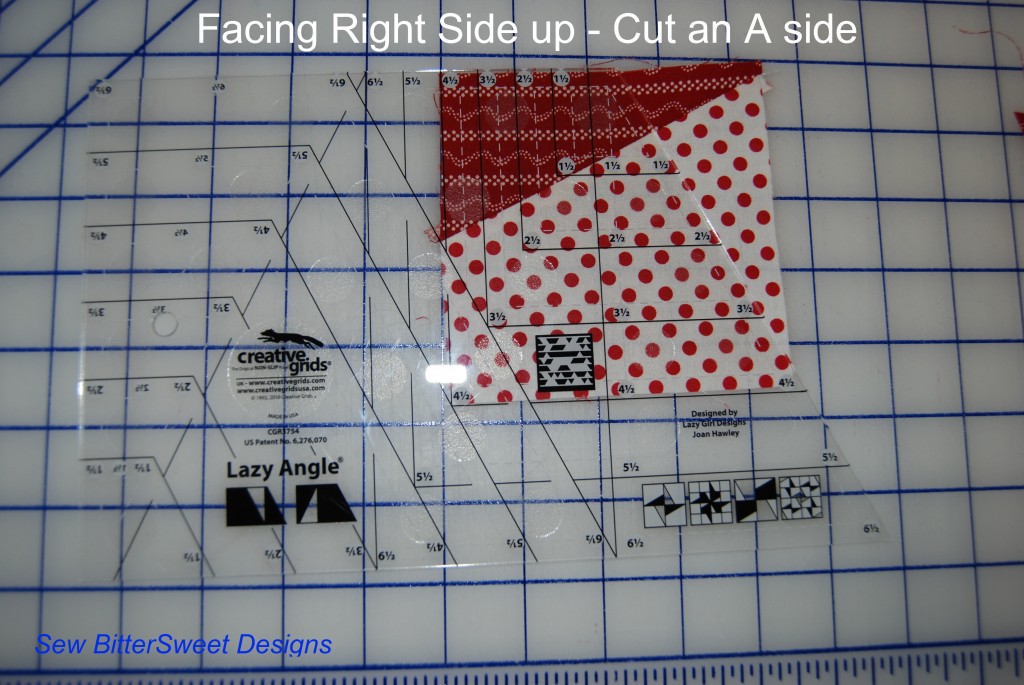
 Sew together first two sections, the placing right side facing up with red triangle at the top – create new A section (see picture):
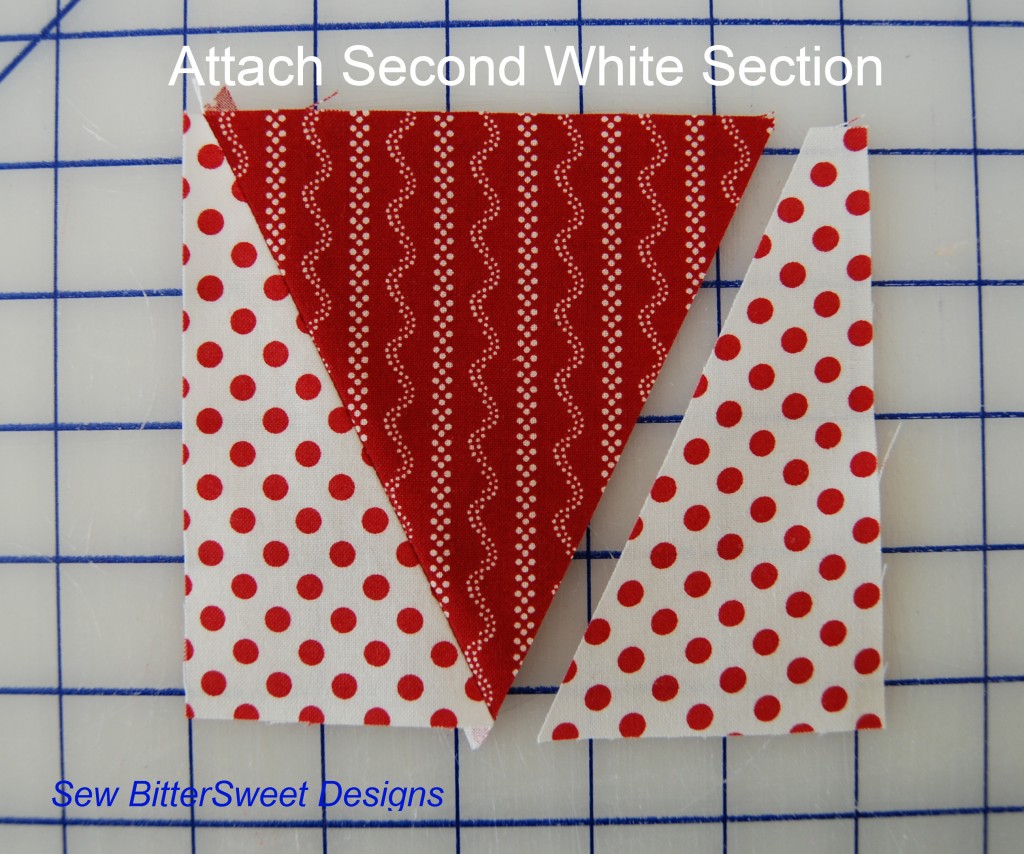
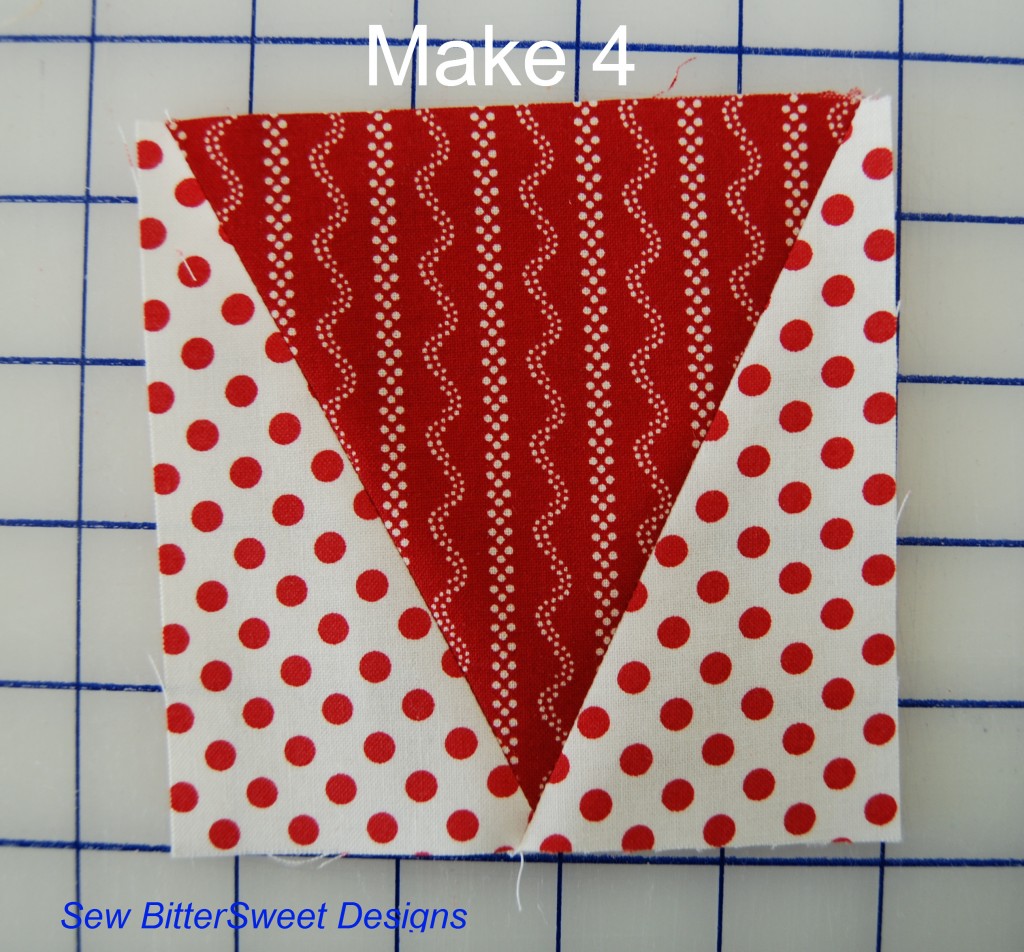
 Attach second B section . Make 4 total – follow photo above to layout your block – voila! Block 4 complete!
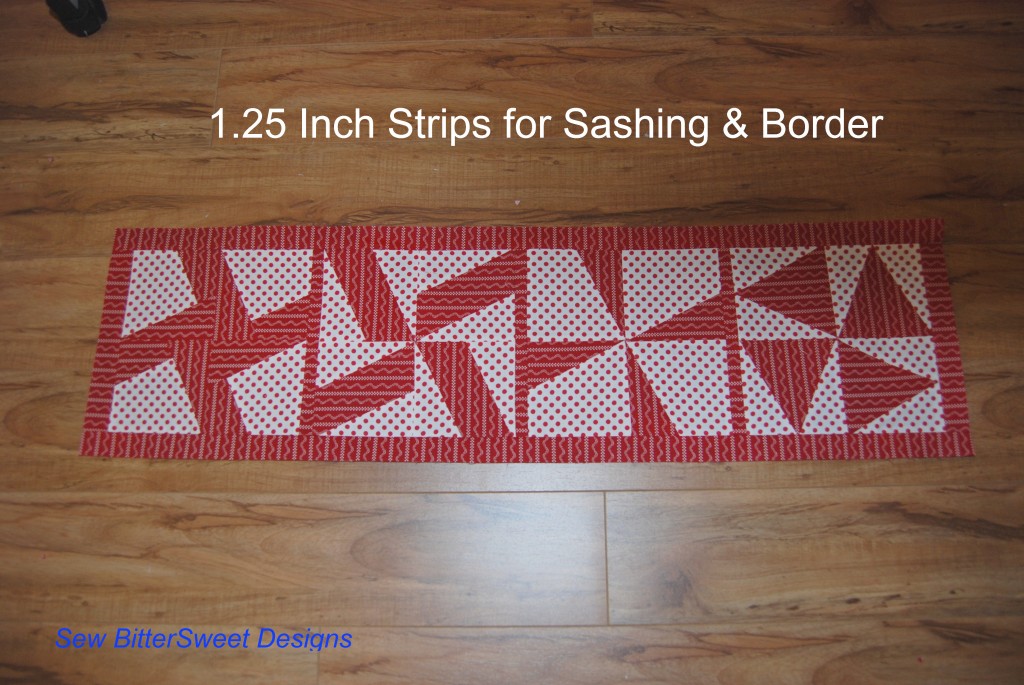
 Cutting for borders and sashing – you will need 4 strips of the red fabric for your sashing

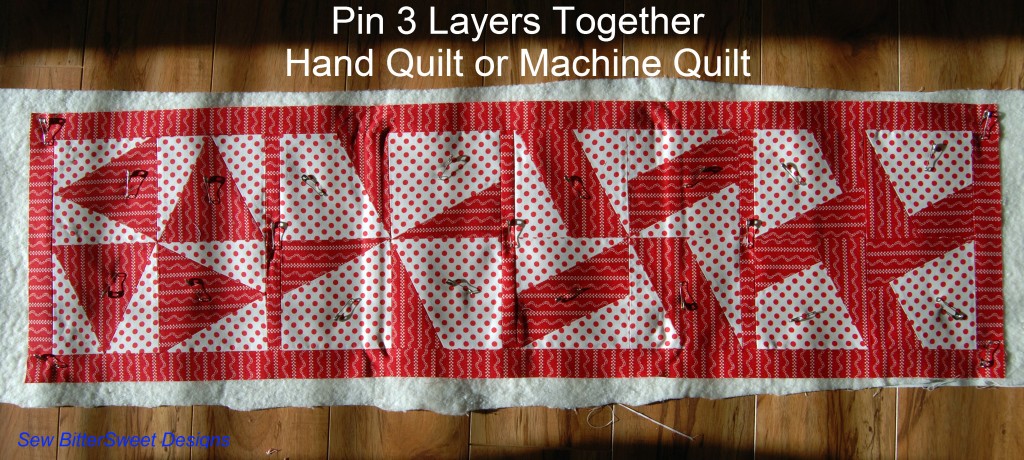
I used a scrap piece of fabric for the backing and also scraps from a larger project for the batting. I decided to hand quilt this project. I pin basted like crazy.

This was the first time I ever hand quilted anything – my hand issues have always kept me leery of doing it for fear of extra pain and swelling. I decided it was finally the time to give it a go (and yes, I did have extra swelling and pain the next day – but it was short lived and the resulting project was so beautiful that it was WORTH IT!). I asked my friend Jenna from SewHappyGeek for some guidance and she oh so graciously offered to do a video tutorial! If you are even the least bit interested in learning this technique – please go check out her video – it is totally worth the 5.5 minutes of your time. She did a wonderful job with it plus you can finally put a voice to the words on the screen!
Come back tomorrow for a quick tutorial on how to do a machine binding!
If you haven’t already – make sure you enter to win the Lazy Angle Ruler and a Layer Cake from Fat Quarter Shop!
 NOTE: Don’t forget, I am one of the bloggers who is going to lose Google Friend Connect in March 2012, please take a moment and follow me via Bloglovin’, Facebook, RSS or networked blogs. You are important to me and I want to be able to stay in contact with you! Check my side bar for all the best ways to stay in touch after GFC goes bye bye!
 Let’s start with the cutting instructions:
 Usually when I make HSTs I cut my squares larger, but for this block, I find my results are more accurate if I cut to these measurements and starch like crazy.
 Next – take 2 of your HSTs and assemble your large triangle sections (make 2):
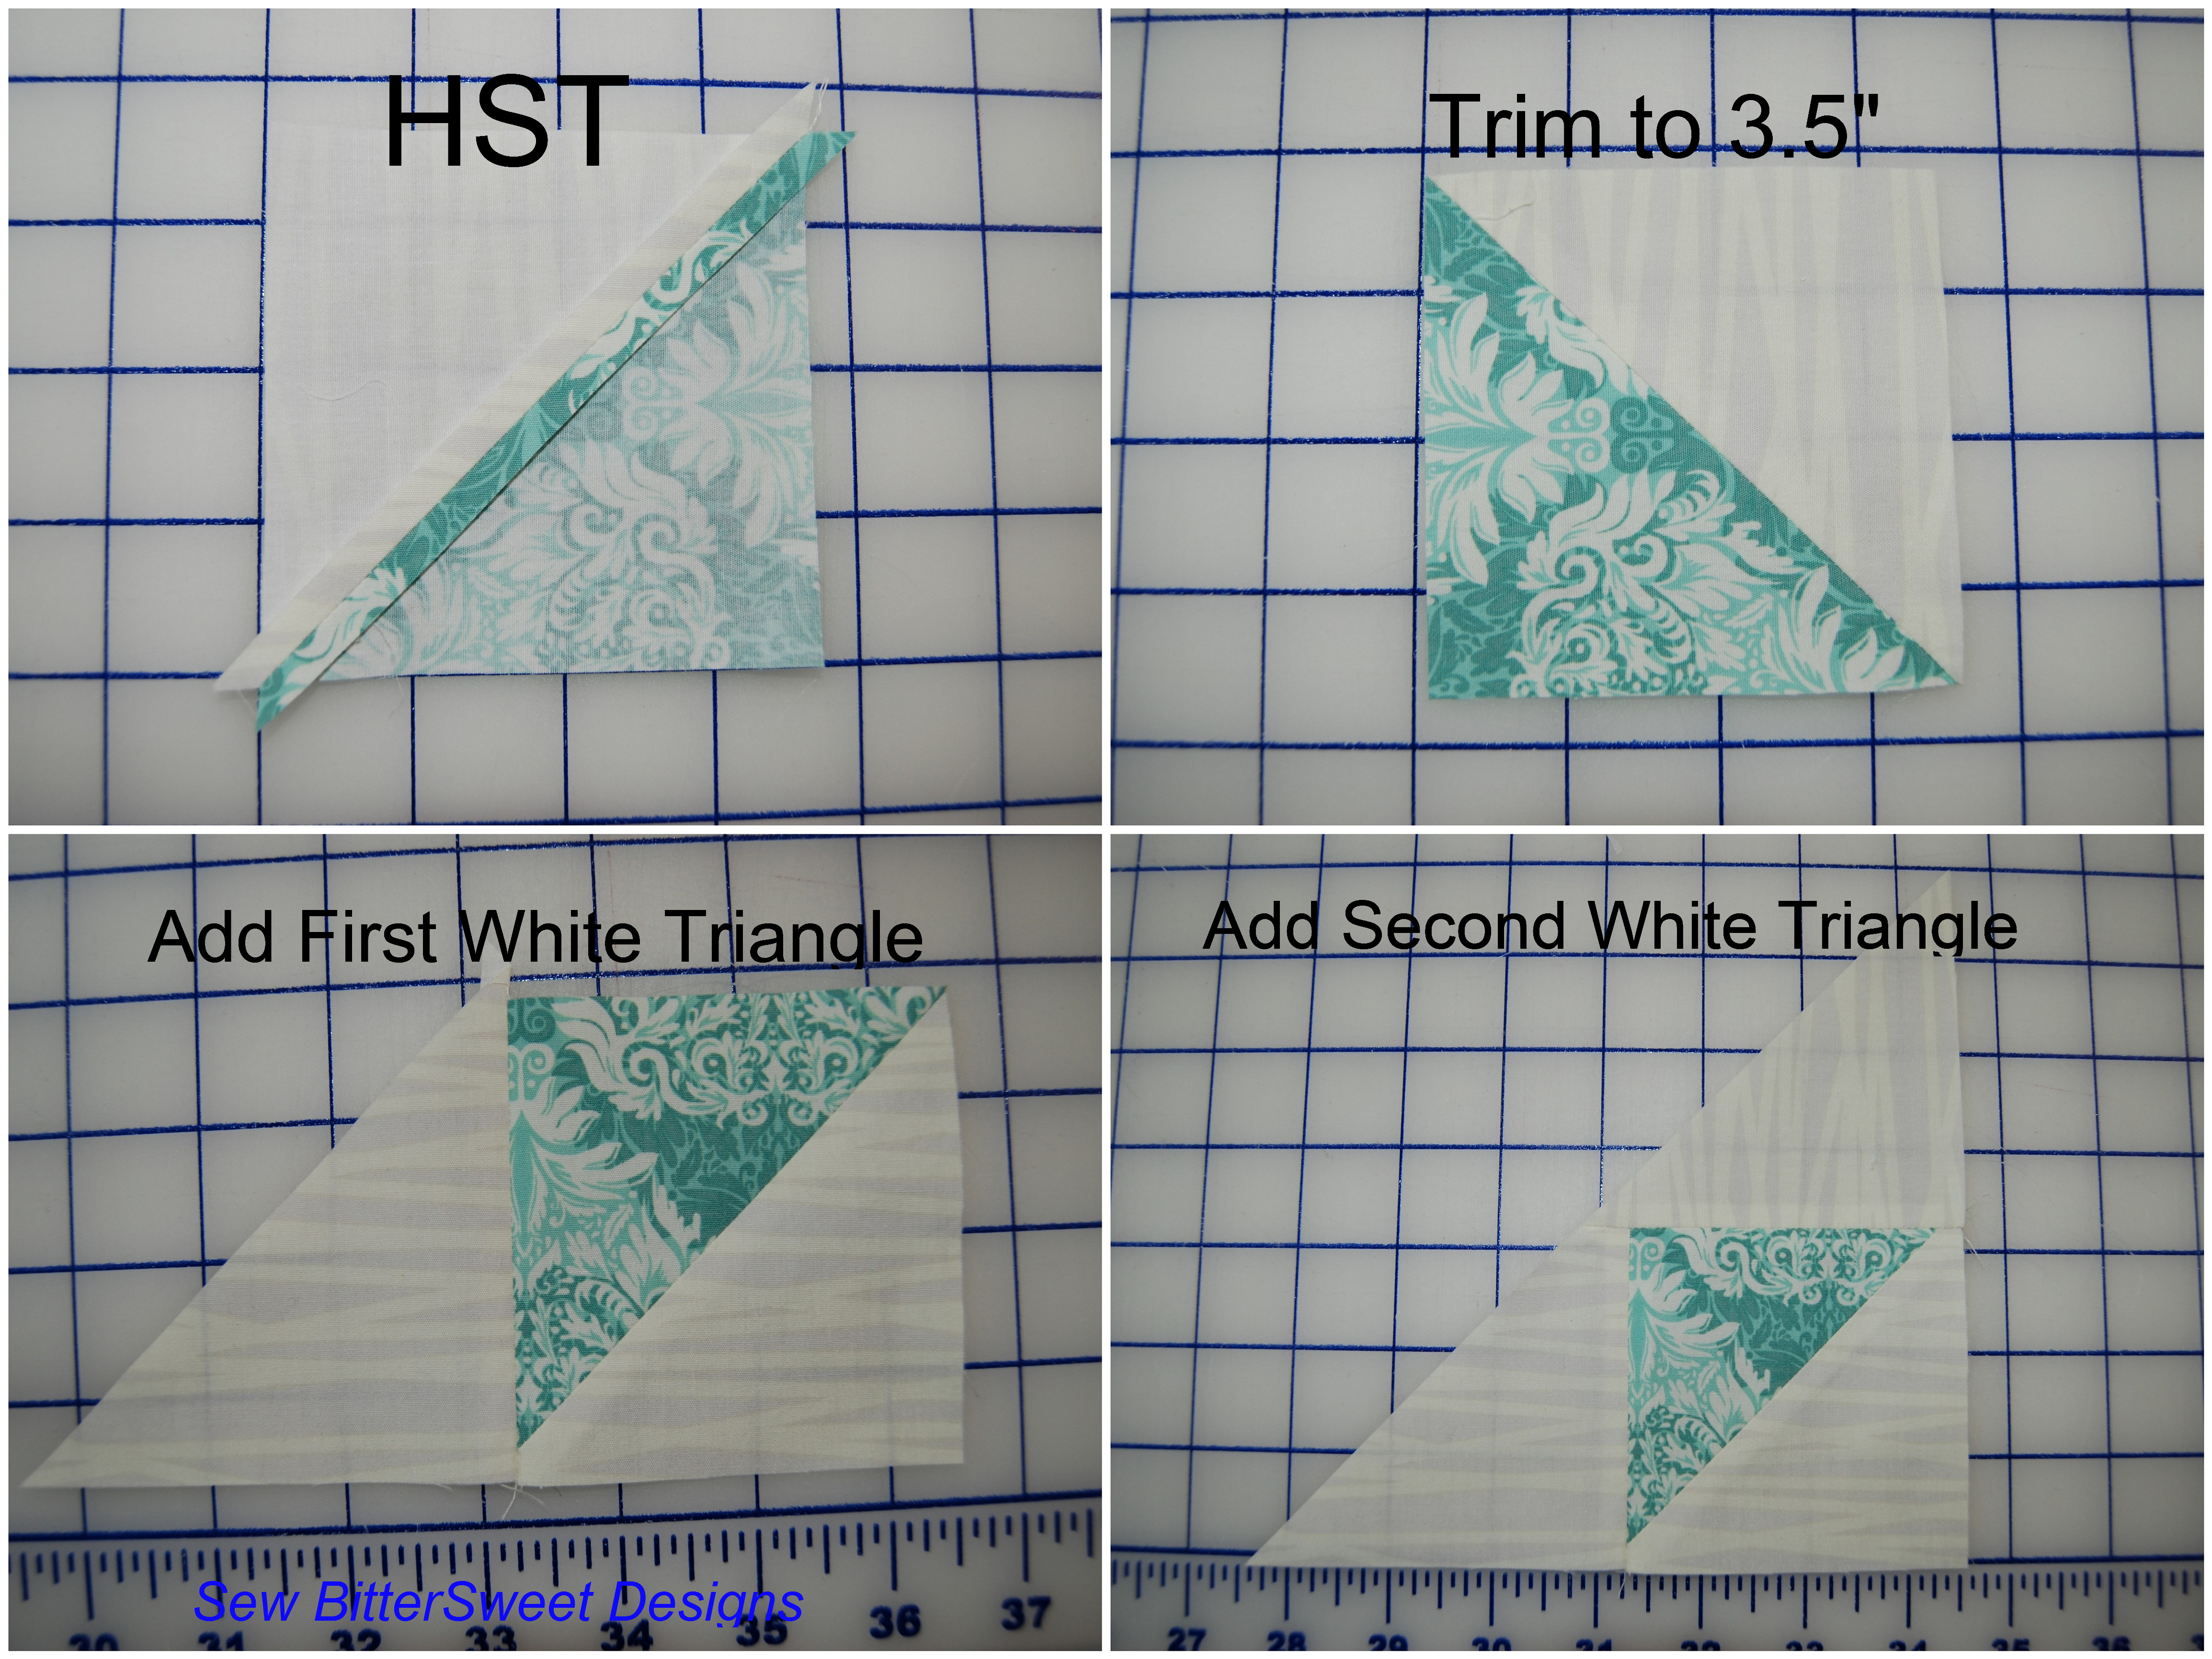 Next – take your large red triangles and assemble two 6.5″ blocks:
 Layout your block and sew together – voila – you’re done!
 If you have any questions – don’t hesitate to ask! melissa (at) sewbittersweetdesigns (dot) com.

