Budget Crafter – Printer Paper as Stabilizer
Are you on a budget? I am. My husband and I are building a house so we are on a tight tight tight budget. I have been finding every possible way to save money and yet still have my creative outlets.
When I made my butterfly quilt, I had to machine applique 32 butterflies.
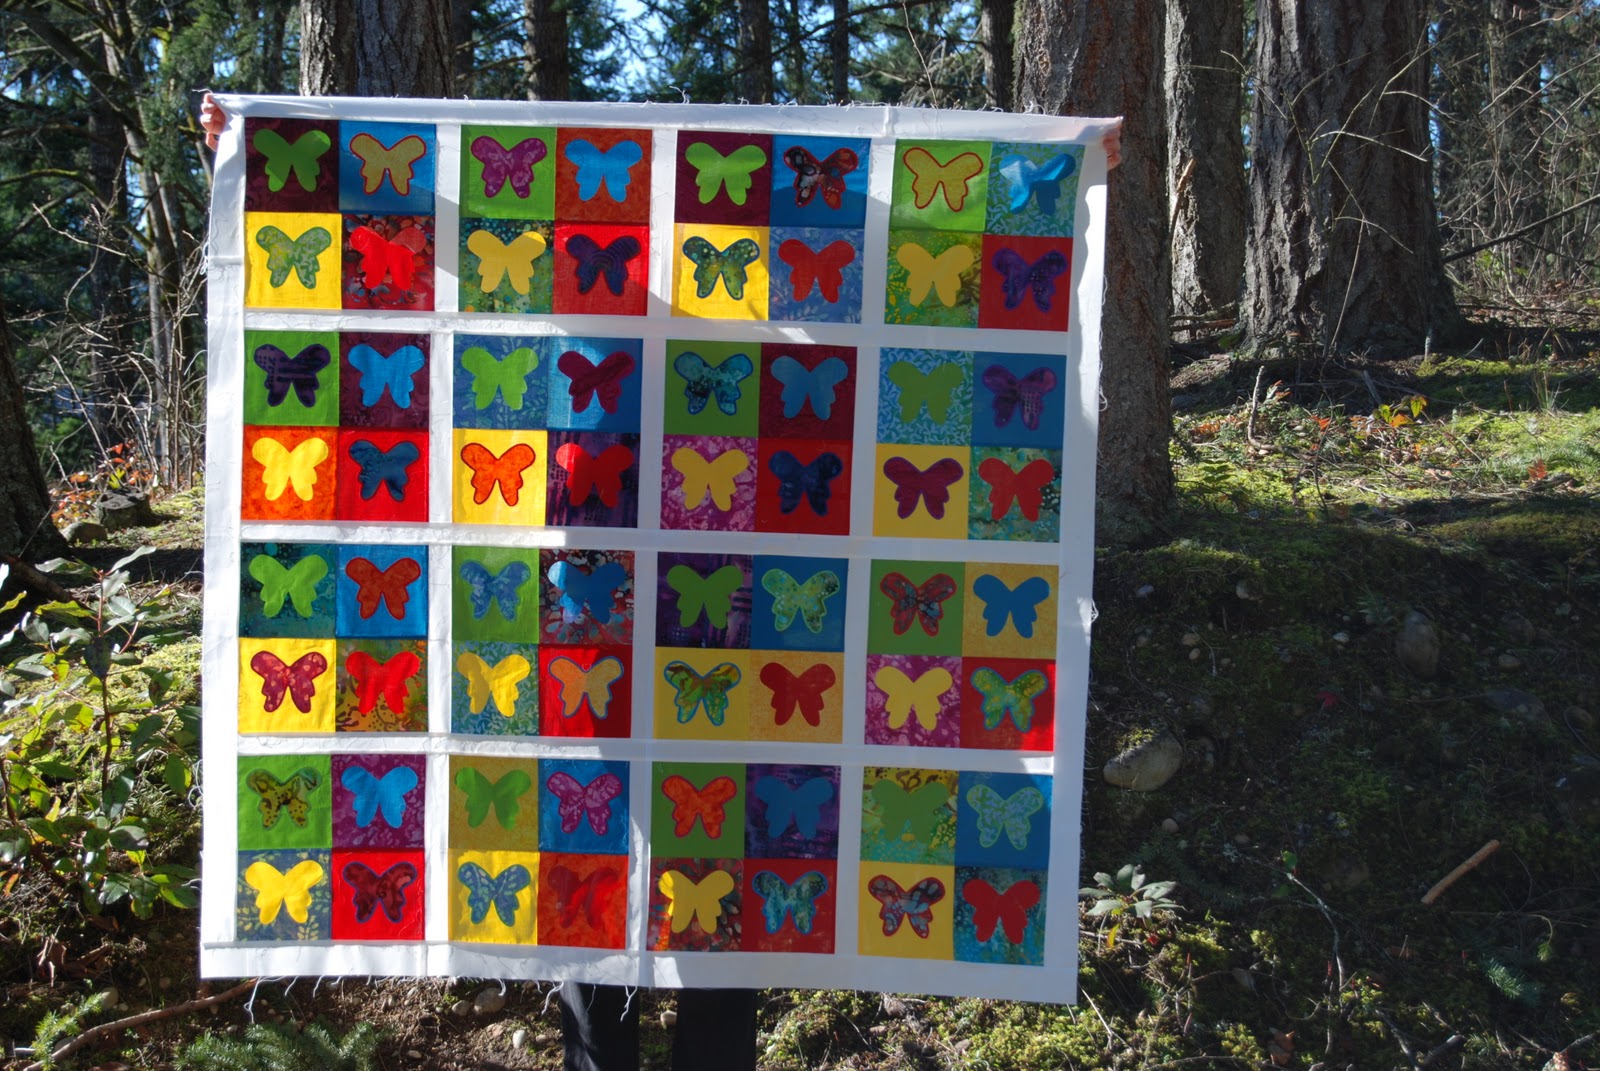
I don’t need to tell you that it was A LOT of butterflies and it required a lot of stabilizer and fusible web. The fusible web I couldn’t really do much about other than purchase it in bulk when it went on sale at my local craft store. The stabilizer…well that is where I cheated said craft store out of my dollars!
A roll of Sulky Tear Easy stabilizer, which is the brand I usually purchase, costs $12.99 at my local craft store. I needed just one roll, but as I said we are building a house and every penny counts these days. I decided to cheat a little. I already had printer paper in the house and I used that as my stabilizer! After all, one ream of multipurpose printer paper at a big box office supply store is only $4.99. I only needed 16 sheets (1/2 a sheet per butterfly)! If I had needed to purchase the paper, it would have added up to only $0.16 for ALL my butterflies! Plus I would have been able to use the leftover paper in both of my printers, so it truly would have been a multipurpose purchase.
Here is what you do:

You will need:
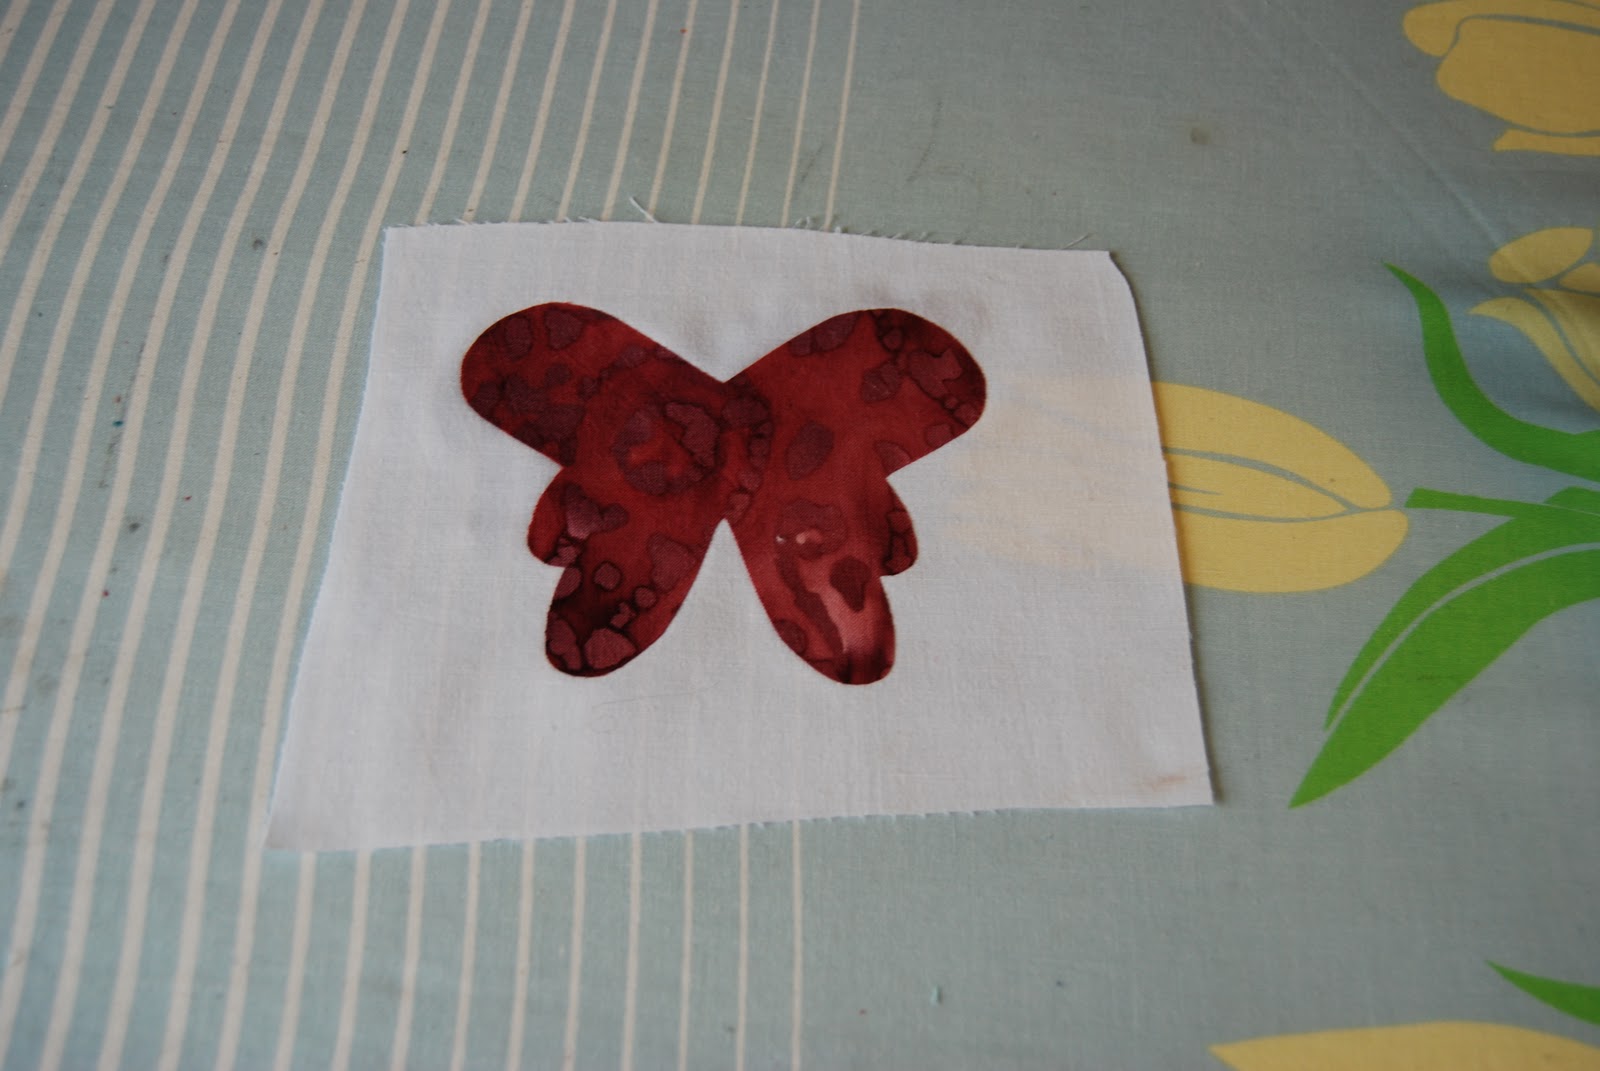
- A pretty shape – my butterfly already has the fusible web on the back
- A piece of fabric you are going to applique the shape on to – I used basic muslin
- Some pretty thread for the stitching
- A sheet of printer paper
Step one: Fuse shape to background fabric
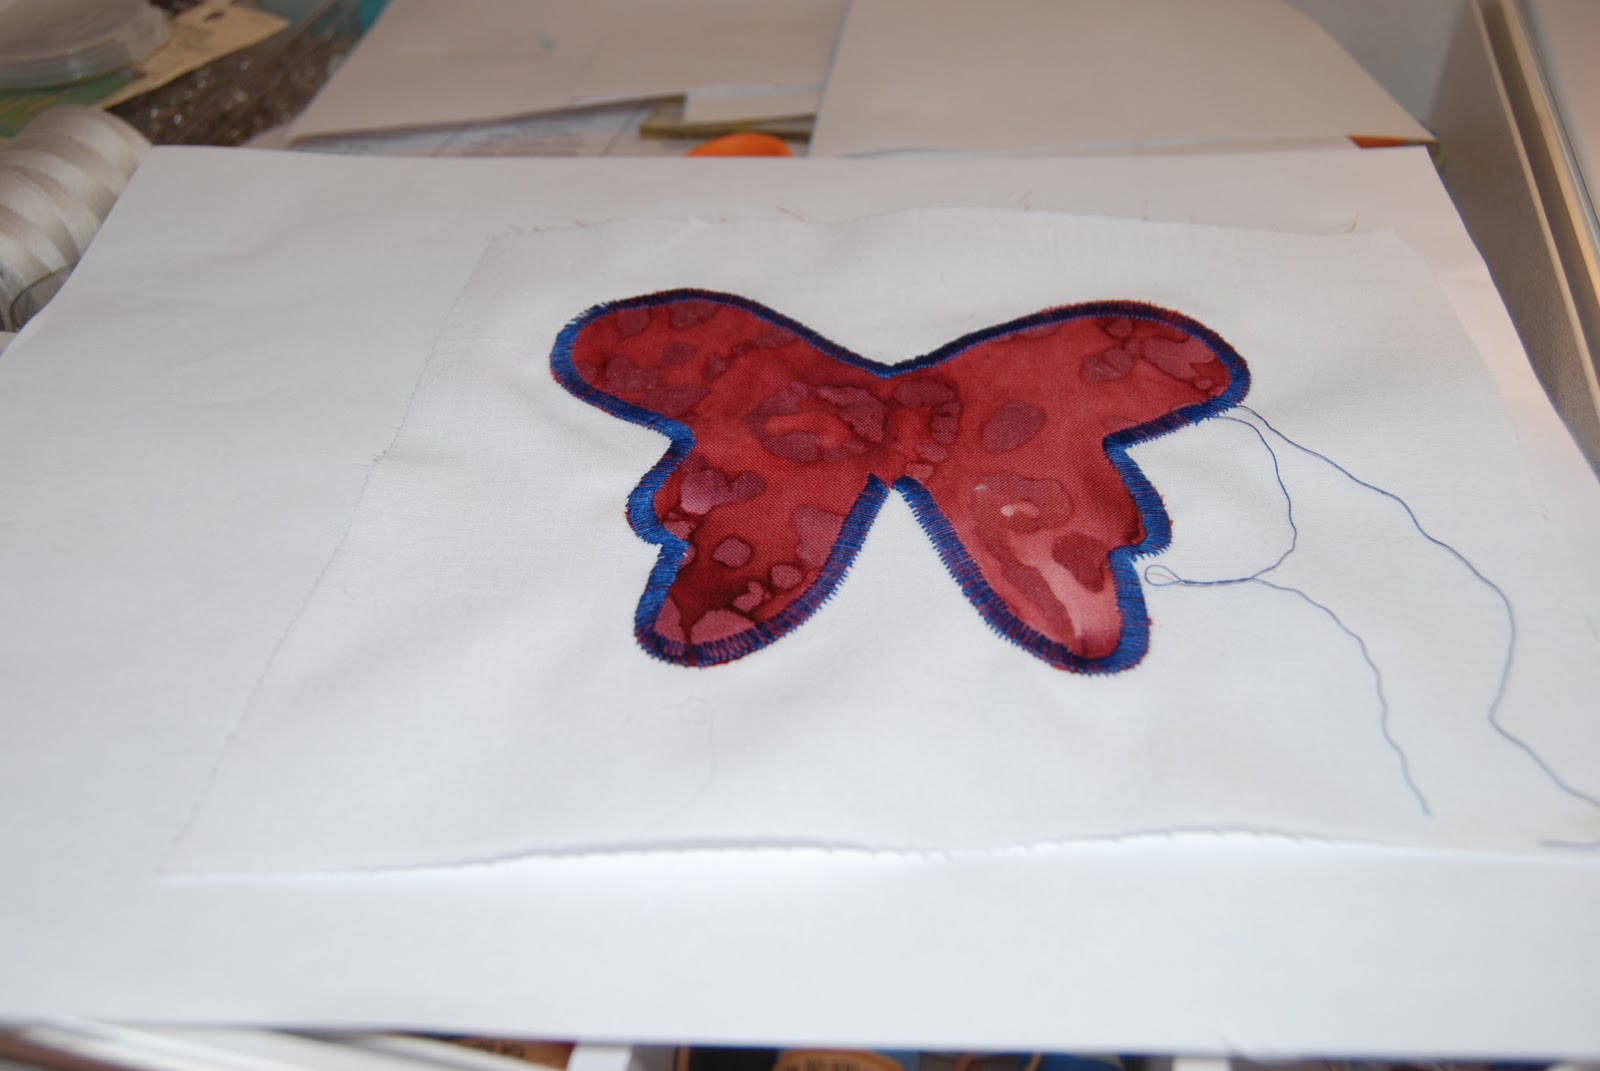
Step two: set up your machine and place your fabric on top of your printer paper.
My machine is set up for a zig zag stitch, a number 2 tension, and .38 stitch length.
 |
| Ready to stitch |
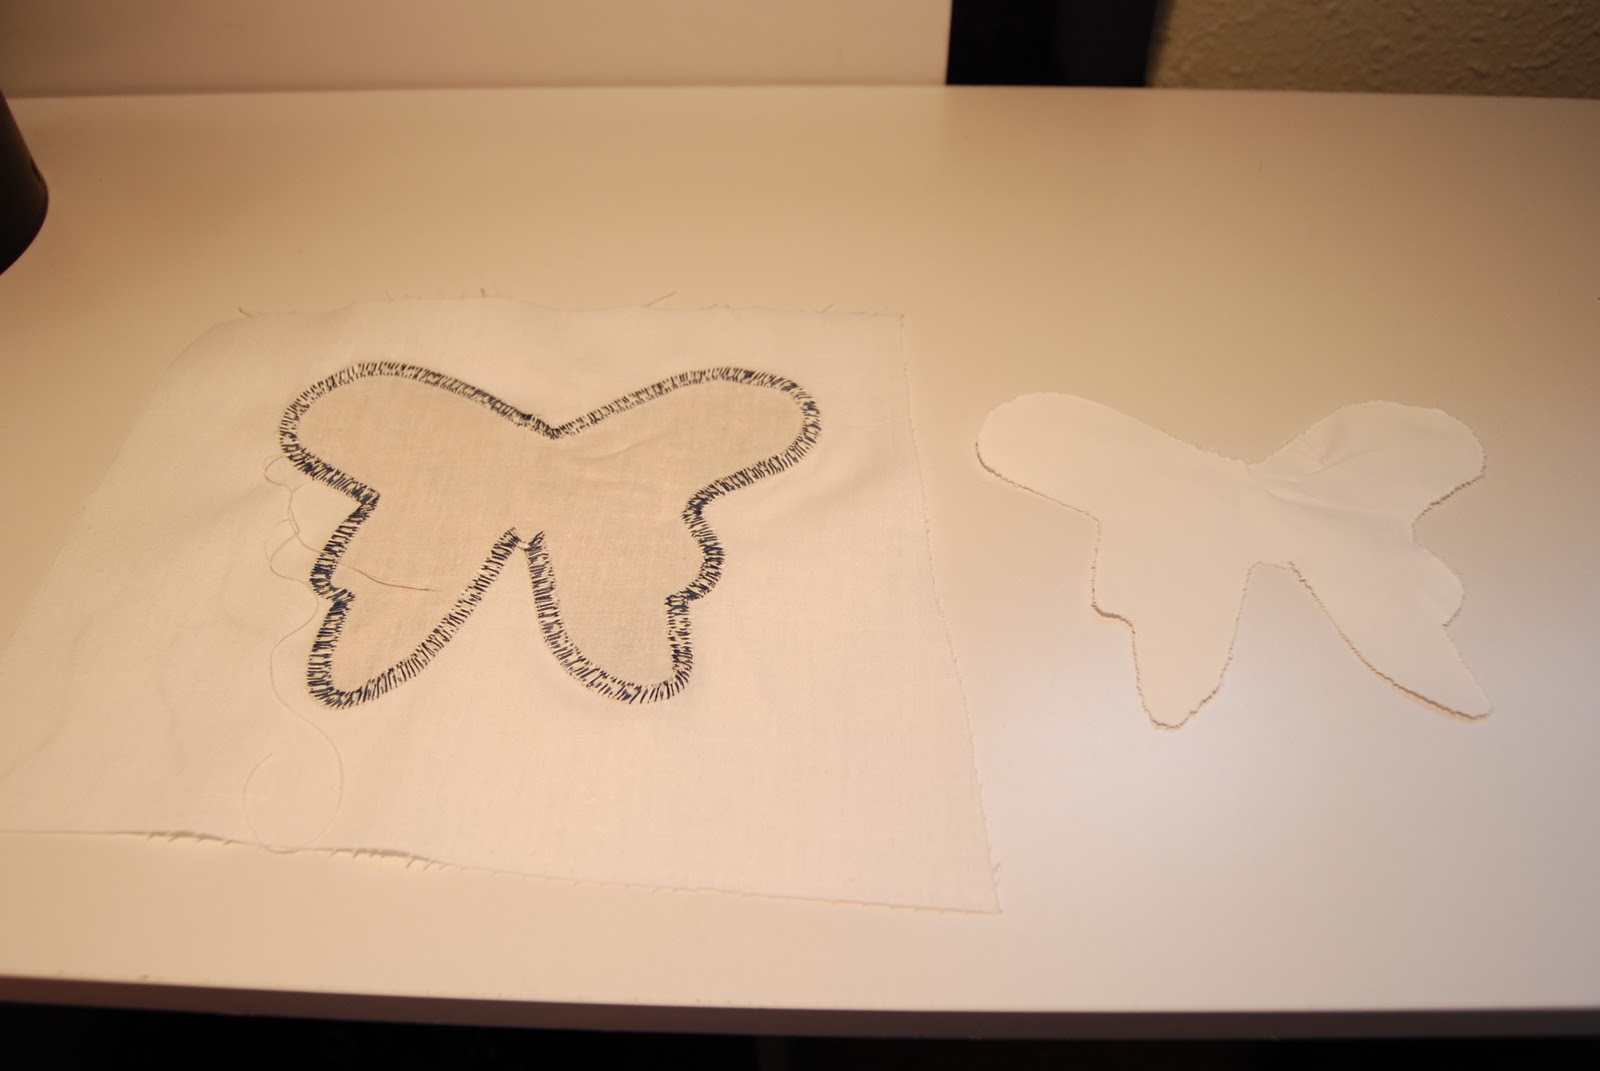
Step 3: Applique your piece as you normally would. For detailed instructions, see my post here.
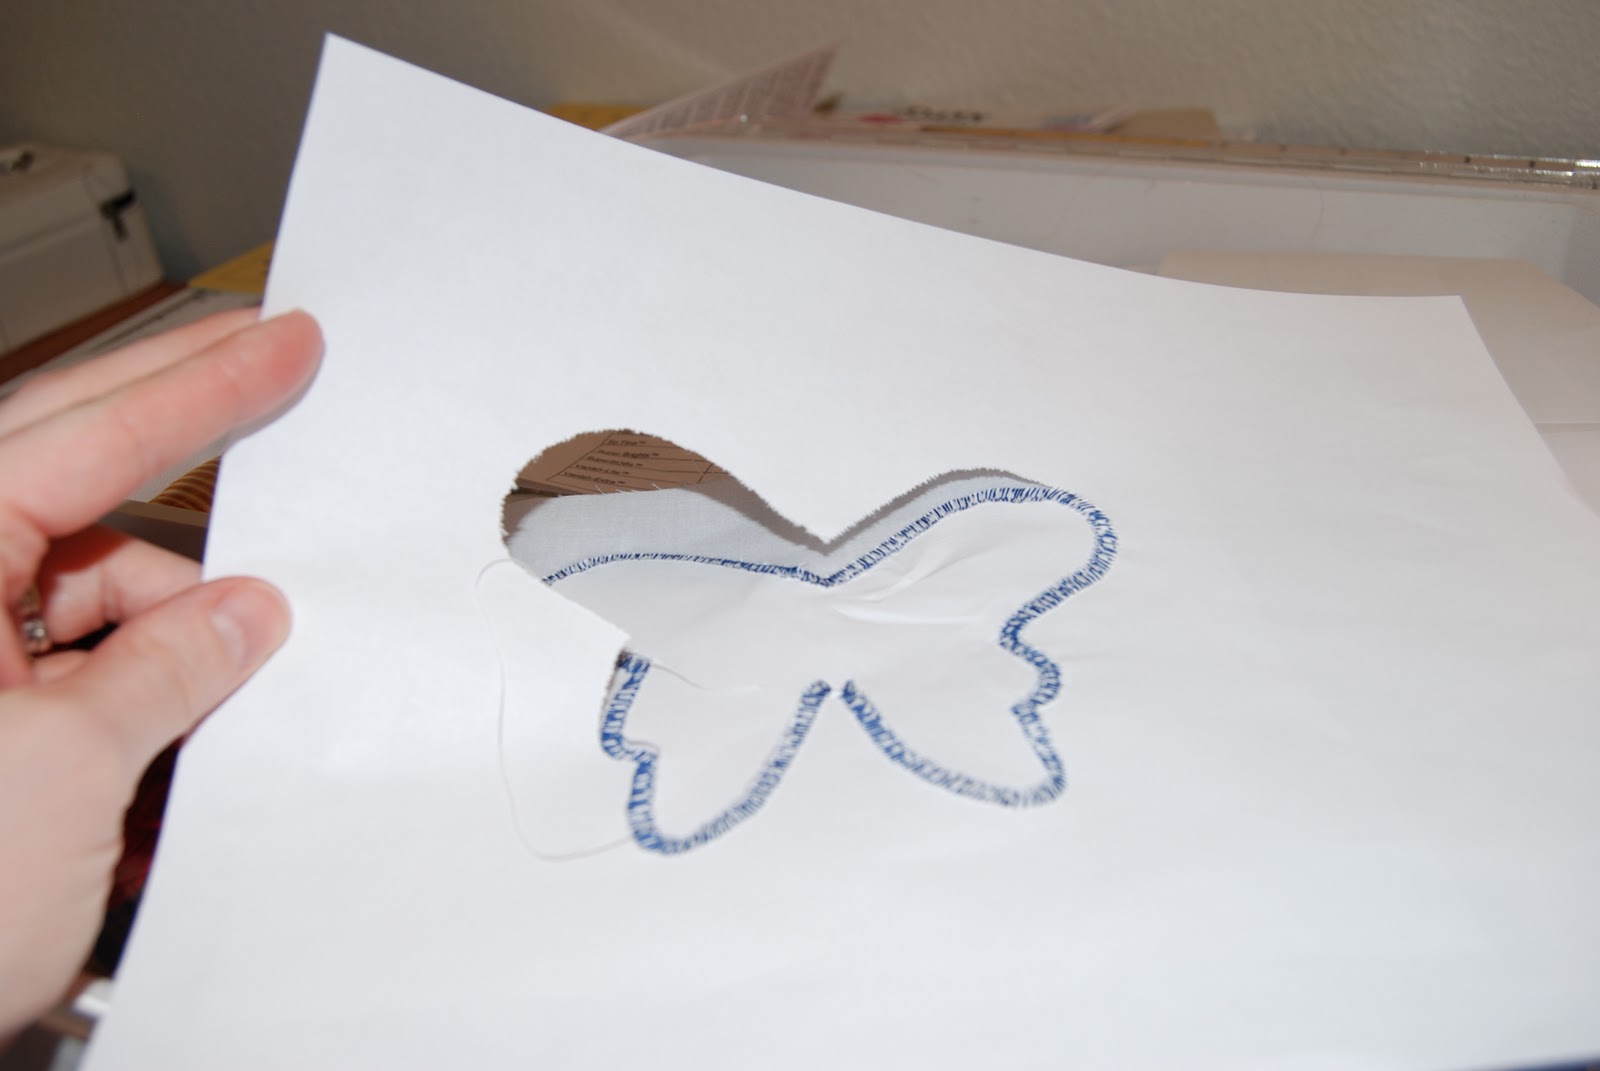
Step 4: Remove the paper from the back. If you used a tight enough stitch length you really shouldn’t have to work too hard at all, the paper will already be perforated in your design and it should just come right off.
Step 5: Iron your piece and you have just machine appliqued on a budget!

Easy peasy. I hope you find this little budget tip useful. It is also helpful when you simply don’t have time to run to the craft store or you are an insomniac crafter and the store isn’t open at 2 am in the morning!
Enjoy!
