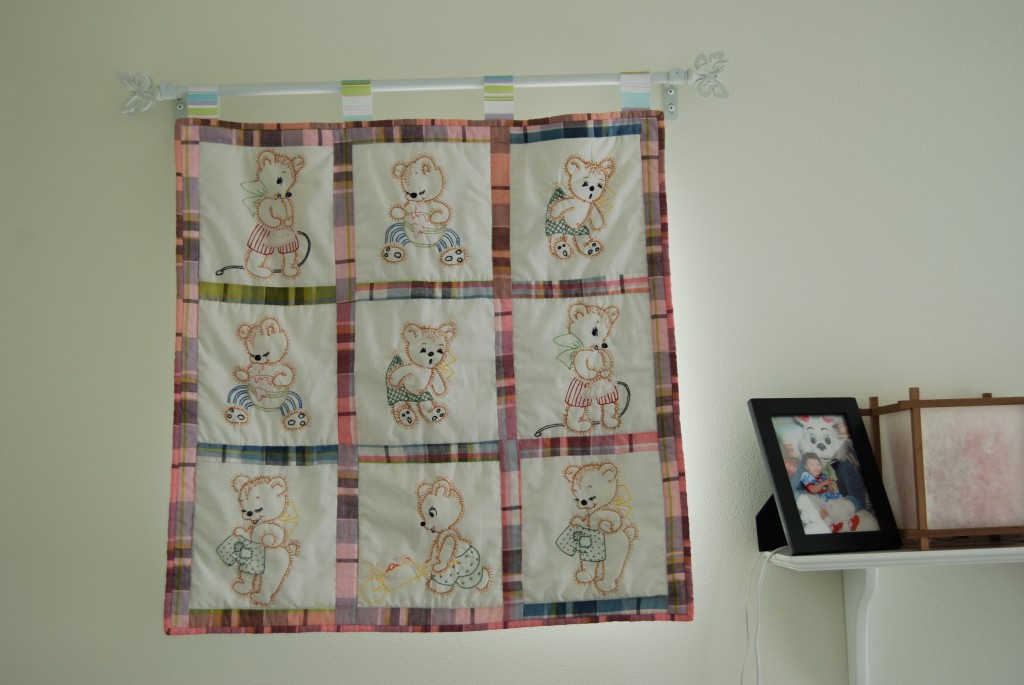
Wall Hanging to Black Out Curtain
I am not a decorator – AT ALL! I have lived in my new home for 5 months now and I am only just now getting around to hanging things on the walls. In fact until Saturday morning – we literally had blue taped blankets and sheets over Anne’s windows instead of hanging curtains!
Well that has all changed. I finally made some decisions and Anne’s room is starting to look more like a little girl lives in there as opposed to a wondering gypsy. I bought some black out curtains from Target for her big window – in fact Anne picked out the color! Here is a link to them. I love the color and I think they will last a good amount of time because of the color. I also found the cutest curtain rods! My bestie Lisa asked me how can curtain rods be cute and I told her she just had to see them.
Now the pièce de résistance is what I did for her small window. There is a random 2 ft by 2ft window in her room that needed covering. As soon as I saw it I knew that I wanted to hang a beautiful, yet simple, wall hanging over it but for the life of my I couldn’t figure out how I was going to do it. Well a solution hit me on Thursday morning – I turned it into a black out curtain!
 I didn’t take pictures of what I did to make it a black out curtain, but it is so simple I don’t really think you need them.
You will need:
A wall hanging (this one is quilting and very old)
Coordinating 1″ wide ribbon
Black out curtain lining (any big box fabric store should have it!)
5/8″ Heat n’ Bond fusible tape
Step one – cut your black out lining to be 1/2″ smaller on all sides than your wall hanging
Step two – cut four strips of Heat n’ Bond – same length as black out liner – fuse to black out lining (this may take extra time, I used a teflon pressing sheet to protect both my iron and the lining. The teflon sheet was only $9.00)
Step three – fuse black out liner to back of wall hanging (this serves dual purpose – it will black out light in the room and it will protect the front of the wall hanging from light damage) – this will take awhile – be patient!
Step four – cut lengths of ribbon – this will vary based on the width of your curtain rod and how high you plan on hanging them – measure carefully! You can hand sew these to your wall hanging or you can fuse them with the heat n’ bond tape (that’s what I did).
Step five – hang them up and enjoy!
Anne loved her new curtains and kept pointing at the new one and saying bears.
Hope you had a lovely weekend!
