Weekend Sewing
I have been doing a lot of weekend sewing lately. Quick and simple projects that offer me some instant gratification – I love instant gratification! Most of these pictures have already been up on my Facebook page, but I thought I would share a little more about the projects I have been working on and not blogging about. There are way more than this, but these are finished and photographed!
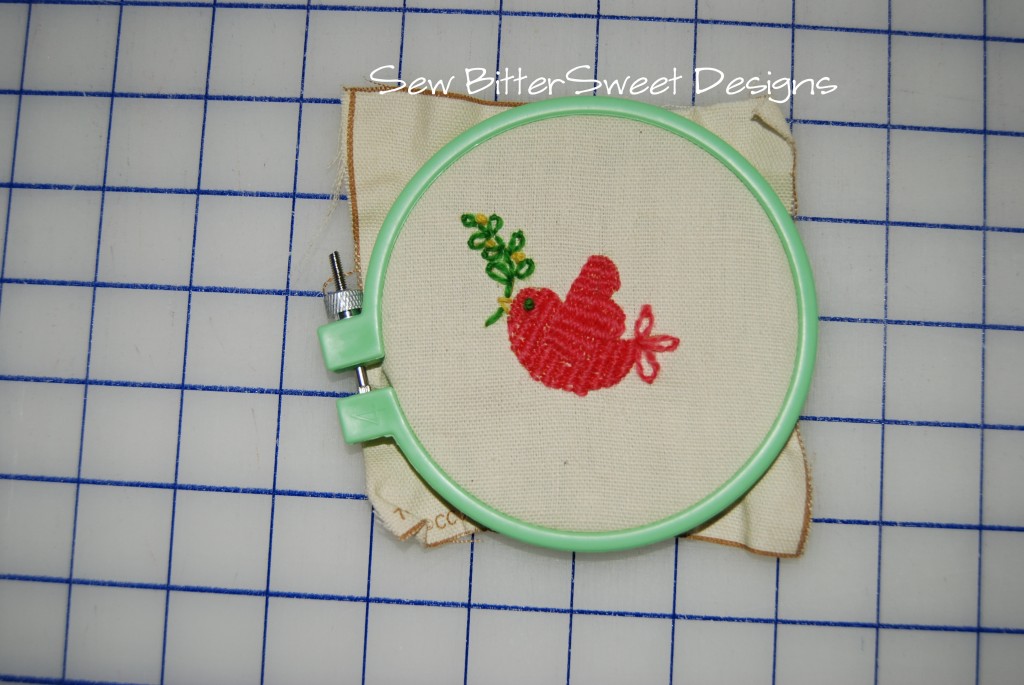
One of my wonderful blogging friends, Eileen, and I had a conversation about hand embroidery back in June and she oh so generously offered to send me a little starter kit to learn some of the basic stitches. When I opened it I was blown away. There was a hoop, 2 patterns, 2 pieces of muslin with tons of stitches done to show me, 2 needles, a needle threader, and TONS of thread (both perle cotton and floss). I was so excited but as you all know in July my hands took a turn for the worse. Well this month I finally decided to throw caution to the wind and I gave the hand embroidery a try and I am now officially ADDICTED!
This is my first project and I have to tell you I was so tickled when I finished it. I don’t know why but it was a BIG deal to me, probably because I really thought I wouldn’t be able to do this. I have a lot more embroidery stuff to share with you and even the find of the year, but that will all have to wait for a future post!
Another project I worked on was for my hands to bring myself a little relief. I made myself a booboo bag. I know I’m kind of old for one, but ice packs make me really uncomfortable so I thought a flannel covering with a flax seed filled muslin bag might feel a little better on my wrists. I love it because I can throw it in the freezer and it just feels so good on my aching hands and wrists.
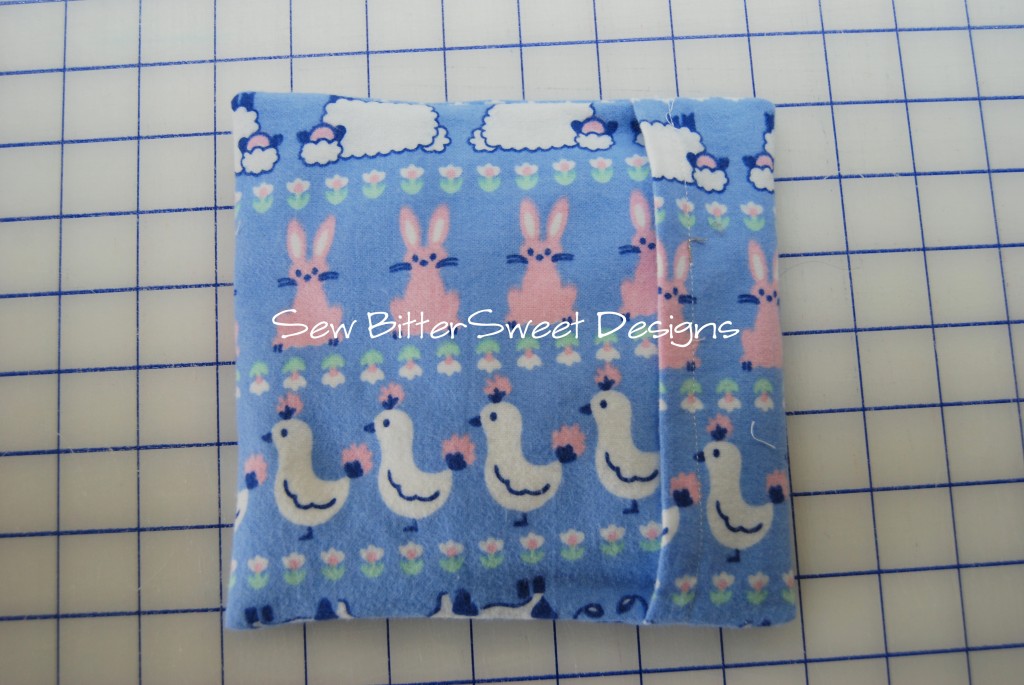 I decided to go with the super cute and kid friendly fabric in the hopes that if Anne needs to use it she will be enamored with the bunnies (she loves bunnies) and will be willing to have it on her booboo.
The last project I am going to share with you is Anne’s new art apron! I followed the wonderful Smock Monster Pattern by Rebecca Ruth Designs. It was super easy and came together beautifully. The cool thing is that when I went to my LQS, Ruby Street Quiltworks in Tumwater, WA to find the ric rac I needed, the person who helped me color match…was Rebecca herself! She works at Ruby Street. She is just the sweetest lady ever. Check out Anne modeling the 5T size.
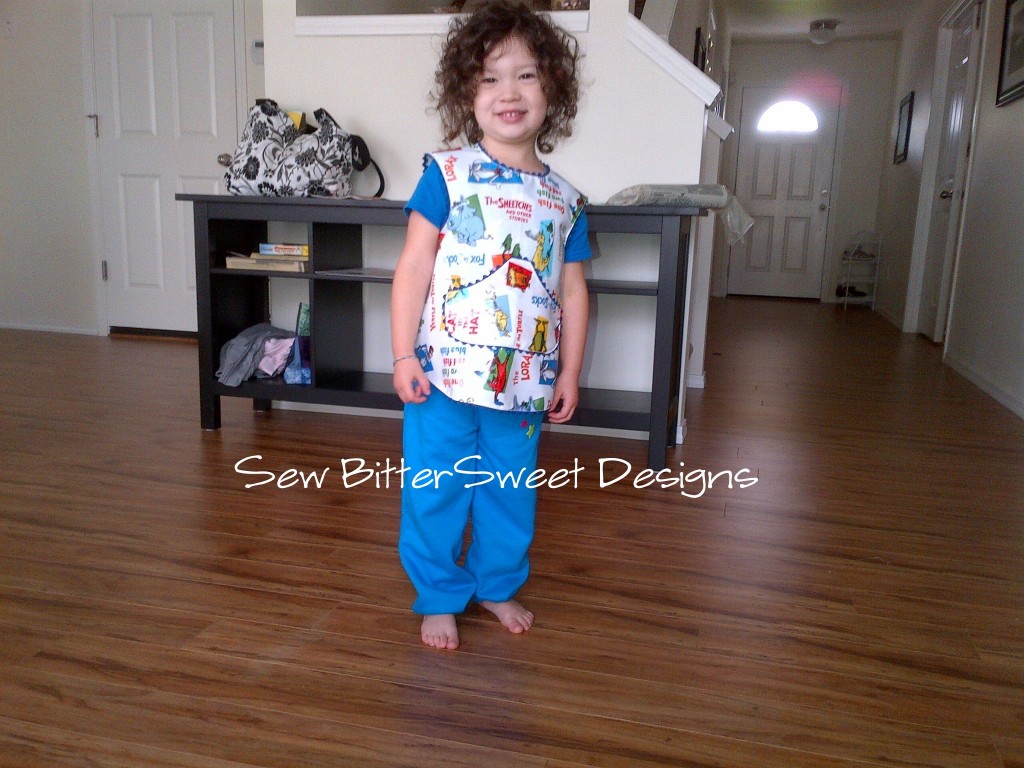 Now you may be asking yourself…”where is the monster exactly?” Well I did option E of the pattern which is just a basic pocket. I was working with laminate – a first for me – and I wanted simple and doable. Anne loved the apron so much she wore it for about 4 hours straight and only took it off when I told her it was time to take a bath!
So I told you that last week was a rough one. We had to deal with some ongoing health issues for Anne and that is never easy. Hard to explain to a 2 year old that the tests are painful and uncomfortable but absolutely necessary for her well being. She doesn’t care about those things, she only cares that someone is hurting her (and I don’t blame her one bit!). Well on Thursday we got to meet one of my wonderful blogging friends and bee mates in person, the wonderful CeLynn from The Sunflower Patch. It was so cool to put a face with a name! We went fabric shopping and in the middle I got a phone call from the doctor and CeLynn was awesome enough to go with us to the lab to pick up stuff for Anne’s testing.
Then on Sunday I realized that the Pacific West Quilt Show going on in Tacoma, WA- a 45 minute drive later and Anne & I were surrounded by some amazing eye candy! The coolest part, aside from buying a ton of thread from Superior Threads, was meeting Marsha McCloskey – author and designer of the Feathered Star books and ruler that I blogged about back in May! I bought 2 more of her rulers AND she gave me a copy of one of her books! How cool is she!!! Here is a picture of the 2 of us in front of one of her stunning quilts:
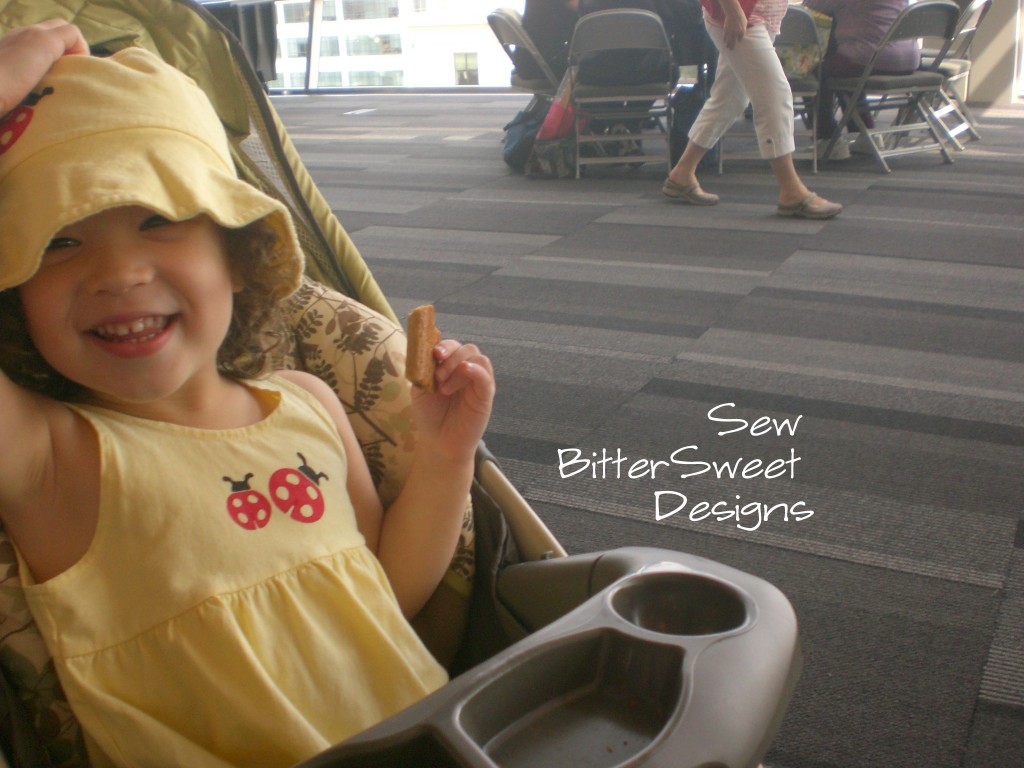
 And so long as I kept the snacks at the ready…Anne seemed to have a good time too!
 Ok, you’ve heard enough from me for one day. Tomorrow I will have a post up about a fun blog hop I will be participating in next month, so be sure to check in. Also, if you haven’t already I am have a fun giveaway up as part of the Quilting Gallery Blog Hop, so make sure you go enter, there are 6 Amy Butler Fat Quarters up for grabs and a great book too!

