Guest Post

Guest Post – Robyn from Bolo Heads

Hi everyone! Happy Tuesday! Would you believe I haven’t sewn a stitch in a week?!? I know! Today I have Robyn from Bolo Heads! She has a super adorable bag for you all – so make sure you stick through to the end of this wonderful tutorial!
________________________________________________________________

I am so happy to be here today, and hope all is well with Melissa.
I have a little blog called Bolo Heads.
Bolo is Hawaiian for without hair (meaning bald)
I was born in Hawaii, and had no hair, so that was my nick name growing up.
All of my children had the same condition (bald babies)
So that it explains it.
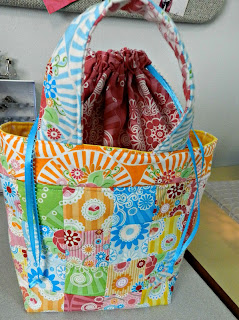
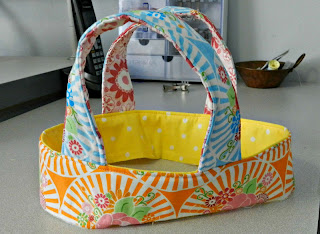
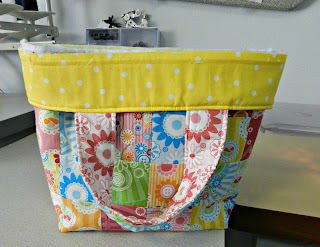
Today I am going to show you how to make the cutest little stitching bag.
I am an heirloom sewer.

Smocking, embroidery…..

There is always some stitching project following me around.
I used to take it with me in a Ziploc bag, not cute.
Then I used a bag that my daughter’s doll came in.
Still not cute.
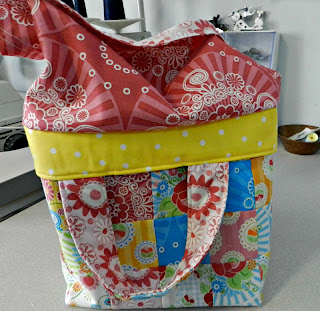
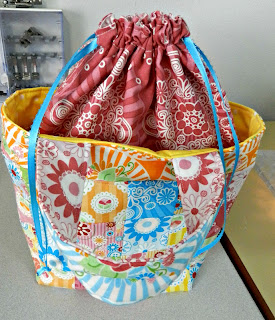
Now I have this super cute patchey bag.
I am going to give you a for warning, there are a lot of pictures,
but I don’t want you to get lost along the way.
Also I was making two bags at the same time so some of the pictures don’t match up

Are you ready? Here we go.
You will need.
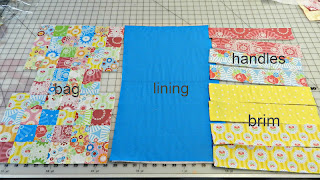
Bag                             56 – 2 1/2″ squares.
Lining (2)                           10 1/2″ x 12 1/2″
Brim (4)                             2 1/2″ x 12 1/2″
Handles (4)                        2 1/4″ x 12″

Drawstring closer (4)          8 1/2″ x 12 1/2″

Interfacing


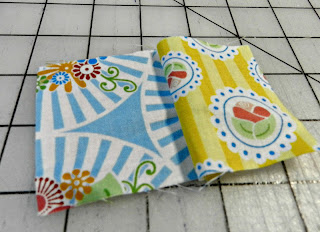
Start with your 2 1/2″ squares.
I was lucky enough to get these super cute Happy Zombie ones.
2 1/2″ square


Sew them together, I chained them, and then sewed the two together,
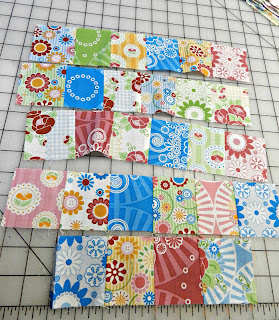
and so on until you have something like this.


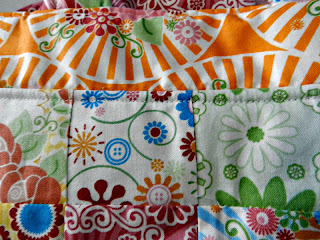
Four rows of six and one row of four.
Then sew them together.


Do it twice, so that you have a front and a back.
Then sew them together.


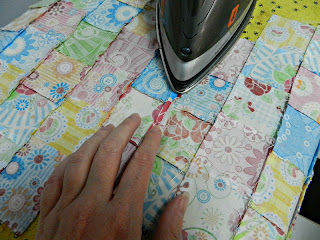
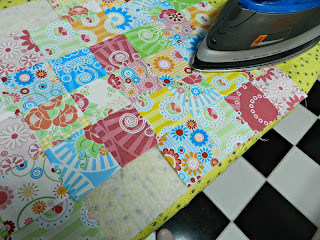
Iron what will be your bottom seam open.


Next iron it on to some interfacing.
You can use what ever is your favorite.
Fusible fleece is nice and soft.
I would like to take a minute to talk about what I used.
My sister gave this to me.
You can only get it at Joann’s in the sewing center.
If you sew bags you know that the best thing to use is fusible fleece.
If you use fusible fleece then you know that it is $7.00 a yard.
This is a little lighter weight then the fusible fleece but is only…
brace your self…
.99 cents a yard.
You can buy a whole bolt for $10.00 the same price as 1 1/2 yards of the fleece stuff.
Your welcome.
Moving on…
Sew your lining pieces together
then press that bottom seam (12 1/2″) open.
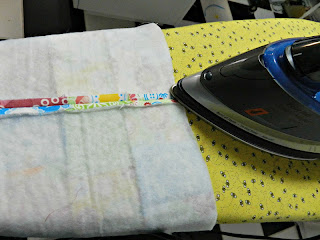
Iron your lining, brim, and handle pieces to the interfacing.


All of your prep work is done, now is a good time to take a break.
I am going to pick up my daughter from preschool I will be right back.


OK I ‘m back,
trim all of your pieces from the interfacing.
Let’s sew the whole thing together shall we.
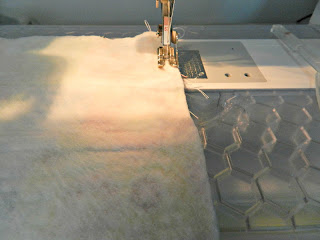
Sew down the sides.


Press the seam open.


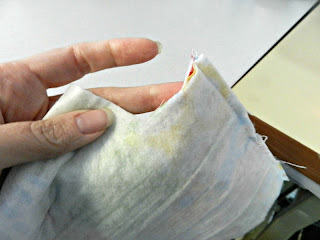
Now you have this funny little chunk missing, this is how we are going to fix it.


Line up the bottom seam with the side seam,


sew it together keeping the seams together.


Turn it inside out and voila a square bottom bag.
Shall we do the lining next, lets go.
Sew the side seams


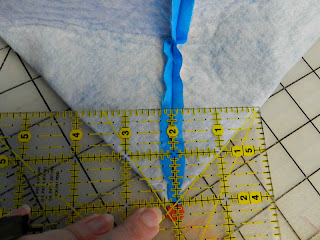
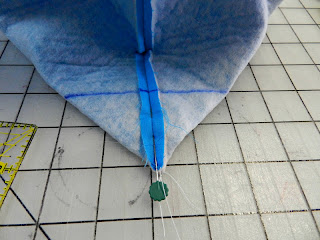
Line up the side seam with the bottom seam pin (on the other side)


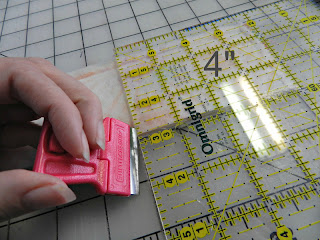
Measure four inches across, like this.


Mark it with a line.


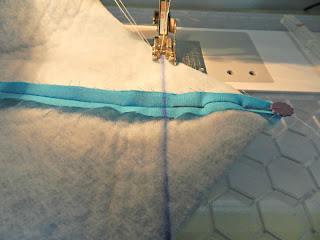
Sew on the line.
Now if you want you can trim off the excess, I didn’t.


Fold the extra toward the center, and put inside the bag,
lining up the side seams.


Baste together.
You are doing great, we are half way.
Now we are going to do the handles and the brim.
Ready or not here we go.
This is a trick I learned and when I first saw it I was like
“How did I not know this!”
Maybe you will be the same, or you will think I am a dork for not knowing.
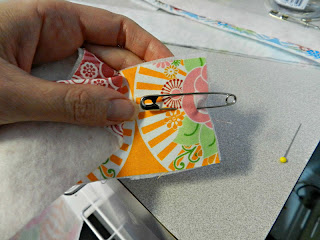
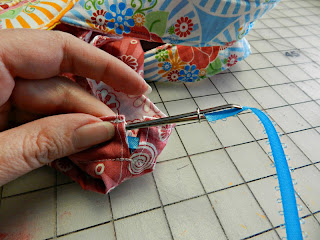
Anyway put in a safety pin like this with the head pointed in.
Sew down either side.


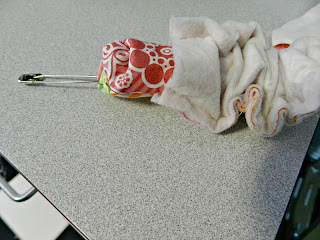
Start pushing the pin through.


Look at that totally turned inside out.
Awesome!!


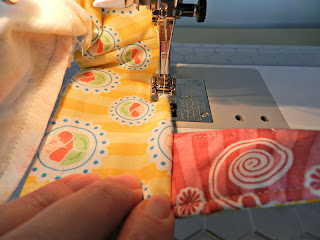
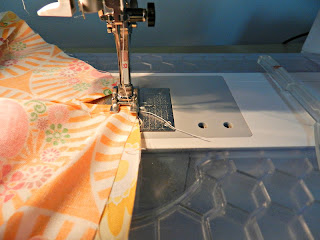
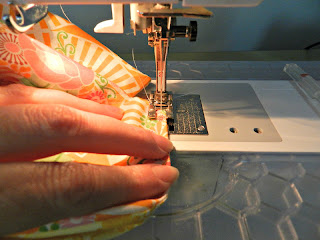
Topstitch on both sides.
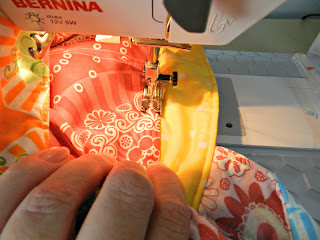
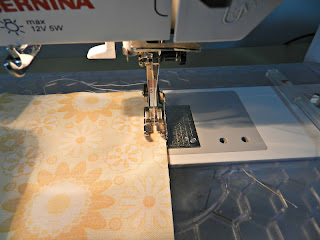
I like to use my open toe foot for this, it is a nice guide.


For the brim sew all the sides together.


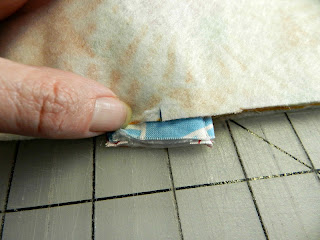
Make a mark four inches from the side, on both sides.
Yes I do do this with a razor blade.
Be careful not to go beyond your seam allowance.


See look at that nice little mark.
Center your handle on the mark, pin in place.


Sew the top closed.


Turn inside out and topstitch the edge, again with the open toe foot.


Look how cute it is.


Now with right sides together, place it on the bag.
Almost done now we just need to make the drawstring closer.
Layer all your drawstring pieces together and on the 8 1/2″ side
make a mark that is 1 1/2″ down from the top.


Cute little mark, that is where we are going to start sewing.


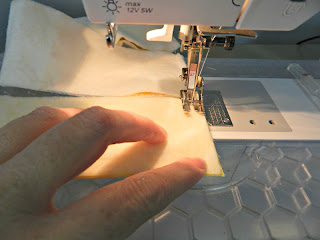
Sew your side seam.


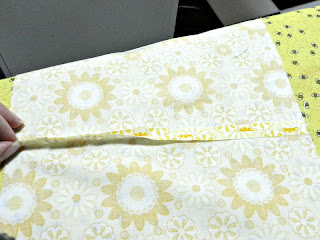
Press this seam open, if you hold the unsewn ends just right
They will lay open and let you press them down.


Topstitch down either side of the seam.
Once again using the open toe foot, start where the seam is split open.


Do both sides of both the front and the lining.


With right sides together, sew the two pieces together.


Turn inside out and topstitch around the top.


Beginning at the point where the slit stops,
topstitch around the top again, making a casing.
We are almost done I promise.
Now we are going to make a sandwich.
Like this bag, brim, and the drawstring top.
Make sure you have the right sides together.


Sew around the top keeping shy of the basting stitches.


All sewn together.


Trim off the excess seam allowance.


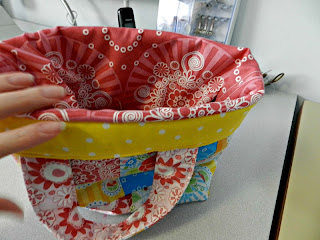
Pull up on the draw string part..


and tuck it inside the bag.


Lift up in the brim….


and topstitch with your quilting foot around the bag
make sure to keep it all taut, pull out on the brim and pull back
on the drawstring part as you feed it through.


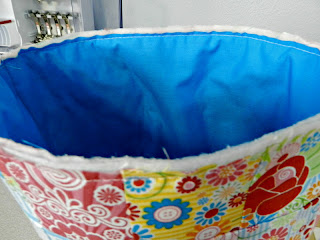
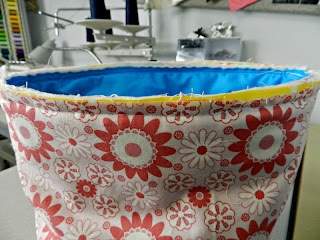
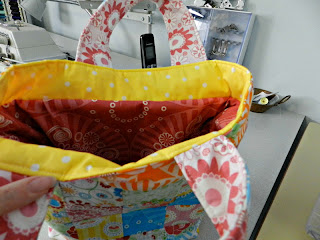
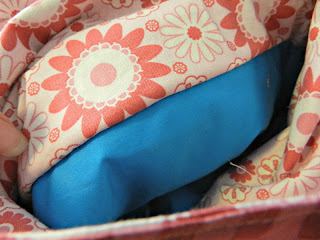
Look how nice that finishes, the outside…


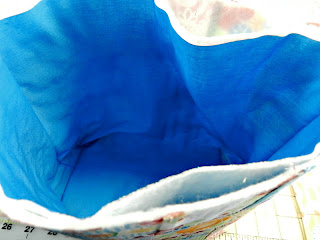
the inside.


The very last step.
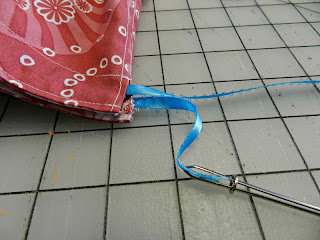
Thread ribbon through the casing on one side…


and then on the other side.
Tie a knot in the ends and burn the edges so that they won’t fray.


Pull them tight and you are
DONE!!!


I knew we could do it.
I hope you like it and I can’t wait to see if you make one.
If you do come on over and let me know.

____________________________________________________________________
Now do yourselves a favor and go follow Robyn! She has a fun blog and I really enjoy reading what she has to say, and I know you will too! Don’t worry, I haven’t fallen off the planet, just trying to get some things in order. I will be back next week!

Guest Post – Kristy of Hopeful Threads

Happy Monday Everyone! This weekend was long and emotional for my family. Things should hopefully be settling down in the next week or so and then I will be back in full sewing form. In the meantime…I bring you Kristy from Hopeful Threads! If you are not familiar with Hopeful Threads, take a few moments and hop over to Kristy’s blog, I promise you will not regret it!
________________________________________________________________________

Hi Sew BitterSweet folks, hope you are all doing great!
Melissa offered me the chance to come over and say “Hi!” and so I snagged it right up!
For those who don’t know me, I’m Kristy and I blog over at Hopeful Threads where we are all the time having some kind of crazy sewing fun with the motivation of giving back! (and if Melissa has anything to do with it, she’ll have me branching out into quilting before too long!) 🙂 We just wrapped up our biggest collaborative sewing project, where as a group, we made over 300 dresses to donate to Dress A Girl Around the World.
Yea, it was pretty exciting considering our original goal was 100 dresses! It’s a fabulous group of talented, giving, fabric loving folks and I invite you to join us if you haven’t yet.
This month we are focusing on ways we can care for the different caregivers in our lives.
This can include everything from mothers, teachers, childcare providers to special therapists or volunteers that you witness providing care for others within your community. The challenge is for you to find the caregiver and then find a way to use your gift of sewing/creating to encourage them. A perfect opportunity to bless and be blessed!
Throughout the month I hope to highlight different ways you are doing this, so please share your stories of how you Care 4 Caregivers this month and inspire us all!
_________________________________________________________________________________________

You will definitely want to head over to Hopeful Threads today because Kristy has a giveaway going on. Please go check it out and if you have it in your heart…get involved too!


Guest Post – Lisa’s Pink Lemonade Sandwich Cookies

Today I have one of my closest friends in the world presenting one of her AMAZING cookie recipes. I am telling you, I gain weight just listening to her talk about her creations! Take it away Lisa!
________________________________________________________________________

Thank you so much Melissa for having me on your blog today!

So lately, both out of a desire for a sugar fix (who doesn’t love a yummy treat), and a complete lack of time (thanks to two busy toddlers and school), I have been on a mission to find sweet treats that take little time to put together. The end result of this has been a lot of experimenting with store bought cake mixes. I have found if you doctor them up just a little bit, that they can be just as delicious as anything your make completely from scratch, and are done in a fraction of time. A little while back, at the beginning of “Spring,” (we have only had about a week or so of weather over 50 degrees here.) I came across the deliciousness that is Pillsbury Pink Lemonade mixes. I bought what I thought was two boxes of the cake mix, but one of them was this yummy little gem:

Image

So, when I realized I had it, I decided to make lemonade out of lemons. To be exact, Strawberry Lemonade Cookie Sandwiches. All I did was follow the directions on the package, but I added the the zest of half a small-medium lemon as well as the juice of half of that lemon. Bake according to package directions and cool completely. You should end up with some of these pretty little cookies.

Image

While they are cooling, get to work on your strawberry lemonade buttercream frosting.

Strawberry Lemonade Buttercream

Zest of half a lemon

Juice of half a lemon

1 stick butter

8 tablespoons of shortening

3-4 cups sifted powdered sugar

8-10 small-medium strawberries(pureed– I used my microplane (zester) and grated the strawberries, but you can blend them)

1. Cream together butter and shortening.

2. Add lemon zest, lemon juice and strawberries and mix completely.

3. Add sugar 1 cup at a time until desired thickness and sweetness is achieved.(I used 4 cups)

A nice little trick for preparing your strawberries is to use a regular drinking straw to core and remove the leaves from the strawberry.Image

Works like a dream!

Image

Once your cookies are cooled and your frosting is mixed up, pipe a generous dollop on one cookie, like so

Image

put another cookie on top,

Image

and ENJOY!!

P.S.

I made cupcakes using the same method I did here. The lemon juice and lemon zest in the batter gives it a little more zing, and the frosting is delicious on both!

P.P.S.

Thanks again, Melissa, for having me here. Happy Sw-EAT-ing!
_______________________________________________________________________

Sounds like something perfect to make for a Mother’s Day Brunch! And the best part is that everyone in my family can eat these! No chocolate, no peanuts, and no tree nuts! Triple play in this family!

Guest Post – Genevieve Chicka

I will be on and off the blog for the next couple weeks. We have a lot of changes happening in our lives – I will explain in the middle of May – I promise.  In the mean time I am bringing you some of my wonderful blogging friends, they will each be guest posting on various topics and I truly hope you enjoy them. Today I have Genevieve. I first met Genevieve in a block swap that I did through Flickr and we have become friends through the “I don’t have a problem, I have a well-rounded stash” group on Facebook. She is incredibly talented!

Isn’t that just about the cutest thing you have ever seen!!!

Thank you so much Genevieve!!!

Guest Posting Today

Hi everyone! I am not here today, I am somewhere else…don’t you wish you knew where!

Ok ok, I’ll tell you! I’m guest posting over at Created By Cori. She is hosting a Spring Clean Craft Room Series this month and invited me to be part of it. Little does she know that until a week ago, my sewing room was a DISASTER! Good thing she invited me because otherwise I it probably still would be!

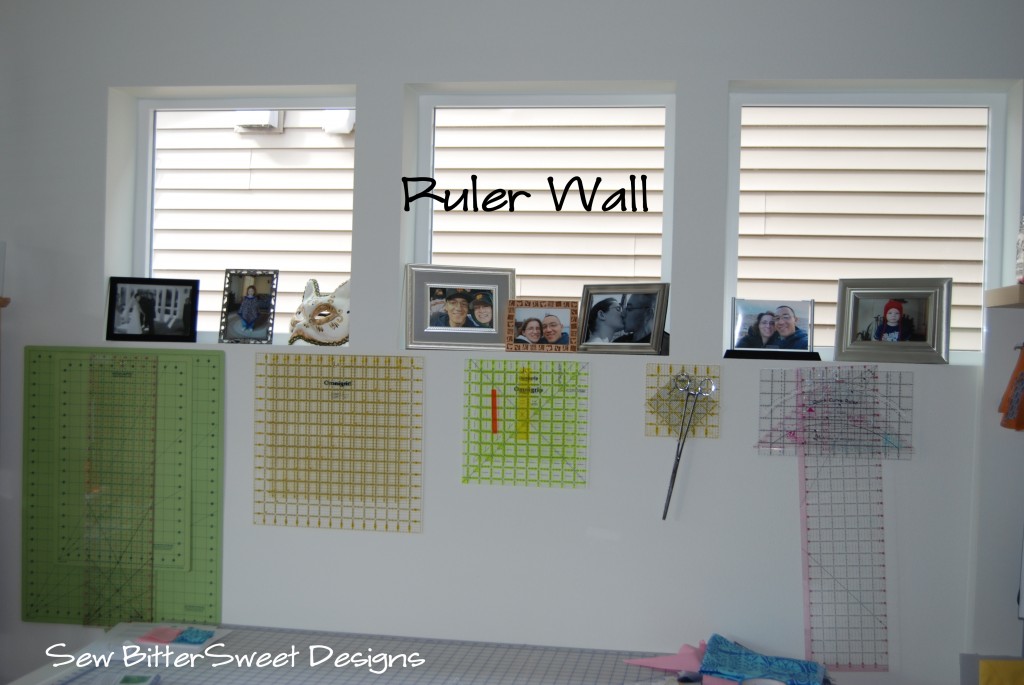
Head on over to see how I turned a blank wall into a work of quilt tool art!

Go check it out! And if this is your first time to my blog, WELCOME! I am hosting a great giveaway this week from Fat Quarter Shop and I have a wonderful free tutorial section that you are welcome to check out.

Scroll to Top