Still Sewing
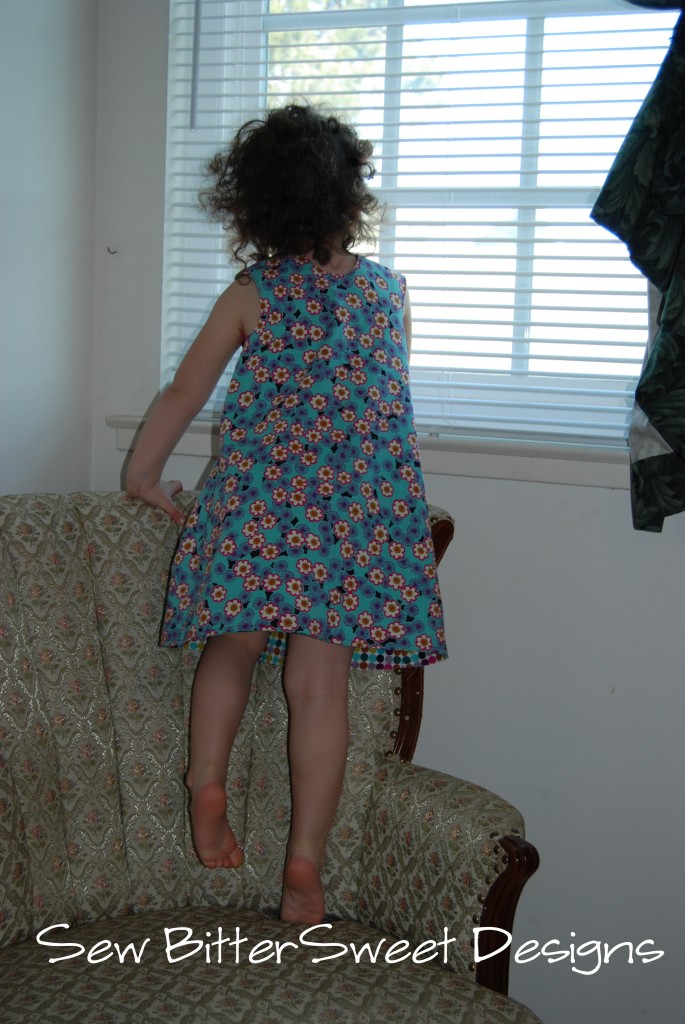
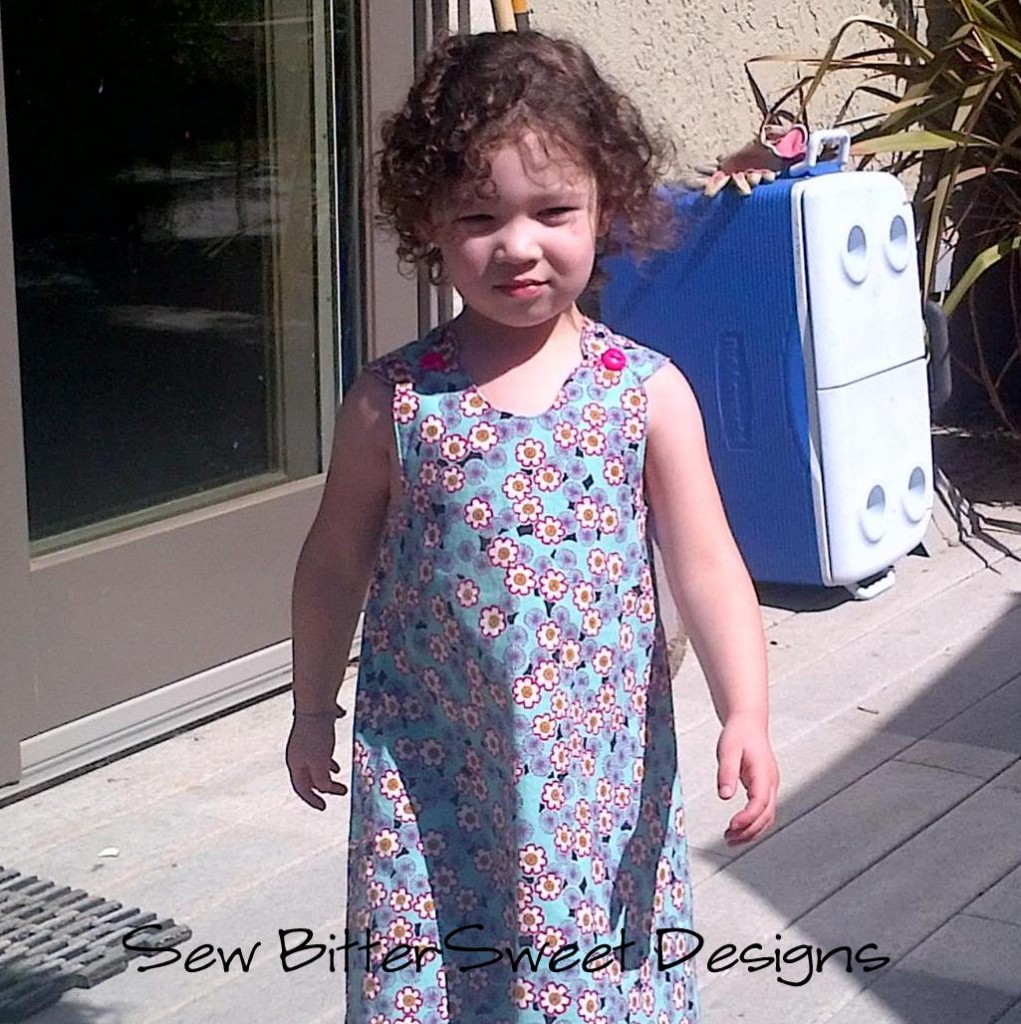
Did you notice I said “still sewing” and not “still quilting”?!? No, I haven’t given up quilting, I am just adding a little something new to my repertoire! With the encouragement of a very wonderful friend who I have truly come to treasure I have not made just one dress, but I have made 2 dresses in the last month! Kristy from Hopeful Threads has been encouraging me to make a dress for Anne for months now, and last month I took the plunge and made a dress for her Dress A Girl challenge.
I read Kristy’s review on the Little Comet Tails – Gemini Jumper and I thought to myself…”I can do that”. Before we came down to California, I ordered the pattern and shipped it to California so it would be here waiting. Now, keep in mind the only dresses I have ever done have been all straight line sewing AND neither have had pattern pieces! I have to say, Kristy got her review spot on, I was actually able to do this pattern. Now don’t get me wrong, I had to email Kristy with a slew of questions and at one point uploaded a picture to Facebook and tagged her in it just to make sure I was doing everything correctly. She is so wonderful for helping me like she has! What do you think?
 The fabric is from 2009 and is Alexander Henry – I just love his fabric and I have to say I have been drooling over at Contemporary Cloth on the Alexander Henry that Sondra has in stock right now!
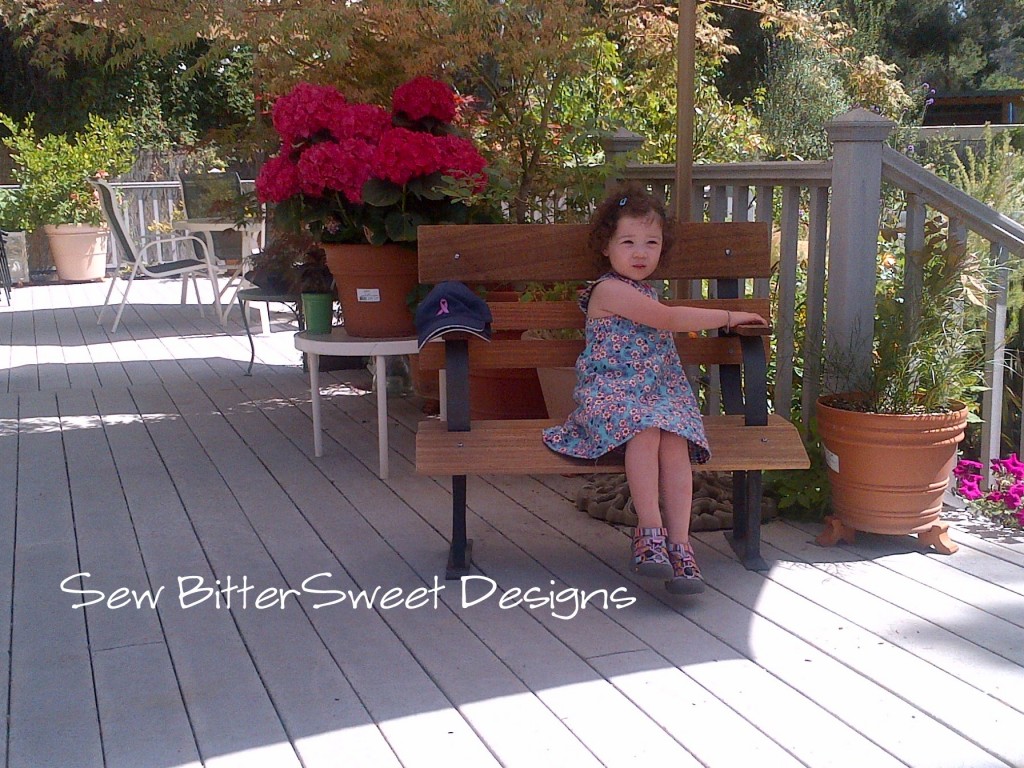 (Here’s Anne sitting in my Aunt’s garden!)
And now for the quilting! Since I have been here for the last 2.5 weeks, I have managed to get 3 quilts finished – the tumbler Flock quilt, my mom’s Mother’s Day gift, and a special gift for a special friend.
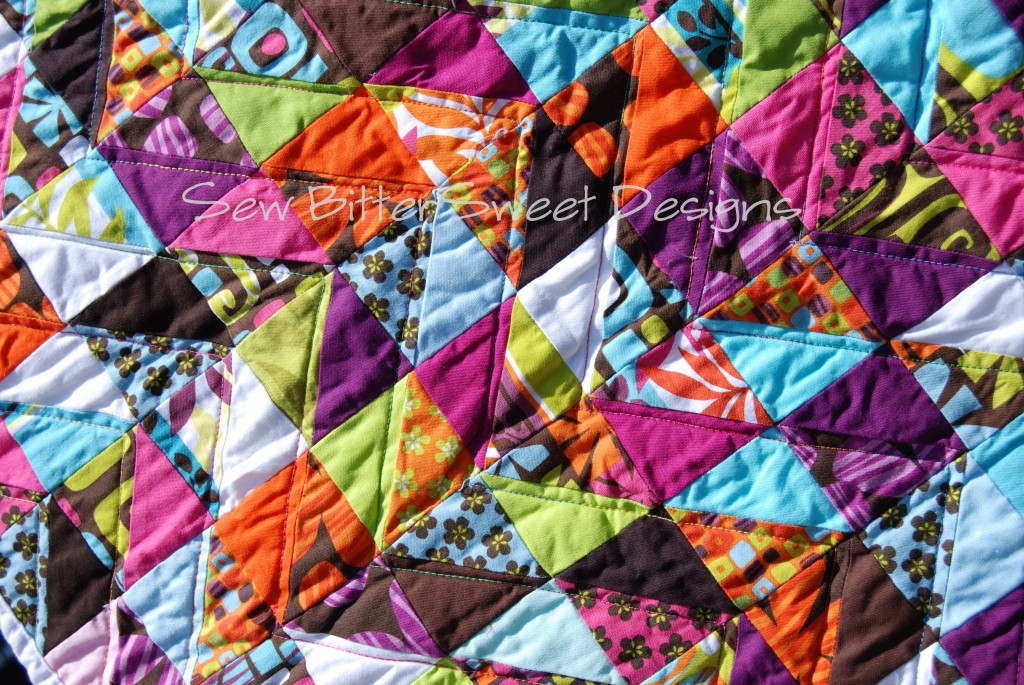
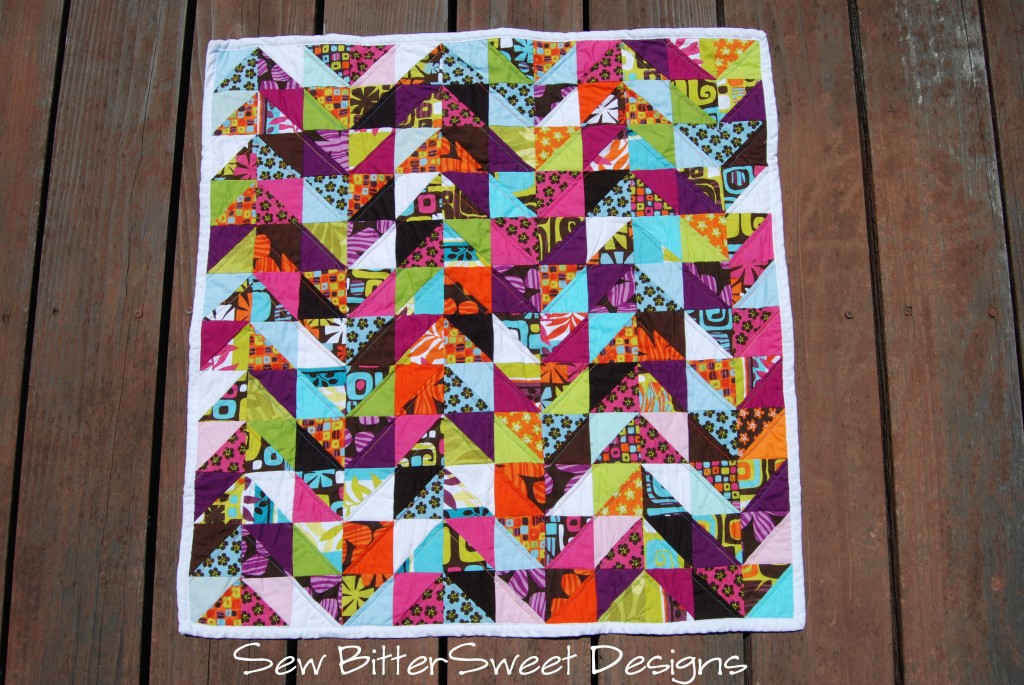 Please don’t ask me the fabric line…I have no idea, sorry!
This is my May Care 4 Caregivers project from Hopeful Threads. Oddly enough, the caregiver that I chose to give this beauty to, is Kristy. The parameters were to pick a caregiver in your community and use your sewing talent to find a way to honor them. This community has become a huge part of my life and while I have only participated in 2 of Kristy’s challenges, I have been following her blog since last August and she just blows me away. I decided to recognize Kristy for all she has given to not only our community but to communities around the world. She has literally impacted lives around the world. Thank you Kristy for all you do!
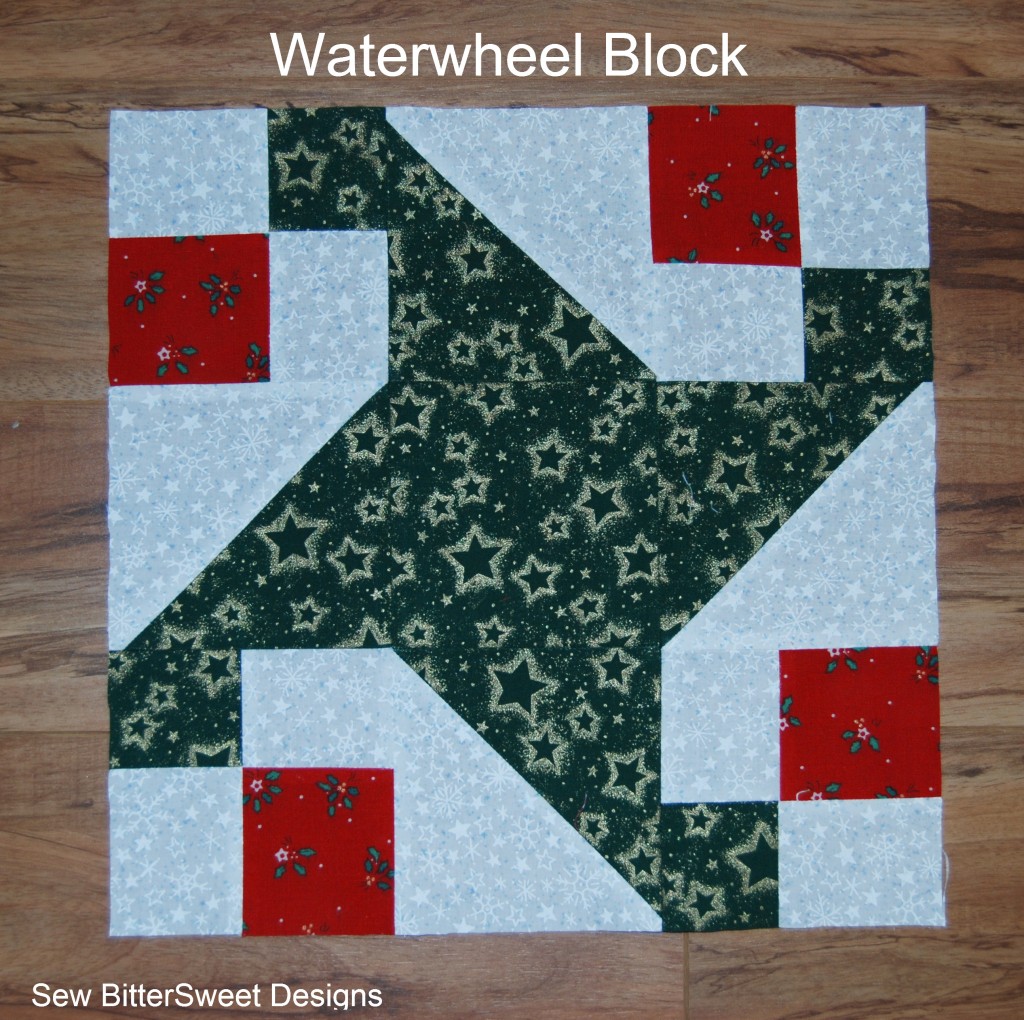
What have you been sewing? This week I have been working on a Feathered Star block, it is going to be the center for a mini quilt I am working on, hopefully pictures for you next week!

