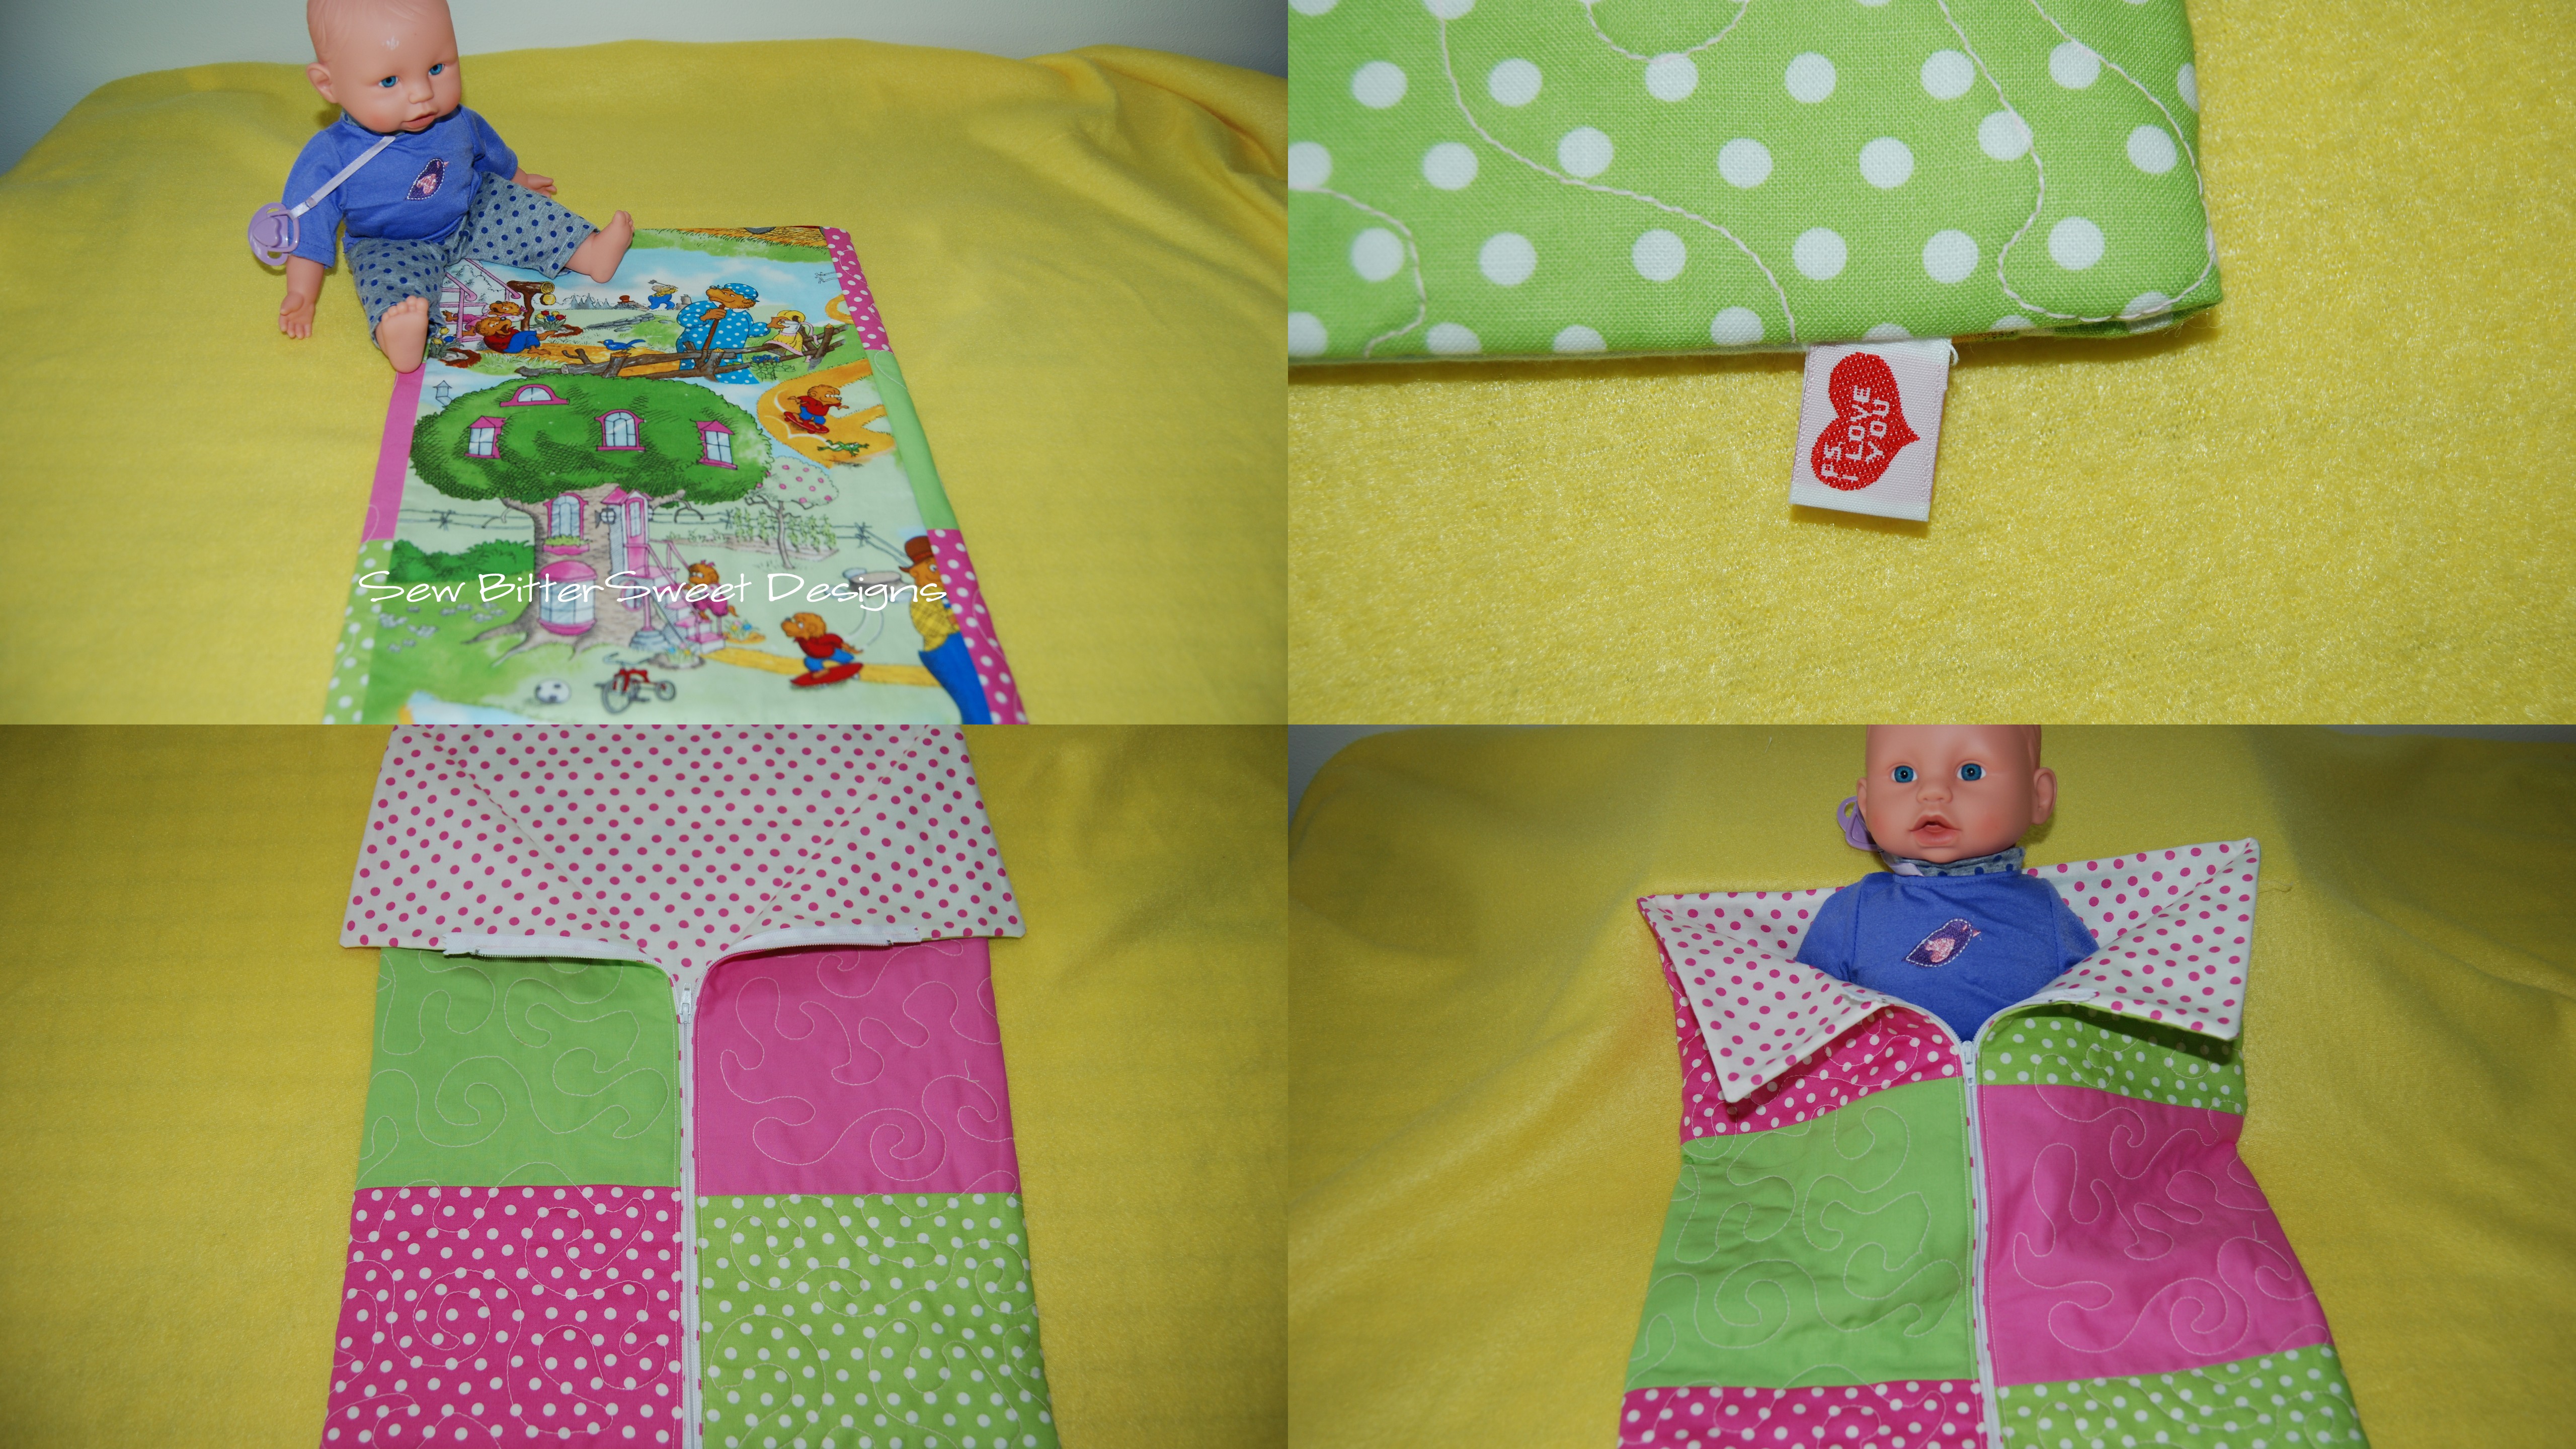
Baby Doll Sleep Sack Tutorial
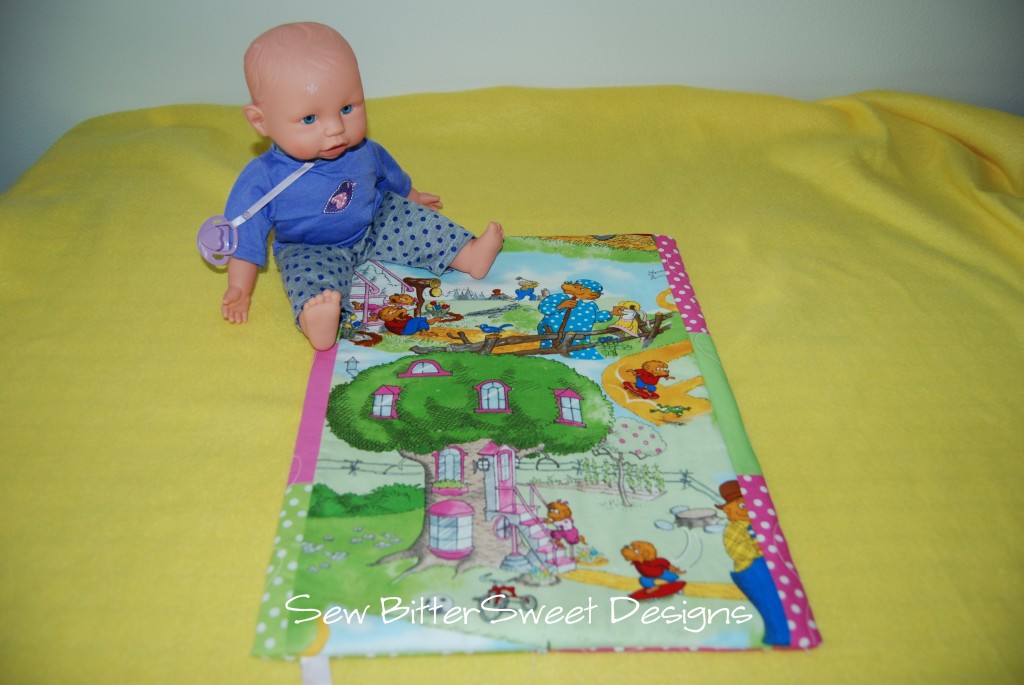
Back in the early 80s, when I was little, I absolutely LOVED the Berenstain Bears. They were my favorite books and I had them all memorized. Needless to say, as soon as I found out I was pregnant I started a collection for my baby. Anne has a fairly decent sized collection and they are her FAVORITE books, just like mommy. We went to the fabric shop last week for a little pick me up and this is what she picked out:
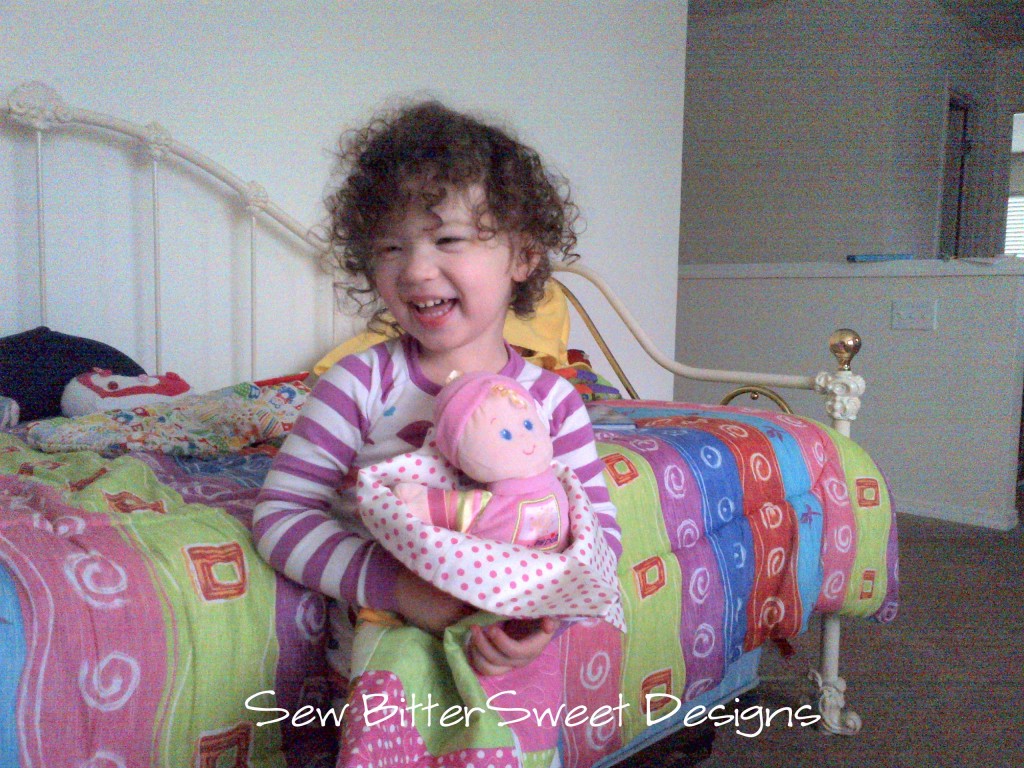
This is what I made for her:
 I got my inspiration from something I had when I was a little girl that my mom had given to me, probably about Anne’s age.
You will need:
- 14″ zipper
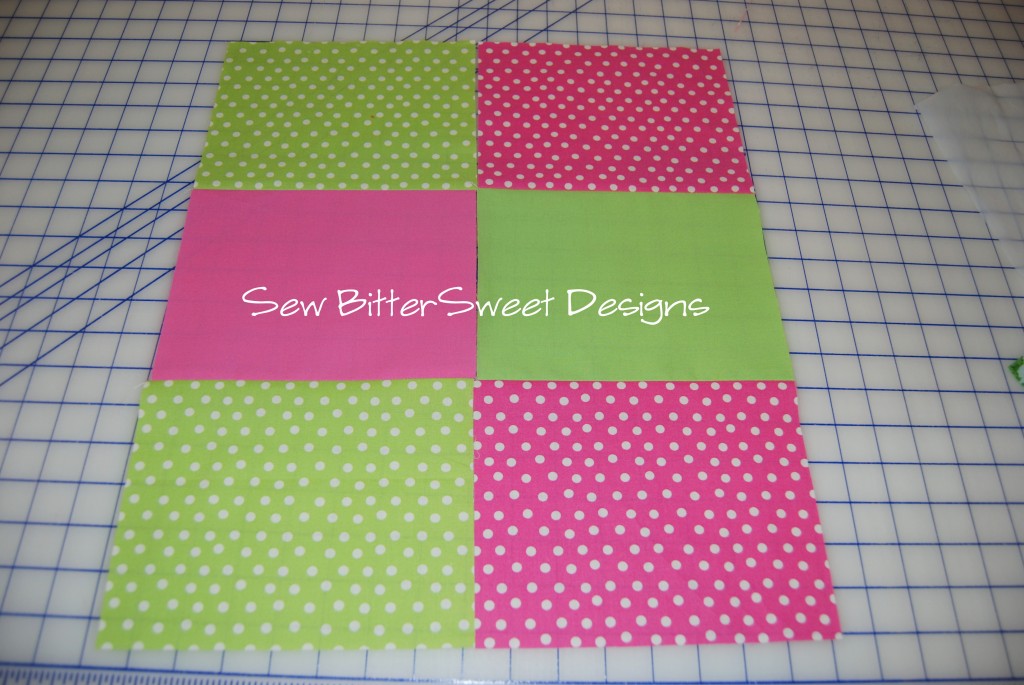
- 6 rectangles (6.5″ x 8″)
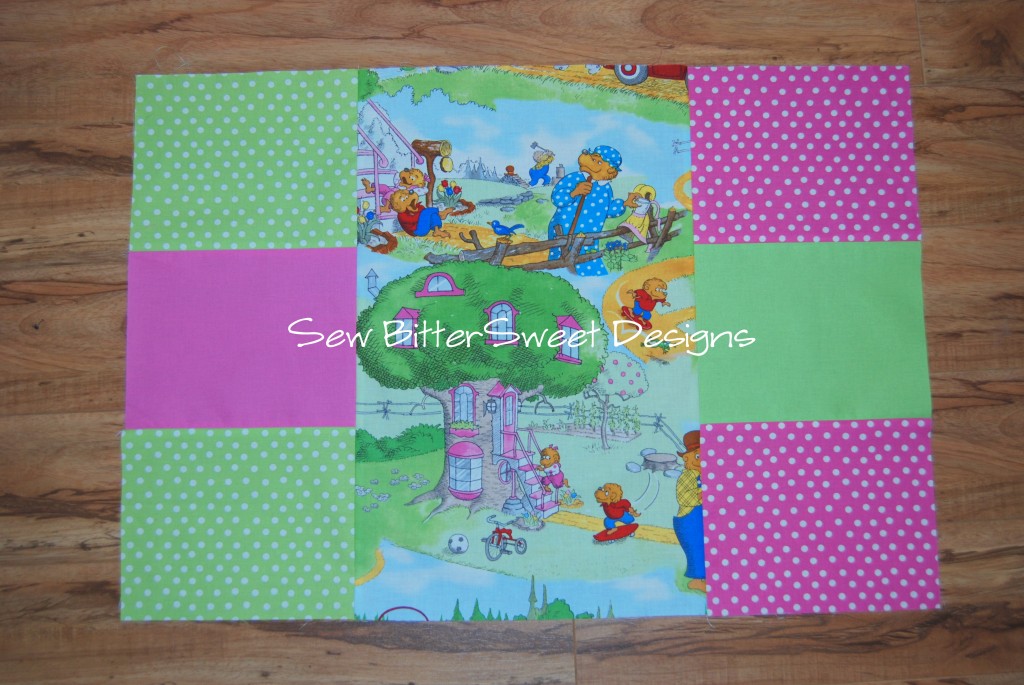
- 1 panel print (13″5 x 18.5″)
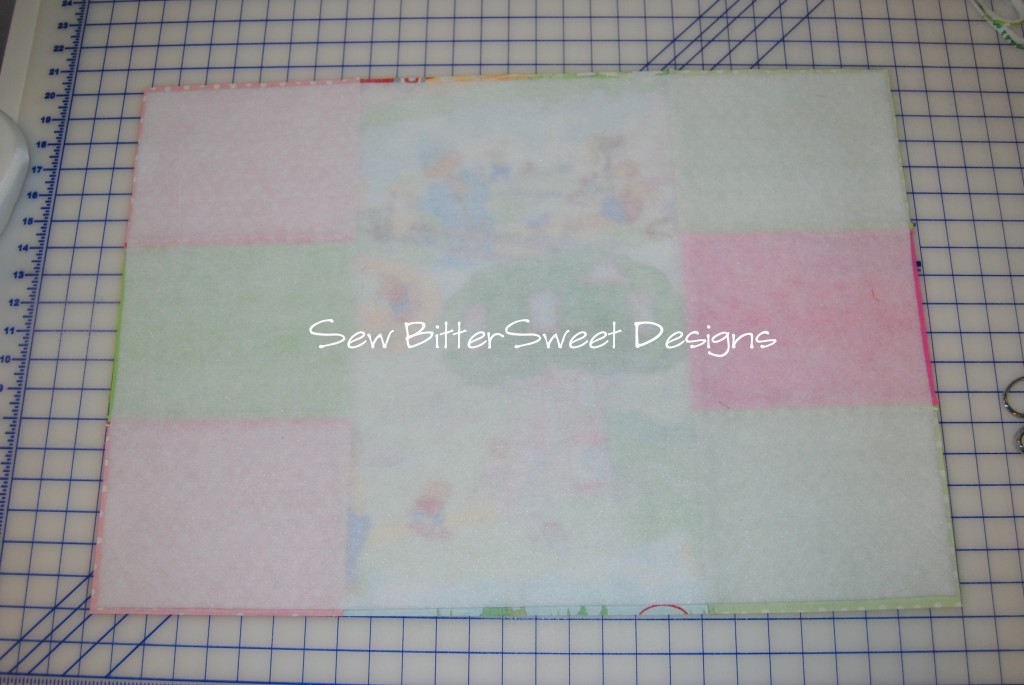
- Pellon Fusible Fleece ( 26.5″ x 18″)
- Inside fabric (27″ x 18.5″
- Quilting Thread
- Basic Sewing Supplies
Use 1/4″ seams throughout
Outside of the Sleep Sack Layout:
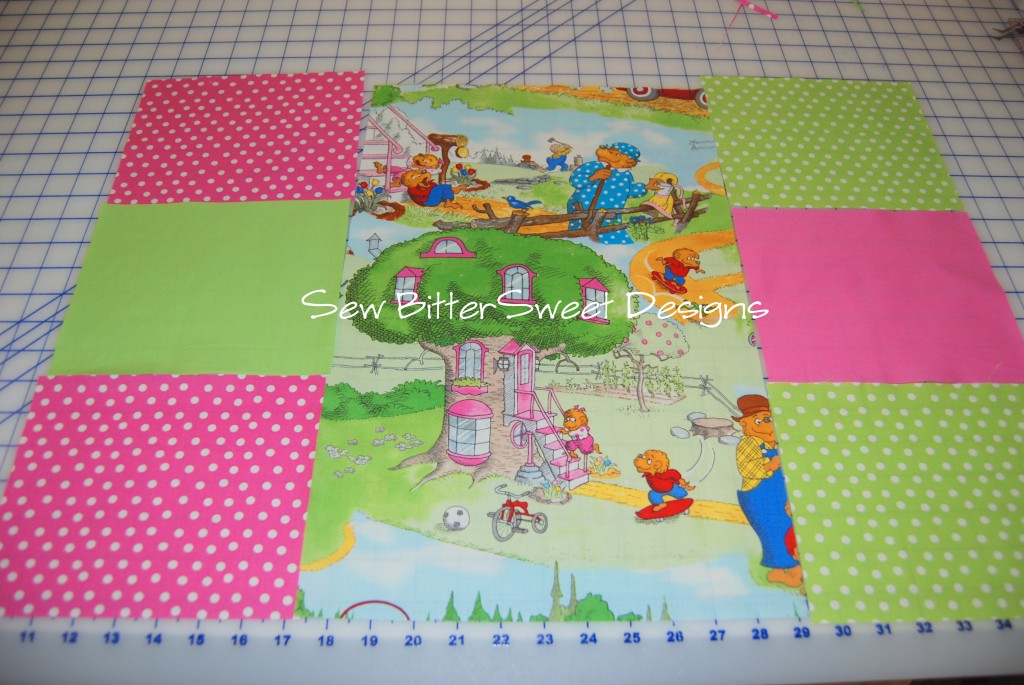 Sew your outside sections together:
 Sew outside sections to the center panel:
 Following the Pellon Fusible Fleece directions – center the PFF to the back of the piece you just assembled. You want to make sure that the PFF is 1/4″ smaller on all sides. You may have to trim it a little.
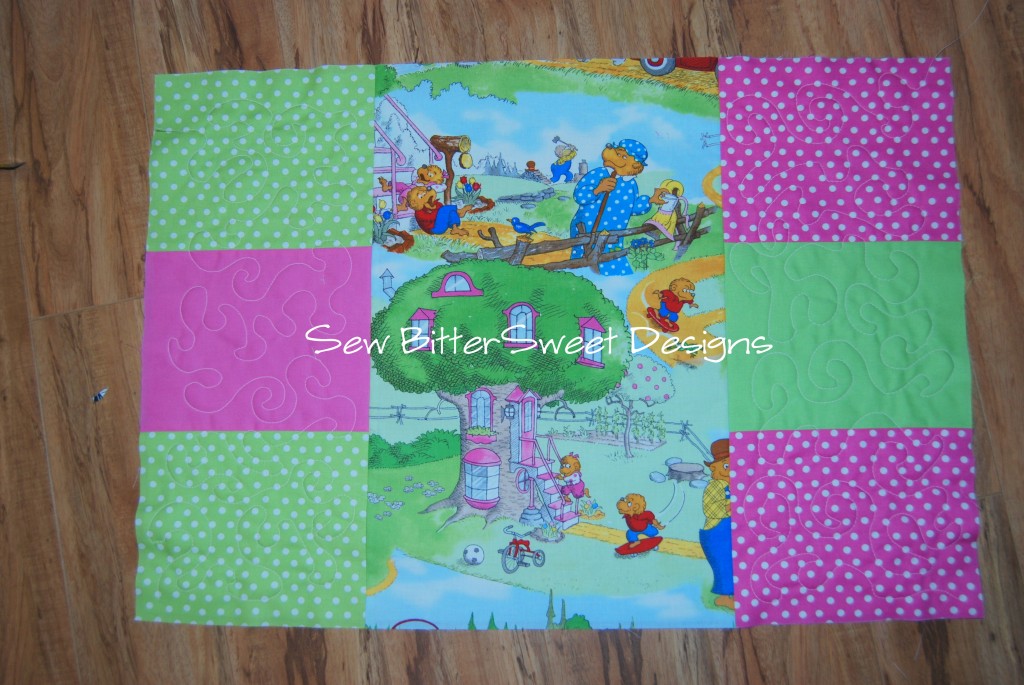
 Next, quilt the panel however you would like to. I quilted in the side panels only and left the center print without any quilting. I also used NiteLite Thread by Superior Threads when I quilted. I couldn’t get a picture in the dark, but it glows so beautifully and Anne loves going to sleep with it in her room glowing away!
 Next, place the inside fabric right sides together with the quilted panel. Pin 3 sides, leaving bottom open.
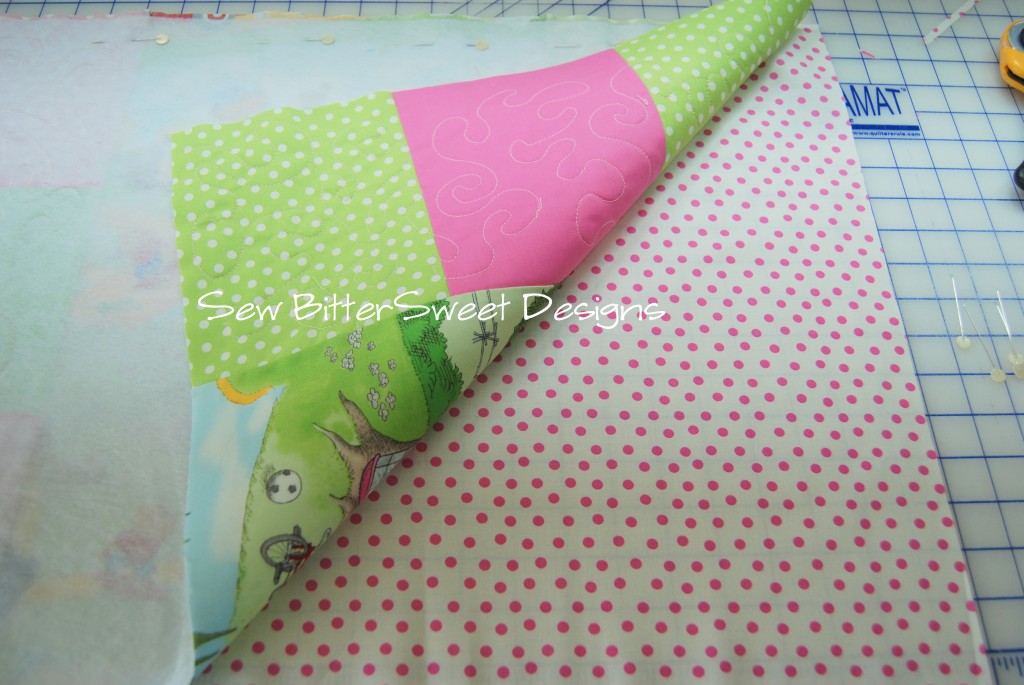 Sew the 3 pinned sides with a 1/4″ seam. Clip the corners.
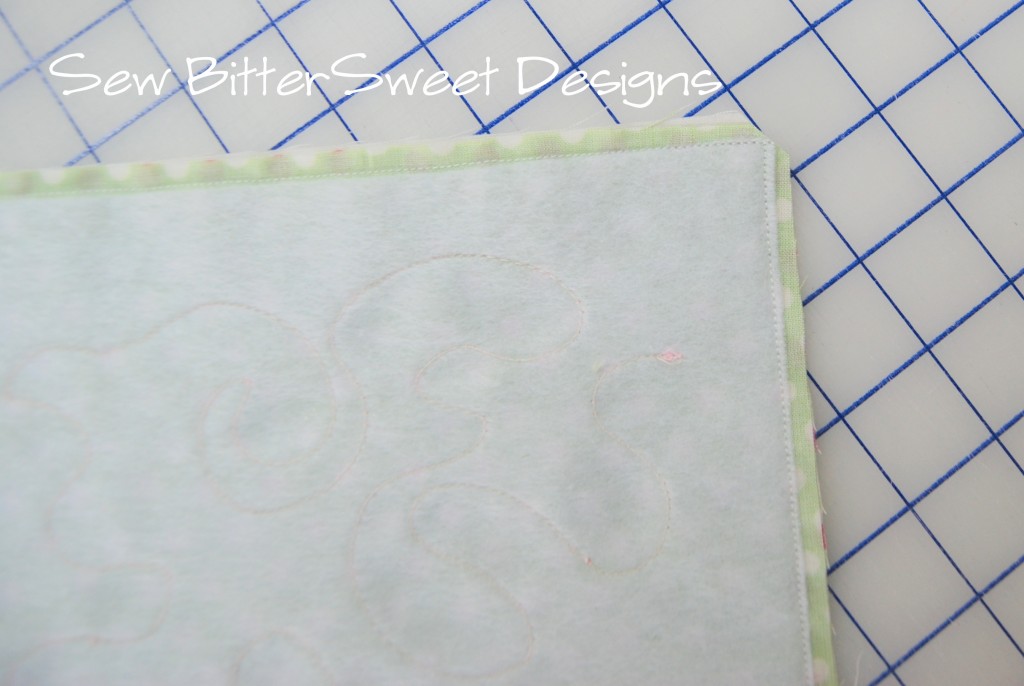 Turn right side out, pin one side of zipper into place and sew down.
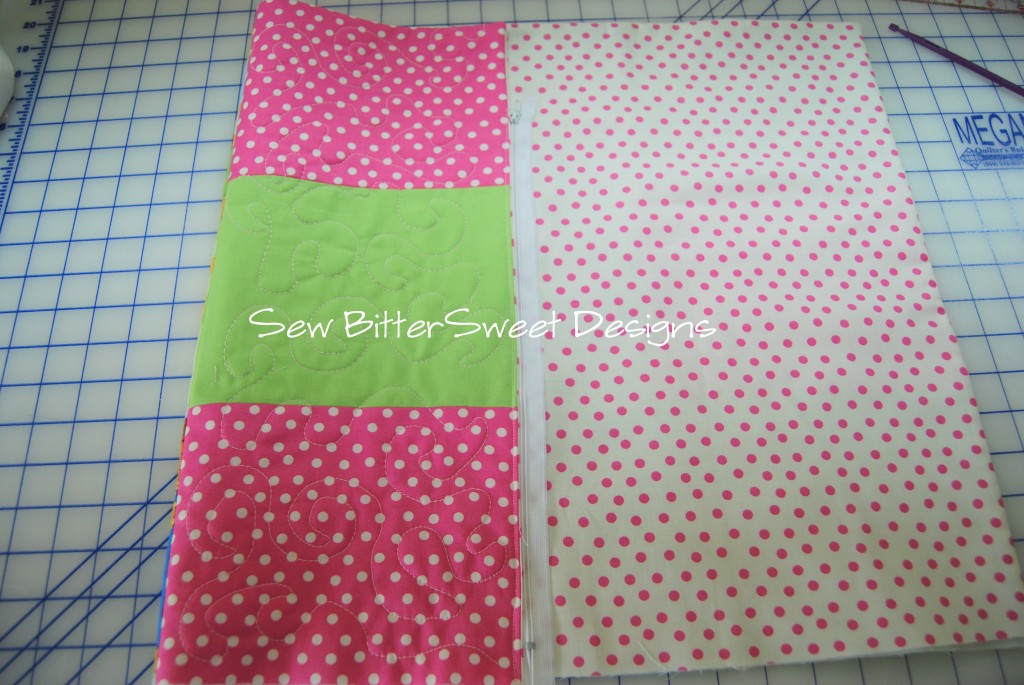 Unzip the zipper and pin to the other side, be careful when sewing the zipper down that you don’t sew through the back of the sleep sack. You should now have a tube when the zipper is zipped.
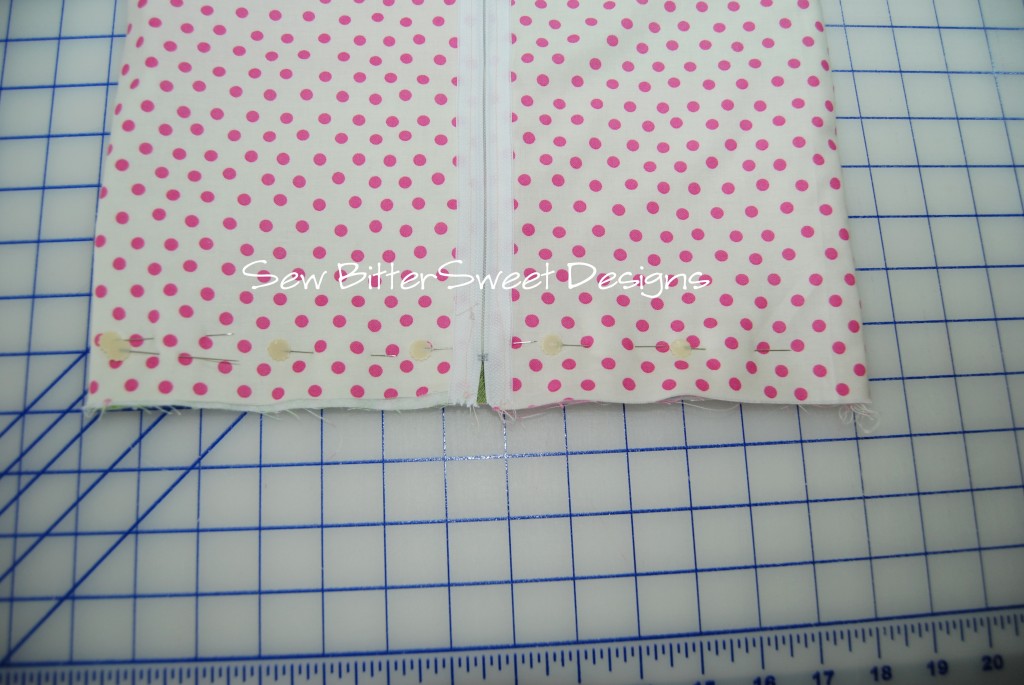
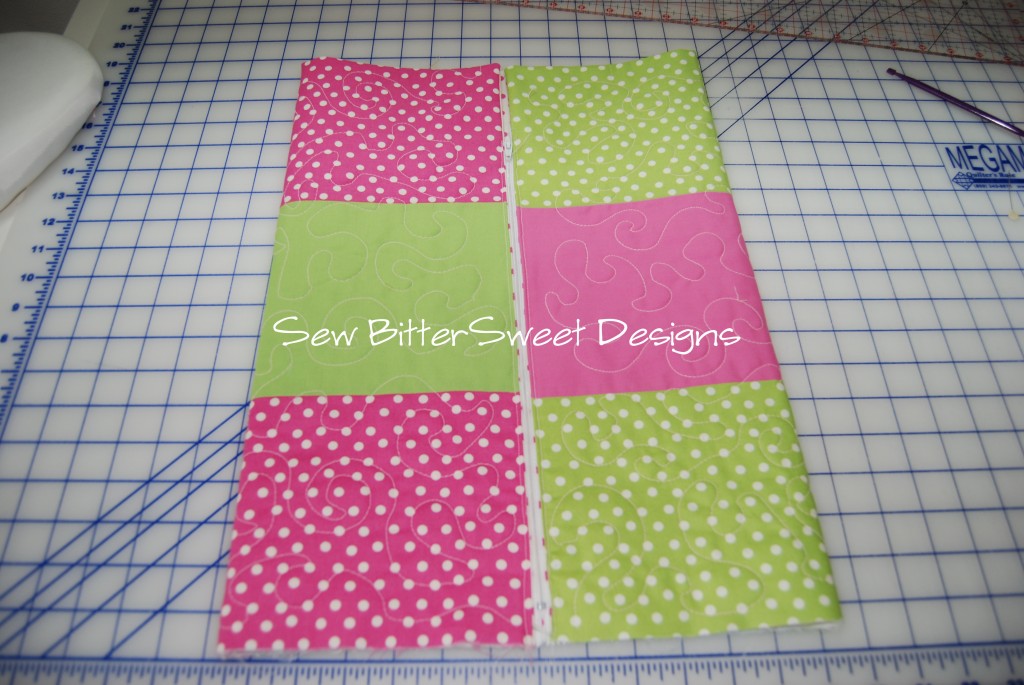 Turn sleep sack inside out, pin across the bottom and sew bottom closed, if you would like to add an “I love you” tag, this is the point to pin it in. You will want to sew this final seam close to the stopper on the zipper.
 Turn right side out and you’re done!
This is my project for the Hopeful Threads June Project. I hope you enjoy, if you make one, I would love to see it!

 Welcome to Bear Country