product review

Superior Threads – Treasure Hand Quilting Thread Review

Superior Threads – Treasure Hand Quilting Thread

(Full Disclosure: Superior Threads provided me with samples of their threads – the thoughts and opinions presented are my own)

In March I attended the Puyallup Sew Expo and I stopped by the Superior Threads booth. I had asked them if I could review their hand quilting thread on the project I was making for Mother’s Day. The nice thing about going to the booth was I got to meet Bob Purcell. If you have never met Bob, I highly suggest taking one of his Threadology Seminars. They are worth every penny of your money and every second of your time! The other reason it was nice to be in the booth was that I got to bring my current project with me to color match Treasure to my quilt. I love doing that! It is perhaps one of my favorite steps in the quilting process.

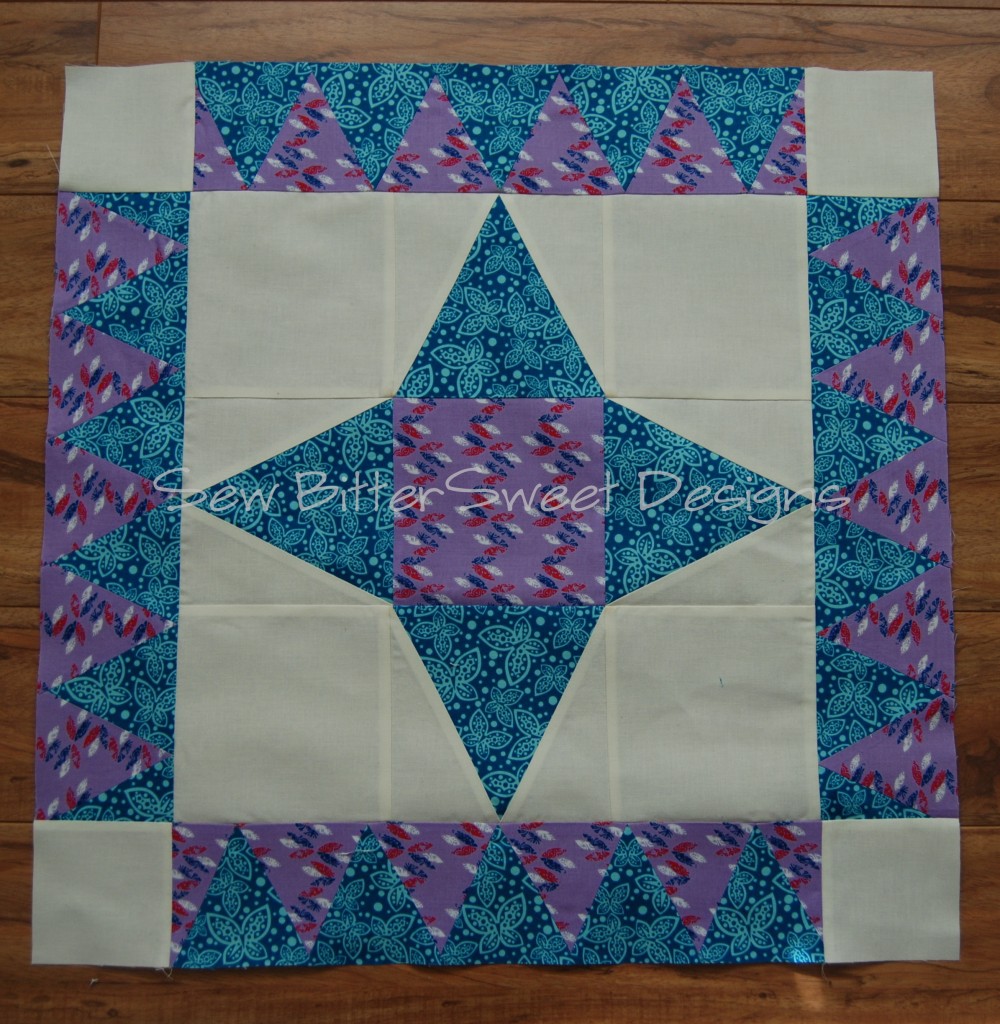
Here’s my wall hanging before I quilted it.

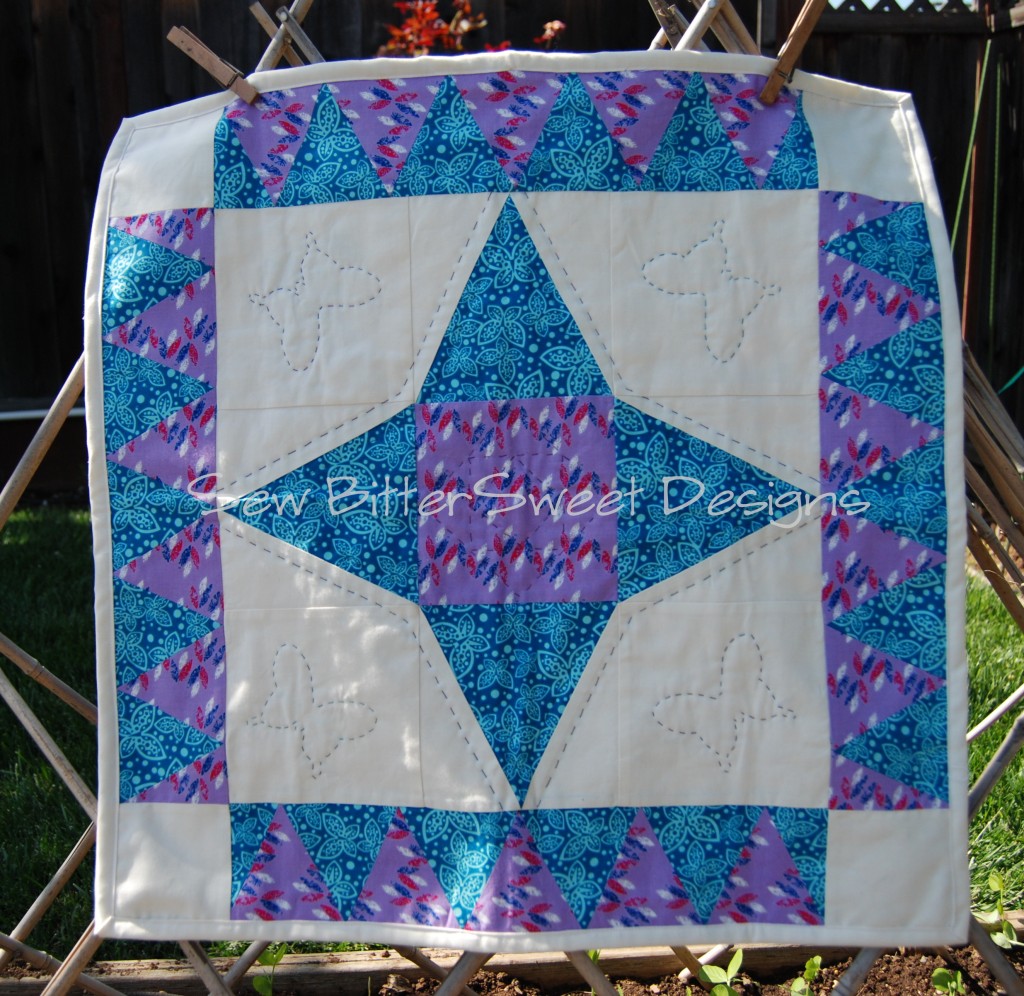
As you can see, with the exception of the prints, it is a bit Plain Jane and I wanted my quilting to not only brighten it up, but to be the standout feature. I got two different spools of Treasure Thread and started quilting. I used #560 Knick Knacks (tone on tone med. and dark teals) and #568 Legacy (med. and dark purples).  Let me pause here to tell you that the pictures you are looking at on the Superior Threads website (GO LOOK!!!) are exactly how the threads look in real life – which is a relief when you cannot see and feel something in person!  I did some straight line quilting and then I decided to try my hand at some curves and added four butterflies.

What do you think?

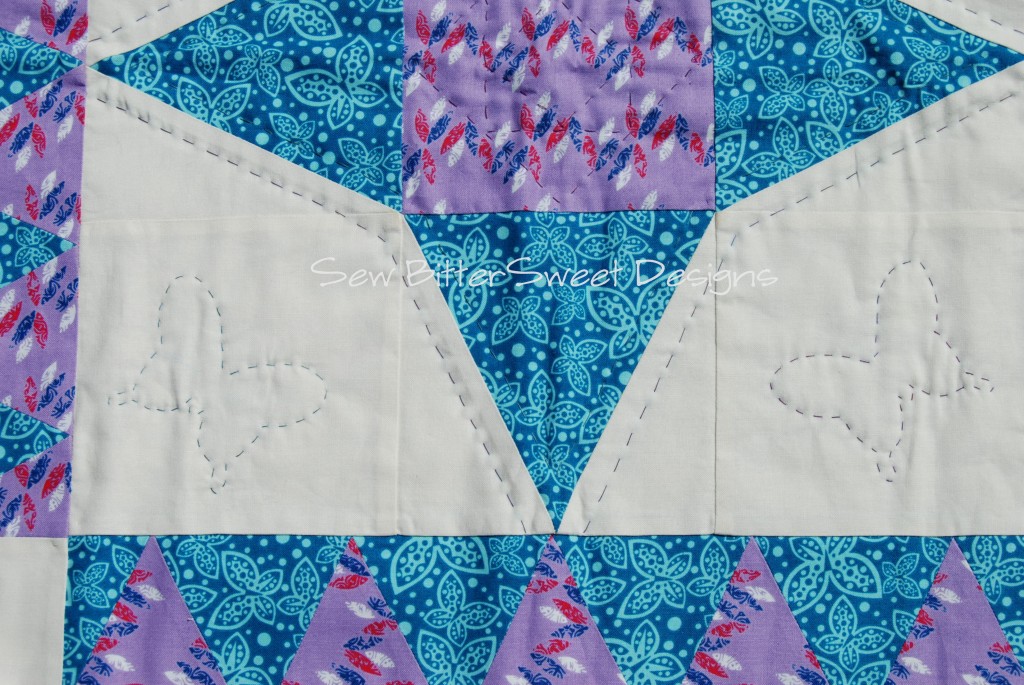
Here’s a close up of the stitching:

This is only my second time hand quilting and I have to tell you, I am hooked! It took me literally two months to finish this project, mostly because life happened and kept getting in the way.  My last project was done with Perle Cotton, so all my review will be based on that experience.  I should also mention that I used John James Quilting/Betweens – JJEG120 Size 9/10 needles by Colonial Needles.

Things I liked:

  • Virtually no kinking or knotting while I quilted. Perle Cotton, I have found, has a tendency to knot up if you are working with a really long length.
  • No thread breaks.
  • The stitches look like they were sewn by a machine!
  • Treasure comes in 300 yard spools and is available in 25 different colors, including VARIEGATED! There are no variegated Perle Cottons (at least not that I have seen)!
  • Want to practice your hand quilting, you can buy the Treasure Try Me Special – you will get a spool of thread for only $5.00. You won’t get to pick the color, but you will get to test out the thread at almost 40% off.  Believe me, you won’t be sorry!
  • There was no shedding or lint with Treasure, I had a lot of lint with Perle Cotton.
  • It is 100% machine washable – the colors will not fade or change unless you use bleach.


Recommendations:

  • Do your research on needles – some needles bend, some needles snap, and some needles are really great. Superior Threads does not carry hand quilting needles yet, so you will need to research the right needle. My personal recommendation is using a Between size 9 or 10. This size worked great for me.
  • Do not be thrown off by the “memory” of the thread – watch this video on Hand Quilting Thread by Bob Purcell – it is a great explanation.
  • For hand quilting I recommend getting a good thimble.

I would love to see Superior Threads either carry needles or have a recommended brand or two listed on their site. I would also love to see even more color choices available, although the fact that there are variegated choices already puts them miles ahead other brands!

Have you done any hand quilting? Would you or have you tried Superior Threads Treasure?

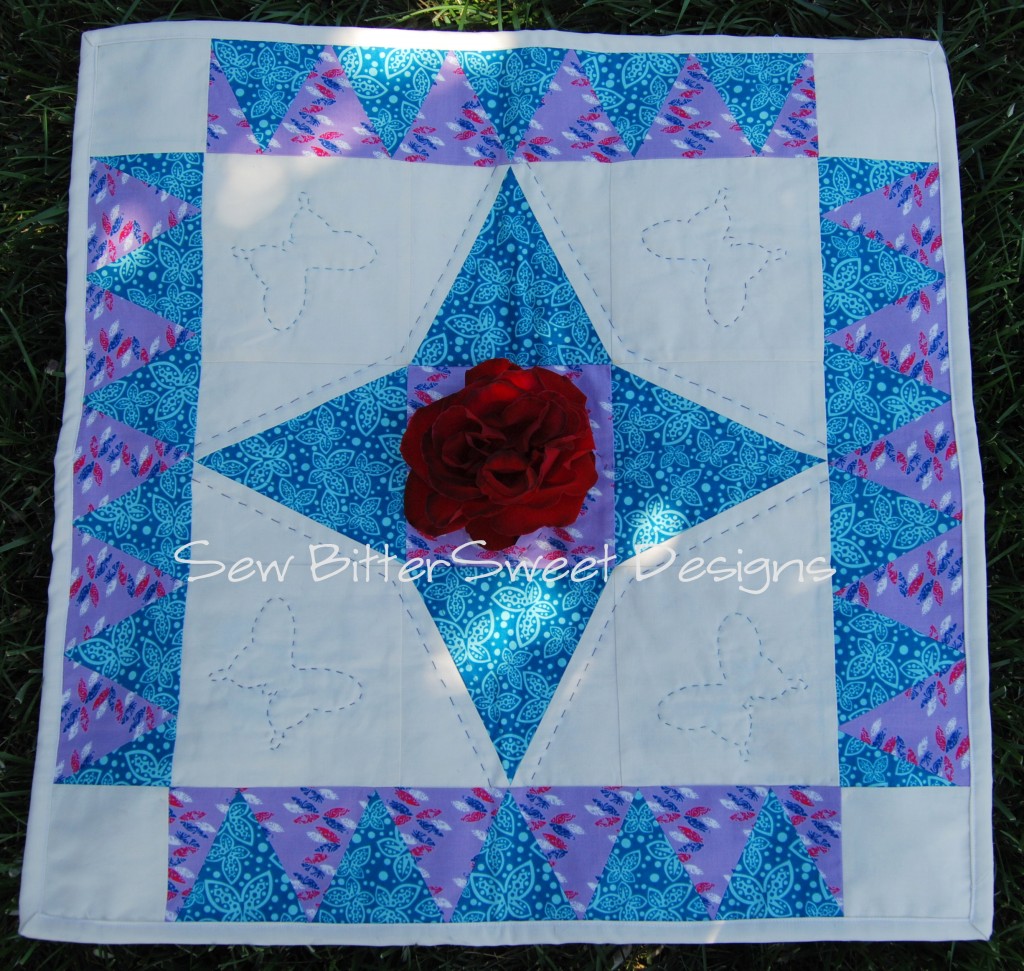
Here’s one last picture for Mother’s Day:


Easy Dresden Ruler Review and Mini Tute

Dresden Plates are hugely popular right now across the blogosphere. Everywhere you look you will find a Dresden Plate. The first one I ever made was on Jenna from Sew Happy Geek’s QAL. I really loved how it turned out and thought it would be great to try a few more projects with them.  During the giveaway from Fat Quarter Shop last month I asked everyone what notion they wanted to try most and one of the top listed was the Easy Dresden Ruler.

The Easy Dresden Ruler is another ruler designed by Darlene Zimmerman and can I just say that she knows what she is doing! You may remember she is also the person who designed the Tri-Recs Rulers that I loved so much!

The ruler comes with cutting instructions and for the standard Dresden Plate. Like this Big Fat Dresden by Lily’s Quilts:

Big Fat Dresden by Lily's Quilts

The cutting instructions help you cut wedges 2″ all the way up to 8″ at 1/2″ intervals.

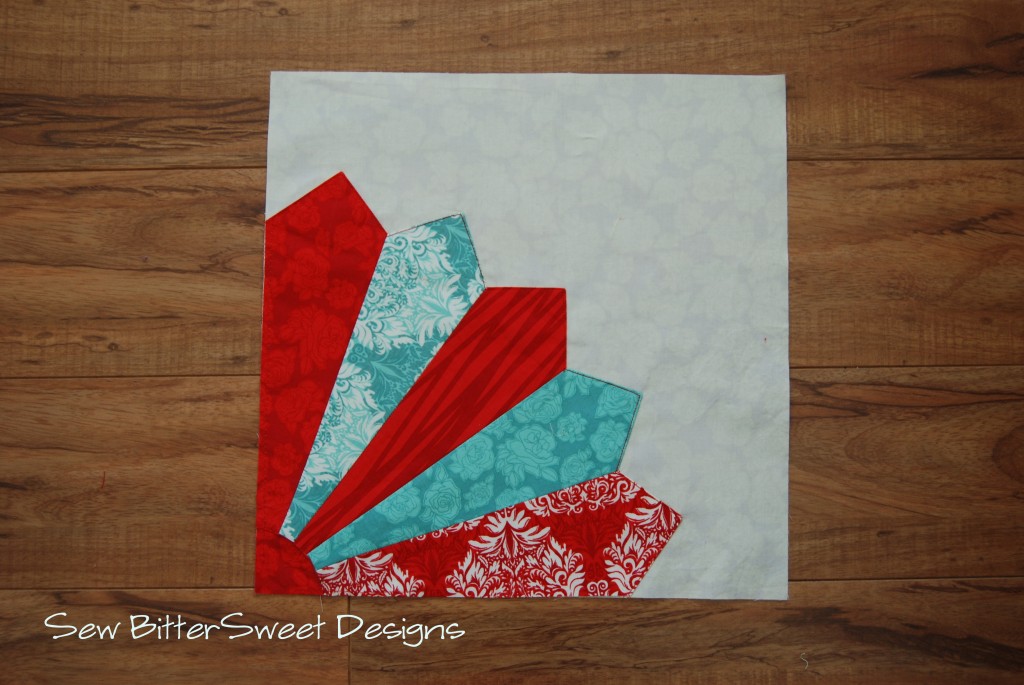
There are also included instructions for Dresden Fans, here is the one I made following Jenna’s tutorial for the Sew. Happy. Quilt.

The included instructions again are for wedges 2″ all the way up to 8″ at 1/2″ intervals. The block size is 1/2 the finished size of the wedge plates.

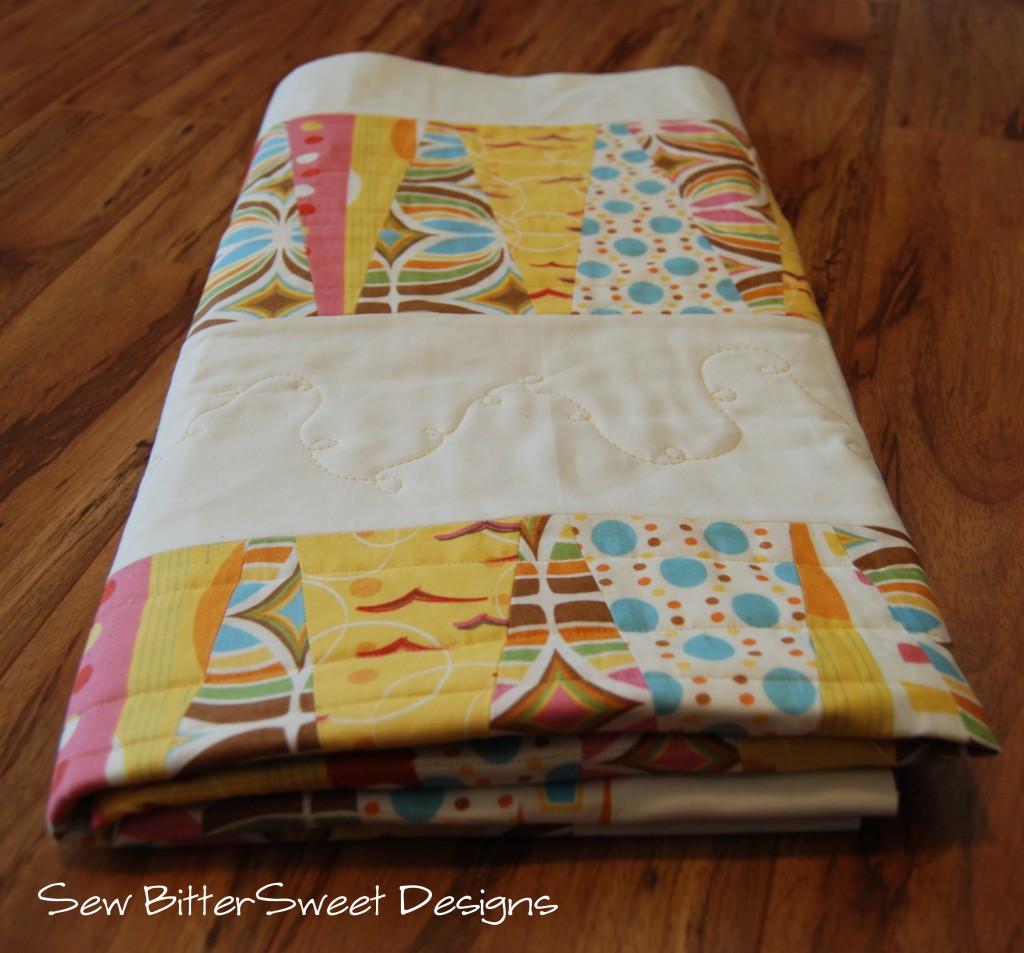
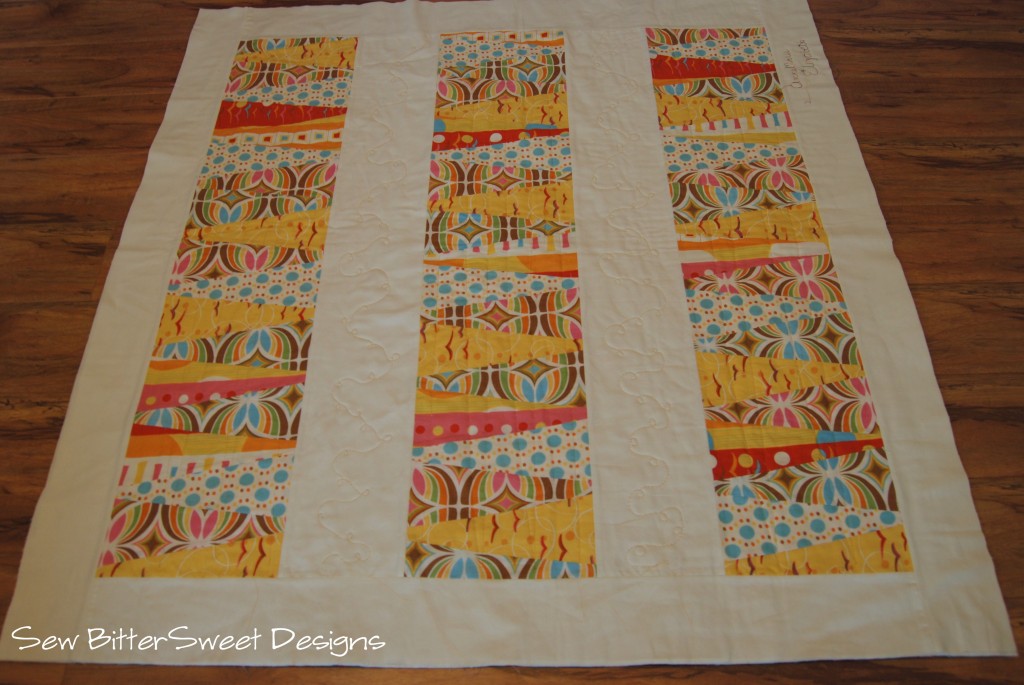
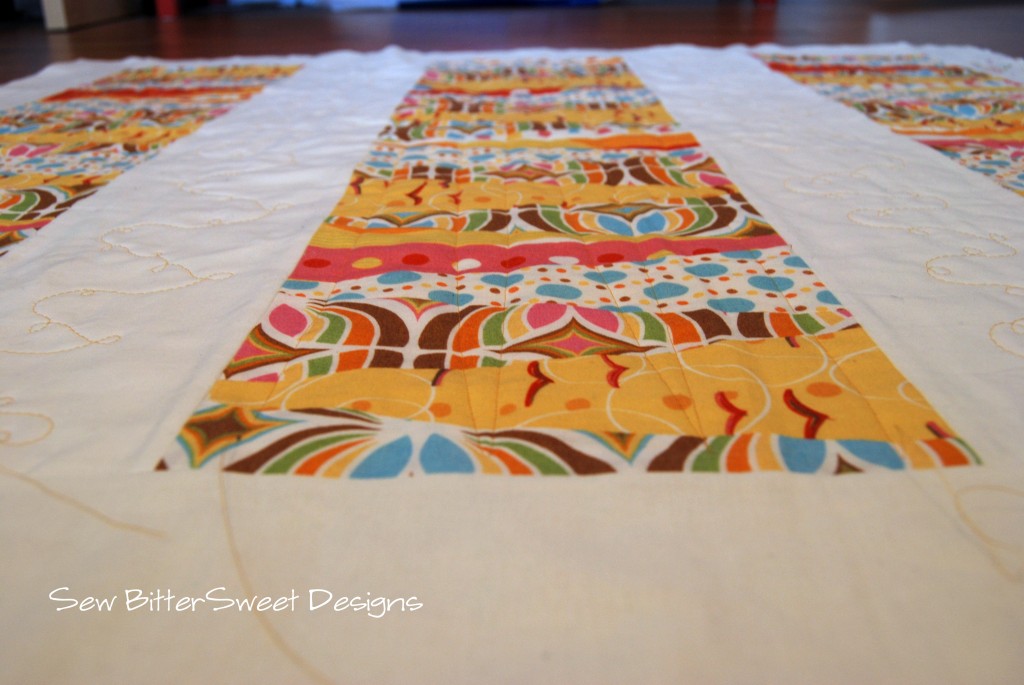
Also included, a pattern for a quilt, and then 5 different suggested projects without measurements or instructions.  There is also a guide for cutting rounded tops on the edges. There is an image for a tumbler quilt and that is where I got the inspiration for my Flock Quilt that I made for Anne last week and finished quilting Tuesday.

This is the epitome of a mini tutorial, sorry about that, but I didn’t take any pictures, luckily it is so easy you do not really need them!

  1. You will need five 1/4 yard cuts of your favorite fabric – I used Flock by Thomas Kanuer and 3/4″ yard of a coordinating solid – I used Bella Porcelain.
  2. From each 1/4 yard, cut twelve 8″ wedges using the Easy Dresden Ruler.
  3. From the solid cut two 5.5″ by WOF strips and four 3.5″ by WOF strips.
  4. Each tumbler row is 20 wedges sewn randomly together – make 3 tumbler rows – press seams open.
  5. Assemble your top – use image as a guide
  6. You will need approximately 1.25 yards for a backing and I used a crib size batting. I haven’t bound it yet, but I will be purchasing 1/2″ yard of fabric for the binding.

Easy Peasy!

Things I like:

  • The instructions are very clear and complete with lots of suggested projects
  • Block sizes for the wedge plates – 8″ to 20″ and block sizes for the fan plates – 4″ to 10″. Making the tool incredibly versatile!
  • Free pattern included – it is a small wall hanging size pattern and is perfect to really learn the technique
  • When using it for tumblers it would be great for quilts and borders alike

Area’s for Improvement:

  • The circle center and rounded top stencils do not come with instructions explaining resizing for different sized wedges. This is something that could use improvement.

Final Thoughts:

The Easy Dresden Ruler is worth every penny. I see lots of projects in my future utilizing this tool.  Do you have this ruler?  Do you like it? If not, you can purchase one from Fat Quarter Shop. I would love to know if you make Anne’s new Flock Quilt!

Don’t forget to enter the giveaway from Fat Quarter Shop to win one of two Flock Fat Quarter Bundles!


Colonial Needle Review and Giveaway!

bloghopbadgeC

Welcome to my day of the Colonial Needle Blog Hop – to see the rest of the schedule please go visit my post here and to read more about it please to visit Lily Pad Quilting! If this is your first time to my blog, welcome!

I have absolutely loved working with Colonial Needle’s products the past month! I have had a lot of handwork to get done lately, sewing down quilt bindings, burying threads and some hand quilting. This hop couldn’t have happened at a more opportune time!

The product was most interested in test driving was the Colonial Needle Pebbles.

These are handy little needle carrying cases with an assortment of different types of needles inside. Each Pebble has a different assortment of needles: quilting, beading, household, tapestry, etc.  I immediately opened the Quilting Pebble and got straight to work – here is a close up of some of the stitching I did on my mom’s mother’s day gift.
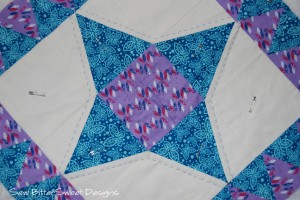
Sewing with the Pebbles was smooth and easy. They were not overly flexible, I didn’t break a single needle (yeah, I’ve done that…), and they just glided right through all three layers. Love Love Love.  The only thing that was hard for me was getting the needle out of the Pebble, but my hands don’t always like to cooperate with me (the doctors are working on that).  One of the things I liked best, was that I could just throw the entire case into my sewing bag and I didn’t have to worry about my needles getting loose and free ranging in my bag. It was nice to be able to reach in without fear of stabbing myself with a rogue needle (yup, done that more than once!).  I also like that the Quilting Pebble contained 16 different needles ranging in size and length – this meant I always had the right needle when I was working. Can’t get better than that.

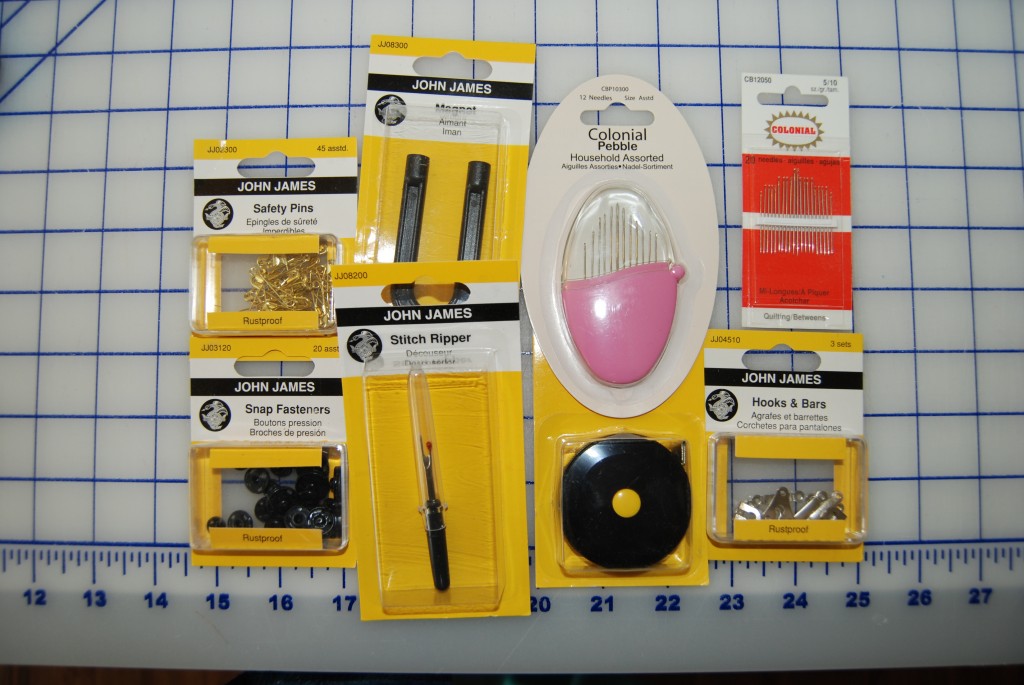
Now, I don’t want you to think that Colonial Needle just makes needles, oh no, they make way more than just needles. In the package of products I received from Lily Pad Quilting there were the following products: Safety Pins, Snap Fasteners, Magnets, Stitch Rippers, Measuring Tapes, and Hooks & Bars, AND that was just a sampling of their products! Please visit their website to see their huge assortment of tools that every sewist needs.

I promised a giveaway in the title, didn’t I? Well how about 2 prize packs of assorted Colonial Needle products, each one will include a Pebble Set and a set of their regular needles as well. Then there will be an assortment of all the tools that were in my package. How does that sound? Need a picture to make sure you want in on the goodies…

Each prize pack will include one of everything pictured above (though the needles may be a different type) and possibly more…depends on how much I can fit in the boxes I get!

How can you enter?

1. Be a follower (old or new) and tell me how you follow – there are so many ways to do it in my sidebar!
2. Alert the media – blog, facebook, or tweet about this giveaway – come back and give me the link.

You will have from today, April 19th through Wednesday April 25th (9pm Pacific time) to enter and I will announce the winner on April 26th.  Good luck!


Superior Threads – So Fine Review

(Full Disclosure: Superior Threads provided me with samples of their threads and needles – the thoughts and opinions presented are my own)

When Superior Threads asked me back in November what threads I was interested in testing out, So Fine was one of my top three – you have already seen reviews for King Tut and Bottom Line – and now it is time for So Fine.  I can’t begin to tell you how much I loved quilting with this particular line of thread. It comes in three different weights 30, 40, and 50.

As always when I prepare to do any type of review I gave my machine a thorough cleaning and checked the Home Machines Thread Reference Guide to make sure that I had the correct needle and tension settings on my machine. I was using So Fine #50 which recommended a 80/12 needle and 4.0 – 5.0 tension setting.  Remember that when trying out any new product you should always make sure that you have checked the recommended settings for your machine – this will help you avoid frustration caused by tension problems!

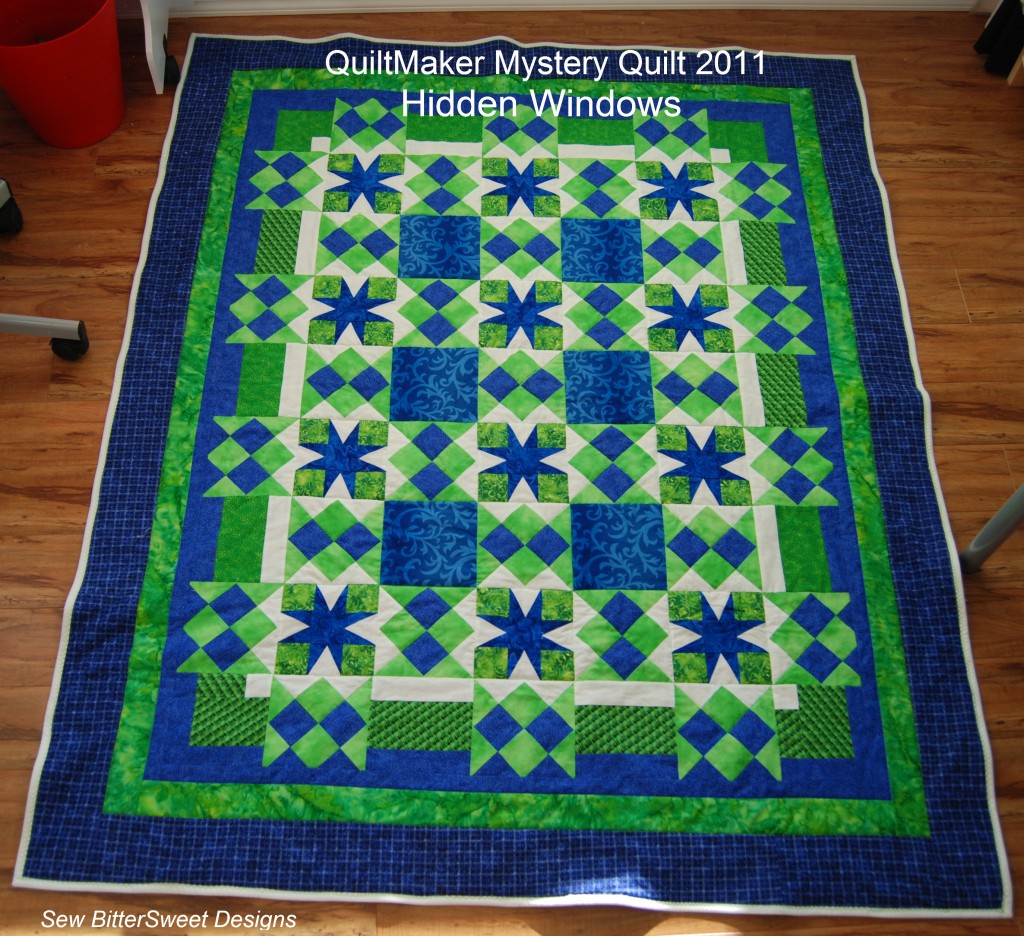
I tested it out on the Mystery Quilt for my hubs.

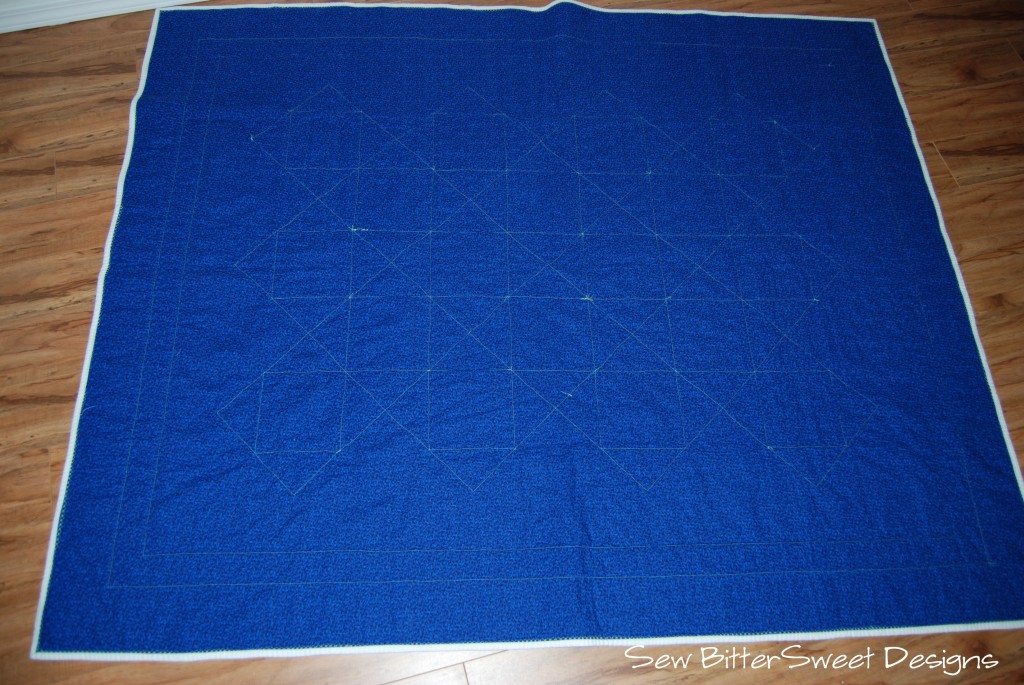
I did straight line quilting in the ditch here is a look at the back – I used So Fine as my top thread and I also used it as my bobbin thread.

Throughout all the quilting I didn’t have a single break. It is also the first quilt that I have done in one sitting. I was only going to do the large diamonds, but then I read the packaging on the batting that I used and realized that I had to quilt at least every 6-8 inches. That led me to quilt squares inside the diamonds. In the end I really love how it turned out with the additional quilting.

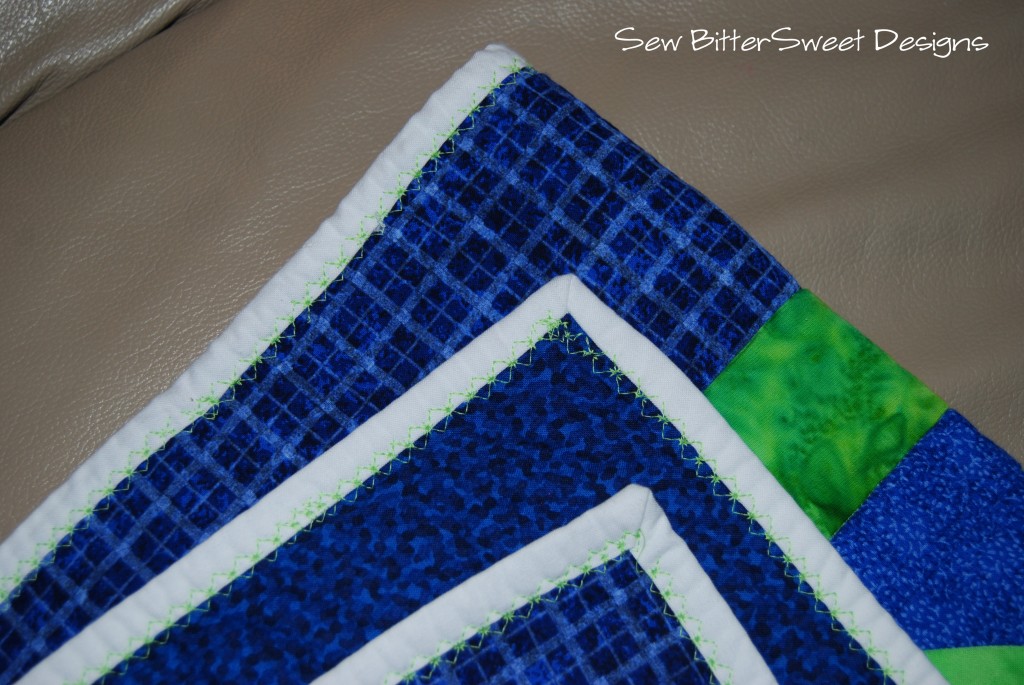
I also decided to use the So Fine to sew down the binding. In order to add a little extra pizzazz (not that my hubs actually noticed) I did a decorative stitch

The decorative stitch that I selected is one of the most complicated as far as needle movement is concerned on my machine. Throughout the entire quilting and machine sewing of the binding I did not have a single thread break. Any time that I don’t have to rethread my machine does so much for my frame of mind. Sewing/quilting is supposed to be relaxing and any time I have to deal with a break it does nothing but raise my blood pressure. My blood pressure stayed nice and low with this quilt!

Things I Liked:

  • My number 1 favorite feature of this thread is that there were no thread breaks.
  • I used it as a bobbin thread and a top thread – it worked seamlessly
  • My machine was clean when I started and clean when I finished quilting – ZERO LINT. Any time I don’t have to clean my machine I am a happy happy camper.
  • So Fine comes in three different weights with over 200 color choices. Talk about selection!
  • So Fine comes in cones, spools AND pre-wound bobbins.
  • As always – I am a fan of the Superior Threads Education portion of their website – I have yet to come across a thread manufacturer with this much information available on their products.  Including two videos focusing solely on So Fine.

Recommendations:

  • Start with the Home Machines Thread Reference Guide and a clean machine. You will get your best results when following the recommendations of the experts.
  • If you want to try out the thread but are not really sure if you will like it – try out the “Try Me Specials” that Superior offers – it is a great way to try out a new thread and see if it is something that you will want to use in the future.

I have no improvements to offer Superior Threads at this time on So Fine. It is a fabulous product. The only thing I did not try was piecing with it, this is on my list, but after quilting and sewing down the binding on this quilt I was virtually out of thread!

Have you used So Fine? If so which version of it do you like best and why?

PS: I have a great giveaway this week from Sondra over at Contemporary Clothgo enter!

Review – Carol Doak’s Foundation Papers

(Fat Quarter Shop provided me with a sample of Carol Doak’s Foundation Papers, the review is entirely my own.

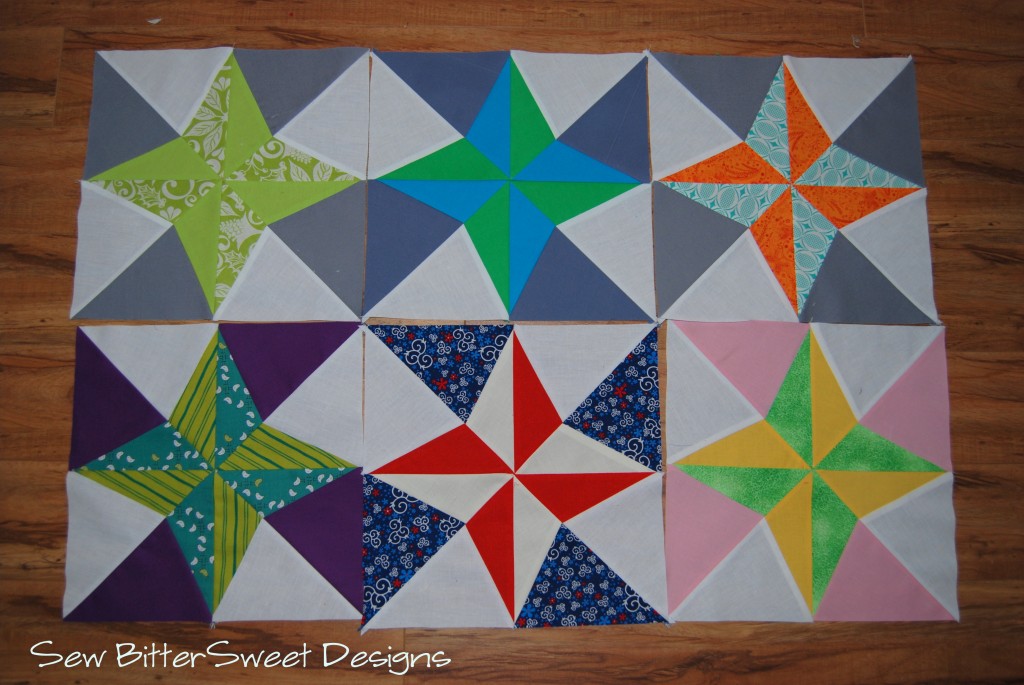
One of my goals for 2012 was to conquer my fear of paper piecing, and from what I have read and had others tell me, paper piecing is a pretty common fear in the online quilting community. Well, this quarter I joined an online virtual quilting bee called the 3×6 Bee. We were asked to fill in a survey with our preferred type of bee: paper piecing, wonky, stars, pinwheels, etc. I said paper piecing and picked two others, well…I am in a hive that is all paper piecing blocks. This scared the day lights out of me at first but then I realized it was just what I needed to get over my fear of paper piecing!

I started out using regular printer paper for the foundation of my blocks. This worked fine but it was hard to tear off without stretching the stitches, it left behind little scraps which meant I was constantly pulling out my sewing tweezers to yank the buggers out, and I had to really lower my stitch length to 1.2 in order to get a nice tear. Keep in mind that a super low stitch length would be fine if it weren’t for the fact that I am still learning paper piecing and therefore I tend to have to rip out fairly often and those stitches are WAY to tiny for ripping out.

Then I tried Carol Doak’s Foundation Papers from Fat Quarter Shop. What a difference!

I could raise my stitch length to 1.6 – which is still low – but not so low that I can’t easily rip it out if I absolutely have to. Also, it is super thin which makes it easy to tear off at the end.

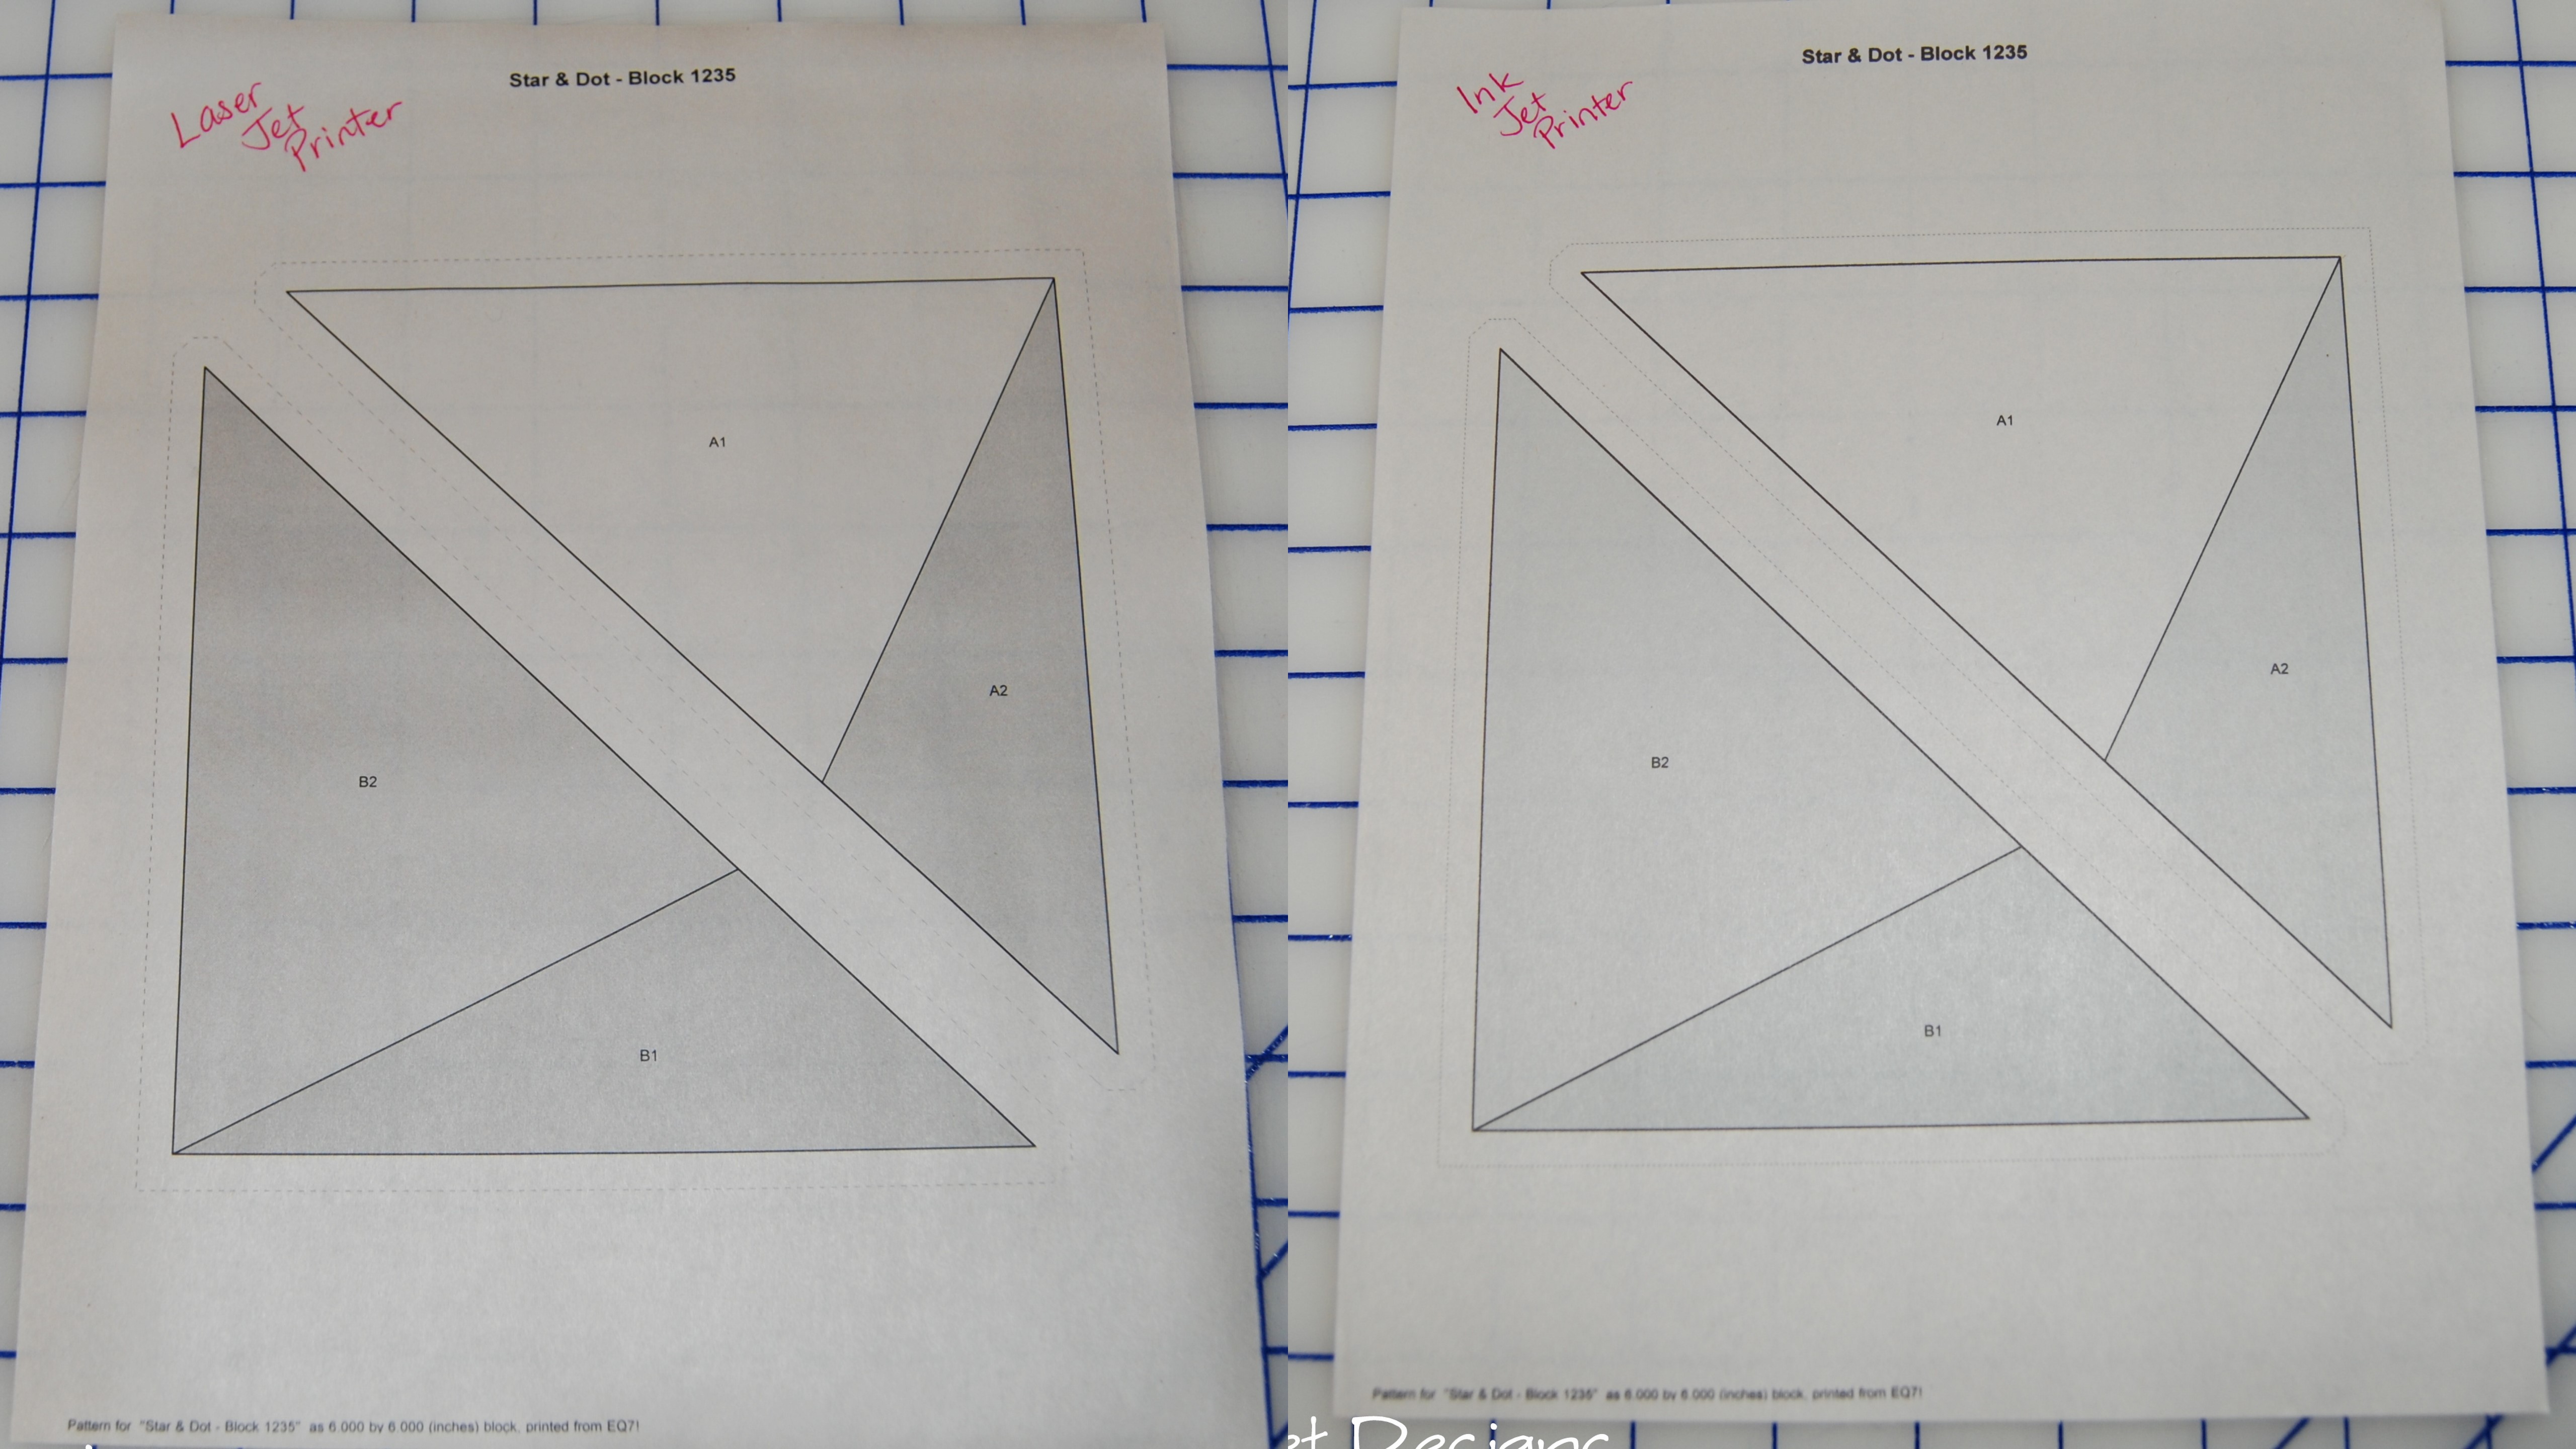
To give the paper a fair trial I tested it out in my laser jet printer and my ink jet printer:

When I put too many sheets in my ink jet, they got jammed and tore; however, feeding them one at a time I was able to get a very nice and even print.  When I printed multiples on the laser jet, they tended to come out curled (this is due to the heat created by an ink jet printer) after a few minutes they flattened back out and were good to go.

Things I liked:

  • I could use a larger stitch length and not worry about stretching my stitches when I removed the paper
  • They are very light weight making it easy to sew through, this is easier on my needle and over all machine. The light weight feature means I do not have to change my needle as often when paper piecing.
  • Being thin makes it relatively easy to see through them (see recommendations)
  • I could use them on either of my printers – laser jet and link jet. This tells me that they would be fine for use on virtually any home machine
  • They do not curl or become brittle when pressed – this is important as you do a lot of pressing when paper piecing

Recommendations:

  • I would like to see them in come in white. They are a very light tan color and when paper piecing at night, even using an improvised light box (see tomorrow’s post), they can be a little hard to see through
  • Be careful when using an ink jet printer and consider hand feeding them to prevent tearing. The sheets are extra thin and my machine grabbed 2 at once – which is what caused my jam.

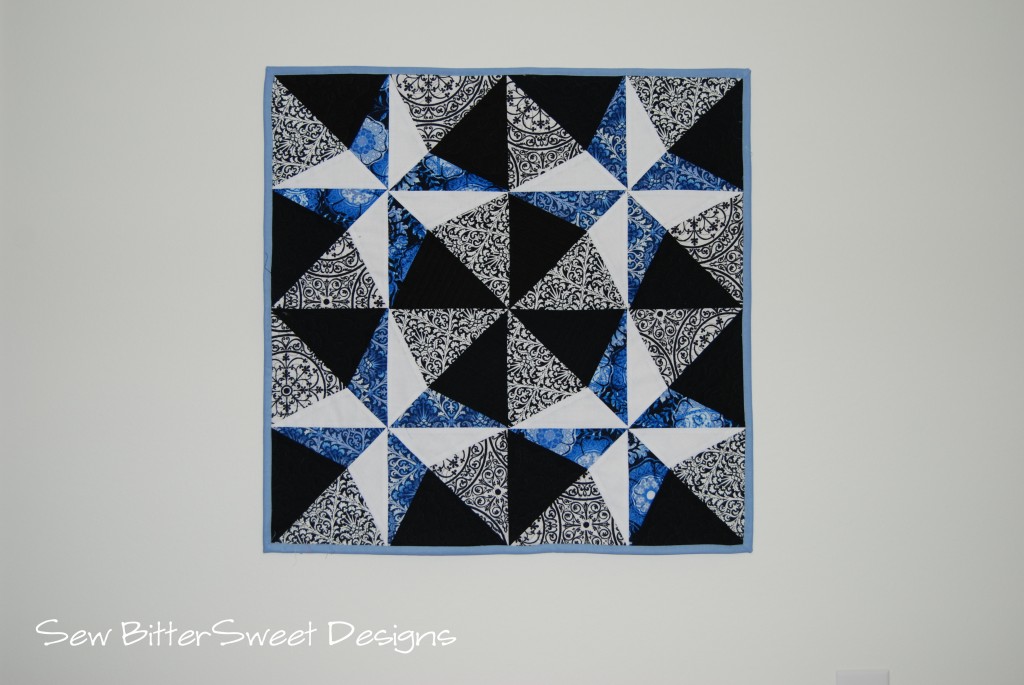
Be sure to come by tomorrow to see how I used Carol Doak’s Foundation Papers and Avalon by Jason Yenter, all generously provided by Fat Quarter Shop, to make a gorgeous wall hanging.

If you are interested in learning even more about Paper Piecing but you are scared to death of it, check out Katy’s blog The Littlest Thistle – she is currently doing a series called Foundation Paper Piecing for the Terrified and she has some great basic blocks on there with step by step tutorials. Go conquer your fears, I am!

Have you tried paper piecing? Have you tried Carol Doak’s Foundation Papers? I would love to know what you think about both!

PS. Don’t forget to go enter the giveaway from Fat Quarter Shop!

Scroll to Top