quilt

Monkeying Around

The past few days I have been monkeying around in my sewing room working on my last “official” Christmas present and I am delighted to say that it is DONE!

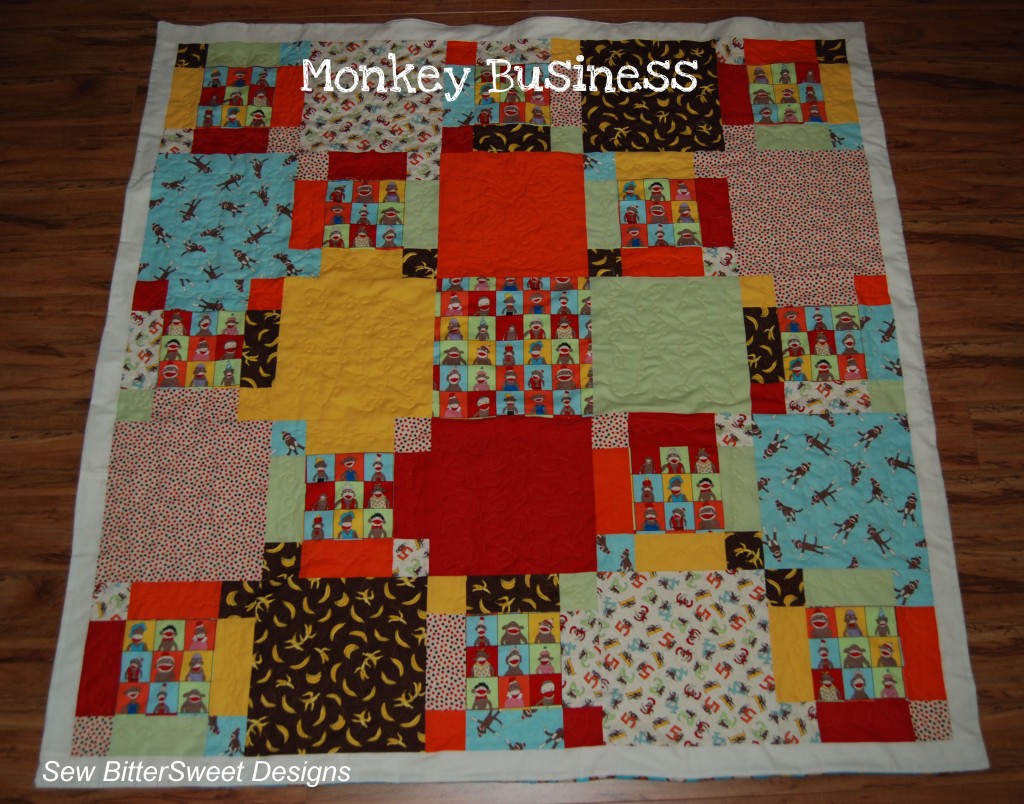
Here is a wide shot of the entire quilt – this is minutes after I finished sewing it – no ironing or washing yet. You may notice that there is no binding on this quilt – I decided to do the quick turn method because I did flannel on the back and quilting cotton on the front.  It was nice not having to bind a quilt for once!
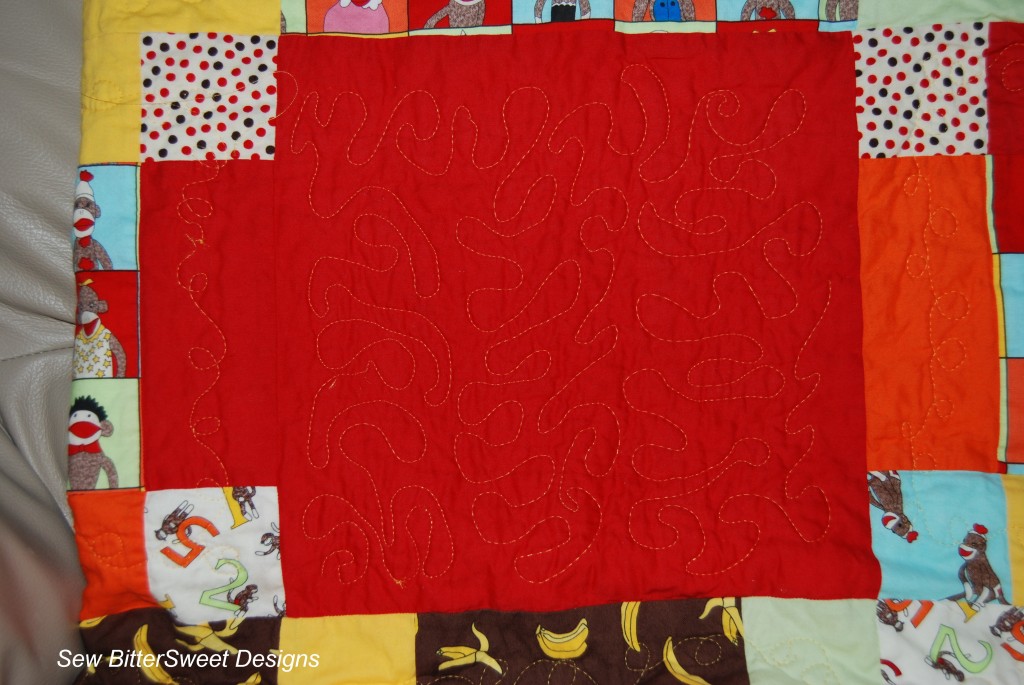
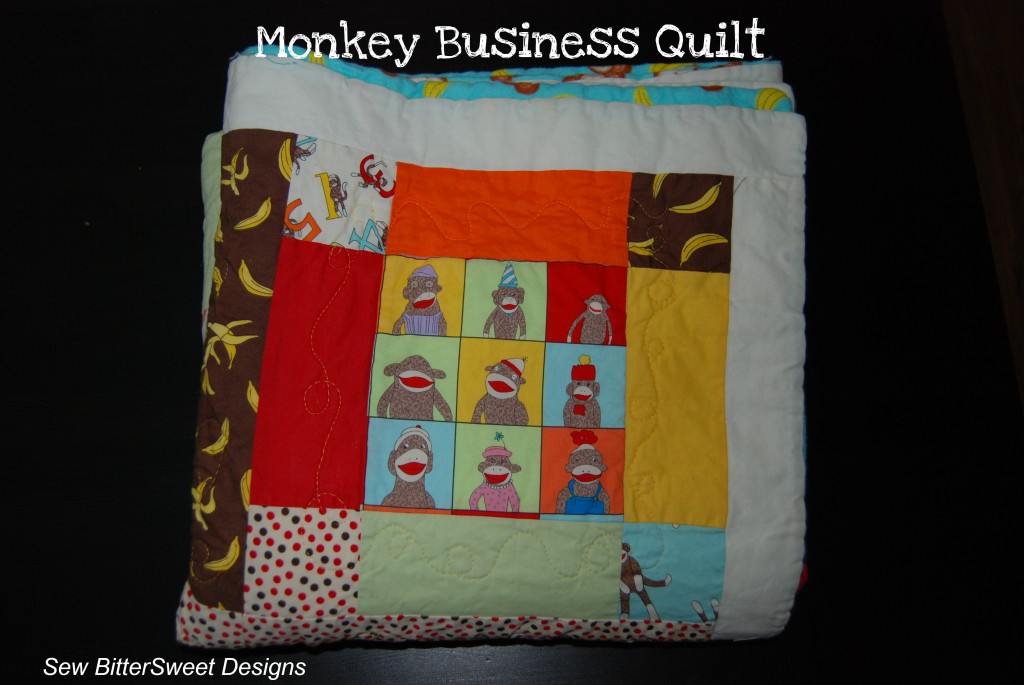
This is the first quilt that I did Free Motion Quilting on my new Horizon machine. I did swirlies around the nine patches and each of the large 12″ blocks I just did a random meandering. I wanted to play around as much as possible in each block to really get a feel for it. Here is a picture of my favorite square – I am pretty pleased with how it turned out – but I know I have a lot more to learn when it comes to FMQ!

Quilt Stats:

Measures: 60 x 60 inches

Front Fabrics: 5 Funky Monkeys by Erin Michaels for Moda & cooridnating solids

Backing Fabric – flannel monkey & banana print from JoAnn’s

Quilting – Free Motion Quilting

Thread – Bottom Line by Superior Threads

This is one of my original designs 🙂

My nephew just turned 1 and I think he is going to love this. I have made baby quilts for all three of my nieces and nephews. My newest niece is 9 and I just bought fabric to make her a quilt for her birthday. I want her to feel special and included and I can’t think of any better way than to make sure she has a quilt just like her brother’s and sister.

Happy Wednesday!

NOTE: Don’t forget, I am one of the bloggers who is going to lose Google Friend Connect in March 2012, please take a moment and follow me via Bloglovin’, Facebook, RSS or networked blogs.  You are important to me and I want to be able to stay in contact with you!  Check my side bar for all the best ways to stay in touch!

How do you bind your quilts? A few tips

I have been quilting for about 10 years now and until October I have always bound my quilts the exact same way each time. I have cut 2.5 inch strips, sewn them together, folded them in half, sewn them to the front of the quilt and hand sewn them in the back. A couple of times I have skipped binding all together and just used the quick turn method (which really ISN’T that quick if you ask me!).

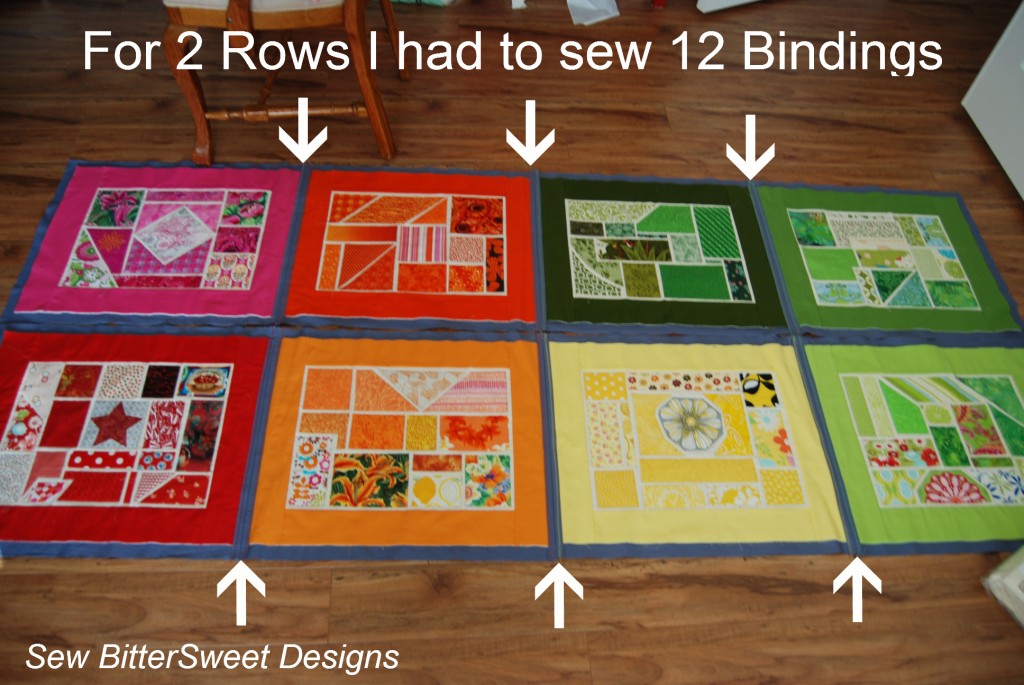
In October, I started working on Bottled Rainbows and I decided to do it as a quilt as you go project. This meant that instead of just having a binding around the outer edge of the quilt blocks, I had a binding around each block – that is 16 individual bindings…which is A LOT of hand work for someone who has arthritic hands.

Solution for tired hands:

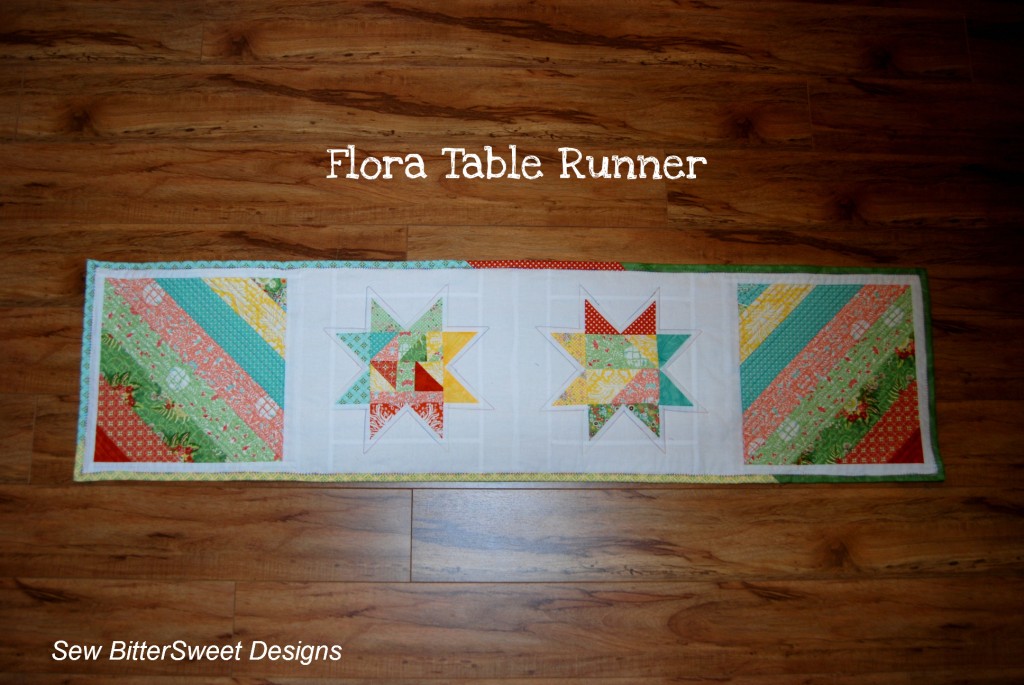
When I blogged last week saying that the Flora quilt would be the first time I machine stitched a binding – I had actually forgotten about the Bottled Rainbows quilt – mainly because in the QAYG technique this is considered to be sashing – even though it is really the exact same method as binding.

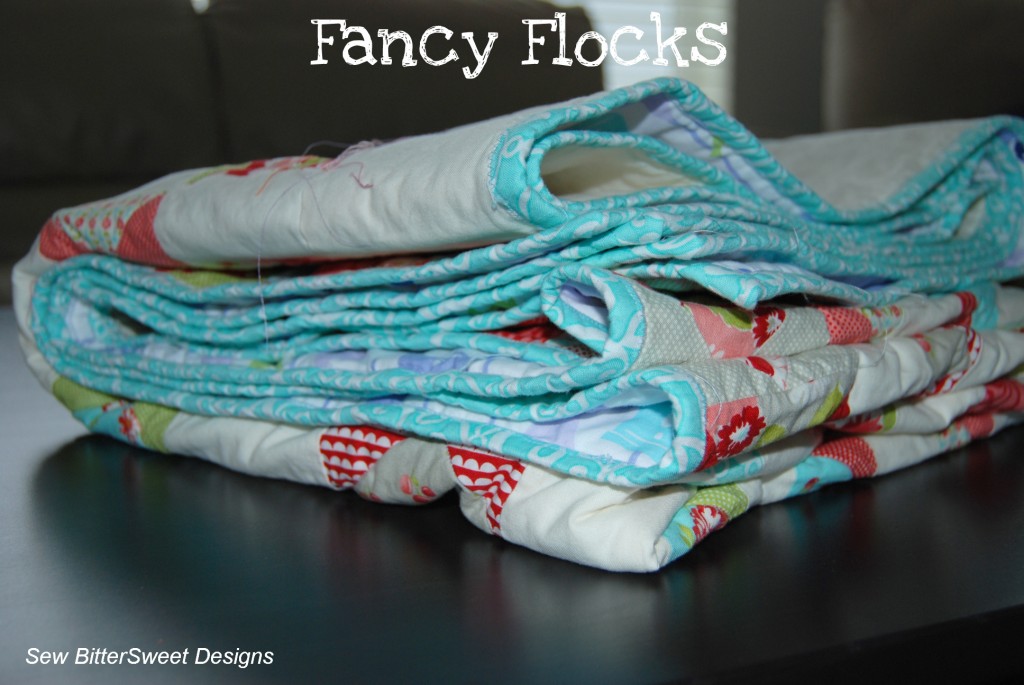
I don’t have a great pictures of the binding on Fancy Flocks, you can kind of see in this picture that I just did a basic zig zag stitch on the binding.

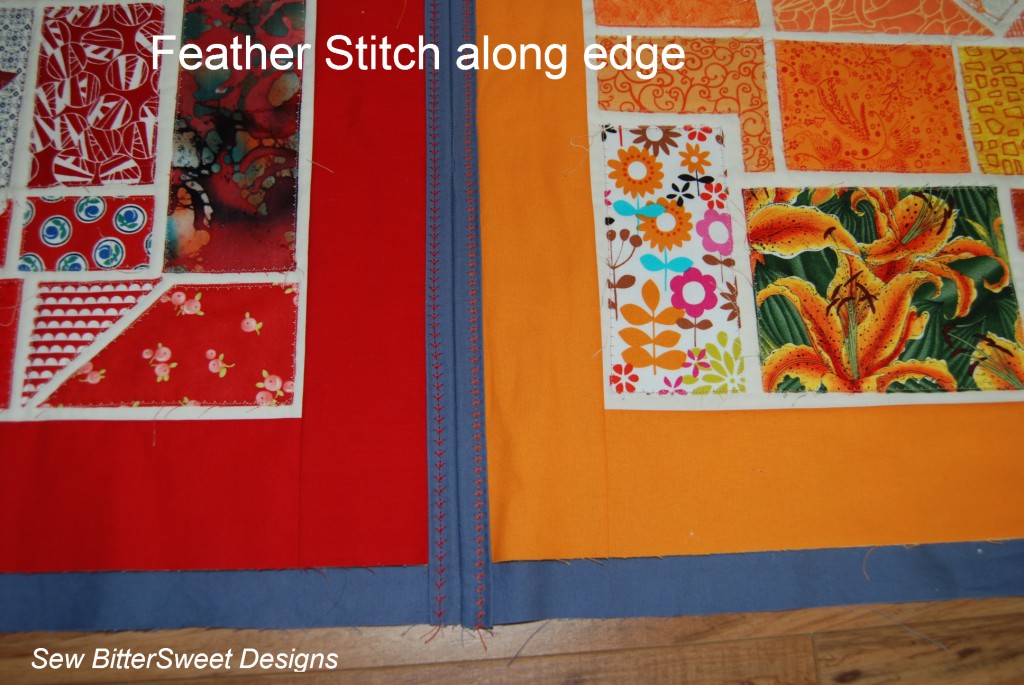
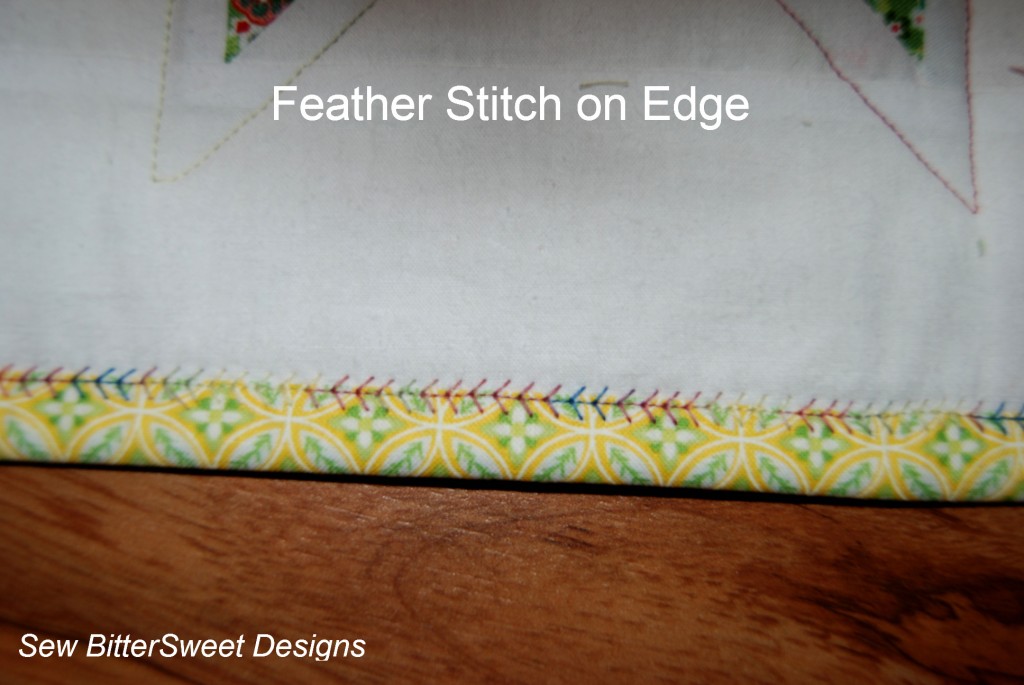
For the Flora Table Runner I used the same Feather Stitch that I used for Bottled Rainbows, but I put the stitch right at the edge of the binding.

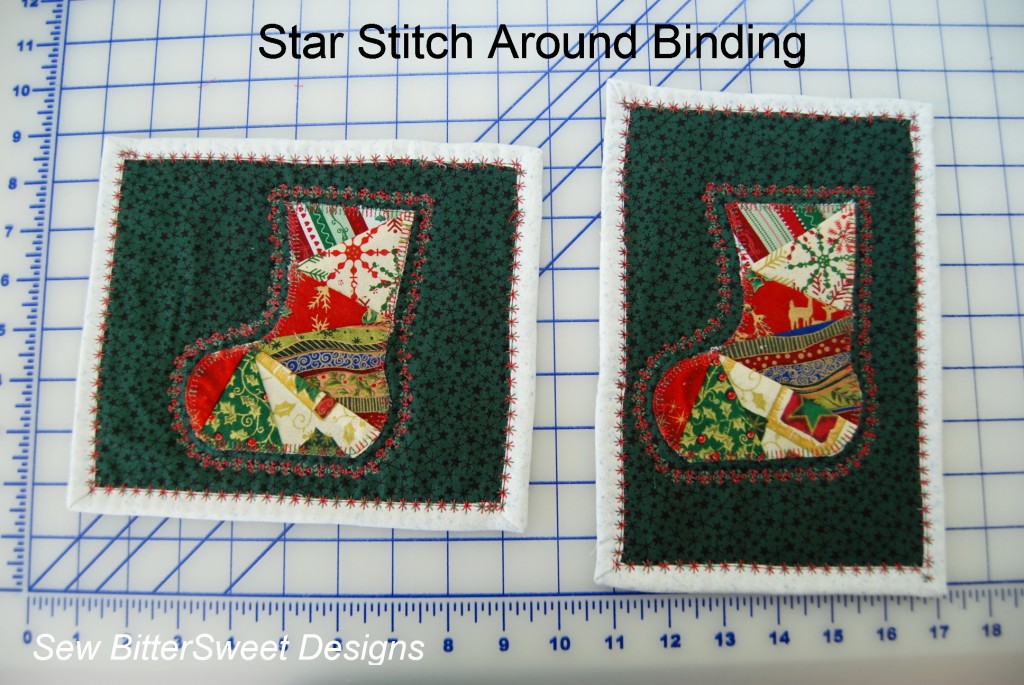
Finally I used it in a couple of mug rugs I made this weekend, I definitely could have hand sewn these because they are so small, but I was finally starting to really get a handle on machine sewing the bindings and it had finally become fun instead of frustrating (it takes a little practice).

For this project, I used a decorative star stitch on the binding and it turned out really cute – love the Christmas colors!

A quick break down of how I did it:

1. Make your binding strips using whatever method you usually do.

2. Attach them to the BACK of your quilt (when I hand sew I usually attach them to the front so my horrible stitching is on the back of the quilt)

3. Fold the binding to the front – now here you can choose to pin or not pin, I only pinned in half the projects I made (Bottled Rainbows and the mug rugs)

4. Select your stitch: Straight stitch, decorative, basic zig zag

5. Start sewing, if you are holding down the binding or pinning, simply make sure that you have folded the binding over far enough to cover the stitches from attaching the binding to the back you don’t want those to show after you have done your decorative stitching.

6. When you get to your mitered corners, put on decorative stitch in each corner and that will be sufficient to hold down the corner

Easy Peasy!  Lyanna from Purple Panda Quilts – left me an awesome comment with a description of a technique she uses to bind quilts on this post here, check it out to for more ideas on how to machine bind your quilts. I seriously need to find the fusible tape she is talking about – that would make it SO much easier! I hope she does a more complete tutorial of her method soon!

Have a great Tuesday!

NOTE: Don’t forget, I am one of the bloggers who is going to lose Google Friend Connect in March 2012, please take a moment and follow me via Bloglovin’, Facebook, RSS or networked blogs.  You are important to me and I want to be able to stay in contact with you!  Check my side bar for all the best ways to stay in touch!
Vintage Christmas Sampler – Wreath Block

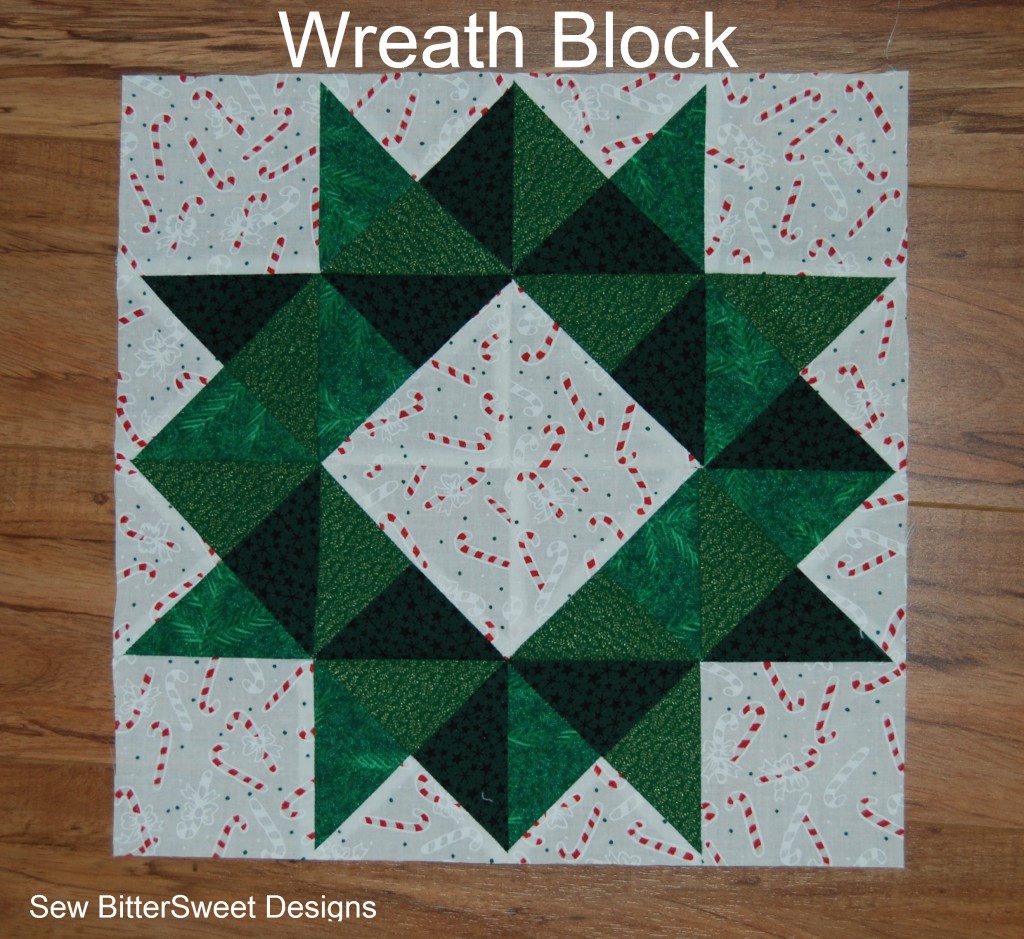
The Wreath Block…this has been the most requested tutorial since I started my Vintage Christmas Sampler…and it is the one block I have been avoiding like the plague. I first found this block at Popular Patch Work – it is a gorgeous block and I immediately fell in love with it. The only problem I had was that it was designed as a 6 inch block and I needed a 12 inch block for my quilt. Needless to say…some fancy quilt math ensued.

Let me also start out with an apology…I did not take very many pictures while making this block – I was so focused on seeing whether I had done the math and the cutting right. (side note: this is also the first time I ever did quarter square triangles…) If you have any questions please do not hesitate to ask – I will be more than happy to re-do the block and take more pictures if need be!

Get the tute after the jump! …

Vintage Christmas Sampler – Scrappy Zig Zag

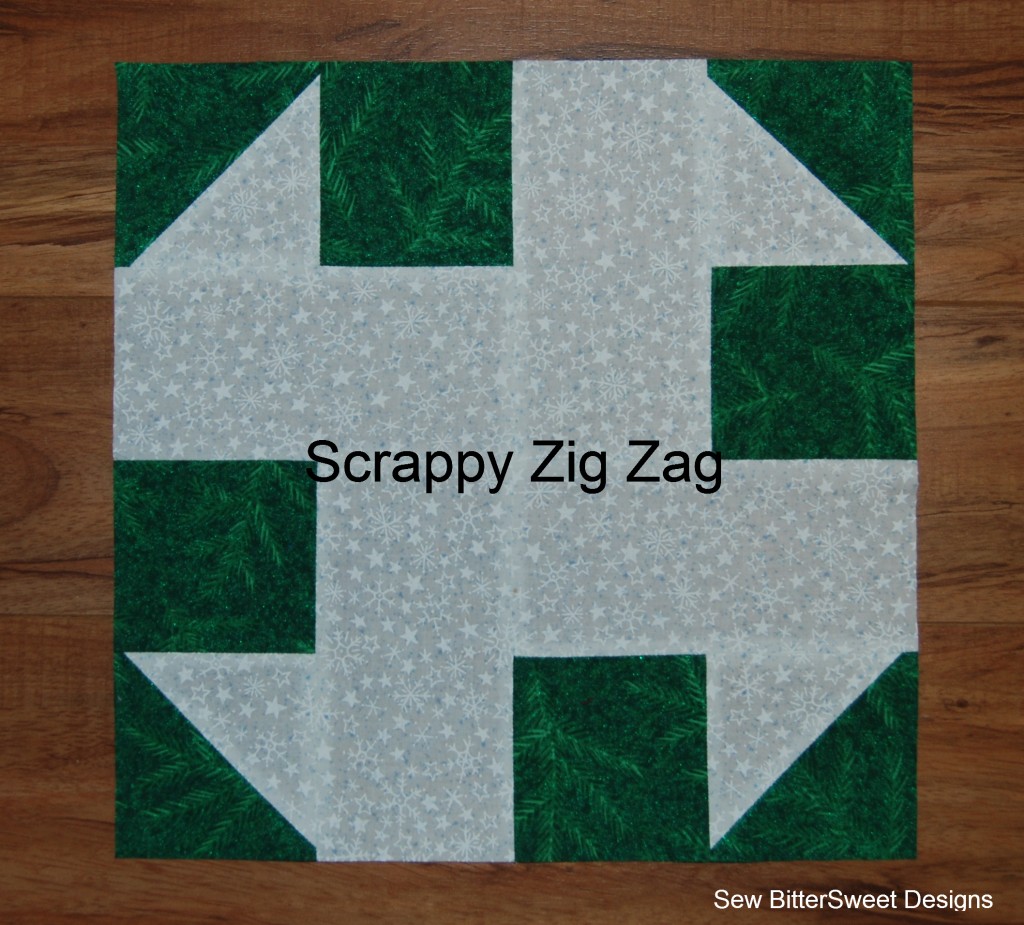
15 blocks down, 5 more to go!  This is the Scrappy Zig Zag block. It is block 1334 the Encyclopedia of Pieced Quilt Patterns and is attributed to Nancy Cabot.  I drew the block out on my quilting graph paper and here is my final results:

This block could definitely be scrappier than I made it, but I like the simplicity of two colors.

Get the know how after the jump! …

Cobblestone Roads – A quilting tutorial

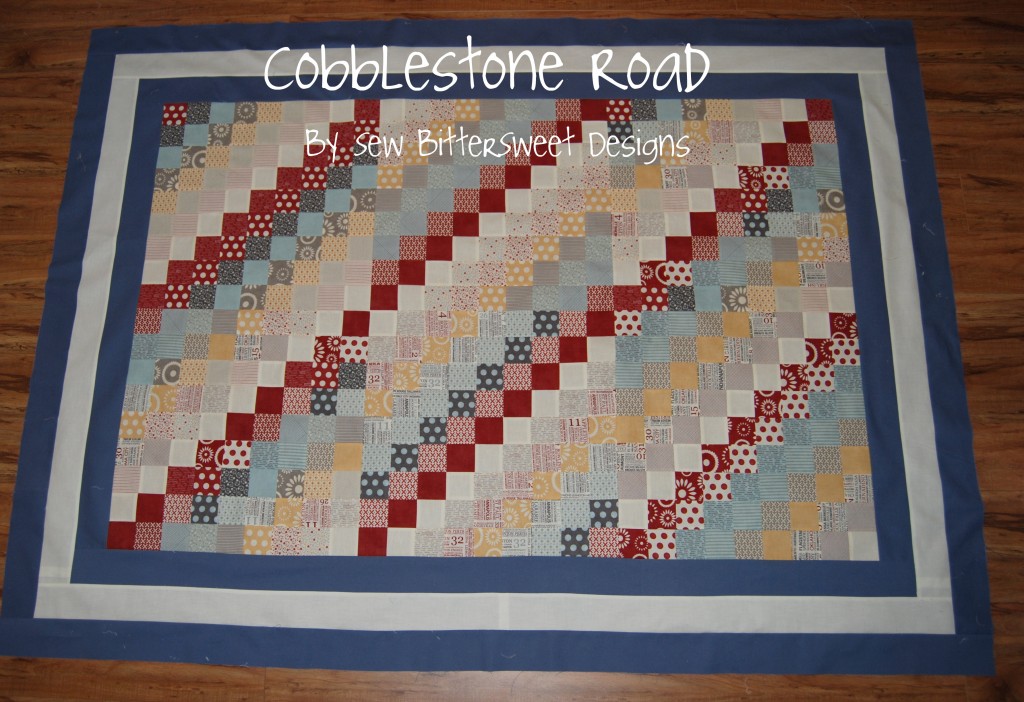
Two weeks ago I received the most awesome squishy package from my UPS man – this jelly roll of the new Hometown by Sweetwater fabric. Kimberly from Fat Quarter Shop sent it over to me so that I could work on a tutorial to go with the Jelly Roll we are giving away this week – make sure you head on over to the post to enter to win!  Look at what I made with it!

You may be wondering who BitterSweet Quilt Designs is…it’s me

Fabric Requirements:
1 Hometown by Sweetwater Jelly Roll
2 Extra Strips of the cream (Sunni got a Jelly Roll two and swapped me for a couple of strips!)
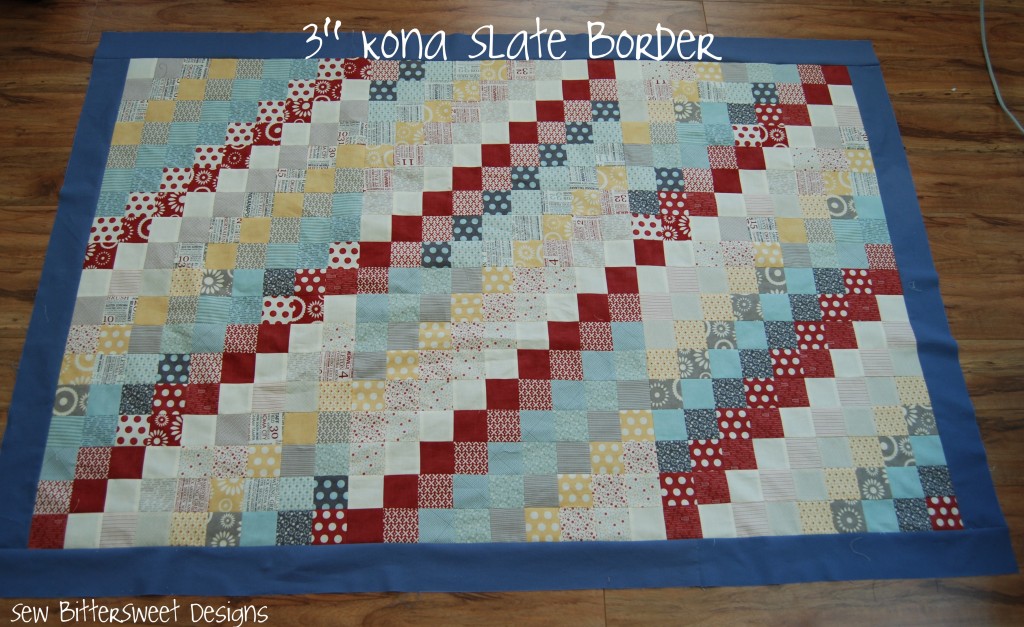
1 yard of Kona Slate for the borders – cut into twelve 3″ strips
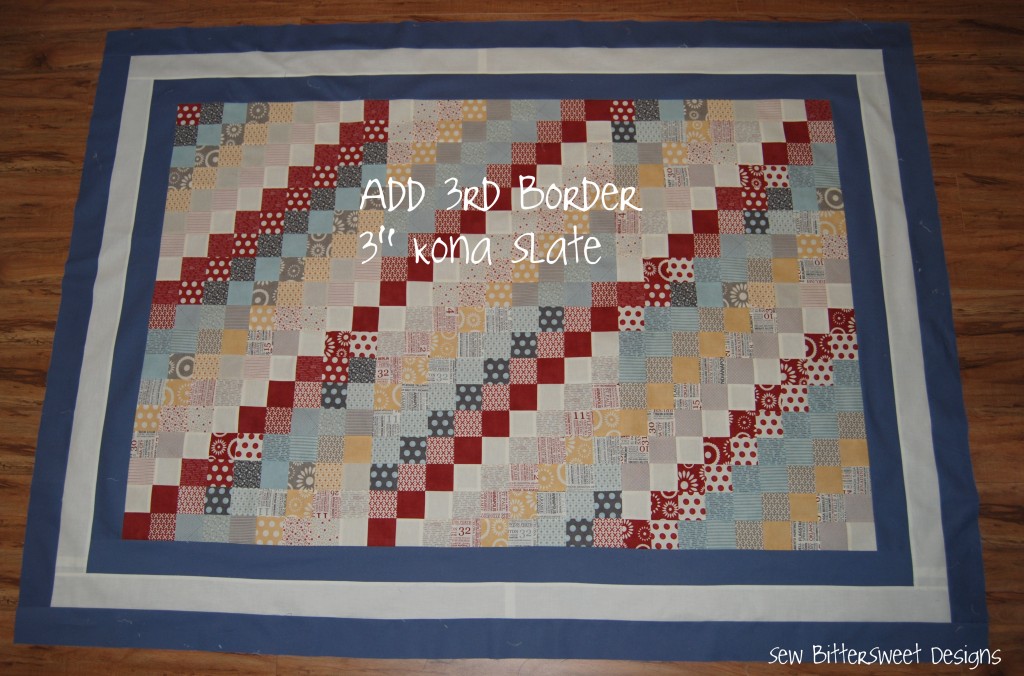
3/4 yard of Solid Cream Fabirc (I used Northcott – but didn’t look at the name of the fabric) – cut into six 3″ strips
4 yards backing fabric (42″ wide) or 2 yards backing fabric (108″ wide)

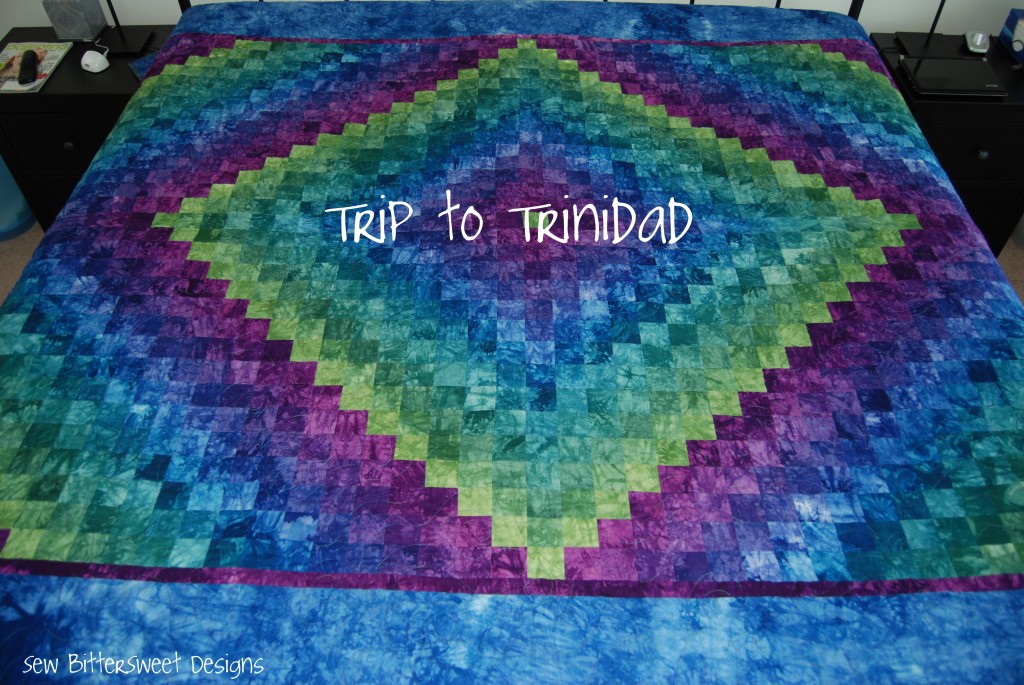
The technique I am using I learned when I made this gorgeous batik Trip to Trinidad quilt (designed by Kathleen Starr) 7 years ago – it now lives in our guest room.

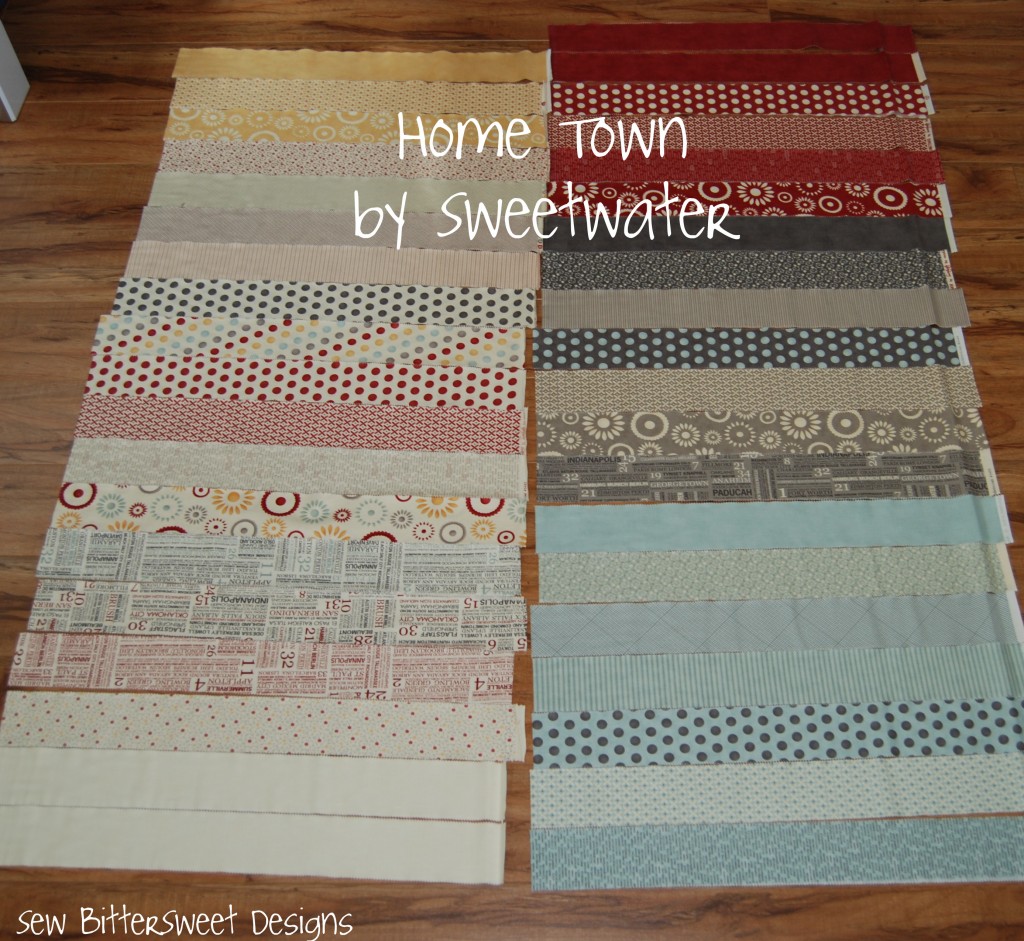
Lay out your strips:

Not pictured are the 2 extra cream strips I got from Sunni!

Layout your groups – lay them out from light to dark so you get a nice gradation of color.

[insert groups]

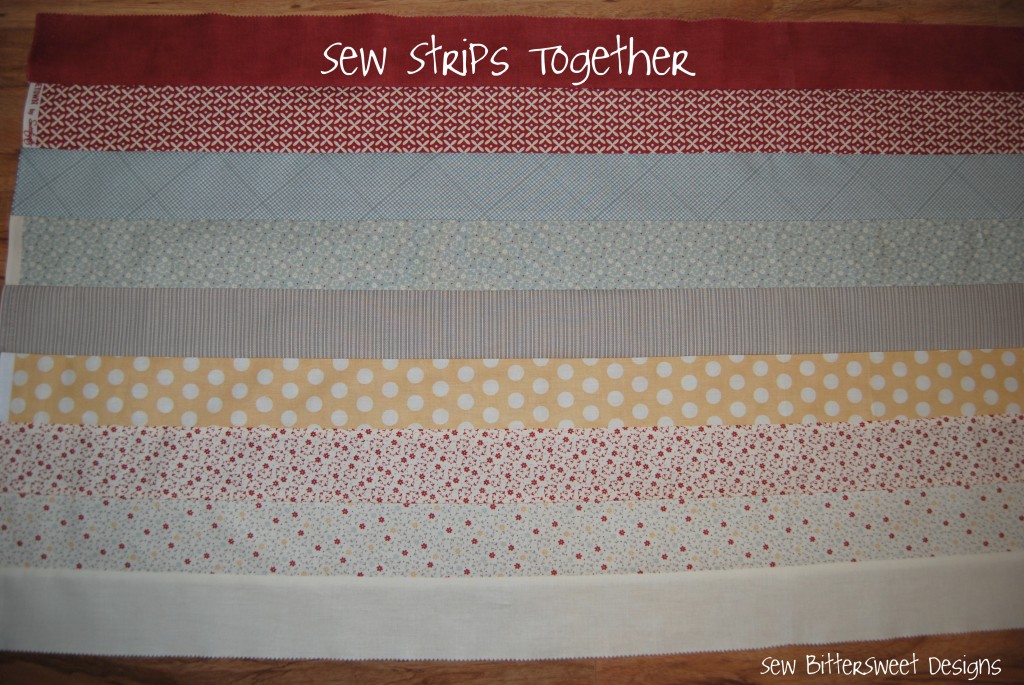
Sew each group of strips together – you should have 4 groups of 9 strips – there will be extra strips from your Jelly Roll – these will be used later!

The Front

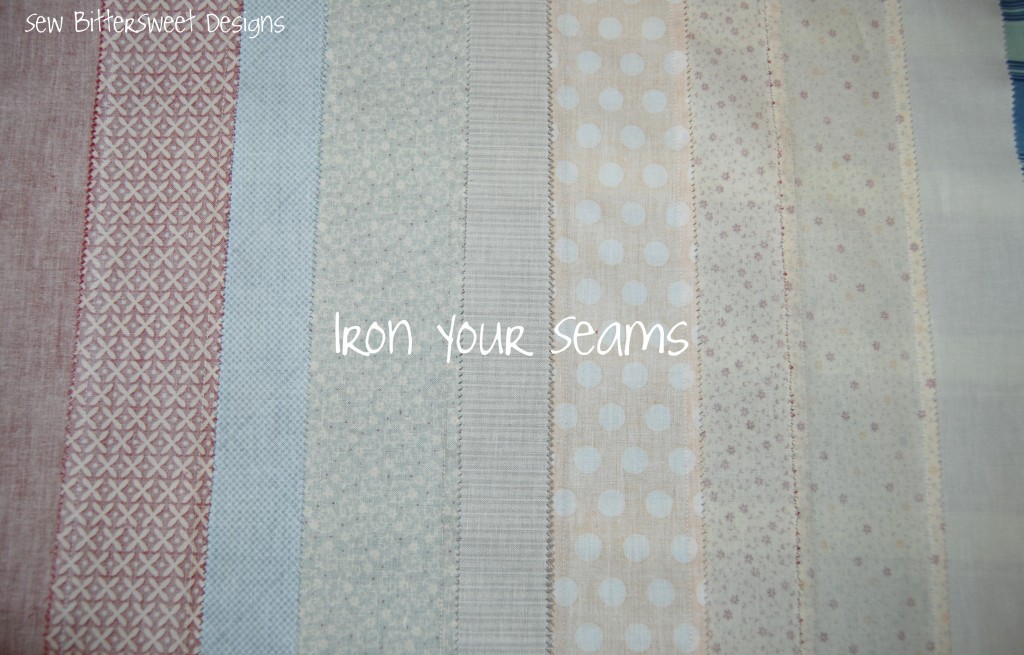
Here’s how you need to iron your seams:

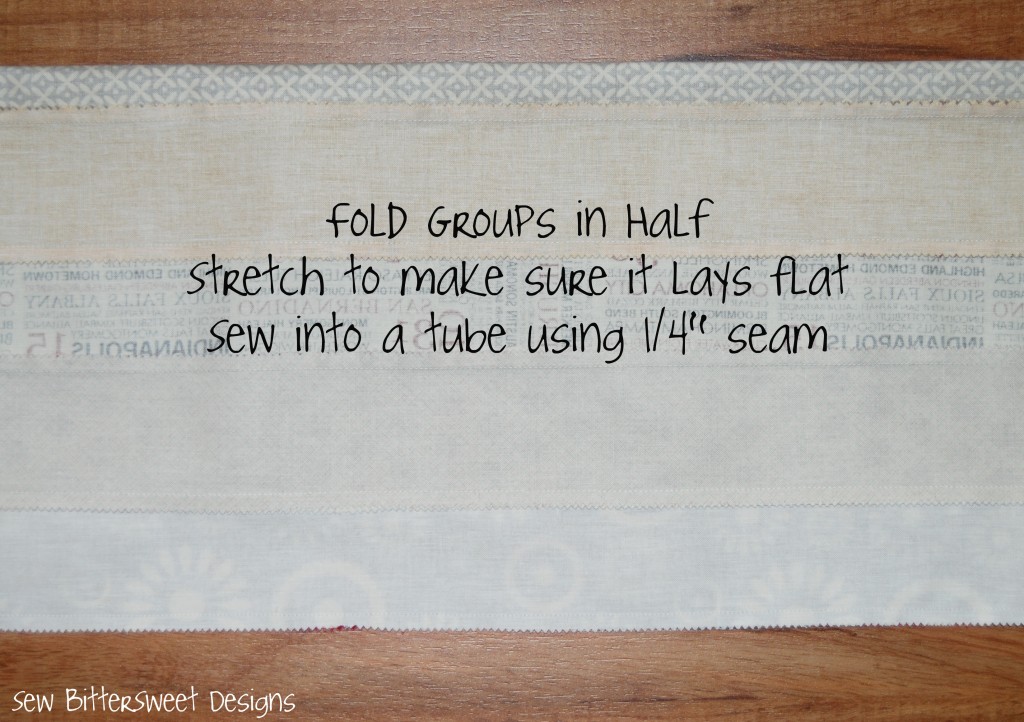
After you have sewn your 4 strips sets together – fold the sets in half – make sure they lay flat and sew them into tubes

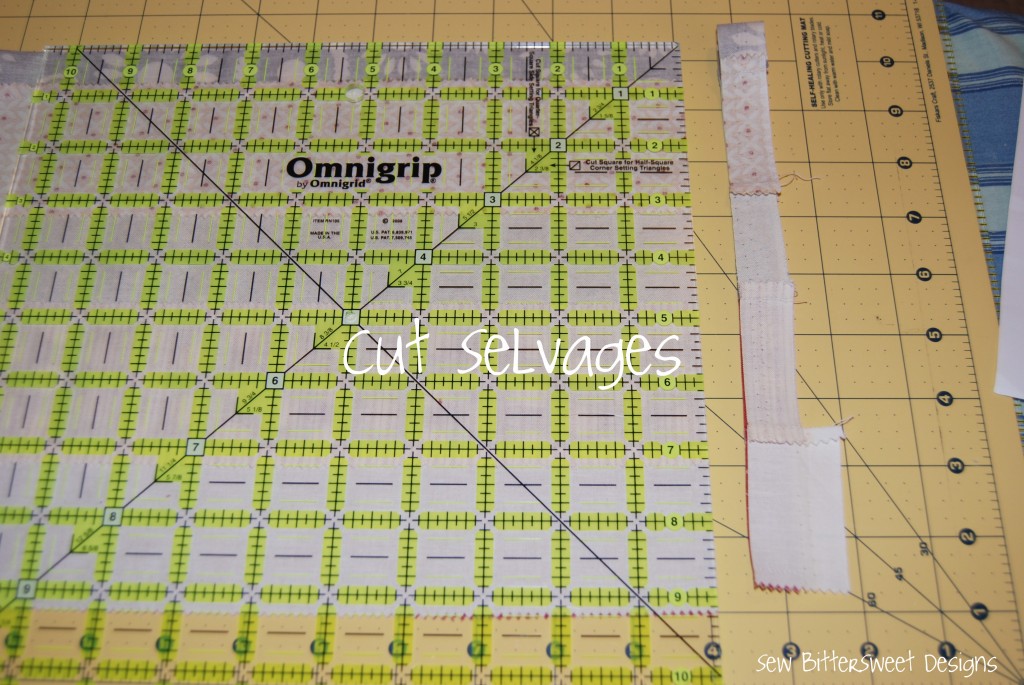
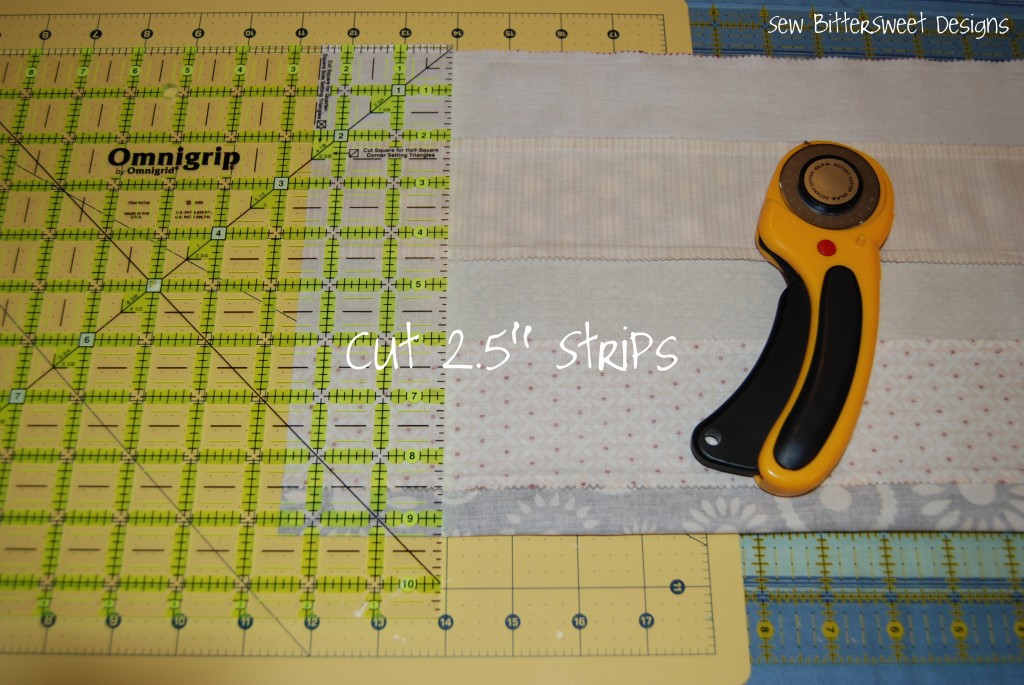
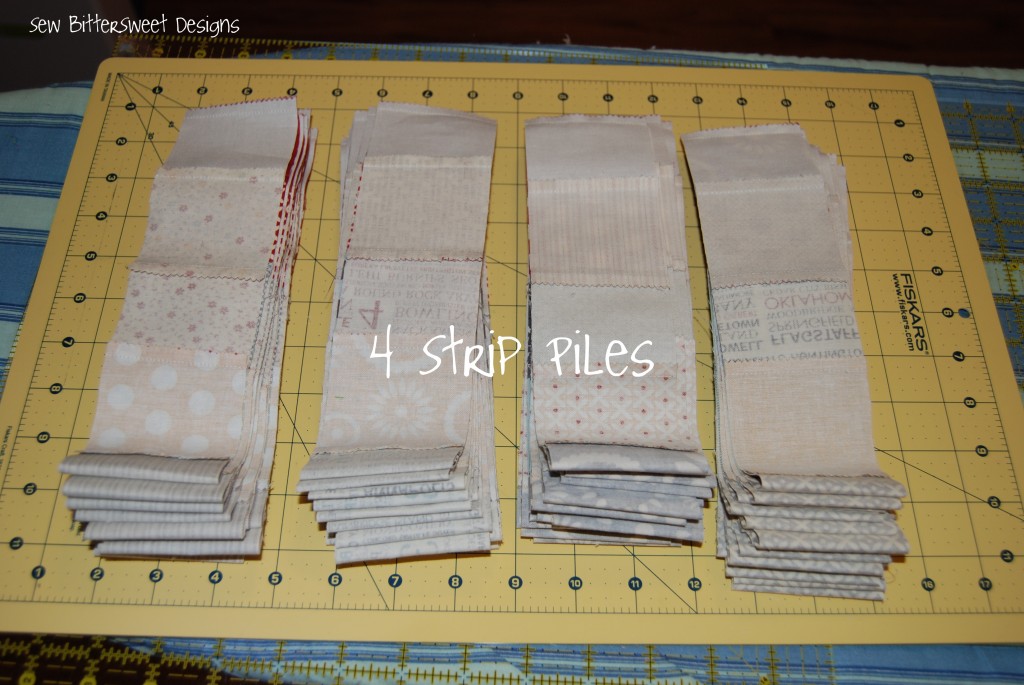
Time to start cutting!  Cut your sets into 2.5″ strips

Next – cut your strips apart – choosing a different seam each time

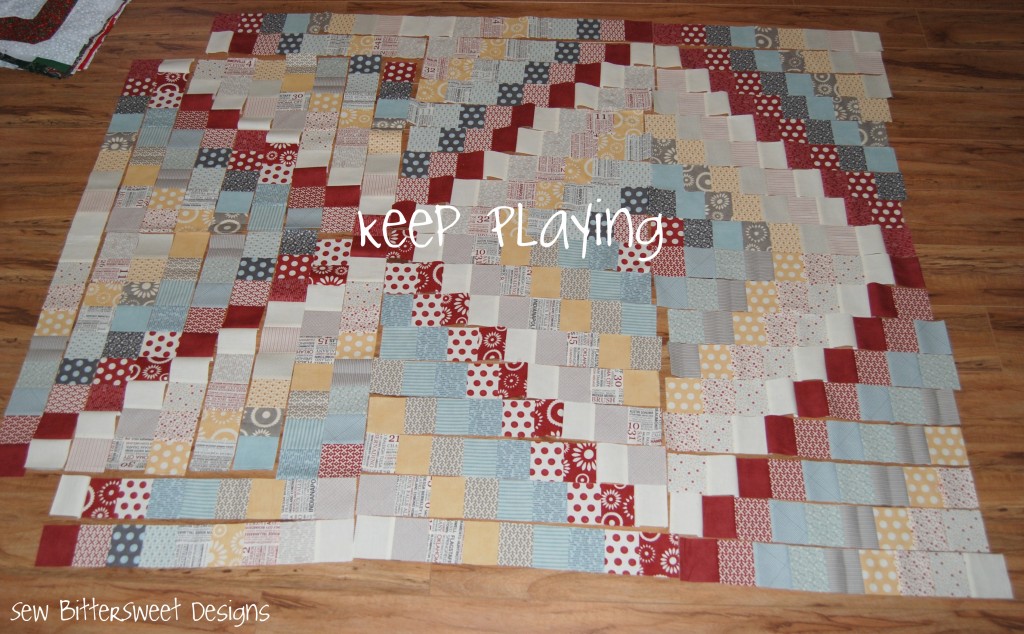
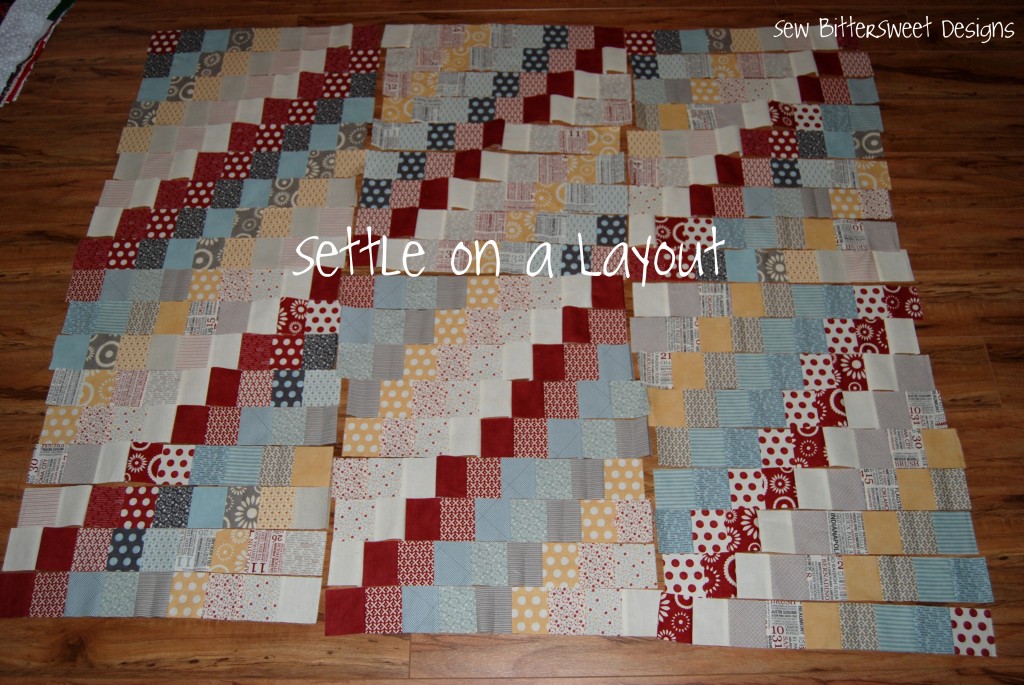
Now the fun really begins – you get to lay out your strips and chose your design! (I tried lots of different patterns – below are a few of them)

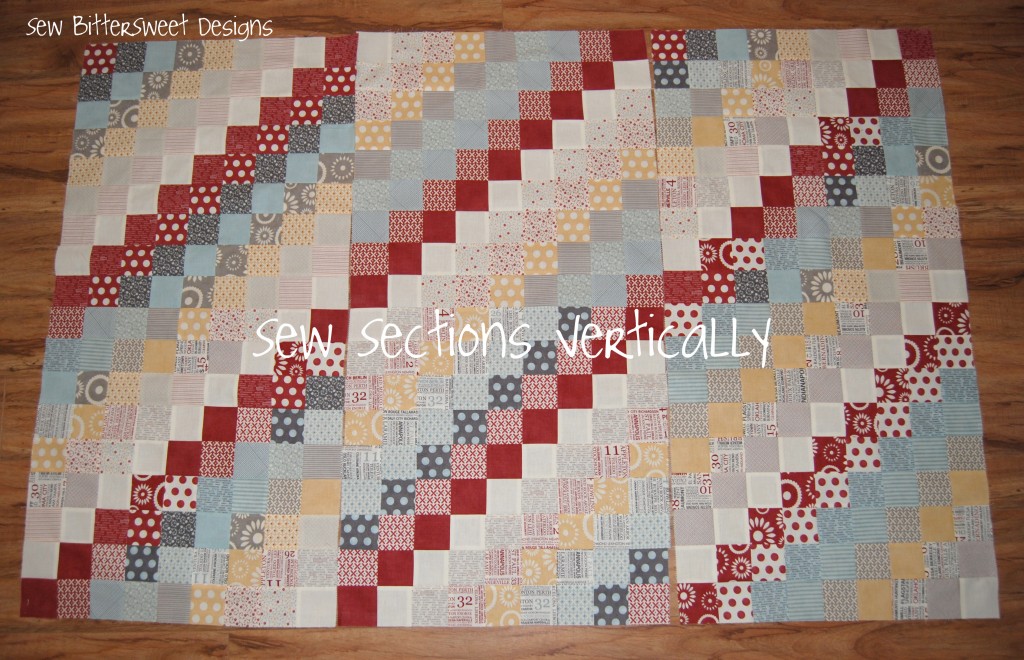
Now start sewing your strips together (this goes really fast) I did it in vertical rows – I ended up with 3 sections

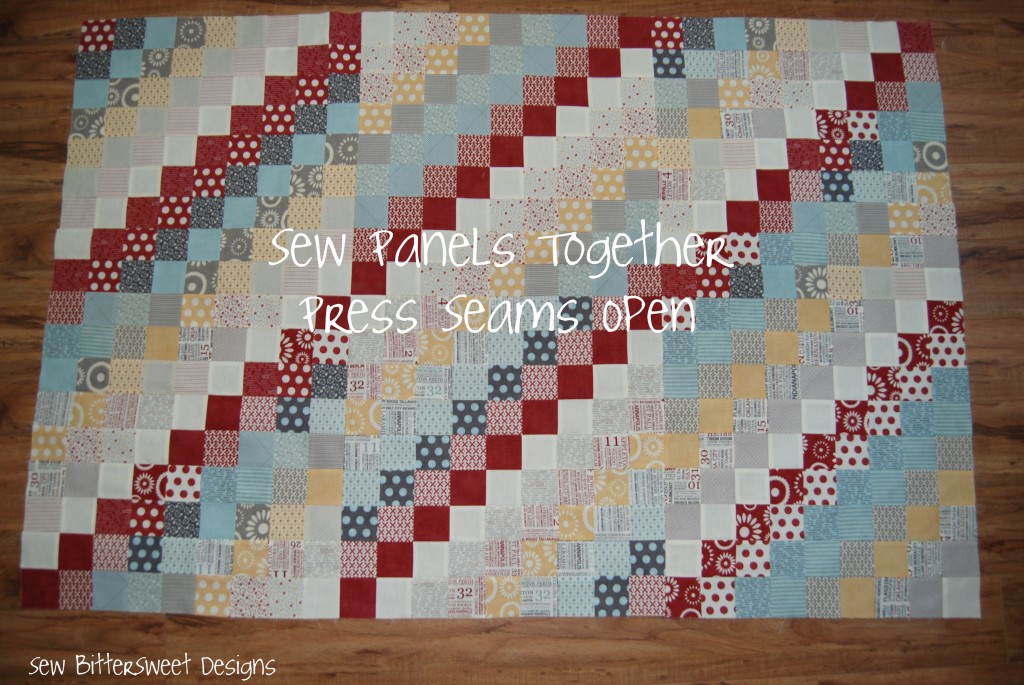
Sew the three sections together – I pressed my seams open to reduce bulk

Add your borders (these are your Kona Slate and Northcott Cream 3 inch strips from earlier):


This is where my quilt stands today – I have a backing, my threads and my batting all ready to go, but I have not had a chance to quilt it yet. Once things calm down with my baby’s sleep schedule and I can squeeze in some sewing time it will get done!

The finished size of the quilt top is 51″x71″ – it makes a very nice lap size quilt!

I plan on using my left over 2.5″ square strips as my binding and I promise to post pics as soon as this puppy is complete!  Will you be making a Cobblestone Road quit? If so, please let me know, this is the 2nd original quilting pattern of mine that I am sharing online and would love the feedback!


Scroll to Top