Quilting Lodge

Guest Post – Vicki from Quilting Lodge

I have a great treat for you today, my wonderful friend Vicki from Quilting Lodge. She knows I have a thing for Flying Geese and has a fantastic review of a new ruler for you. If you have time make sure you hop on over and check her blog out, she has great tutorials and she will be hosting a QAL coming up soon!
________________________________________________________________________

I’m so honored and excited to be a guest on Melissa’s blog today.  My name is Vicki and I normally blog over at Quilting Lodge with my mom (when she has time).  I love to design patterns and quilt.  I hope you will stop by our blog and say hello.  I’d also love to do a little shameless plugging for my newest adventure, the Texas Teardrops Quilt Along.  This is my first QAL and it starts April 1st.  I’m very excited to share this pattern with everyone.  Check it out!    
I have to admit I picked today’s topic because I know Melissa loves flying geese blocks and so do I.  What’s not love about them?  I found a pretty cool ruler that makes 4 at a time.  It’s called the Flying Geese x 4 “no math” ruler by Lazy Girl.  The ruler comes with great directions that are very easy to follow.  I whipped out 16 flying geese units in no time.  

Let’s take a look at how easy it is.  The ruler has all the markings to make flying geese from 3/4″ x 1.5″ all the way up to 3.5″ x 7.”  This ruler is clearly marked and very easy to use.

First, you use the ruler and cut 1 large square and 4 small squares.  I cut 4 large squares and 16 small squares because I wanted to make 16 flying geese units.    

Then lay 2 small squares on top of the large square, right sides together, as pictured below.

I used some stitching lines to lay across the squares instead of drawing the diagonal line.  I’m not a fan of drawing lines on the fabric.  I never can get them straight.  The stitching lines make life easy because I can simply sew along the dotted lines and then tear the paper off. 

If you don’t have stitching lines, simply draw a line down the middle and stitch a 1/4″ from the drawn line on each side. 
Cut the square in half along the line.

Press the triangles.   You will end up with 2 units that look like hearts.

Add a small square to each unit as pictured below.  Again, I used stitching lines but you could simply draw a diagonal line on the small square.  Stitch the square 1/4″ from each side of the line. 


Cut the units apart.  You will have 4 units now.  


Press.  Ta da!  You now have 4 flying geese units.


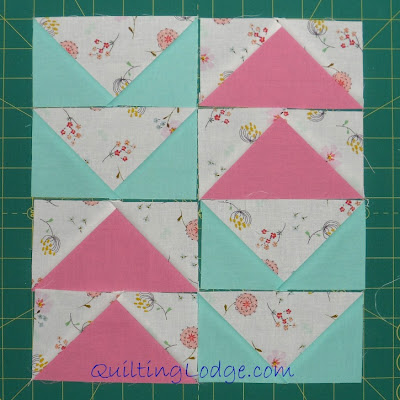
One of the benefits of flying geese is all the layout options.  I tried several layouts.


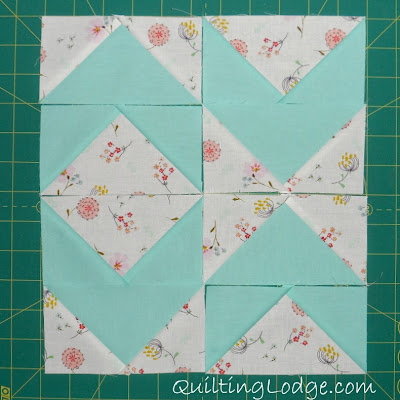
This is the one I finally settled on.  I love how the geese form little chevrons and a diamond in the middle.  I would love to do a whole quilt like this.  I see lots of possibilities.  

I hope you enjoyed my mini tutorial as much as I enjoyed sharing it.  Please stop by my blog sometime to say hello.  And a huge thank you to Melissa for letting me take over her blog today.  It’s been a pleasure.

Quilting Lodge Blog – Texas Teardrops QAL

Do you know Vicki from Quilting Lodge? She and her mom not only own and operate Quilting Lodge but they are also amazing quilt designers. In addition to all of that…Vicki is also a talented long arm quilter.

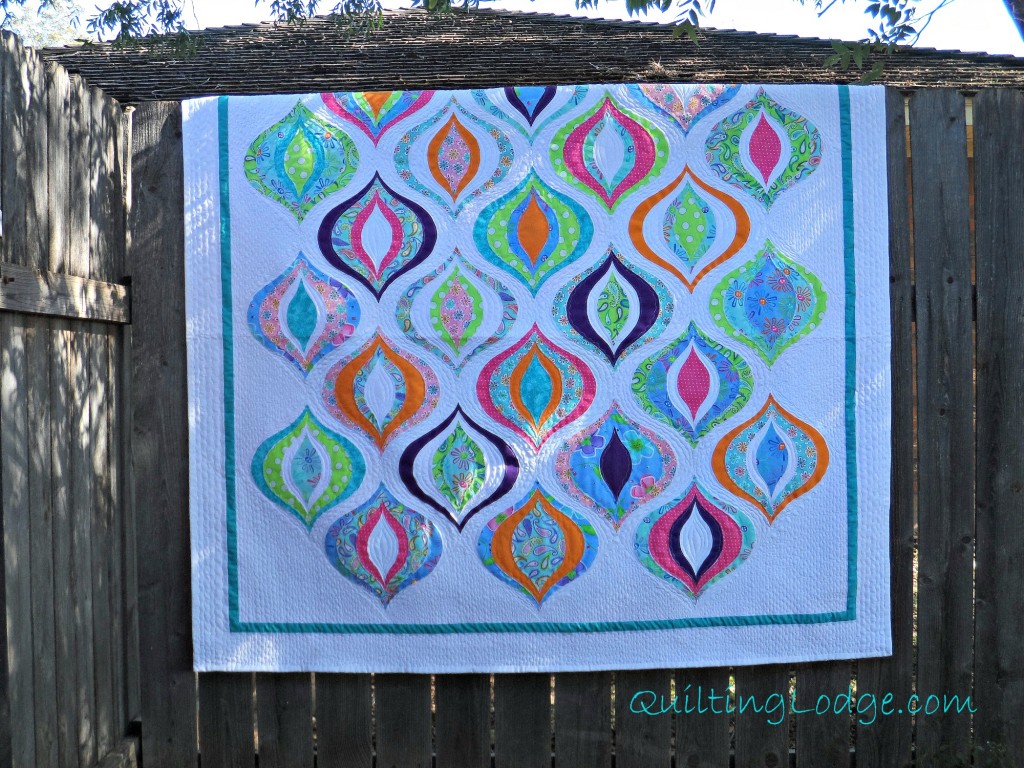
Starting next month Vicki will be hosting her first Quilt Along (QAL) for her award winning Texas Teardrops Quilt.

This quilt won the Favorite Applique category in the Fall 2012 Blogger’s Quilt Festival. The above picture is the original version of the quilt. Vicki is making a second one now with gorgeous fabrics from Riley Blake. Here is a sneaky peak that she shared with me:
As Vicki irons out the details she will be adding more information to the Texas Teardrops Quilt Along page. In the meantime I can tell you a few fun details:

  • Vicki will be offering a fat quarter bundle for sale for the QAL
  • There will be some amazing prizes offered for those who finish their top – and can I just say that those prizes include some stunning fabrics!
  • Vicki will also be offering background fabrics at a discounted rate for the QAL as well

So, will you be signing up to make your own Texas Teardrops Quilt?


Stripper Row Progress

Well, my hubby went back to work last Wednesday, hard to believe that they only get 2 days off when they get home from Afghanistan, but there are so many reasons for this, before anyone asks, I will tell you that we do get a month of leave but not until the middle of March. In the meantime it is back to work and our regular daily routine. For Anne and I, that means kindergym, library, chores and nap times. Nap times for mommy basically translates to sewing time. My sewing time is definitely cut in half since having my hubby home because I won’t be sewing at night anymore, but you know what…I’m OK with that!!!

Here are some pictures of what I have been working on.  I am really excited about how this stripper row is turning out.

Don’t you just love my awesome design wall! I really do need to hang some flannel or batting or something so I can ditch the tape and hangers!

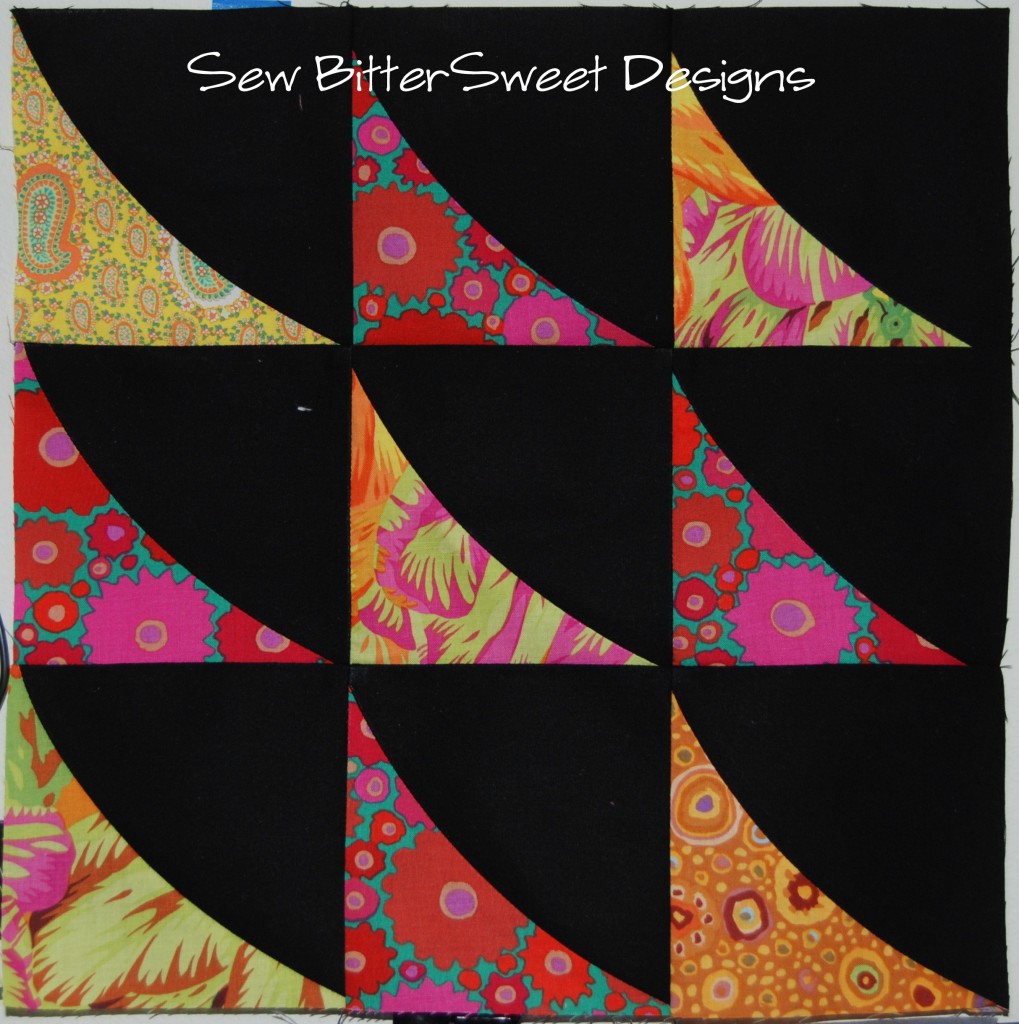
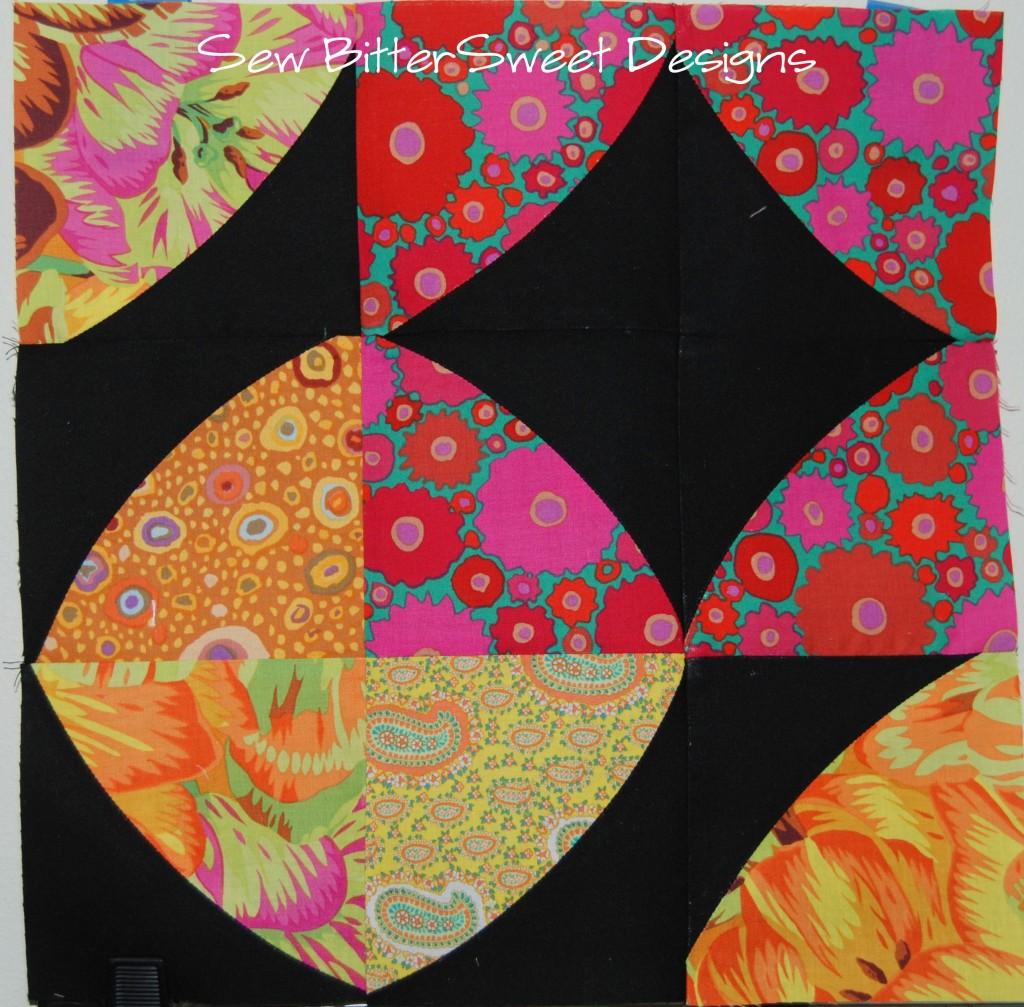
The first 2 blocks I were made with the Quick Curve Ruler by Sew Kind of Wonderful. She is doing a QAL right now with her sister and they did a curved flying geese tutorial. I followed the directions but didn’t want geese, so I took the individual 4.5″ squares and changed the lay out.

I’m calling this block “Wedges” because that is what it looks like to me.

I’m calling this block “Circles and Diamonds”. I love how this turned out.

My favorite block so far though is the one I made last night:

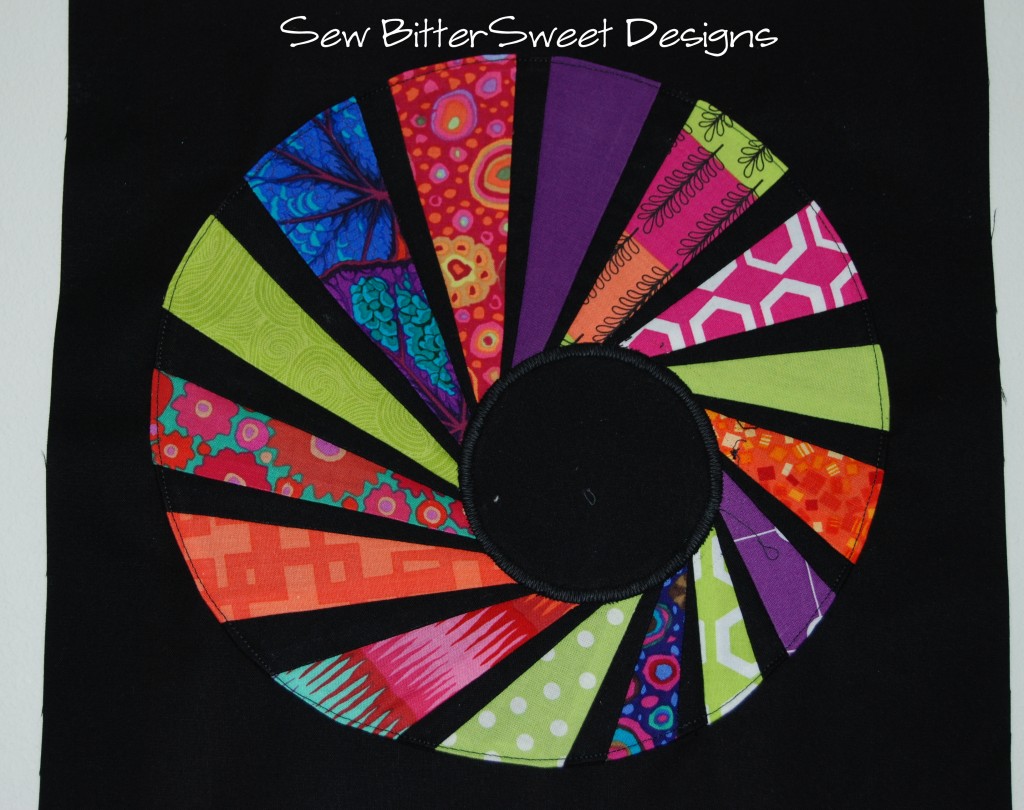
This is the Swirly Twirly Dresden and was designed by Vicki from Quilting Lodge. It is a paper pieced pattern and is machine appliqued to a 12.5″ black background.

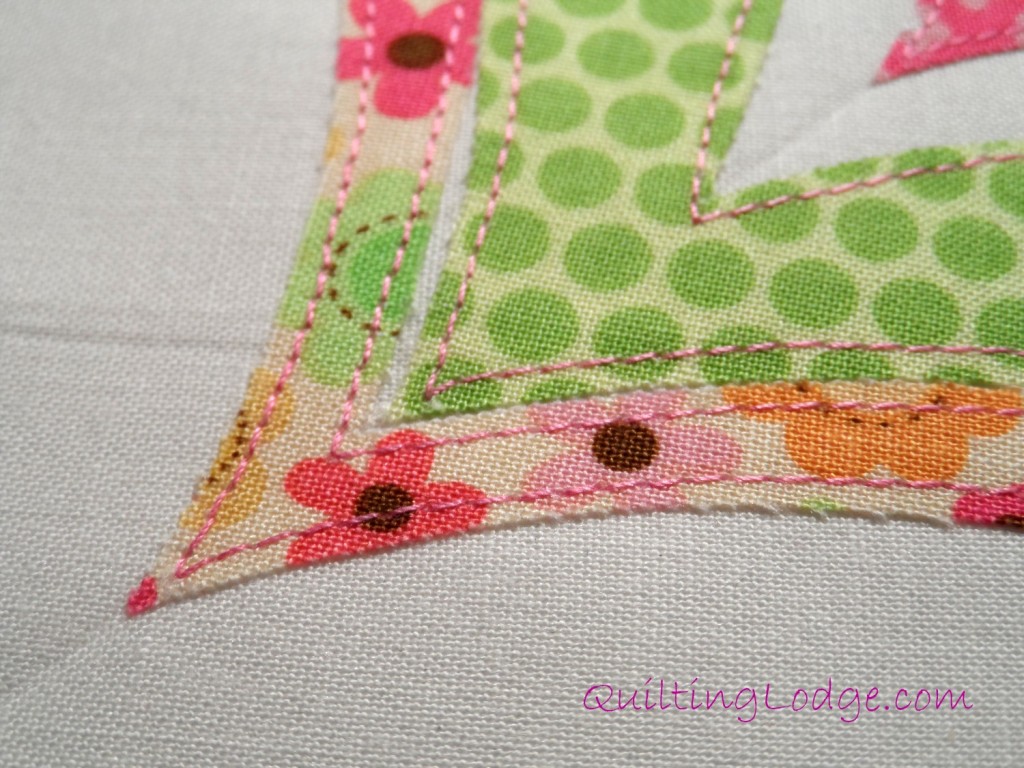
I have to say, I was super intimidated when I first saw the blocks that Vicki made, but once I conquered my fear of curvy paper piecing I was pleasantly surprised. It took me longer to pick fabrics and decide on their order than it did to piece this together! The hardest part was deciding how to applique it on to my background fabric. I ended up sewing it to a black square that was barely larger than the circle, trimming the excess, then turning it through the open hole. Then I fused the black center circle on to it and zig zag stitched it in place. I pinned the entire piece to the 12.5″ square and stitched around the outside with a 1/8″ seam.

I am tickled with the results and only have 2 blocks left to make!

Don’t forget today is the last day to enter the giveaway from Contemporary Cloth welcoming home my hubby! Good luck to everyone who entered and I will announce the winner tomorrow for Valentine’s Day!

What are you all working on?

Hexie Obsession

I have a new obsession – and it is one that I can do in front of the TV at night without much need for brain power – which is good because at the end of the day I am seriously lacking in brain power!

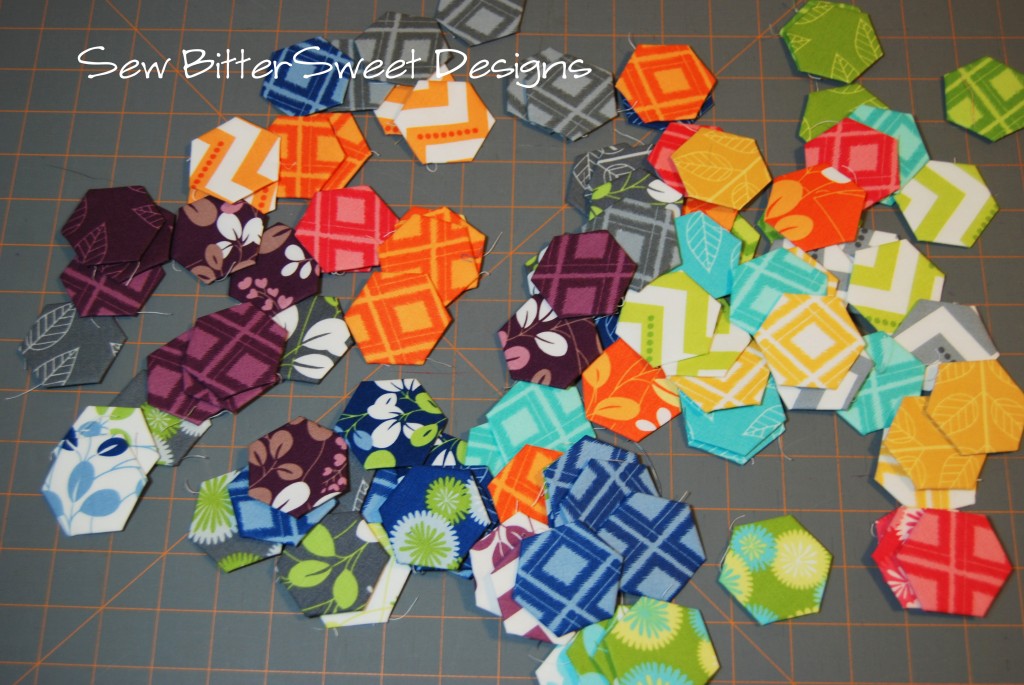
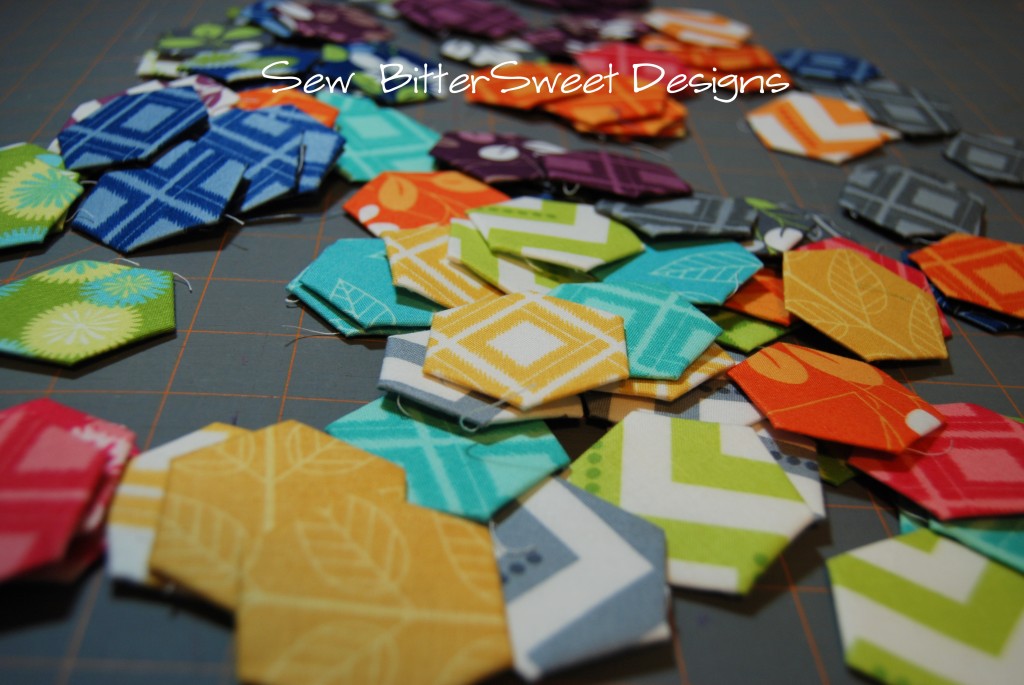
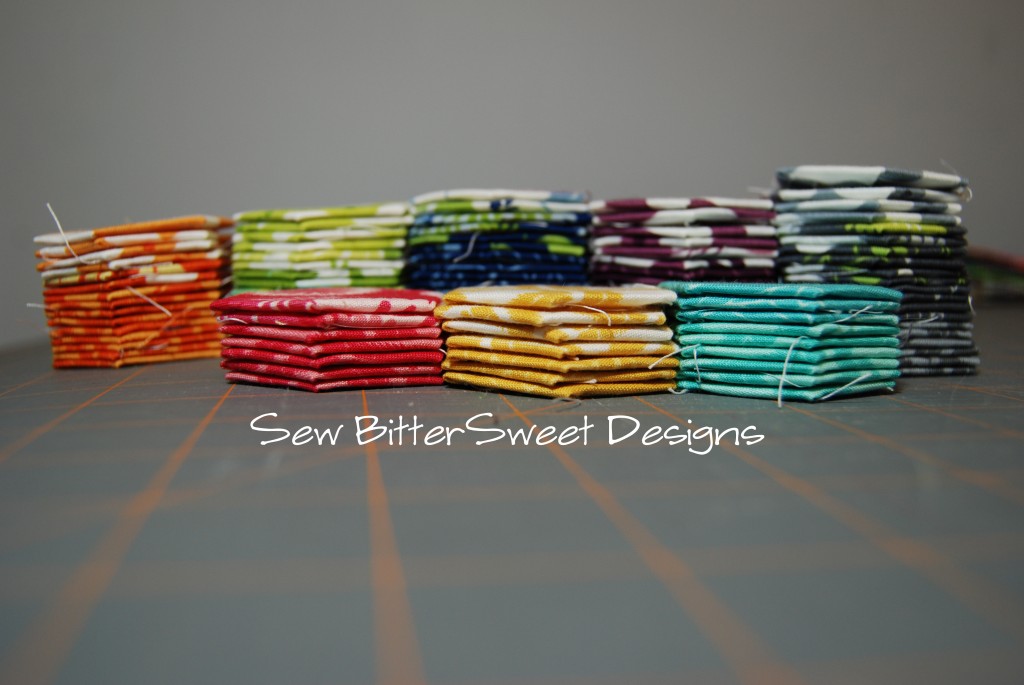
Hexies! I bought 2 charm packs of Simply Color by V & Co from Quilting Lodge. Cut one of them into quarters and I started basting. The pictures that follow show about 1/2 of the squares – just over 100 hexies.

Ok, I admit it, I had a lot of fun photographing my hexies – sorry for all the pictures 🙂

Are you wondering yet what I am planning on doing with all these hexies?

When I went to The Intrepid Thread last weekend I bought some stunning Essex Linen by Kaufman. I am planning on using the hexies and the linen to make some new pillows for my bedroom. I’m sure my husband will just LOVE the girly colors – LOL.

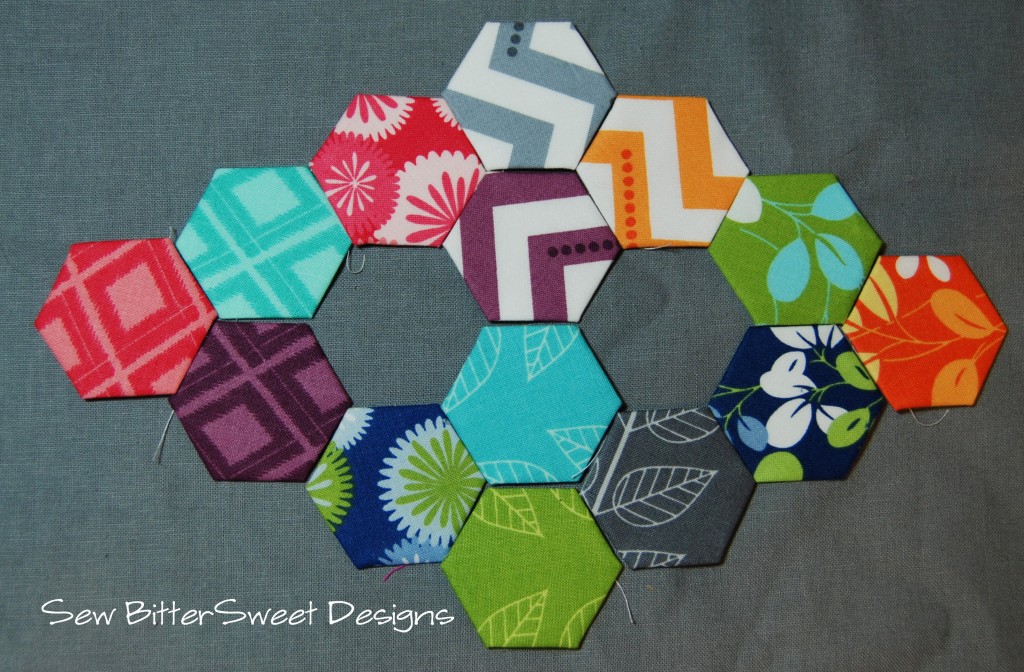
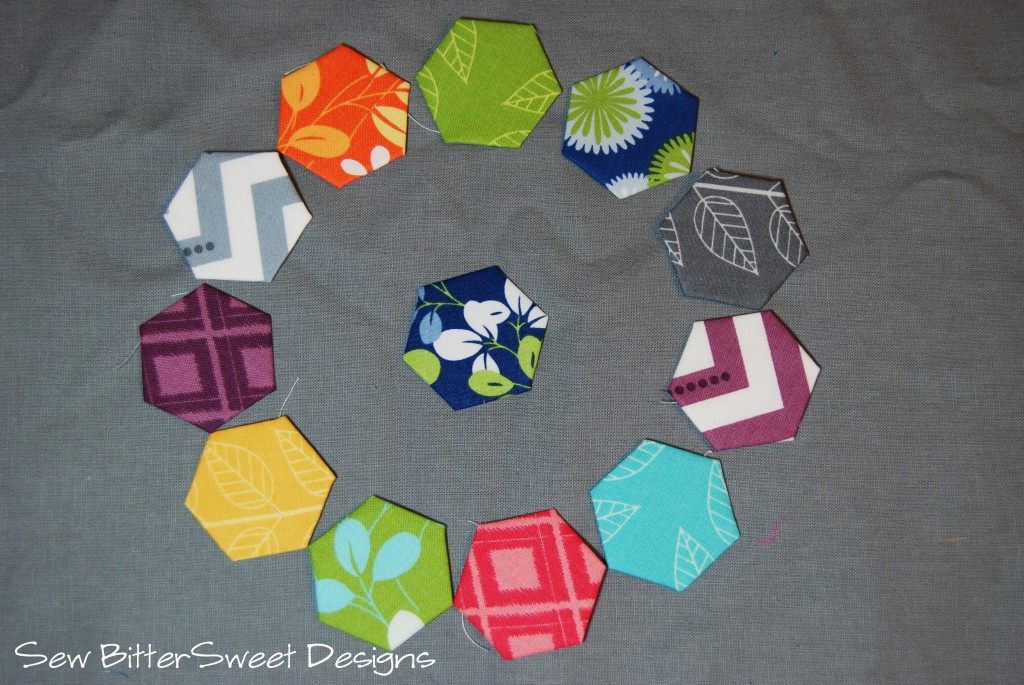
Here are a couple designs I have been playing with:

At this point I have way more hexies than I need for my pillows but I am enjoying making them, so I might stop when I have one whole charm pack made…we’ll see!

What have you all be working on?

On Monday I am going to share with my Sewing/Quilting New Years Resolution list!

Hexagon Star Burst Tutorial

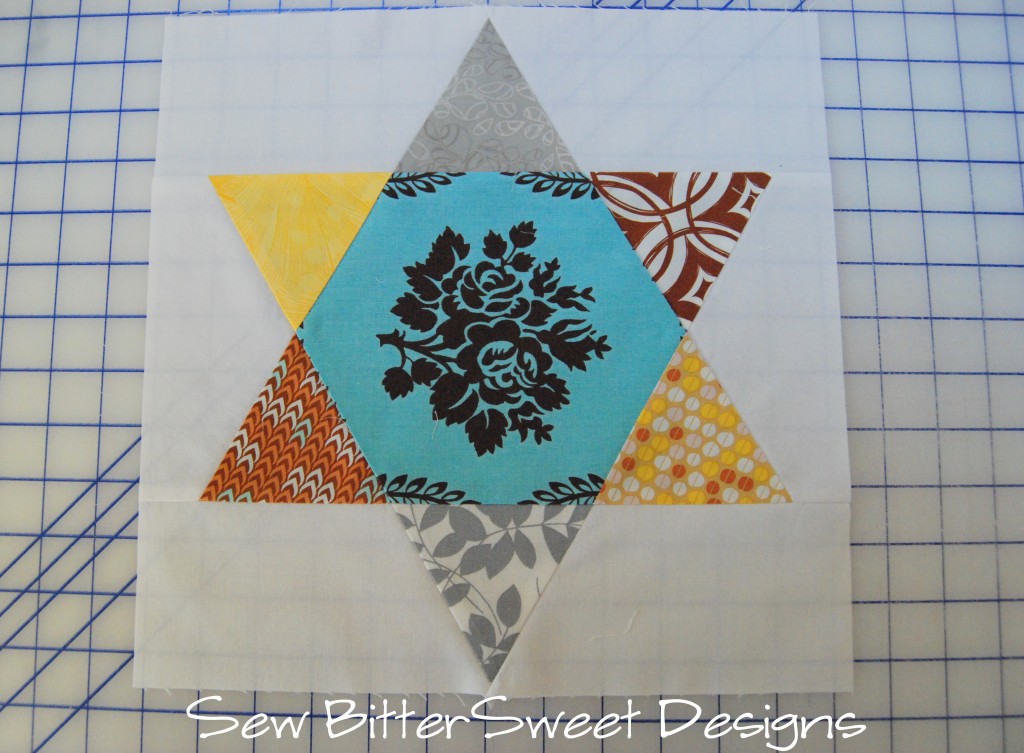
When I was working on my friend Shanna’s Stripper Row, I knew it had to be triangles but I wanted to include some hexagons. I found the 6 Pointed Star in the Electric Quilt Block Library and decided to switch out the center six 60⁰ triangles for a hexagon.

Here is the finished block, this was assembled using the Hex N More Ruler:

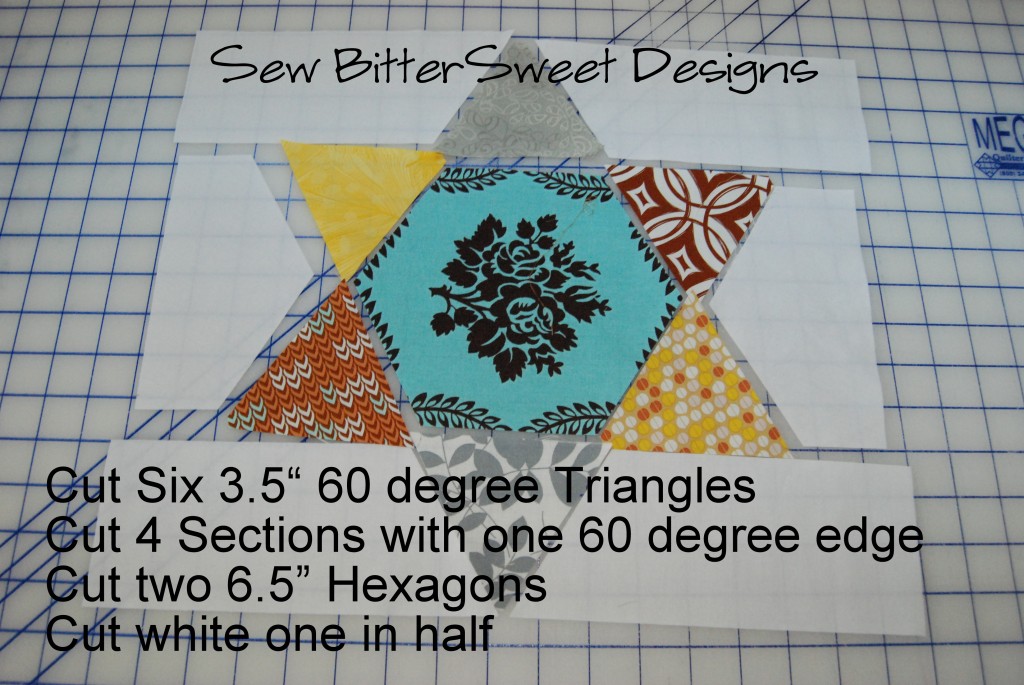
Using your Hex N More Ruler cut the following pieces (Note: I am not demonstrating how to cut the individual pieces, the ruler instructions do an excellent job of that):

For the 4 white sections, cut 8” x 3.5” white pieces and then use the 60⁰ triangle to cut on edge of each piece at a 60⁰ angle.

I fussy cut the center hexagon block.  Take you white hexagon and cut it in half on the flat edges. Do not cut point to point.

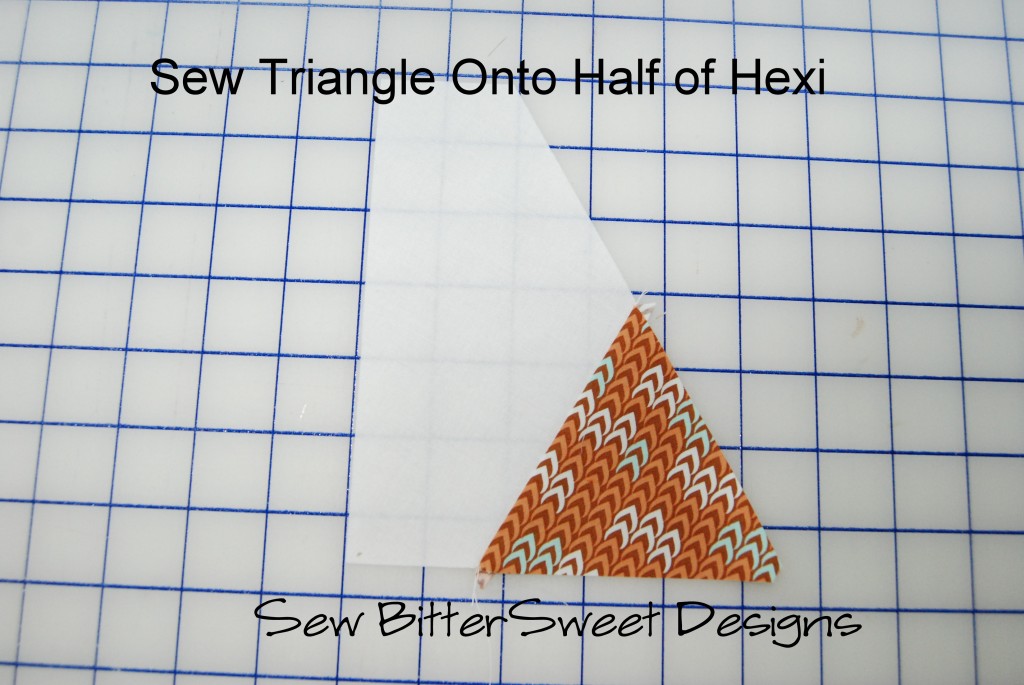
Sew first triangle on one of the white sections as pictured.

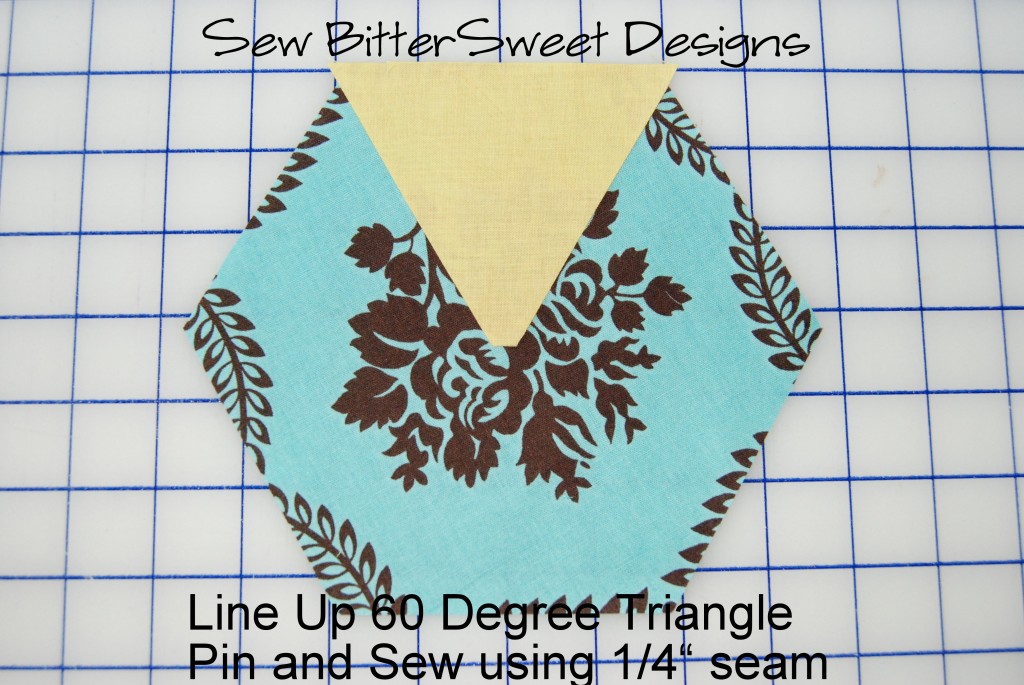
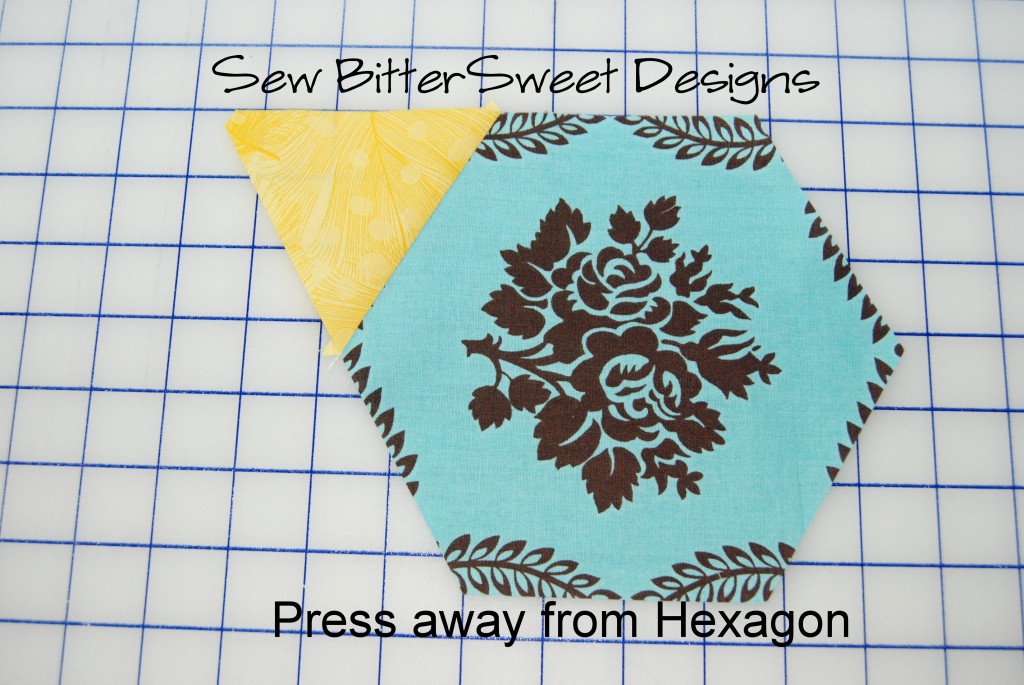
Sew first triangle to center hexagon. Line up as pictured in the picture below.

Press triangle away from the hexagon as pictured below.

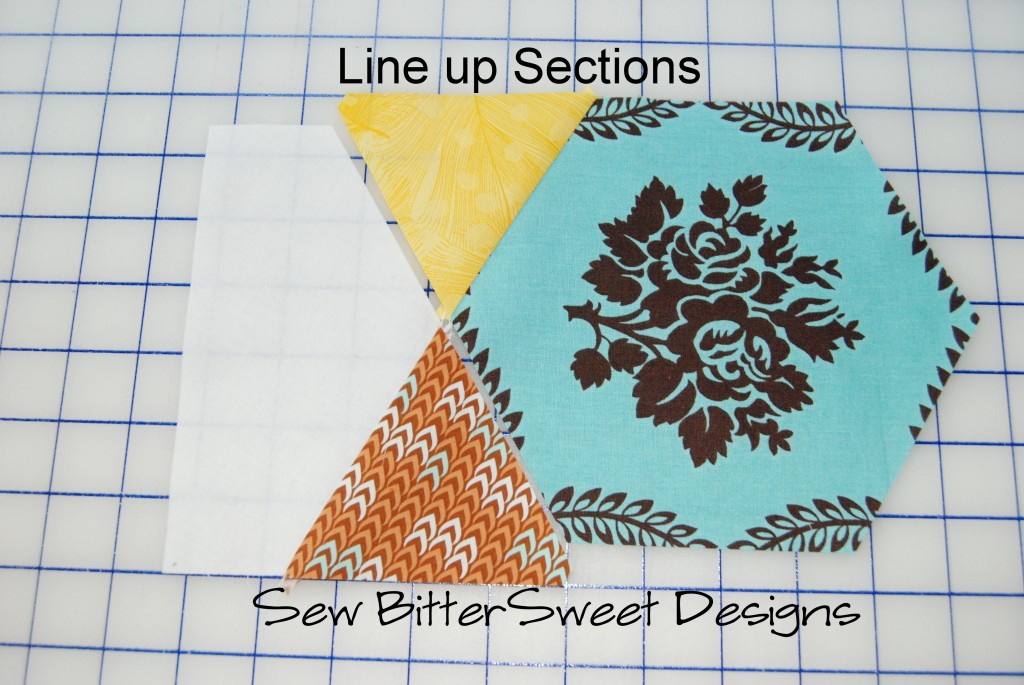
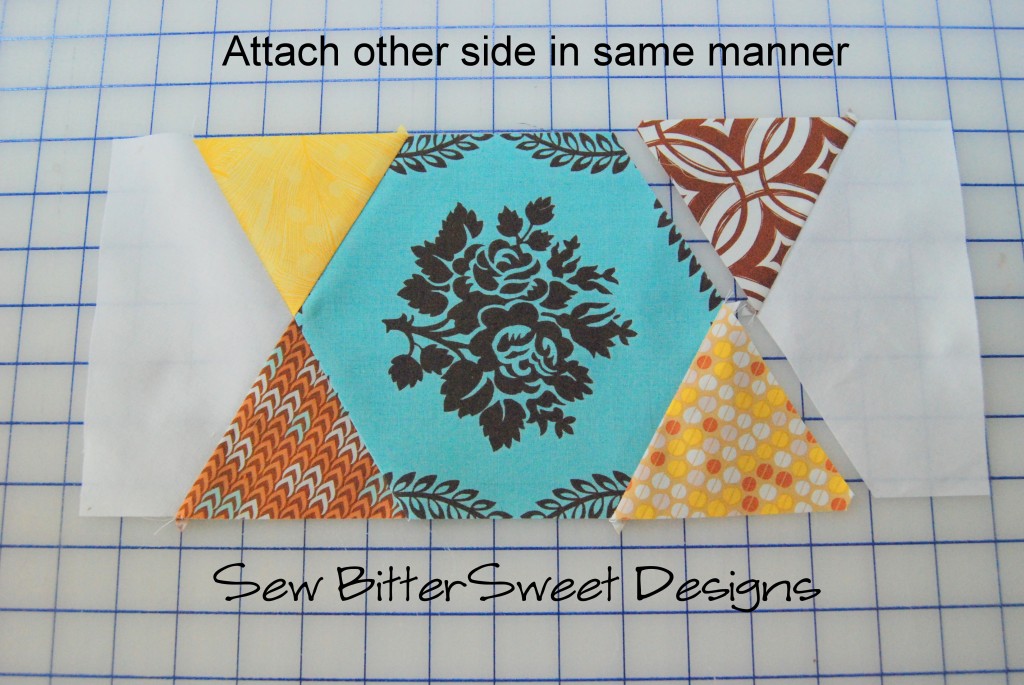
Line up your sections below as pictured.

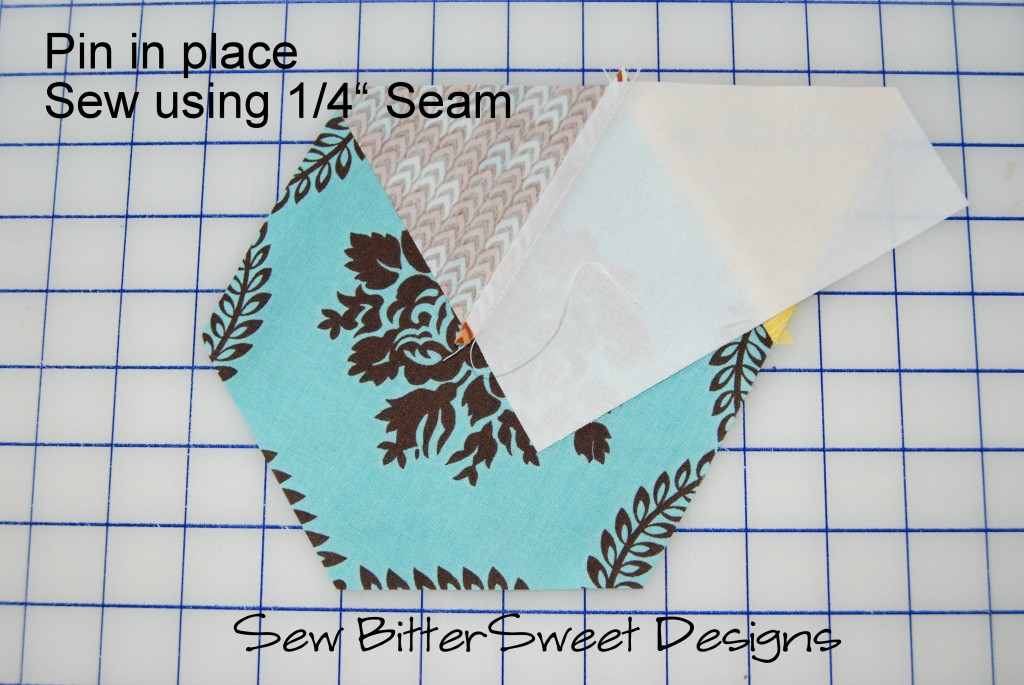
Pin and sew with a ¼” seam.

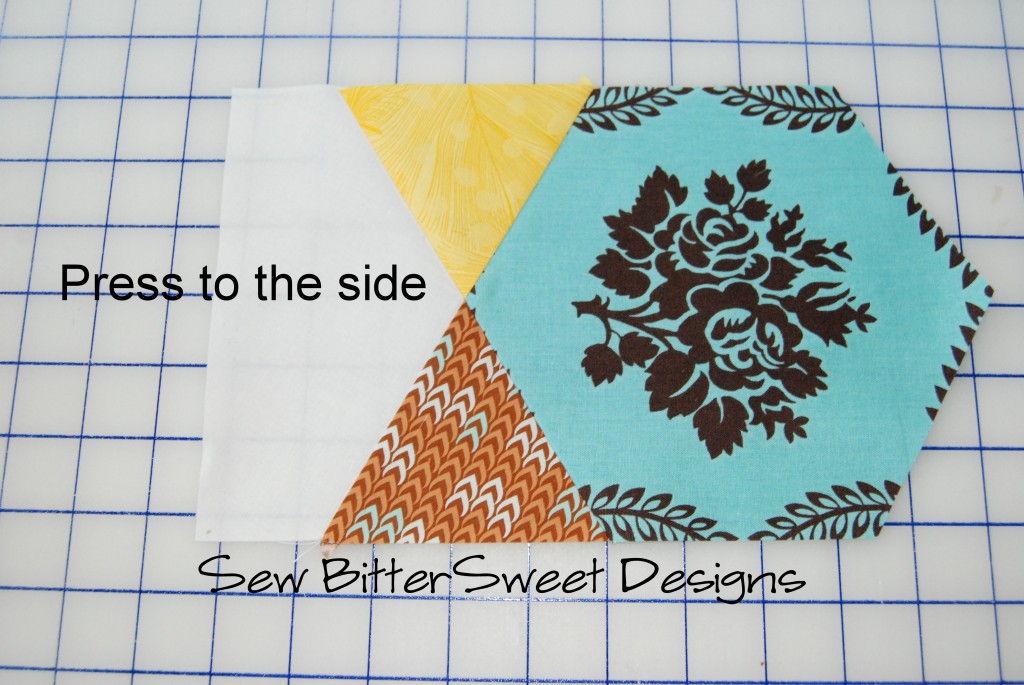
Press to the side.

Attach other side in the same manner.

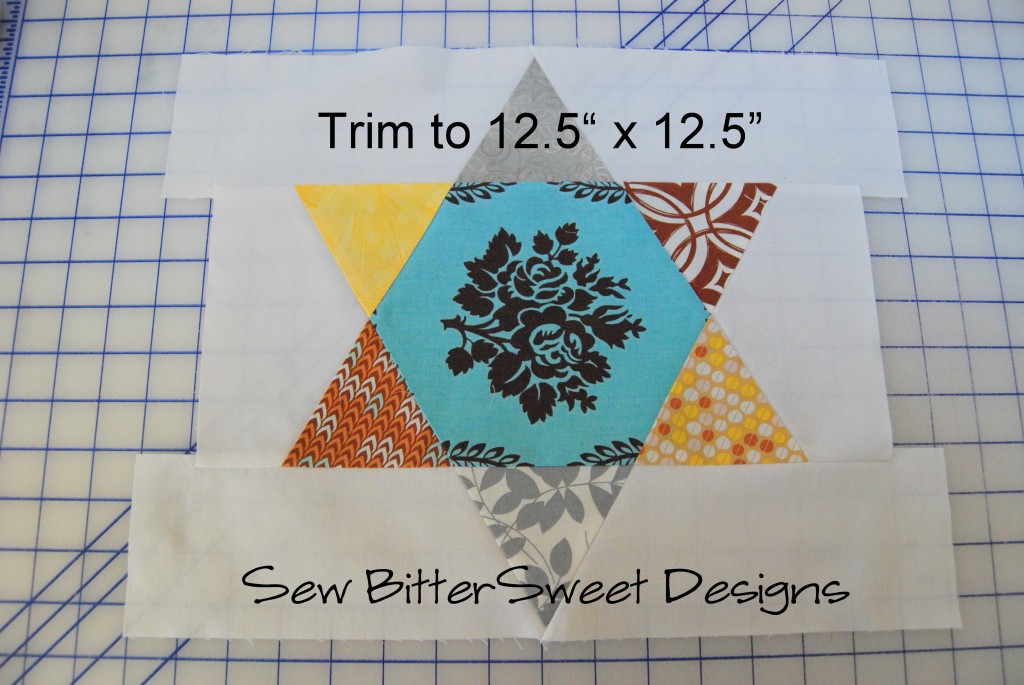
Next assemble the top and bottom sections following the picture sequence below.

Trim the block down to 12.5” x 12.5”

There you have it, how to assemble the gorgeous block above.  I hope you have fun playing with the Hex N More Ruler, which you can purchase from my wonderful sponsor, Quilting Lodge.

Also, if you are wondering where I have been the last week, come back tomorrow and I will explain the saga that was last week. On the upside it has a happy ending but it sure was a ROUGH one.

Scroll to Top