Hi Everyone! And welcome to the second tutorial for the Sew Intertwined Quilt Along!
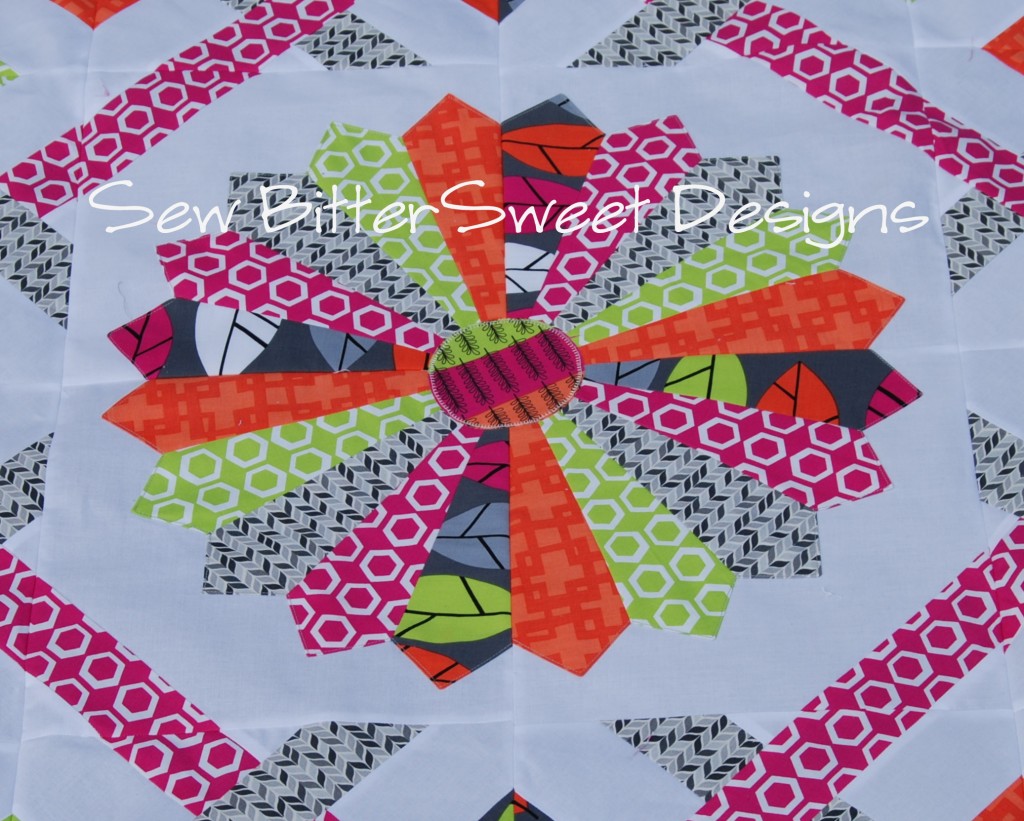
 If you are just joining us or if you missed the first tutorial, head over and visit Jenna at Sew Happy Geek for the Dresden Center.
Today I will be showing you how to make the outside blocks – these are by far the easiest blocks to make and I will be showing you how to do it with the least amount of fabric waste – because I HATE wasting my fabric. I even double and triple checked the math on the HST method I’m showing just to make sure I was actually saving your fabric.
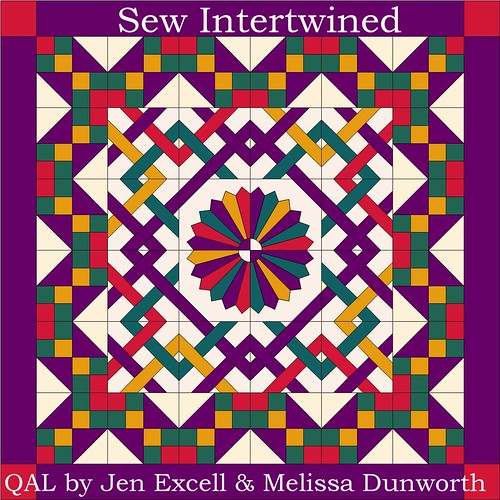
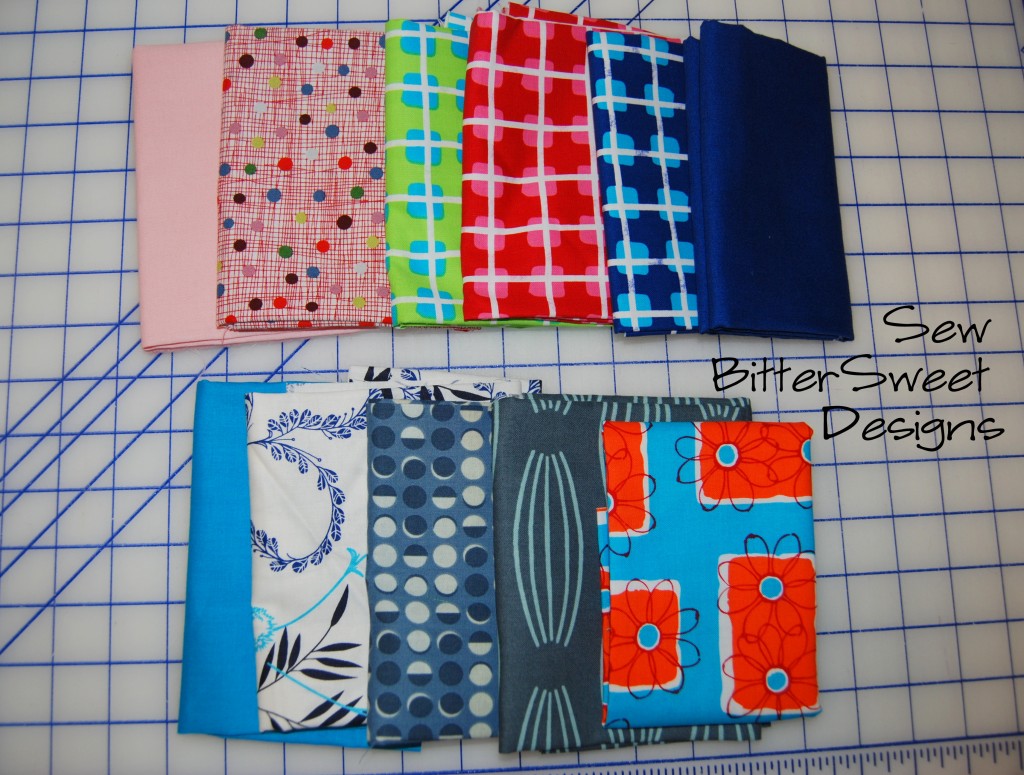
 Based on my colors (shown above) you will need to cut the following: (Note: when I say feature fabric – I am referring to prints I used for my HSTs – both fabrics)
For the HSTS:
Background fabric (white): two strips – 8.5″ by width of fabric
Feature fabric: two strips – 8.5″ by width of fabric
Sub- cut the strips into 8.5″ x 8.5″ squares.
Pair your squares up – right sides together – one background, one feature fabric. You should have 10 Pairs Total
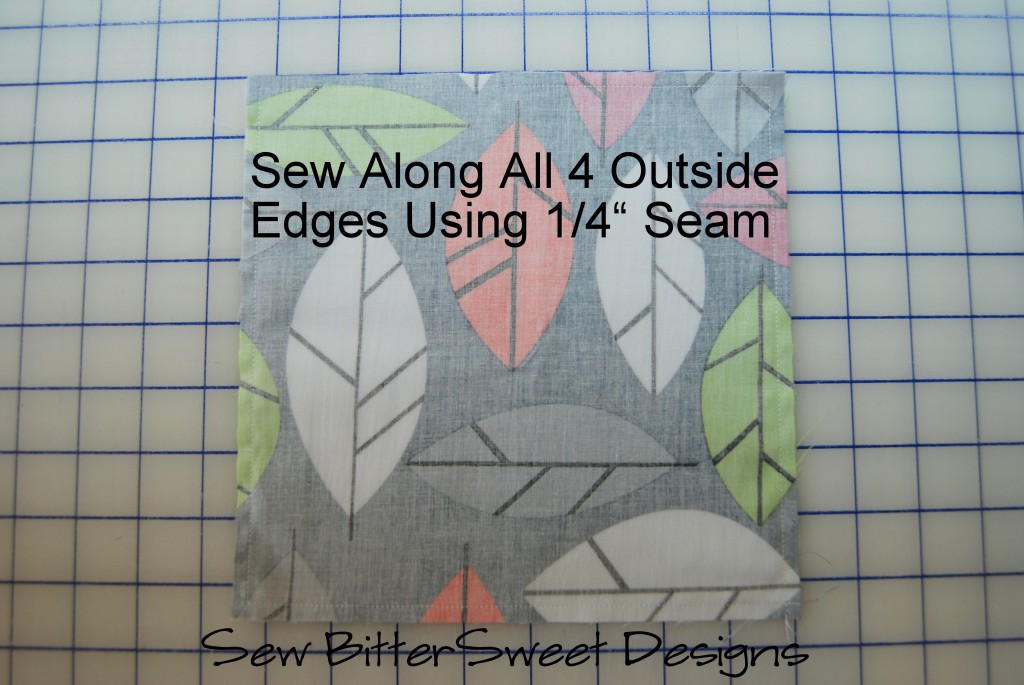
 Use your 1/4″ foot and sew along the outside edges of the squares – ALL THE WAY around.

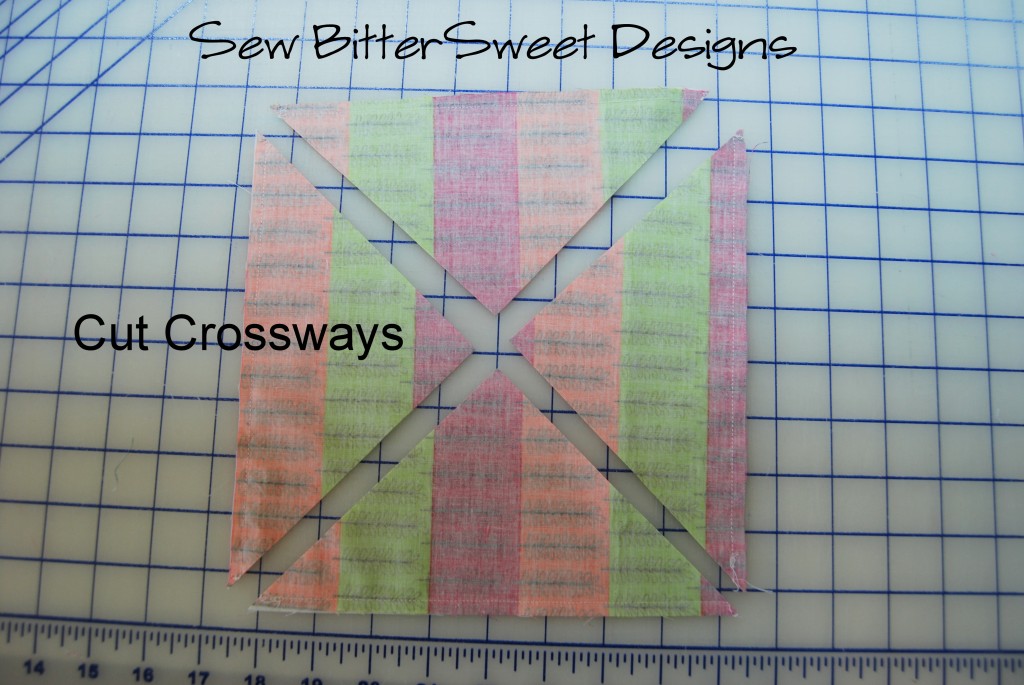
Next you will want to cut diagonally across your Squares. When you open the triangles up you will have made 4 half square triangles. You will have a total of 40 HSTs.
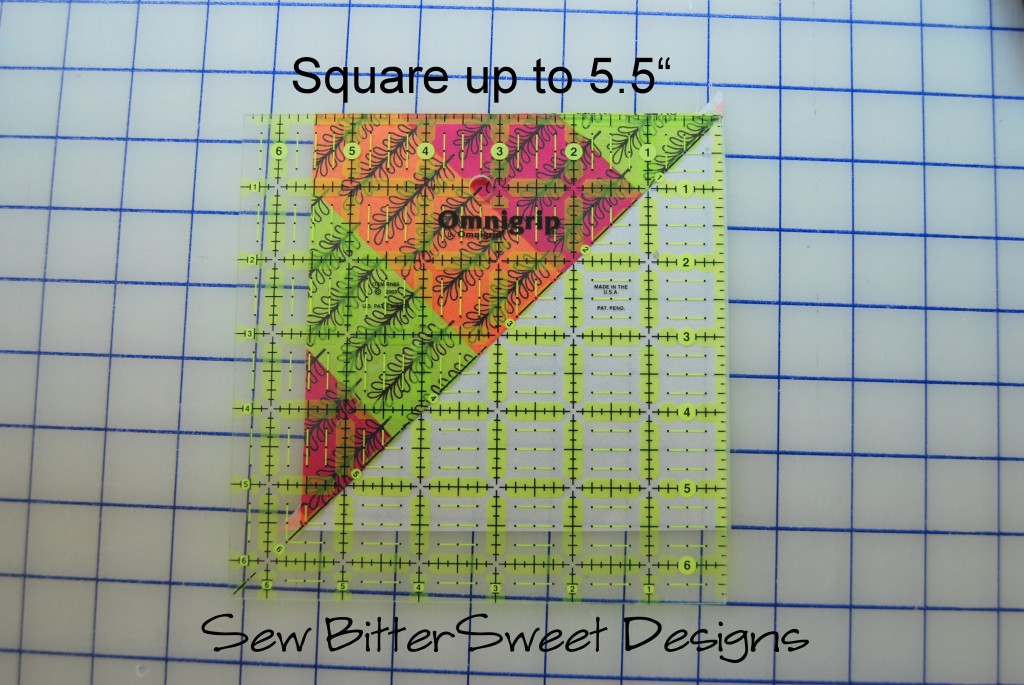
 I pressed my HSTs towards the feature fabric because my background is white. You could also press your seams open if you like. You will want to trim your squares down to 5.5″ and then set them aside.
Next you will want to work on your 4 patches. Each block requires two 4 patches for a grand total of 40. I am going to demonstrate the fastest way to make them using strips.
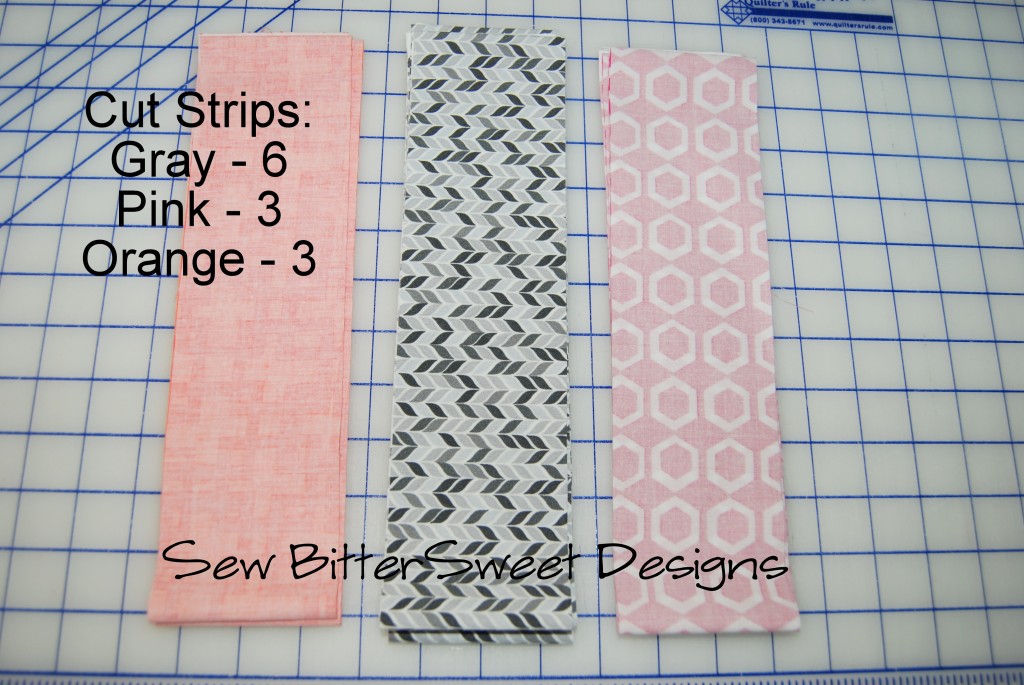
 You will want to cut:
6 Strips of Gray – 3″ by width of fabric
3 Strips Each of pink and orange – 3″ by width of fabric
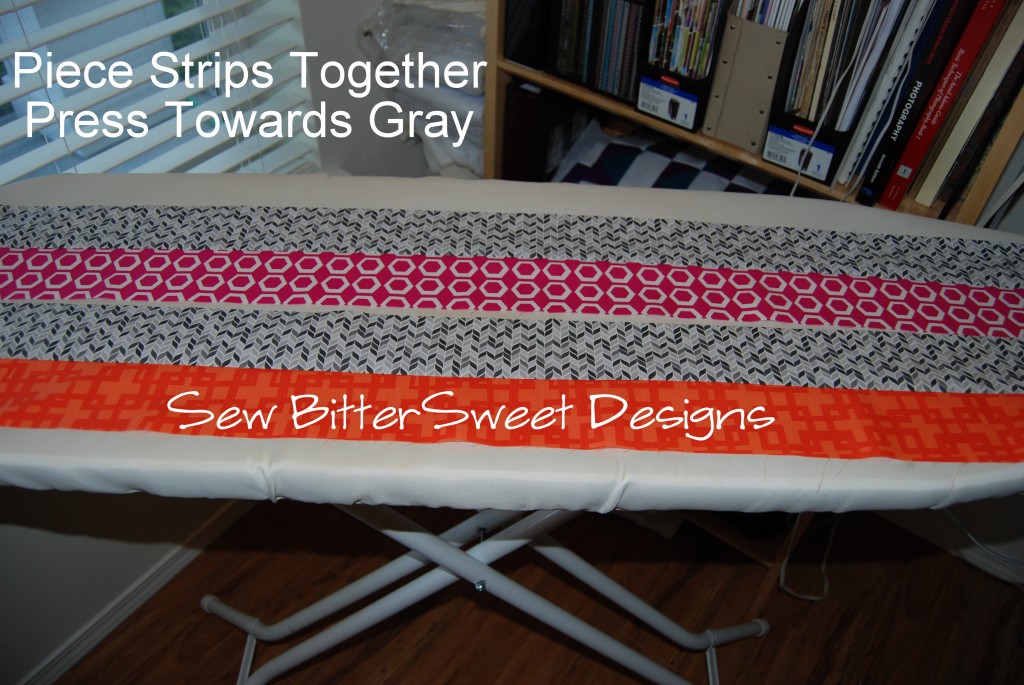
Next you will want to sew the 3 pink strips to 3 of the gray strips, and the 3 orange strips to the remaining 3 gray strips.
 Press towards the gray – I recommend this even if you are used to pressing your seams open. When creating a 4 patch, pressing towards the same fabric in both color sets, will allow you to perfectly match your seams.
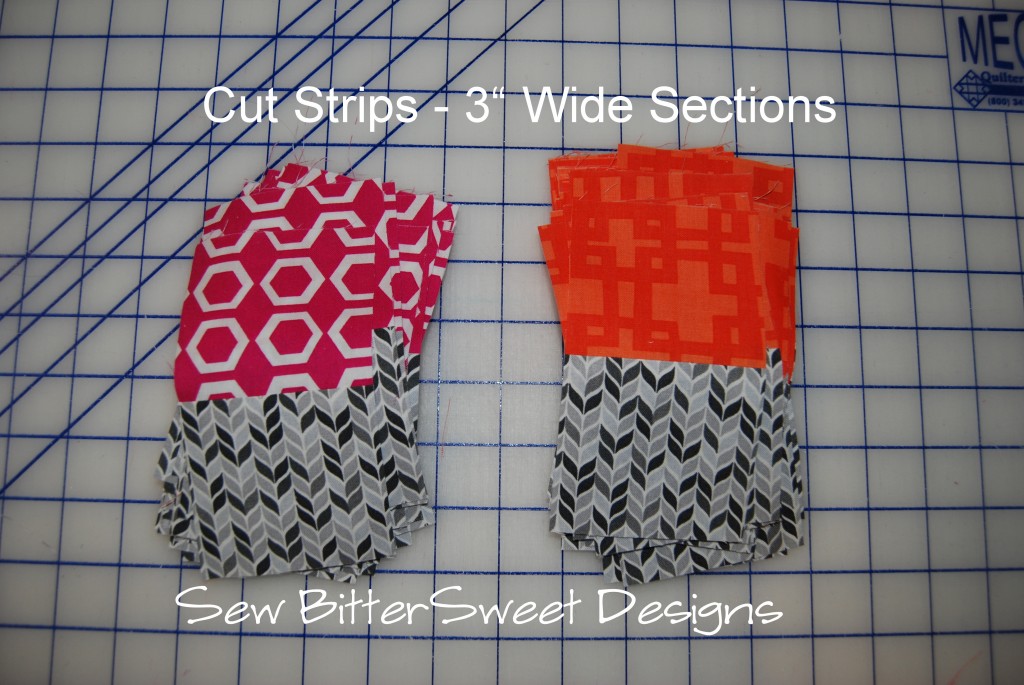
 Cut your strips into 3″ sections. See picture above.
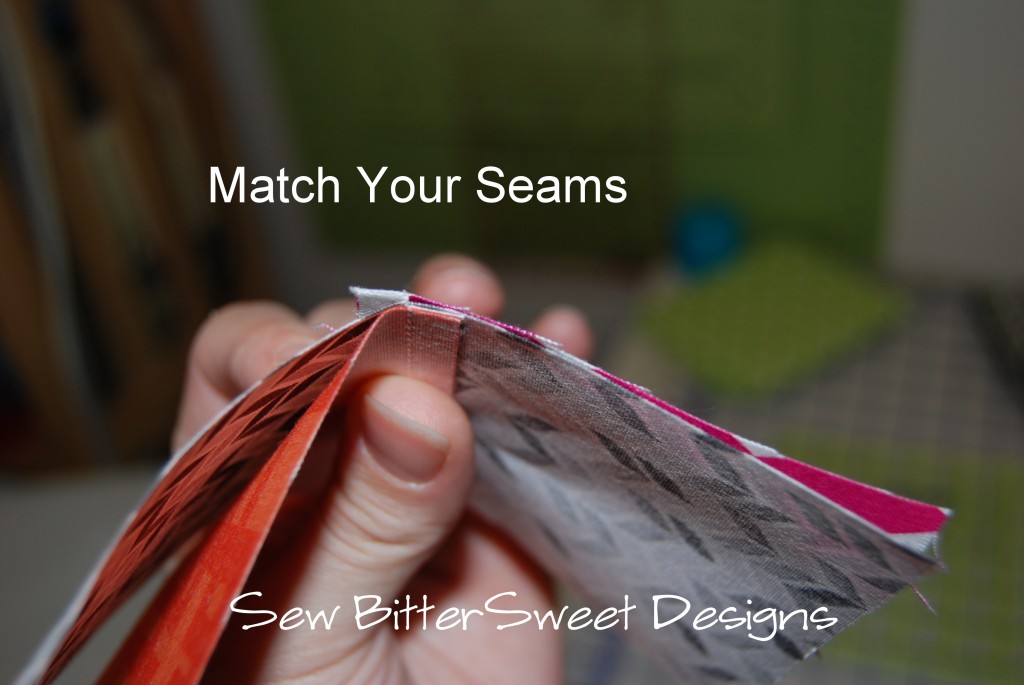
Next you will want to put your pieces right sides together and butt your seams up – this is what gives you the perfect points.
 Sew using a 1/4″ seam. You will create 40 four patch blocks. These should measure 5.5″ x 5.5″.
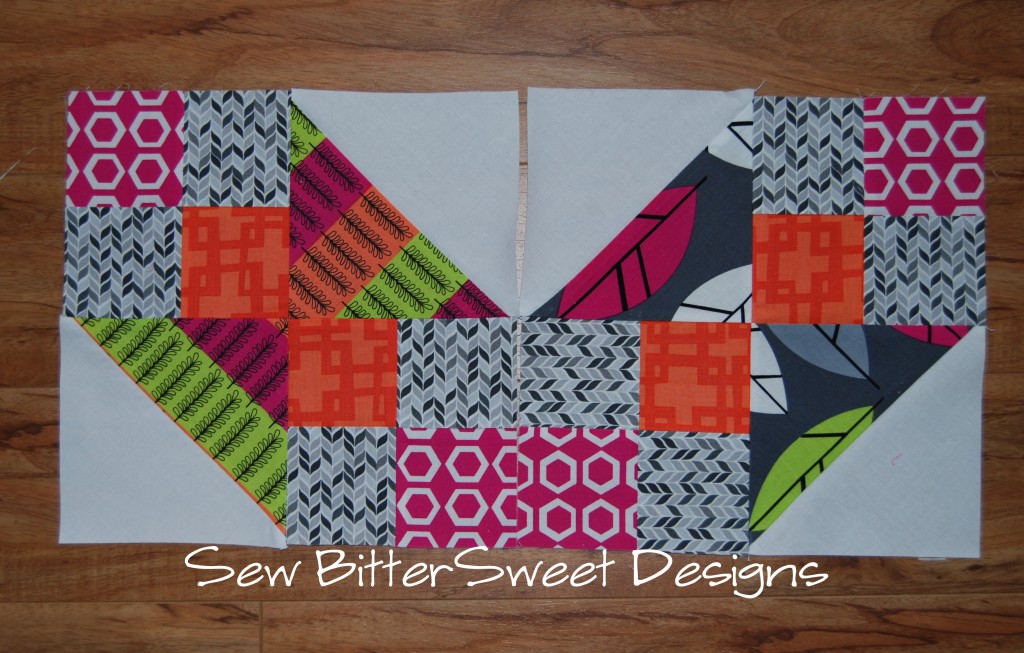
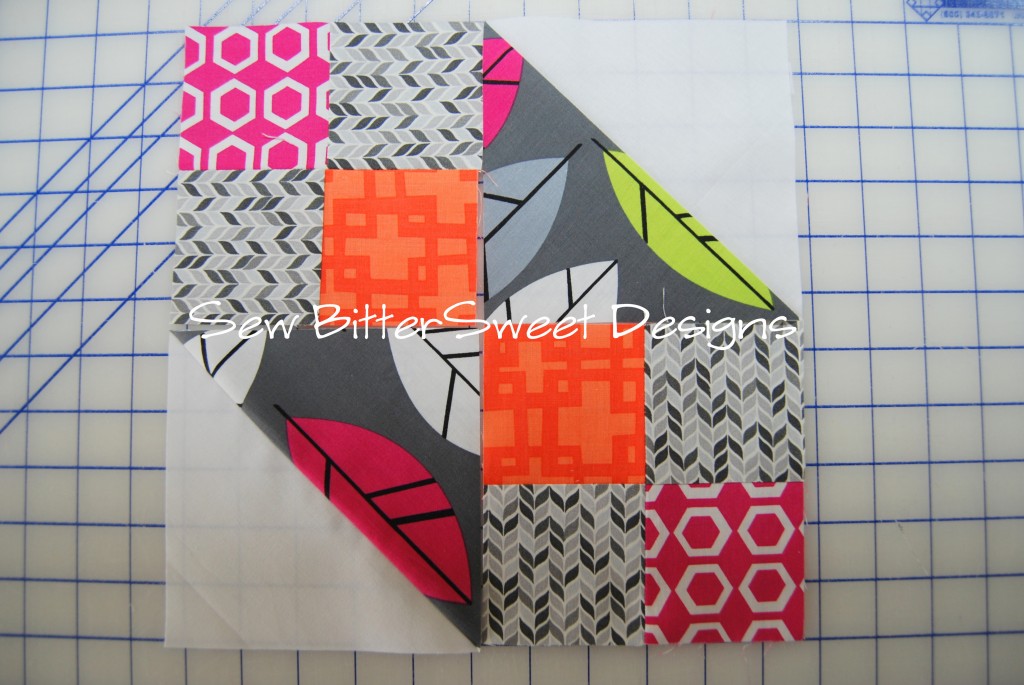
Next layout your blocks and sew them together.
 You will make a total of 20 outside blocks and if you follow this tutorial you will conserve as much fabric as possible! The important things to note if you are doing a scrappier version of the quilt: each square in the 4 patch was 3″x3″ – when the 4 patches are sewn together they should measure 5.5″x5.5″. The finished HSTs should also measure 5.5″x5.5″ – in case you decide to use a method that you are more comfortable with. The overall finished block is 10.5″.
Please let me know if you have any questions and I can’t wait to start seeing finished blocks in the Flickr Group!
This post is sponsored by Contemporary Cloth – they provided the fabrics that were used for the tutorial and my quilt.


 This is by Ella, she blogs at Throw a Wrench in the Works
 This bright cheerful one is by Debbe from Pieces to Love
 This calming color palette is from Jennie at Jennie’s Threads
 This one is from Revkez – Her colors all just POP!
