Sewing Sanctuary

Oopsie Daisy

So there I was, finishing a new quilt top, when tragedy struck.  Well maybe not a tragedy because I wasn’t that upset, but it was sure inconvenient!

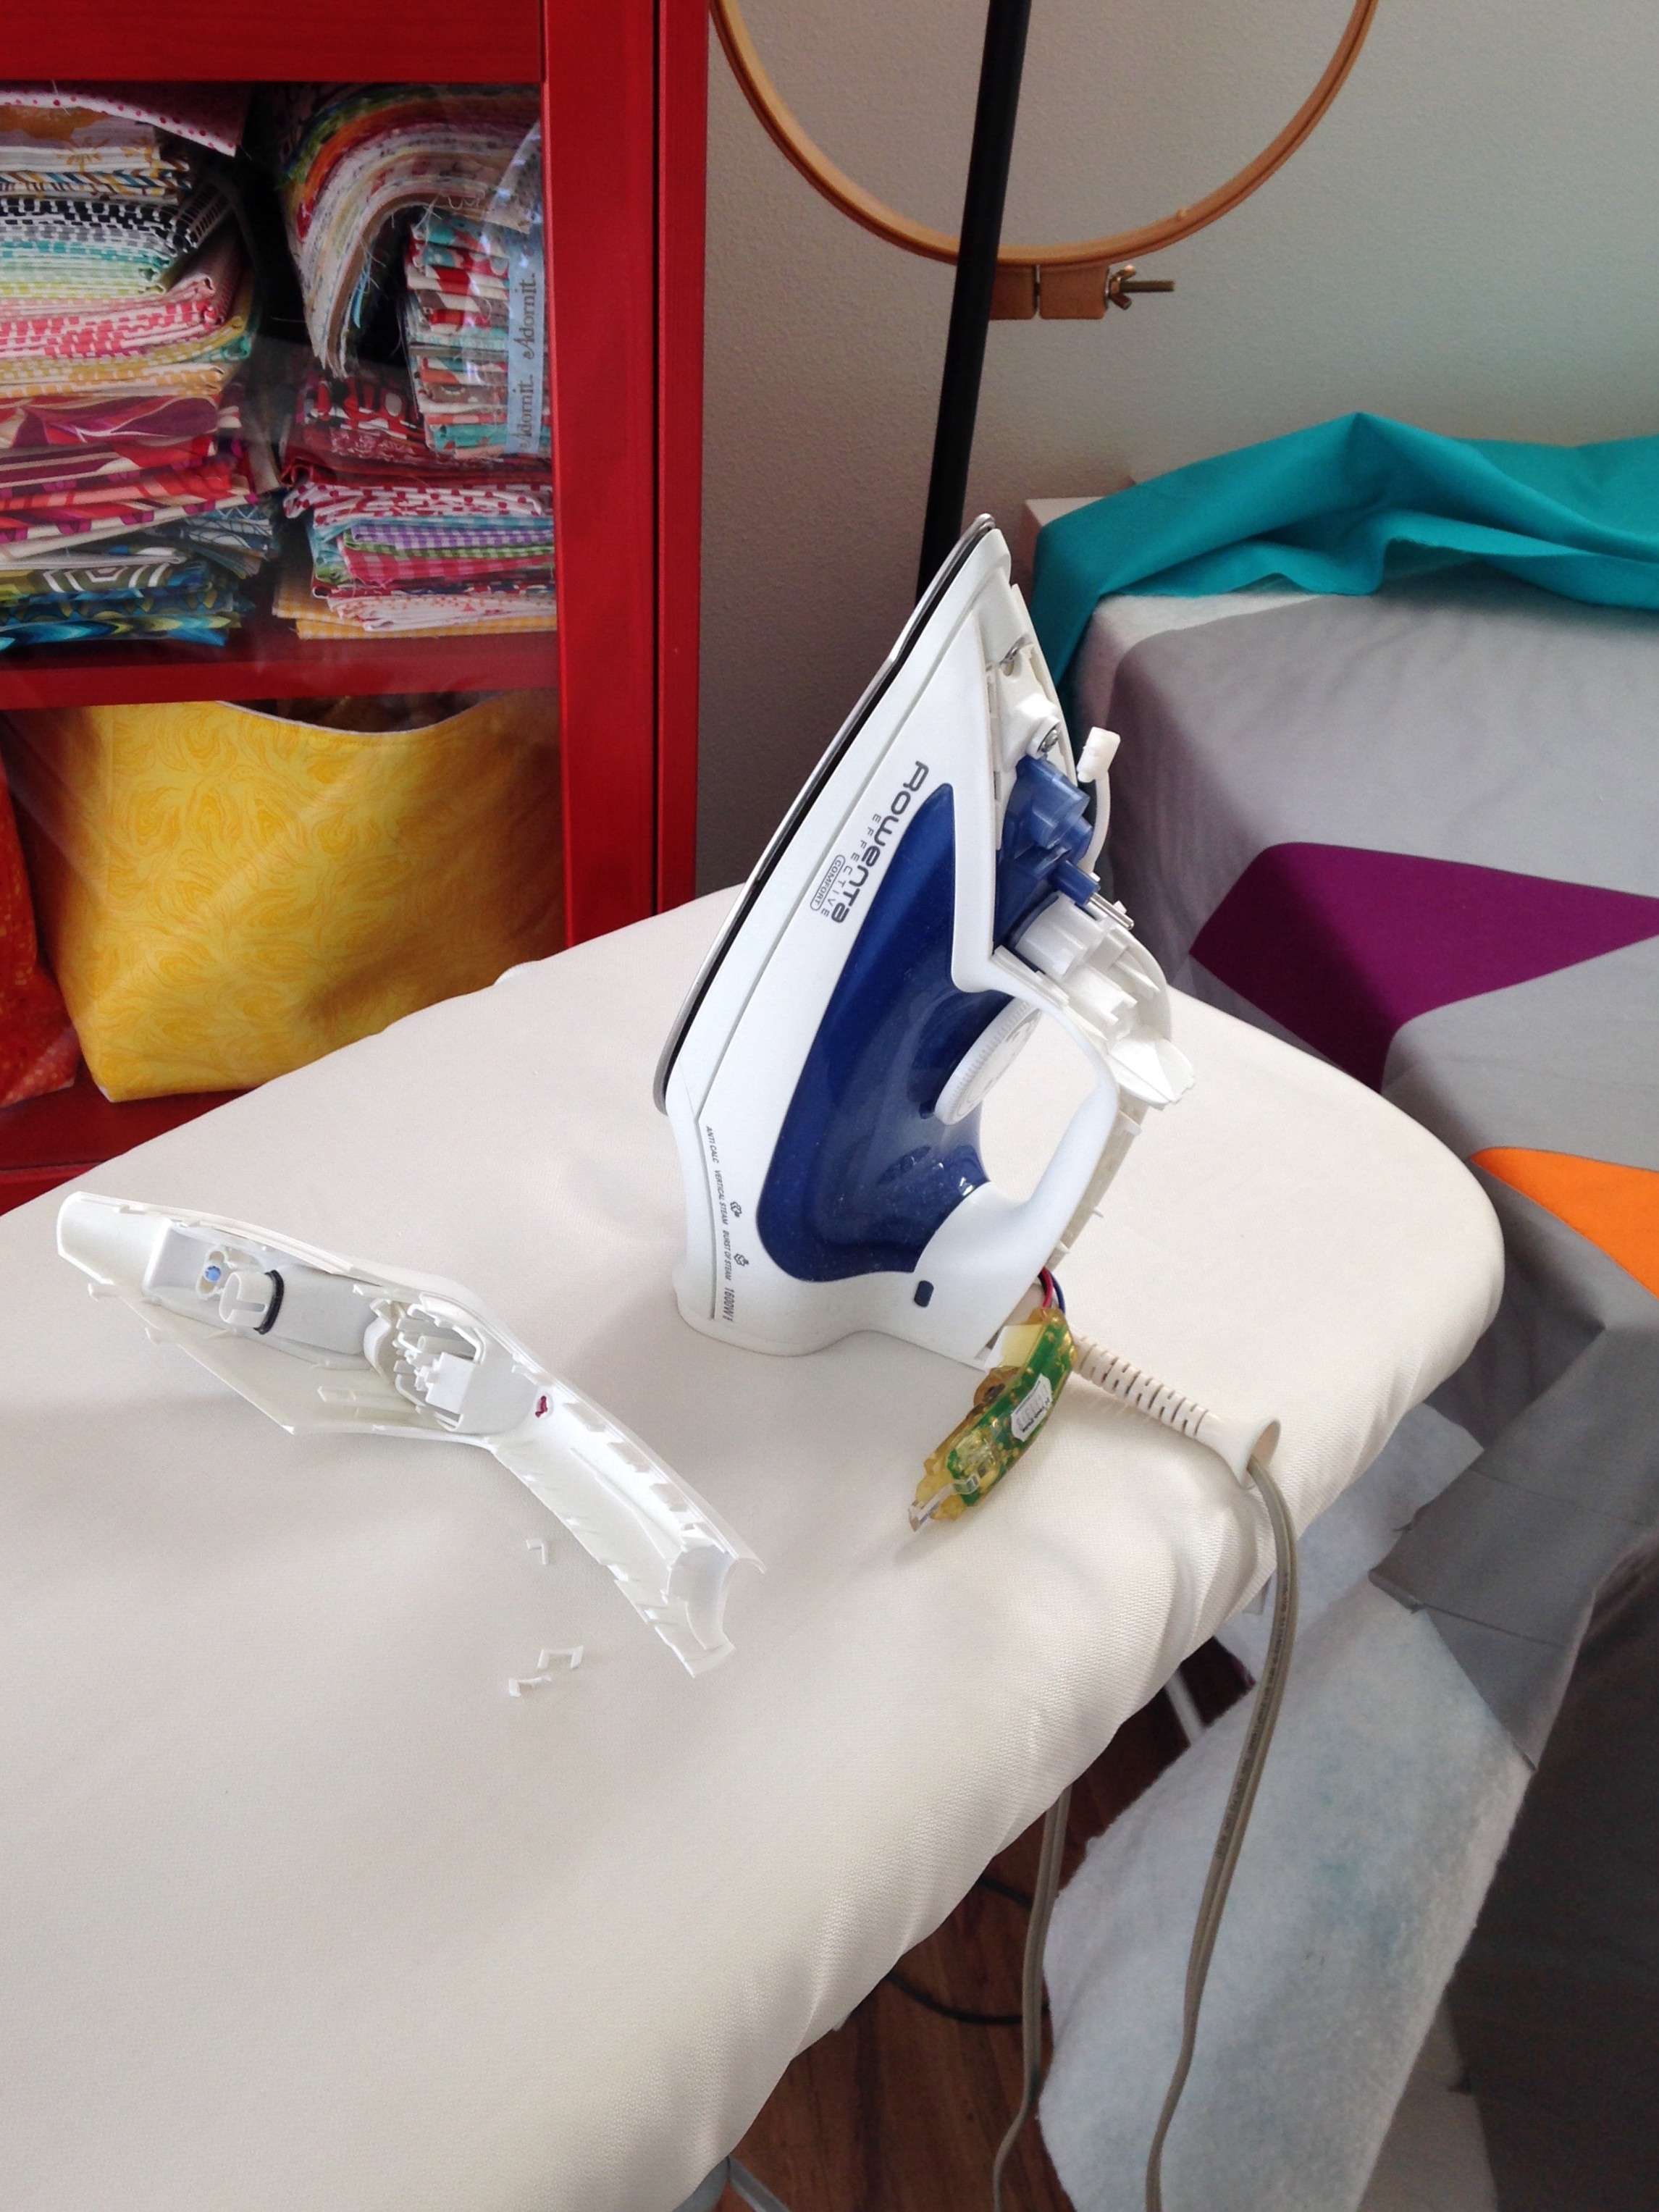
I dropped my nice Rowenta iron. I’m wasn’t upset because I haven’t been able it put water in her for the last two years without her leaking everywhere.

Iron Guts Rowenta


So yesterday I went shopping for her replacement. I decided to stick with Rowenta, which may surprise you as my last one leaked. Well, if we are being honest, this was not the first time she had hit the ground so it probably wasn’t entirely her fault…

I decided to upgrade to Rowenta Pro Master. My mom has one and loves it, plus I’ve always heard that the best Rowentas are the ones marked “Made in Germany” and this one is!

Rowenta Pro Master

I haven’t tried her out yet, I worked in my yard for an hour and a half yesterday and didn’t have the energy to get in the sewing room, but today I plan to break her in!

Happy Monday and Happy Sewing Everyone!

signature


Quilty Inspiration Wall

Over the last year I have been collecting/making items for my quilty inspiration wall. The wall that I face when I am sewing. I thought it would be nice to be able to look at that wall and feel inspired while I was sewing.  The ladies from the birthday club I am went all out to help me decorate my creative space!  Each item on the wall is truly precious to me and has a unique story that cheers me up whenever I look up from my sewing.

Quilty Inspiration Wall - https://test.sewbittersweetdesigns.comStarting on the upper left is an amazing wall hanging from @chelsiecreates on Instagram. I just love the colors and brightness.

Second column from the left at the top is a stunning rainbow inspired drunkards path wall hanging from @rooibosmom also on Instagram.  Below that is a beautiful little wooden painting my mom gave me of a classic treadle and a woman sewing. I love how dolled up she is to sew – especially since I’m usually in my jammies! Below that is another wall hanging/mug rug from one of my friends in my Modern Quilt Guild – @4BAGGYS we were in a swap, the cool thing is that she made it using fabrics from my stash!  And below that is a gorgeous wall hanging my mom made years ago in a class. I found the top in her stash and brought it home to quilt and bind. I just LOVE it so much!

At the top of the middle column is a stunning wall hanging from @plumpatchwork, I was blown away when this ended up in my mailbox last month!   Below that wall hanging is some artwork by my wonderful Anne. As she inspires most of what I do, I can’t imagine her not being represented!

Second from the right is a stunning wall hanging by @weshallsew – oh my goodness, don’t you just love those hexies and the colors are SO me!

Finally, all the way to the right, is a crazy quilt block I made to try out some embroidery techniques. One day I will be making a real crazy quilt and this was a good test run for me.

So there you have it! My little inspiration wall. I plan to continue to add to it and I’m pretty sure that Anne does too! Do you have an inspiration wall?

signature

Meet Elvira!

I’d like to take a few minutes to introduce you to Elvira.

Singer 99k - Elvira - https://test.sewbittersweetdesigns.comSewing runs deep in my veins, the above sewing machine, a Singer 99K dating to 1924, belonged to my Great Grandma, Elvira.  She was my grandpa’s mother and she was a tailor by trade. This is the sewing machine that she earned her living on raising my grandfather and Great Uncle Nick. My mom gave her to me over Christmas and she came home from the spa yesterday. The amazing news is that she still works! There is a short in her light, but that is no big deal, I can get a snazzy little desk lamp instead of using the light that came with her.

Singer 99k Medalion - Elvira - https://test.sewbittersweetdesigns.comYou can see her serial number and in this picture. Considering her age, I think she is in fantastic shape. Probably not worth much to a vintage sewing machine collector but to me she is absolutely priceless!

The cool thing is that she has a knee control rather than a foot pedal, something I haven’t encountered before. This is also one of the models that is used on the popular tv show Downton Abbey.  Pretty cool!  I’m very excited to thread her and start sewing on her, I feel like I will be sewing on a huge slice of my family’s history.

signature

New Design Walls

Last week I was visiting Deb from asimplelife Quilts and saw her awesome new design wall that she made back in July.  I commented on how great I thought it was and she sent me over to Oh Fransson to this fabulous tutorial to build an inexpensive design wall.

Well I did my own take. I went with 1″ thick foam insulation like Deb did, but unlike Deb and Elizabeth, I decided to forget the staple gun (mainly because we didn’t have the right staples). I improvised with some of the worst pins I’ve ever purchased in my life. I threw away at least 4 from the pack because they wouldn’t even pierce the batting! I bought a 4′ by 8′ piece of foam and had the store cut 2′ off the top, making it 4′ by 6′ – good thing too or it wouldn’t have fit in our car!

My plan when the desk to the left is gone is to buy a second one to double the size of my design wall.  Don’t worry! I didn’t throw away the left over foam, I improvised again! I decided I needed a table top design wall too! It is perfect for my cutting wall to just throw things up as I cut. Plus, Anne likes it when I put it on the floor for her to “design” with!

I am loving having a place for 2 active projects – I’m hoping this will lead to extra productivity, we shall see!

Don’t forget to link up your finishes to the August Finishes Party for A Lovely Year of Finishes.

Can’t Sew? Clean!

So my hands were definitely not up for sewing this weekend. The spirit was willing but my hands were not. I decided to make use of my time and reorganize my stash.

Before Picture

The main reason I decided to re-organize was the fabric bins. They were NOT organized anymore and just jammed full to the point I could barely pull them out. You can’t hold yourself accountable when you can’t see what you have!

So I went on Pinterest and found a quickie tutorial for folding fabric around your 6.5″x24″ ruler. I used it for all of my yardage that was at least a quarter of a yard. Here’s most of my yardage folded.

There is one more row of folded fabric that isn’t pictured (browns, grays, whites, blacks and novelty prints).

For my fat quarters, I experimented with a couple of different folds before settled on what fit my shelves best.

The top shelf is a couple of complete lines that I have and all of my patterns. Below that are all my FQs sorted by color and behind there are all my pre-cuts.

The bins are still in use! I emptied out all of the ziplock bags that I had full of scraps into them and also all the stuff I already had in the bins that were not yardage or fat quarters – just larger scraps.

The top still has fabric on it but that is because they are 2 quilts that are in progress and they have upcoming deadlines. If they are out making the space look messy then I know I will work on them just so I can get them off of there! It is my own personal kind of motivation.

So that is how I spent my Saturday and Sunday. Cleaning…probably should start folding some of the laundry I washed too, but for some reason I’m not as motivated to work on that!

Scroll to Top