Quilting Secrets Blog Hop – My Favorite Cutting Tools
Good morning and welcome to day four of the Quilting Secrets Blog Hop hosted by the wonderful Mrs. Pickles!
If you have missed any days, here is the schedule:
There have been some amazing secrets shared so far, so make sure you go and check everyone out! I would also like to thank our wonderful hostess, Mrs. Pickles, for organizing this wonderful hop and inviting me to join. She has also arranged some pretty fantastic prizes, so make sure you read to the bottom of the post.
Today I am going to share some of my favorite cutting tools. Accurate cutting is ESSENTIAL in quilting, especially when we are dealing with 1/4″ and scant 1/4″ seams. Being off by just a couple millimeters can change the size of your entire quilt.
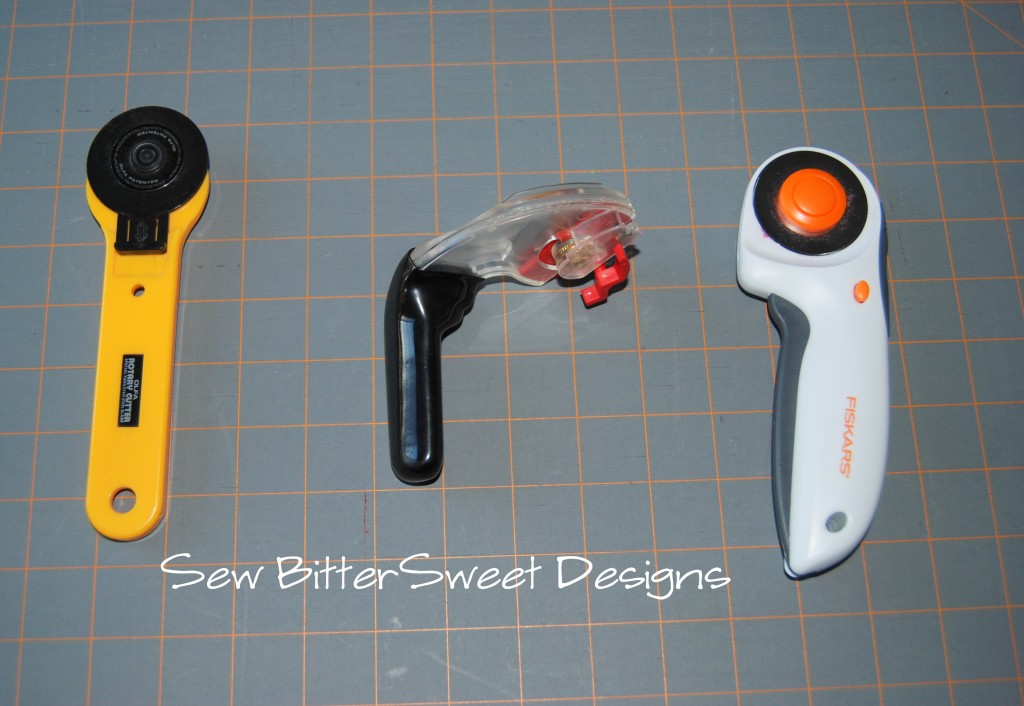
To start with, if you are completely new to quilting and only own a pair of sharp scissors, my first recommendation is to invest in a good rotary cutter. There are lots of different types, including ergonomic ones.
 The reason rotary cutters are preferred is that they are super sharp and the blade is super thin. This makes cutting easy and accurate.
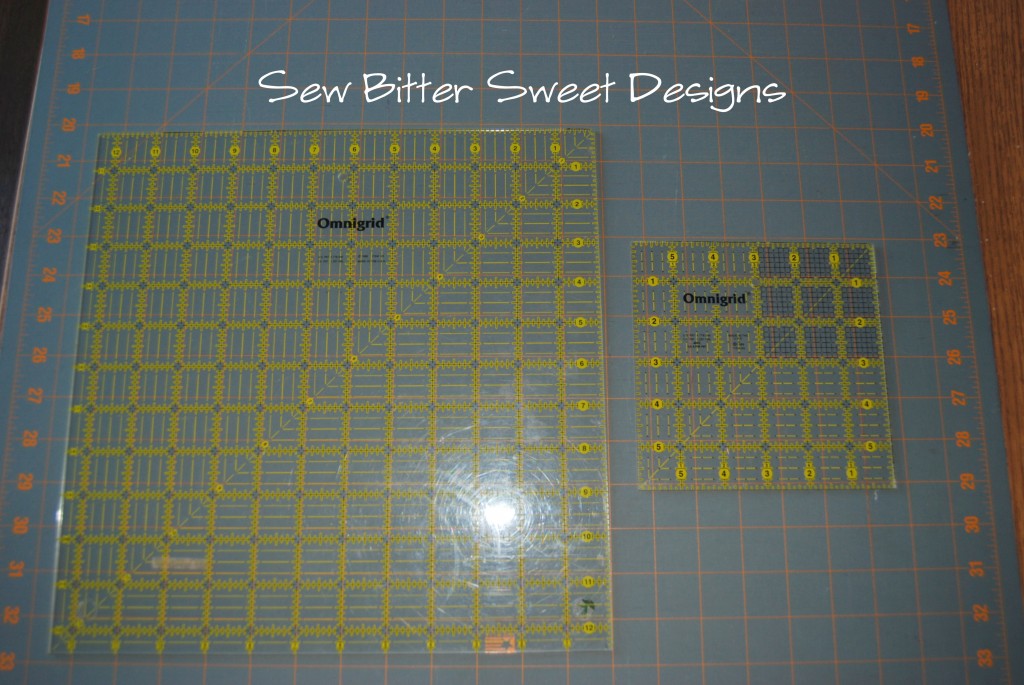
Next you will want to invest in a rotary cutting mat – pictured above. And then some quilting rulers.

As you can see from the picture above…I have a thing for rulers, and I have them organized so that they are easy to get to when I am cutting. I use curved and bent screws to hold them to my walls. They are easy to grab. When you are first starting you do not need all of these, for me they are mostly toys…I mean tools. The 2 that I would highly recommend to start with is a 12.5″ square ruler and a 6.5″ square ruler.
 I recommend these because the 6.5″ ruler makes it easy to cut and trim smaller pieces, you can do that with a 12.5″ ruler, but the smaller one makes it slightly more manageable. I recommend the 12.5″ ruler because if you are working with larger blocks you will need this size to easily trim them down.
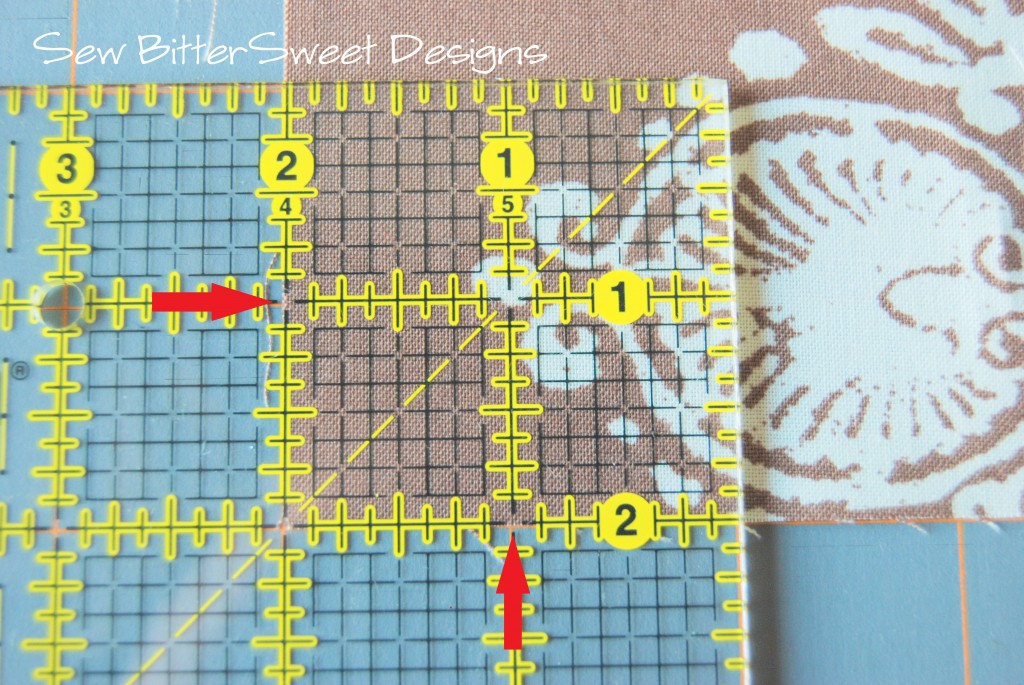
When cutting your fabric I have found that the best way to account for the seam allowance in piecing is to line your fabrics up as below:
 Your fabric should sit flush with the bottom of the black line on the bottom 2 inch line. It should also sit flush with the left hand side of the black 2 inch mark on the top. Having your fabric lining up flush with the black mark will give you a smidgen more fabric and it will help you achieve your perfectly sized blocks.
You DO NOT want your fabric to line up on the inside of the lines, always on the outside. This ensures accuracy and accounts for any length lost when pressing your fabrics.
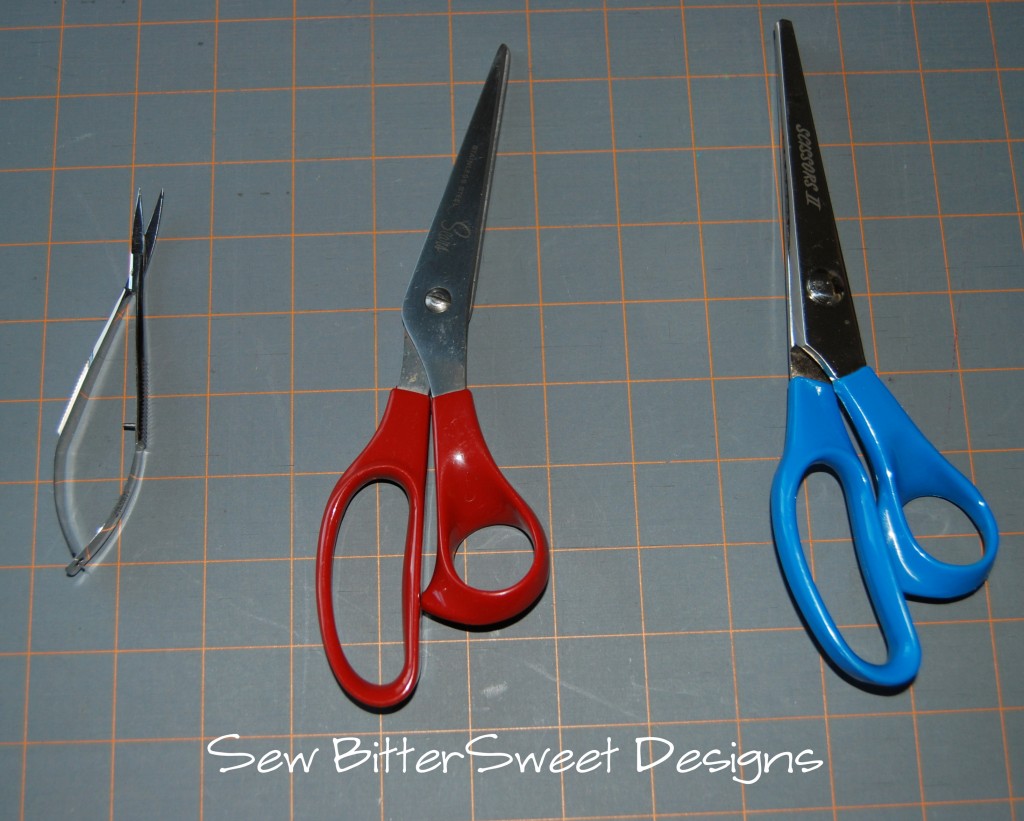
Now rotary blades and rulers are not the only cutting tools I use in my quilting. I also use a variety of scissors.
 From left to right: Applique Scissors, Sharp Cutting Scissors (these are my mom’s I usually use my Gingher Dress Maker’s Shears), and Pinking Shears.
I personally love the applique scissors and use them ALL the time. I use them to help get a thread that I can’t reach under my needle, I use them when I’m basting my hexies, I use them for EVERYTHING! What I love most is that you squeeze them to cut as opposed to having to open them. This is much easier on my arthritic hands and I highly recommend a pair!
 I use my Ginghers when I am paper piecing to trim my seam allowances down. Nobody needs to know that my seams are not trimmed exactly down to 1/4″. This makes the process SO much faster! I use the pinking shears when I am sewing any kind of curve, it is much easier than cutting little triangles (I gleaned this tip from the fabulous Kristy at Hopeful Threads and now use it in my regular sewing).
Being able to sew an accurate quarter inch seam is essential but if you are not cutting your fabrics accurately it will not matter if your quarter inch seam is accurate. Invest in the right tools and take the time to line your fabrics up perfectly and your quilting will improve instantly!
This giveaway is now closed
The winner is: Kathy MacKie – Congratulations! You will receive an email from Mrs. Pickles!
And now….A Giveaway! Today’s lovely prize was donated by Clint Masden from Green Fairy Quilts. One very luck commenter will win one

Moda Jelly Roll – Bear Country School
Includes 40 strips at 2½ x 44 inches
Company Info
Judi Madsen, aka the Green Fairy of Green Fairy Quilts, started piecing and quilting at a young age. She grew up watching her
What used to be a hobby, she and her husband have now turned into a full-time, successful business selling Judi’s many quilt pattern designs with pattern distributors, fabric stores and quilt shops all over the country, and into foreign countries. They have expanded with their on-line store selling a large variety of fabric products.
Judi is an award winning Long Arm Machine Quilter, Clint manages the website, and stays busy shipping out all the orders and is also in charge of buying all the fabric you see on the website.
To win, simply leave me a comment. If you need inspiration: tell me your favorite cutting tool.
Followers will get an additional entry – just leave a second comment telling me how you follow!
This giveaway will be open for 24 hours. Good luck!


