tutorial tuesday

Valentine’s Day Showcase – Debbe from Pieces to Love

Welcome to day 6 of the Valentine’s Day Showcase! Today I have my friend Debbe from Pieces to Love. She has a gorgeous candle mat for you that is an original design and positively stunning!

1. What got you hooked on your craft of choice?
I have always enjoyed sewing and making crafts.  When I was in high school, I worked at a fabric store and continued to do so all the way through college.   I made my first quilt my senior year of college and it has just grown from there, just like my fabric stash.
2. What lights your crafting fire (ie. what keeps you crafting, why do you do it?)?
Sewing is my outlet.  When I get stressed out my first go to is my sewing, where I have to focus on what I am working on and not the petty things that had me wanting to strangle someone.  It also give me ‘me time’ which when you are a stay at home mom, sometimes you just need that solitude.  I’m not a super hero so I create or re-create things as much as possible.
3. What is your favorite Valentine’s themed junk food?
Hmm…I love the boxed candies, they don’t even have to come in the pretty little heart package either.  My favorites are the ‘raspberry creme’ and ‘orange creme’  then the caramels as long as they are ooey gooey and not hard.
Take it away Debbe!
———————————————————————————————————————————————————-

When Melissa @ Sew Bittersweet Designs asked me to be a part of her Valentine’s Showcase, I got a little excited.  Obviously I agreed to be a part of the fun.  Then a few days later the regret hit, I had no clue what I was going to make.  I kept thinking of applique projects, paper piecing projects, yummy sweet treats, needless to say I was a bit overwhelmed and every time I thought I had something to do, I would see the same thing posted around blog land.  I finally came up with the ‘Kissing Hearts’  This is my own design, I spent a lot of time with my trusty seam ripper (which I think needs a name, Jack maybe?) as I learned what worked and didn’t work during the sewing process.  This is a ‘fat quarter friendly’ or ‘scrap friendly’ project that can be made in no time at all.

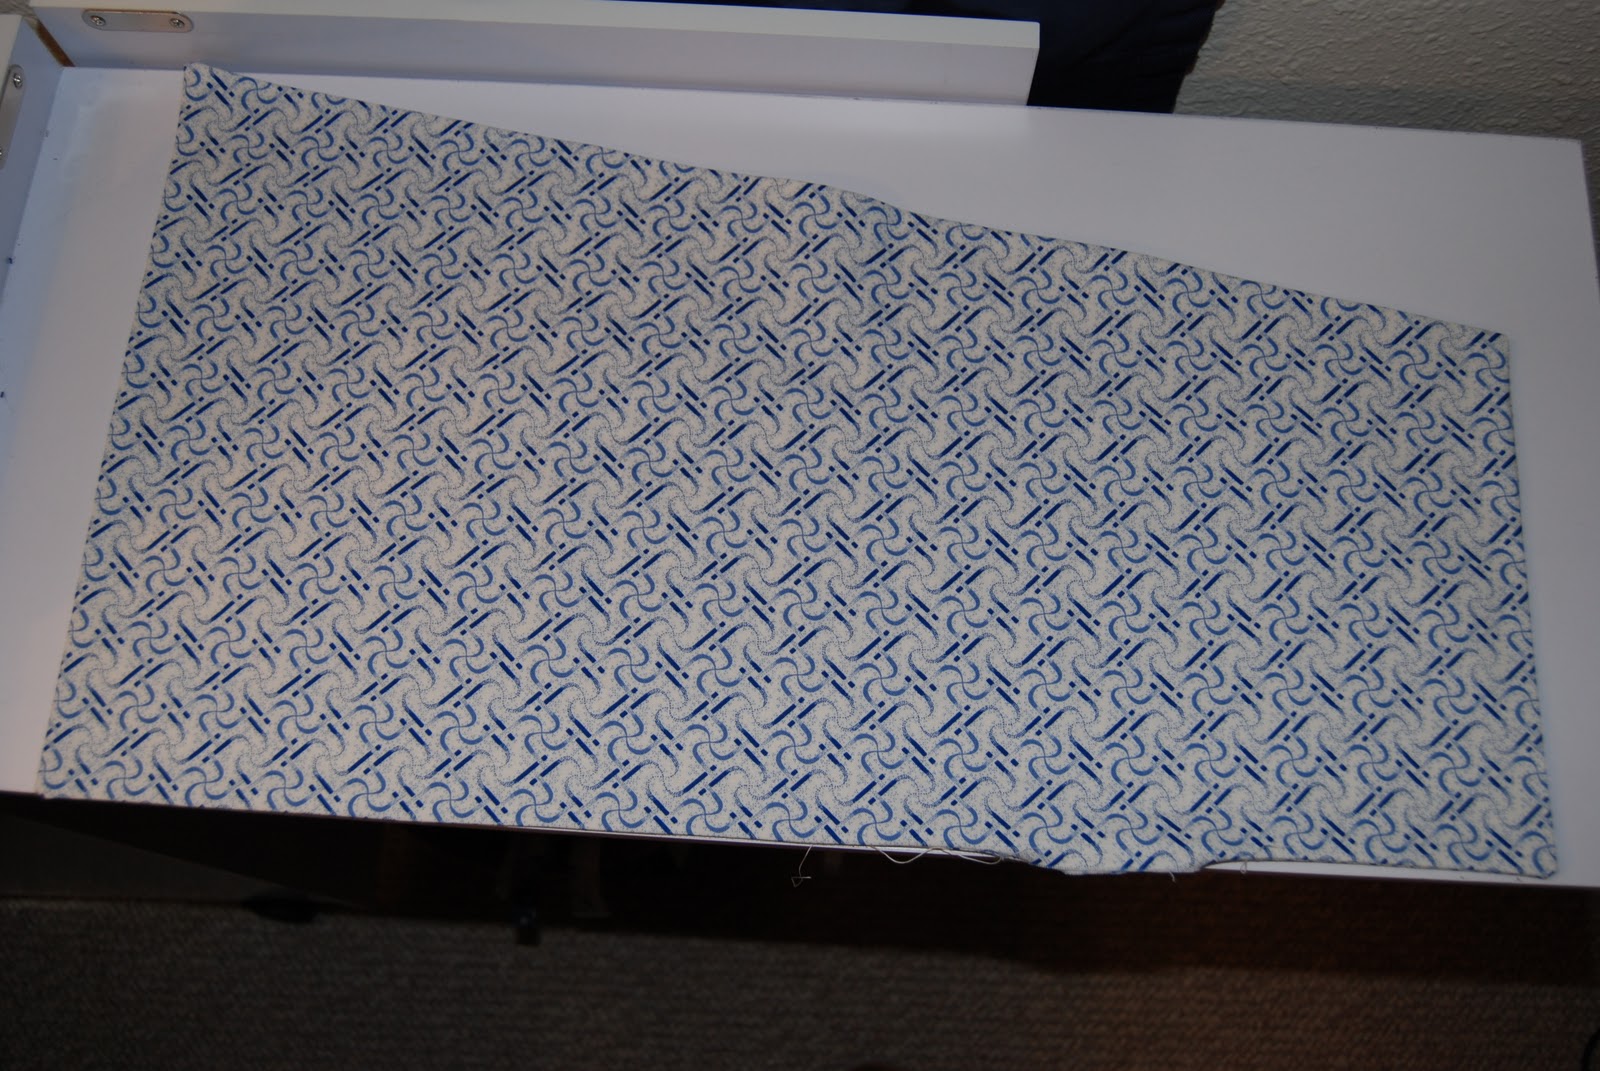
For an approximate 17″ block, you will need to cut the following pieces:

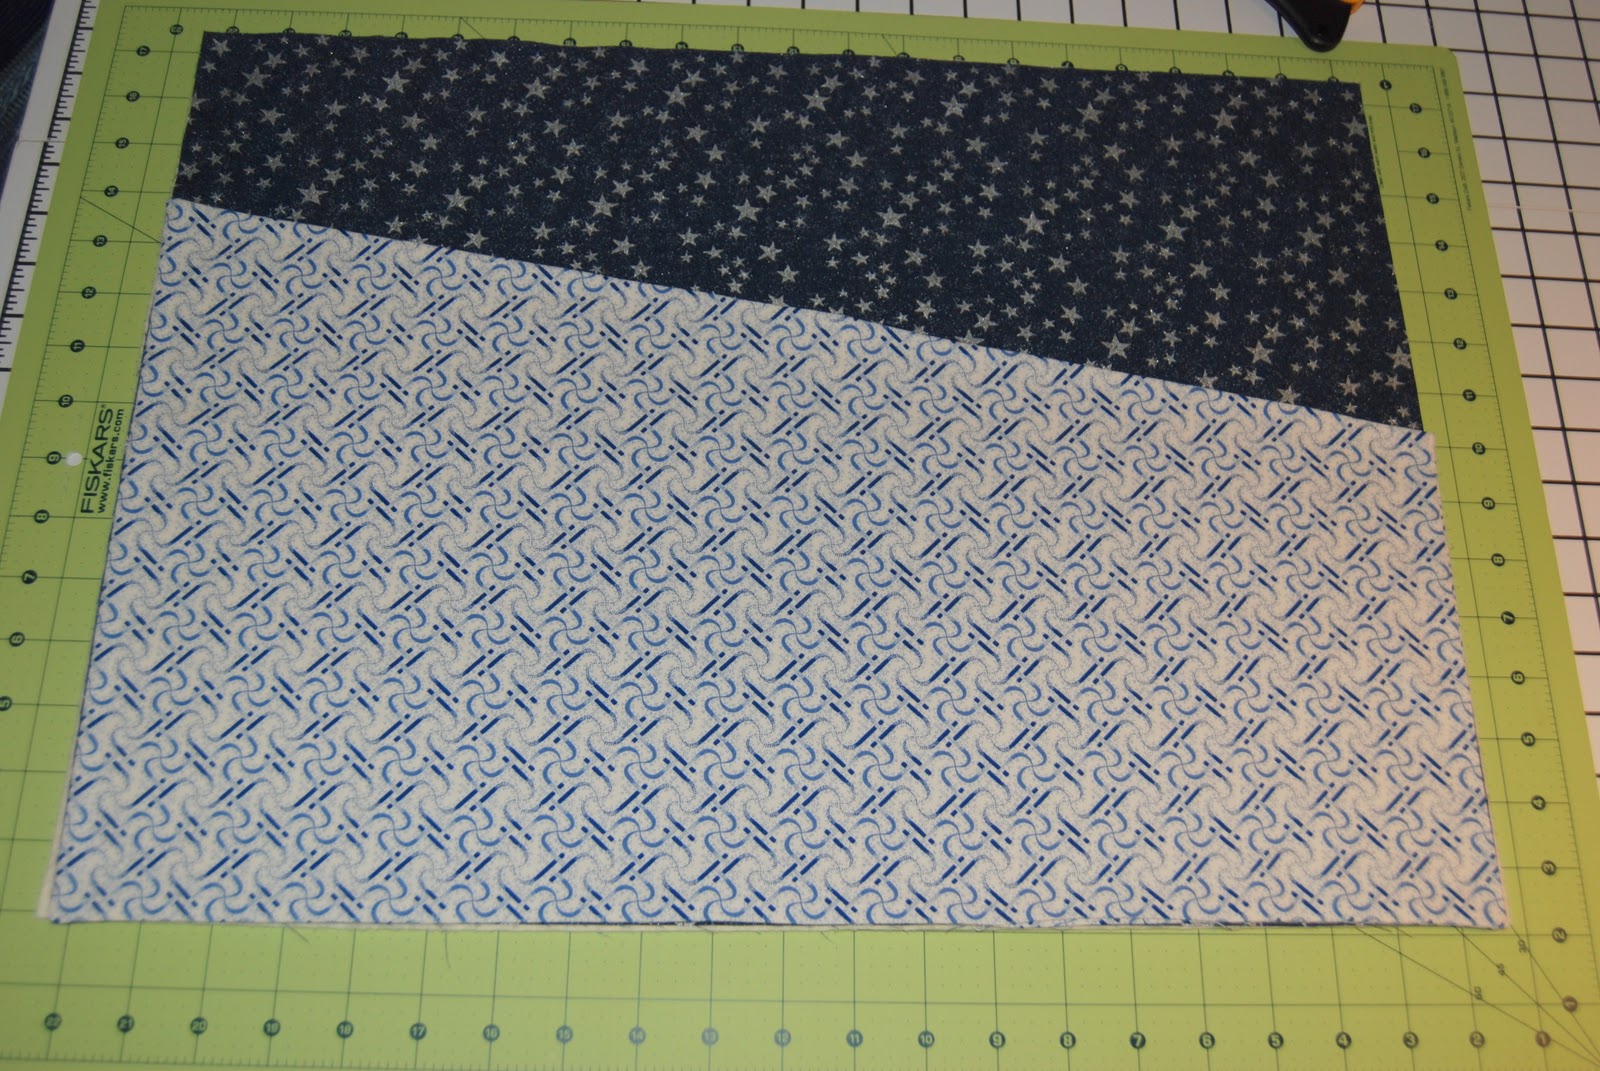
2- 6.25″ squares  (use 2 different fabrics)
8- 3″x4.25″ rectangles (4 each of 2 different fabrics, same as your squares)

(For the next 3 cuts of fabric I used the same white on off white fabric)

4- 3″ squares

1 1.5″x24″ strip of fabric (or 2 1.5″x12″ strips)

2- 2.5″ x WOF (width of fabric)
(or 2- 2.5″ x 13″  and 2- 2.5″ by 18″)

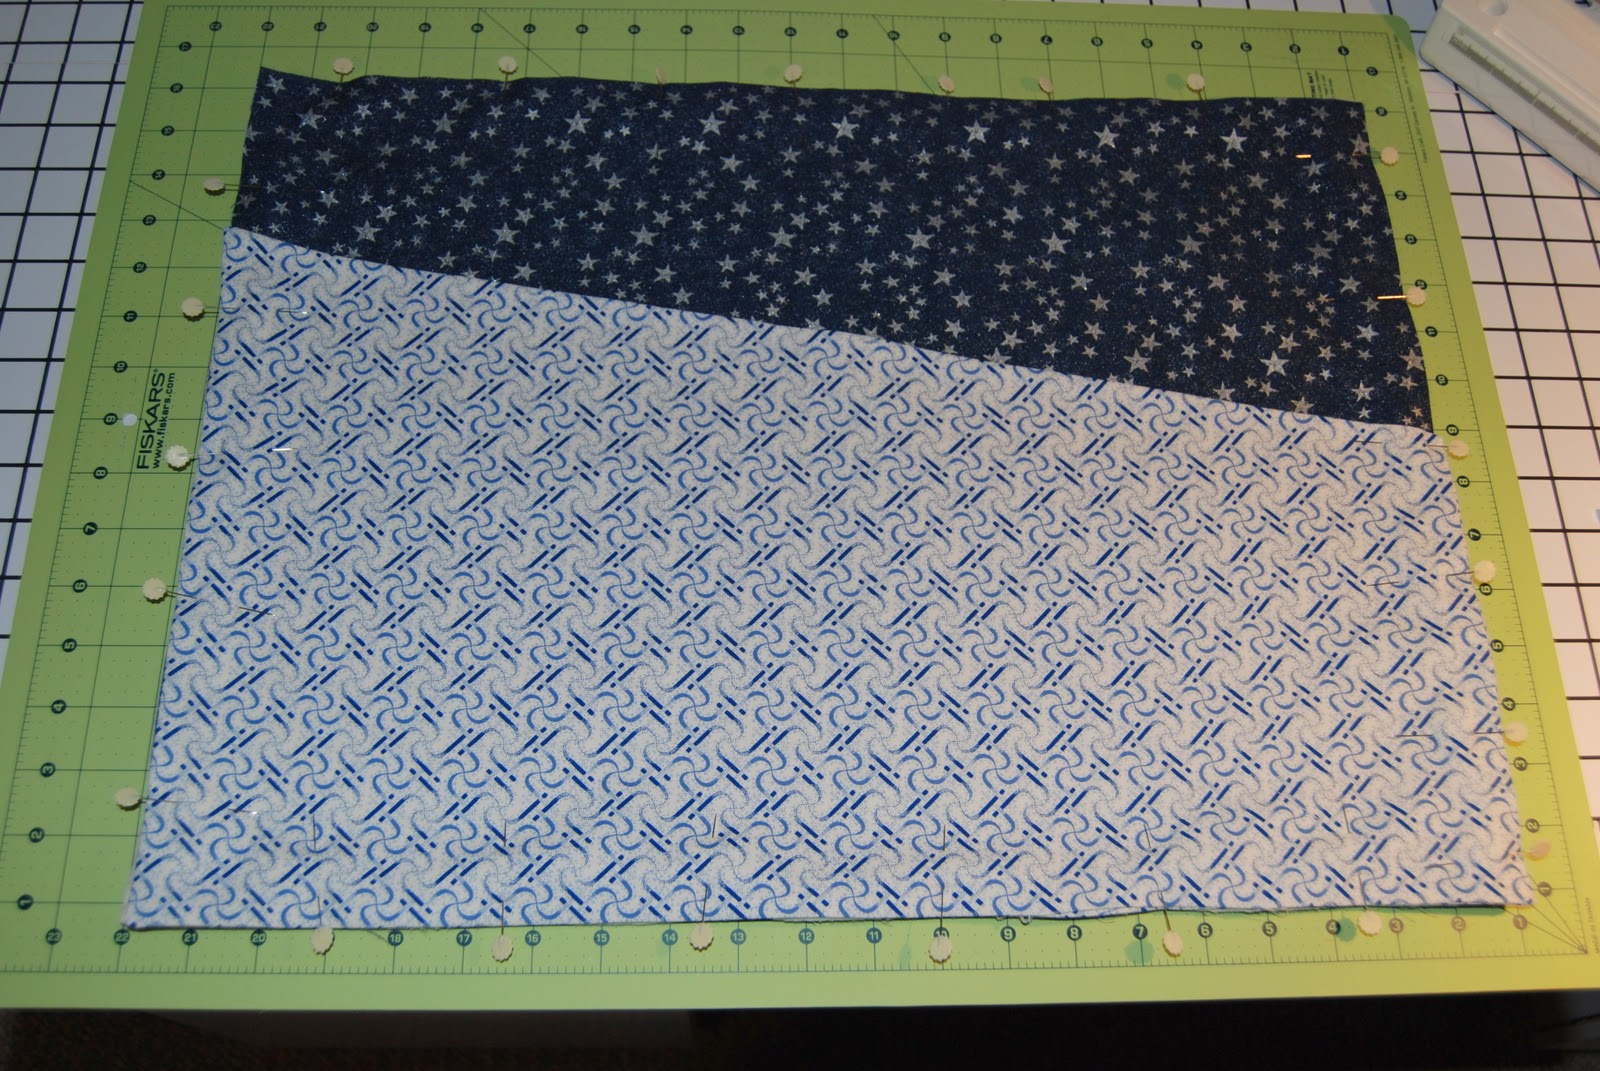
Take the 2  6.25″ squares and cut in half on the diagonal.

From then 1.5″x24″ strip of fabric (or 2 1.5″x12″ strips) cut 16 1.5″ squares.

Take your 16 1.5″ squares and draw a line on the diagonal from corner to corner. (This is going to be your sewing line)

.

Now that you have everything cut and marked, it’s time to sew! All seams are 1/4″ unless otherwise specified.

Take your 8 3″x4.25″ rectangles and your 16 1.5″ squares.  Line you squares up on the corners of your rectangles like in the picture below and sew on the line you drew.

Next, line your ruler up on your stitching line and trim off the excess leaving a 1/4″ seam.

You should have something that looks a little like this.

Press your ‘flaps’ open.  Make sure to press 1 seam allowance to the light and one dark You only need to do this on 4 of the pieces, so when you sew them together they line-up nice and pretty.

You should have 8 pieces that look like this.

Now, take your 8 rectangles and sew them together.  Match up your seams where you pressed one seam forward and one backwards so they ‘lock together’.
Once you sew them press again, and admire your pretty points.  These will be the tops of your hearts. (These should measure 8″ across)
Next, take your 4 triangles and lay out a square.  Sew the triangles together so that  when you open them up they will lay in the alternating  order

Press your seam toward the dark of each peace.

Now line up the seams locking them together.  If you run your finger down the seam you can feel if they are locked together or not.  You may want to place a pin or two so it doesn’t move on you.  I tend to live on the edge most of the time and don’t use pins.

Press your square open and you should have an 8″ that looks something that looks like this. Well I hope it isn’t this blurry. :o)
Now, sew your 4 3″ squares to the ends of 2 of your heart tops.  If you lay everything out in a square it should look like so.

Take the 2 heart tops that you did not sew the squares onto and sew them to the large center square and press open.  Then sew the other 2 heart tops that have the squares sewn to them to the other two sided of the center block.

Your piece should now look like this.

It is now time to sew on the outside borders. Pick 2 of your border strips and sew them to opposite sides of your block. Then repeat on the other two sides.

Use your ruler and rotary cutter to ‘square up’ your block.
Now That you have your block all squared up.  Layer it with your favorite batting and add some backing  and quilt as desired. Happy stitching to all, I hope you come to visit me over at Pieces to love.
My finished block.

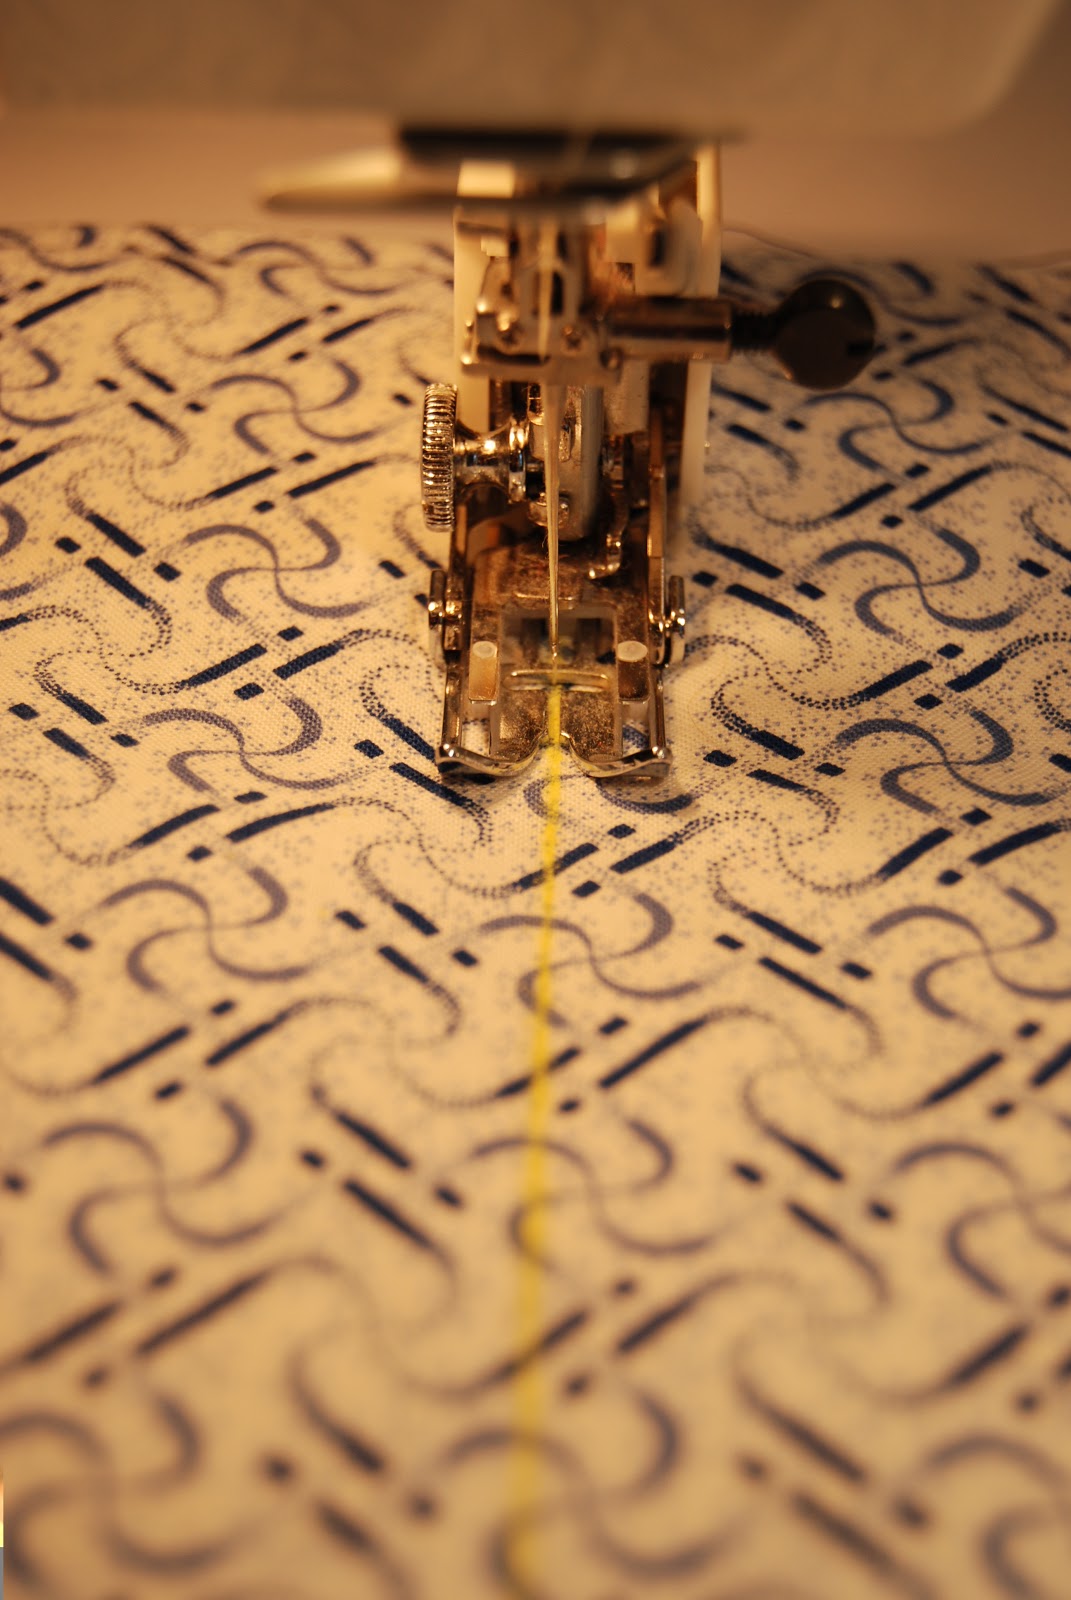
Action shot, sorry for the poor lighting.

Thank you Melissa, for hosting and giving me the opportunity to create something for your Valentine’s Showcase. Through the blood, (yes, there was blood involved), and almost tears from banging my head against the wall, I enjoyed creating something new and would love to do something again.
———————————————————————————————————————

Thanks so much Debbe! Tomorrow Lyanna from Purple Panda Quilts will be here sharing a beautiful mug rug with you!

NOTE: Don’t forget, I am one of the bloggers who is going to lose Google Friend Connect in March 2012, please take a moment and follow me via Bloglovin’, Facebook, RSS or networked blogs.  You are important to me and I want to be able to stay in contact with you!  Check my side bar for all the best ways to stay in touch after GFC goes bye bye!


Cobblestone Roads – A quilting tutorial

Two weeks ago I received the most awesome squishy package from my UPS man – this jelly roll of the new Hometown by Sweetwater fabric. Kimberly from Fat Quarter Shop sent it over to me so that I could work on a tutorial to go with the Jelly Roll we are giving away this week – make sure you head on over to the post to enter to win!  Look at what I made with it!

You may be wondering who BitterSweet Quilt Designs is…it’s me

Fabric Requirements:
1 Hometown by Sweetwater Jelly Roll
2 Extra Strips of the cream (Sunni got a Jelly Roll two and swapped me for a couple of strips!)
1 yard of Kona Slate for the borders – cut into twelve 3″ strips
3/4 yard of Solid Cream Fabirc (I used Northcott – but didn’t look at the name of the fabric) – cut into six 3″ strips
4 yards backing fabric (42″ wide) or 2 yards backing fabric (108″ wide)

The technique I am using I learned when I made this gorgeous batik Trip to Trinidad quilt (designed by Kathleen Starr) 7 years ago – it now lives in our guest room.

Lay out your strips:

Not pictured are the 2 extra cream strips I got from Sunni!

Layout your groups – lay them out from light to dark so you get a nice gradation of color.

[insert groups]

Sew each group of strips together – you should have 4 groups of 9 strips – there will be extra strips from your Jelly Roll – these will be used later!

The Front

Here’s how you need to iron your seams:

After you have sewn your 4 strips sets together – fold the sets in half – make sure they lay flat and sew them into tubes

Time to start cutting!  Cut your sets into 2.5″ strips

Next – cut your strips apart – choosing a different seam each time

Now the fun really begins – you get to lay out your strips and chose your design! (I tried lots of different patterns – below are a few of them)

Now start sewing your strips together (this goes really fast) I did it in vertical rows – I ended up with 3 sections

Sew the three sections together – I pressed my seams open to reduce bulk

Add your borders (these are your Kona Slate and Northcott Cream 3 inch strips from earlier):


This is where my quilt stands today – I have a backing, my threads and my batting all ready to go, but I have not had a chance to quilt it yet. Once things calm down with my baby’s sleep schedule and I can squeeze in some sewing time it will get done!

The finished size of the quilt top is 51″x71″ – it makes a very nice lap size quilt!

I plan on using my left over 2.5″ square strips as my binding and I promise to post pics as soon as this puppy is complete!  Will you be making a Cobblestone Road quit? If so, please let me know, this is the 2nd original quilting pattern of mine that I am sharing online and would love the feedback!


Tutorial Tuesday for all you hookers out there

And by hookers, I am of course referring to those of you who CROCHET!

Stand up and testify: “I, Melissa D, am a hooker”. I say it with pride. My grandma taught me how to crochet when I was 7 years old. The first thing I ever made was a pot holder and it can’t hold a candle to the one my grandmother made that day (I have both).  When she passed on I inherited all of her crochet hooks, plus all the hooks from a dear friend of hers.  Now those hooks in addition to the ones I already had…well it was like my hook collection had followed the Lord’s Command “be fruitful and multiply”.

I have been storing them in this cute little vase, but it isn’t so convenient when I’m traveling, so I decided to whip myself up a pretty carrying case!

Learn how to make it after the jump!

VIDEO Tutorial Tuesday – Continental Purl Stitch

As you know, I have been working on a video knitting tutorial series. This week we are covering the purl stitch in the continental method.

In case you haven’t seen the other videos yet, here is a link to the cast on video and a link to the knitting video.

The purl stitch has SO many uses in knitting and is really an essential tool in your toolkit (as my former marketing manager would say).

Image Courtesy of: You-Can-Knit-Too.com


Watch Me!

Reasons why you NEED to know the purl stitch:

  1. In order to do a gauge swatch (come back in a couple weeks for that post) – you have to be able to do the stockinette stitch – which means you have to know how to purl!  Knit 1 row, purl 1 row (repeat)
  2. Any pattern that calls for ribbing calls for the purl stitch – knit 1 purl 1 or knit 2 purl 2 (any variation really)
  3. To make cool textured patterns using the seed stitch – you have to be able to purl
  4. Most cabling patterns call for you to purl
  5. It adds another level of interest and intrigue to your knitted piece

How about I break it down with some screen shots?

Wrap your yarn over your pink, under your ring and middle fingers and over your pointer
Yarn in front of the needle
Needle goes through the back to the front
Grab the yarn with the right needle
Pull the yarn back through the loop
Slide the stitch off the left needle – you have now purled a stitch!

I hope this video and post have helped you learn how to do the purl stitch in the continental style of knitting.  Purling really is essential to knitting. You do not need it for your basic scarf, but once you move past the scarf stage of your knitting, you will definitely want to master this technique.

The next video tutorial will be on how to cast off.  Feel free to leave me a comment if there are other knitting video tutorials that you would like to see on our blog and I will do my best to get them posted!

Tutorial Tuesday – Knitting Needle Case

I’ve got NEEDLES! In fact you could go so far as to say that I have a lot of NEEDLES. This is only a small sampling of my crochet hooks and straight knitting needles, the circular and double pointed needles are all jammed in a quilted diaper bag I made 2 years ago that has never been used as a diaper bag!
Needless (ha ha ha) to say, I have a need for storing all these needles. Thus, this weeks tutorial, a quilted straight knitting needle carrier.

You will need:

Three to four coordinating Fat Quarters or four cuts of fabric as follows –

  1. 2 cuts that are 21 by 16 inches
  2. 2 cuts that are also 21 by 16 inches that are further cut down to an angle of 12 inches at the high end and 8 inches at the low end. (these fabrics can match, or you can use muslin for the inner piece.)
    1. This piece is easily cut by marking 12 inches on the left, 8 inches on the right and using your long, straight cutting ruler, line marks up and cut the angle

One piece of batting cut to 21 by 16 inches
Coordinating fabric for binding – I used 3 strips that were 2.5 inches wide sewn together (you may need more or less depending on the binding method of your choice)
Coordinating Ribbon – cut into two 25 inch pieces
Marking pen or pencil
Tape Measure
Pins
Walking foot
Sewing Machine
Needle
Thread

Step 1: Using Sunni’s Super Easy Turning Trick place the two right sides together of the pocket fabric (angled fabric).  Leave a big enough opening to turn the pocket, sew the pieces together and turn the pocket right side out.  (don’t worry about sewing the pocket closed!)
Right sides together, 1/4 inch seam
I used one of my handy knitting needles to get the points super pointy 🙂
Voila! A turned out pocket!
Step 2: Put your walking foot on your sewing machine if you have one (it will definitely come in handy). If you do not have one: pin pin pin.  Place each layer on top of the next making a sandwich.
Starting at the bottom:
  1. 21 by 16 inch cut facing down
  2. 21 by 16 inch batting
  3. 21 by 16 inch cut facing up
  4. Pocket
Here’s my sandwich
Here are my 50 pins!
Step 3: Sew the sandwich together keeping a scant 1/4 seam.
Step 4: Mark and sew your needle pockets: these are the measurements I used, yours may be different depending on the size of your needles. From the left side of the pocket to the right side:
  1. 2 inches
  2. 1.5 inches
  3. 1.5 inches
  4. 1.25 inches
  5. 1 inch
  6. 1 inch
  7. 7/8 inch
  8. 7/8 inch
  9. 7/8 inch
  10. 7/8 inch
  11. 7/8 inch
  12. 7/8 inch
  13. 7/8 inch
  14. 7/8 inch
  15. 7/8 inch
  16. 7/8 inch
  17. 7/8 inch
  18. 1 inch
Follow the yellow brick road 🙂
I took my measurements as I went, luckily for the most part you don’t have to!!!
Step 5: Attach binding
Don’t forget to miter your corners!
Time for the hand work
Step 6: Attach Ribbon Ties – I did mine half way up the right hand side on both sides of case
Tie a pretty bow and you’re done!
Easy as pie 🙂  Well, for me it was easier than making pie seeing as my one and only attempt at that ended up in the trash can before it even got baked!

I can now display my knitting needles in my beautiful old mason jar and when I need to travel I have my convenient travel case to store them in!

Let me know if you have any questions! I hope you enjoy making this pattern 🙂

Scroll to Top