I don’t know about your toddler, but mine…well she has one heck of a throwing arm. She throws pretty much anything she can get her hands on, including, but not limited to: balls, mega blocks, her stuffed best friend giraffe, and her sippy cup. I don’t really concern myself with the balls or the mega blocks, but when we are out in the stroller or a shopping cart having her throw her sippy cup or, god forbid, her giraffe, could potentially result in disaster. After all, the giraffe is a discontinued toy that is now only available on ebay!
You may be asking yourself, what does that have to do with Tutorial Tuesday? Well, I have made a tutorial for a bounce back strap (12 easy steps!) that can be used on both toys and sippy cups! No more lost cups on outings. Woohoo!!!
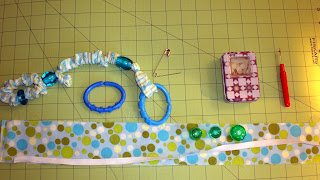
 The Supplies
You will need:
One Link – can be any brand, I’m using one of the “Lots of Links” I bought when Anne was born
Three large hole plastic beads – Sunni and I found these at Shipwreck Beads in Lacey, WA
One strip from a Jelly Roll (or a 2.5 in thick, width of fabric strip)
2 Large Safety Pins
One 20 inch length of 3/8″ braided elastic
Seam Ripper
Pins
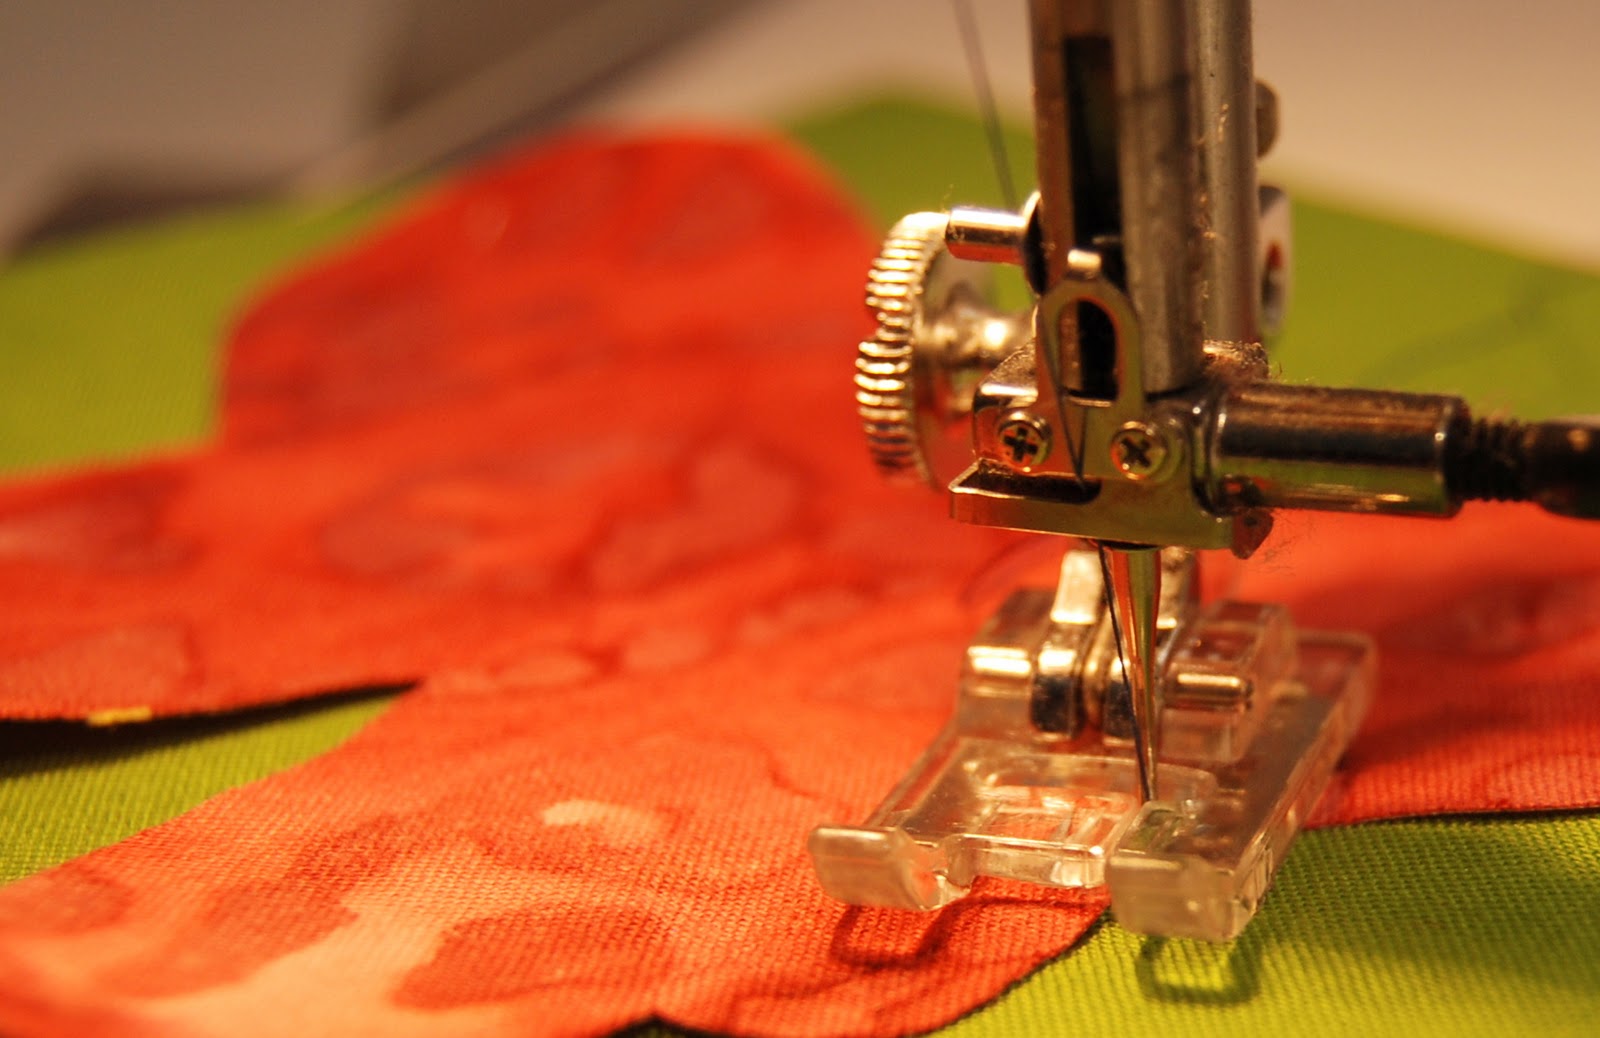
Grab your Janome and let’s get sewing!
Step 1
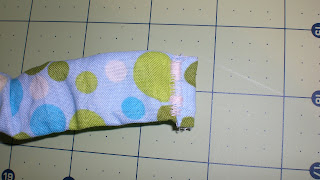
Sew your jelly roll strip into a tube – I used a 1/8″ seam. The smaller the seam the easier it will be to turn the tube later.
Step 2
Rip out the last 2 inches of your tube, and attach one end of you elastic. This can be done before you make your tube, but for some reason I am so itching to get sewing that I always forget and end up having to do it after.
Use a zigzag stitch and go over the elastic at least two times.
Resew the end of your tube.
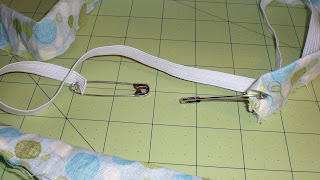
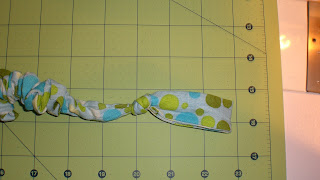
Step 3 – Before
Attach a safety pin to both ends of the elastic and turn your tube right side out. The longer your safety pin the easier it will be to turn the tube. If you have a hemostat handy that would make this process even easier (I will be purchasing one as soon as my craft budget allows!)
Step 3 – After Turning
Steps 4 & 5
Step 4: Fold over the edge with the elastic already attached 2 times, about 1/4 of an inch and sew closed with a zigzag stitch, I did mine 2 times.
Step 5: Bring the elastic all the way to the open end of the tube and secure with a straight stitch across.
Step 6
Tie a knot at the end of the tube that you turned and zigzagged in step 4 and slip first bead all the way down to the knot. Make sure you tie your knot to hide your stitches!
Step 7
Slide your second bead down towards your first bead
Step 8
Slip the end back through the first bead again to make a loop. It will be somewhat difficult to slide the fabric through the bead a second time, feel free to get creative with your method but be careful not to tear your fabric.
Step 9 – Before
With the end that we did the straight stitch on loop back over approximately 2.5 inches open the loop and sew on the inside of the loop, securing with a zigzag stitch.
Step 9 – After
Step 10
Tie a knot, remember you are trying to hide your stitching so be deliberate with your knot tying skills!
Steps 11 & 12
Add your final bead and your link and you are finished!
Take that, babies! Now trying to ditch your sippy will be a real challenge for your gross and fine motor skills!
 |
| Try as she might Anne just couldn’t get rid of her sippy! VICTORY! |
We will be giving away a kit to make your very own bounce back strap, comment on this post telling us the most interesting thing your baby has lost by tossing it out of the stroller! (For more chances to win, comment on any post this week!)


 You will need:
 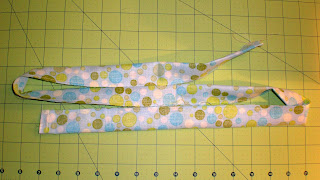 Sew your jelly roll strip into a tube – I used a 1/8″ seam. The smaller the seam the easier it will be to turn the tube later.
 Attach a safety pin to both ends of the elastic and turn your tube right side out. The longer your safety pin the easier it will be to turn the tube. If you have a hemostat handy that would make this process even easier (I will be purchasing one as soon as my craft budget allows!)
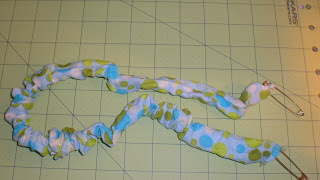
 Step 4: Fold over the edge with the elastic already attached 2 times, about 1/4 of an inch and sew closed with a zigzag stitch, I did mine 2 times.
 Tie a knot at the end of the tube that you turned and zigzagged in step 4 and slip first bead all the way down to the knot. Make sure you tie your knot to hide your stitches!
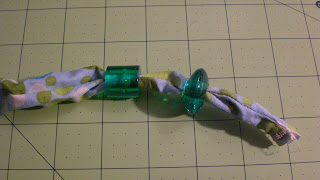 Slide your second bead down towards your first bead
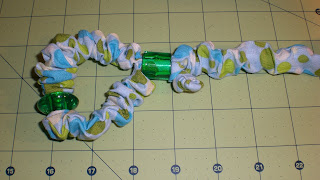 Slip the end back through the first bead again to make a loop. It will be somewhat difficult to slide the fabric through the bead a second time, feel free to get creative with your method but be careful not to tear your fabric.
 Tie a knot, remember you are trying to hide your stitching so be deliberate with your knot tying skills!
 Add your final bead and your link and you are finished!
