tutorial

Make Your Own Sewing Kits – A Tutorial

This past summer I bought Anne a very simple sewing kit at JoAnns. It had a felt cat shape set and a felt heart shape set pre-cut and punched, it also had some fluff, decorations, a plastic needle and yarn for sewing.

The day after she turned 4 we decided it was time to start learning to sew. She whipped up the 2 patterns in no time and was begging to do more.

Cat Kit - https://test.sewbittersweetdesigns.comShe made her cat first and then she quickly moved on to the heart.
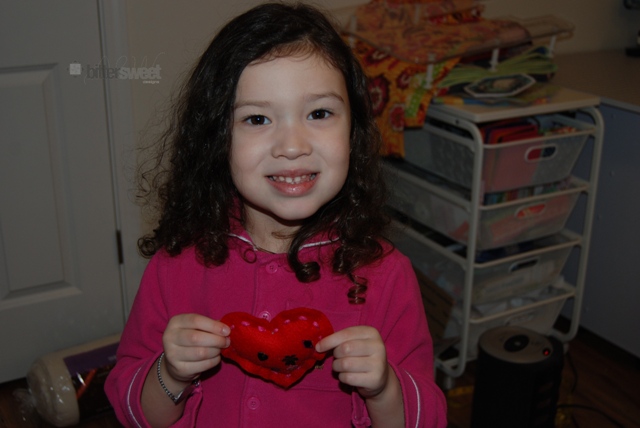
Heart Kit - https://test.sewbittersweetdesigns.comAs I knew she wanted to sew more, I figured I needed a more economical way to make that happen without constantly investing in sewing kits.

You will need the following supplies:

Felt (lots of colors)
A Leather Punch (I tried a paper hole punch too and the one I bought failed to even punch paper – I moved to the leather punch after a recommendation from a friend)Fluff
A child friendly needle (we are using the one from our original kit)
Yarn
Optional: decorations – bling those creations out!
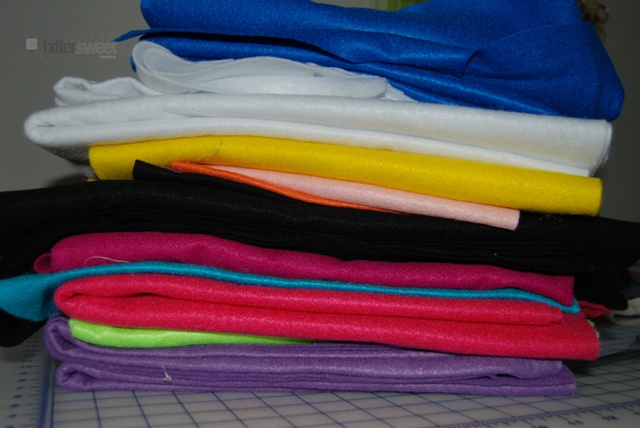
Felt Collection - https://test.sewbittersweetdesigns.comStart with felt. I have no idea how I ended up with such a huge collection and selection of felt, but WOOHOO because we not have lots of options to get creative!

Next cut out a shape you want to sew. Fold the felt on itself so you cut out 2 identical pieces at once. Then grab your punch. I use mine on the 2.5 mm setting. I find it is the perfect sized hole for the small needles and small hands.

Stocking Kit - https://test.sewbittersweetdesigns.comYou will want to evenly space your holes around the shape. Anne wanted a blue stocking, we will likely be sewing this one after nap today.  One thing to note is that the punch can be very difficult to use if you have weak hands like I do (darn RA!), you can either take lots of breaks or simply find someone with stronger hands to do the punching. My husband punched the star below for me and I marked each punch spot with a black sharpie for him.
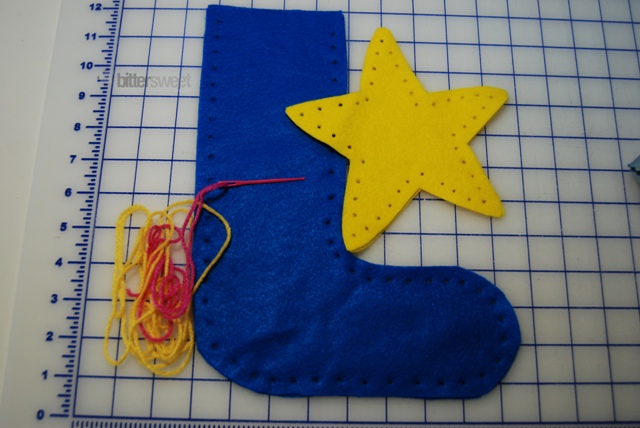
star & stocking kit - https://test.sewbittersweetdesigns.comThe only thing I didn’t already own when I decided to make these kits was the leather punch. I was able to get one at Michaels using a 40% off coupon for $7.99. Totally worth the investment. Mine is an ArtMinds Leather Punch with 6 adjustable hole sizes.

This is not a sponsored post, just telling you which product has worked for me.

Anne and I are having so much fun sewing together. She is dieing to get her hands on one of my machines but she is still a couple years off from that, in the mean time, this is making her pretty happy!

signature

Simple Panel Quilt – A Tutorial

This tutorial is part of the Baby Love November Project at Hopeful Threads. Please read more about the project and consider joining us and sew along!

Hopeful Threads

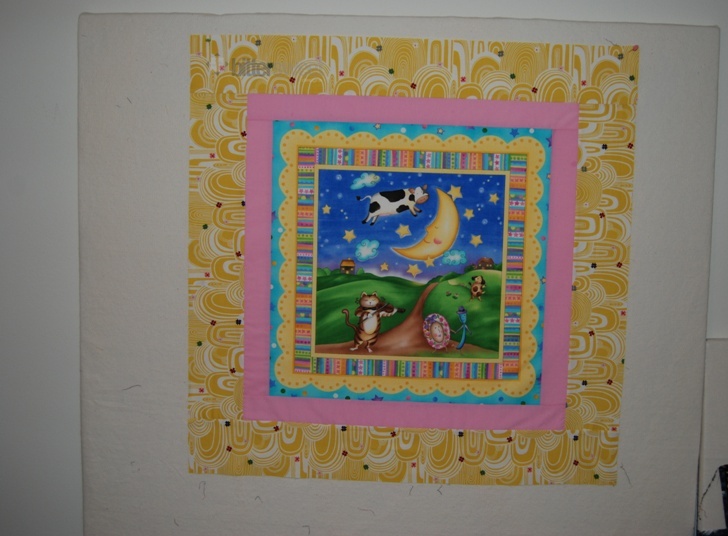
For this quilt I took a simple panel (21″x21″) and added borders and backing to turn it into a 36×36″ NICU Quilt. I will show you how to use batting scraps for the batting and I have links 2 binding techniques and a labeling technique for the brave!

Supplies include:
Panel you love
Coordinating fabrics for borders
Matching thread for the quilting
Batting or batting scraps and backing (I like 5″ extra on all sides for the backing and batting but you can make do with less than that).
To quilt I recommend a walking foot for straight line quilting or a darning foot (also called a free motion quilting foot) if you want to do free motion quilting (FMQ).

Step 1: Pick a panel

Panel Quit  Tutorial- https://test.sewbittersweetdesigns.comAs this panel measures 21×21 inches I decided I would add three borders and pull colors from the main panel. I selected a pink and yellow right off the bat. As each panel will differ in size I am not going to give measurements. Remember for a NICU quilt, and ideal size is right around 36×36 (roughly 1 yard by 1 yard).

Remember when quilting, to use a 1/4″ seam allowance.

My first border measures 2.5″ wide.

I forgot to take picture of how I attached the first 2 borders, but I have pictures for my 3rd border (I was really in a sewing groove). I cut my strips 2.5″ x width of fabric (wof) and trimmed them after they were attached to the panel.

For my next border I used 4.5″ strips of a beautiful yellow fabric (this fabric was donated by Sondra from Contemporary Cloth).

For my final border I did a lot of auditioning of fabrics. As part of my process I emailed a bunch of my favorite quilty friends for their opinions and I landed on a beautiful green dot.

I did a 2″ border and I started by sewing on both of the vertical sides:

Next I pressed my seams towards the green and I trimmed them to the correct size.

Then I added the horizontal strips

I pressed these two seams towards the green and trimmed again. Finishing off my top.

Continue to add borders until your quilt top measures 36″ x 36″ (I only needed 3).

Next you will need to prepare your batting. I normally press mine, though sometimes it needs pressing with steam. I only have a bolt of batting at my house and as I didn’t fancy a trip to JoAnns, I improvised and pieced some batting scraps together. You can either line your batting up and zig zag stitch the scraps together or you can use fusible batting tape.

The final step is to baste your backing, batting and top. I use the Pinmoors I bought from Quilting Lodge (Pinmoors are awesome and I will soon have a review for them). After you baste your layers you can quilt to your hearts content. Use your walking foot or free motion foot for this and coordinating thread.

To bind this quilt, I used my backing fabric and my tutorial for turning the backing over to the front for binding.  I also have a tutorial on how to make binding strips and machine sew them down.

Super easy! Let me know if you have any questions.

signature

How I Became a Surgeon – A Tutorial


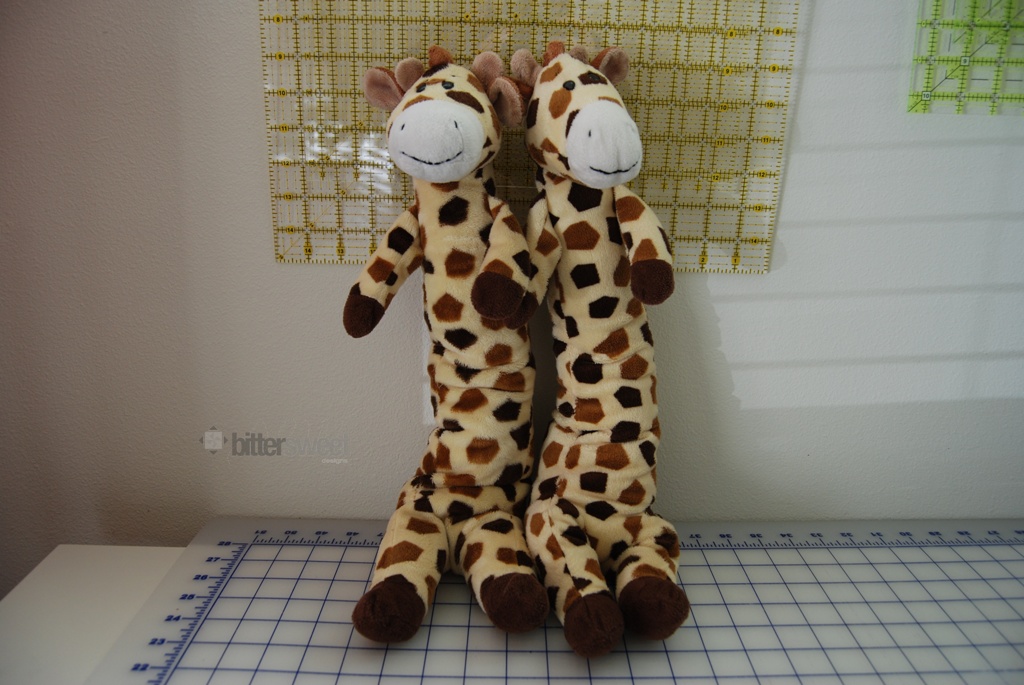
Meet Joe and Bob (don’t ask me who is who, I can’t tell them apart…but Anne can!).

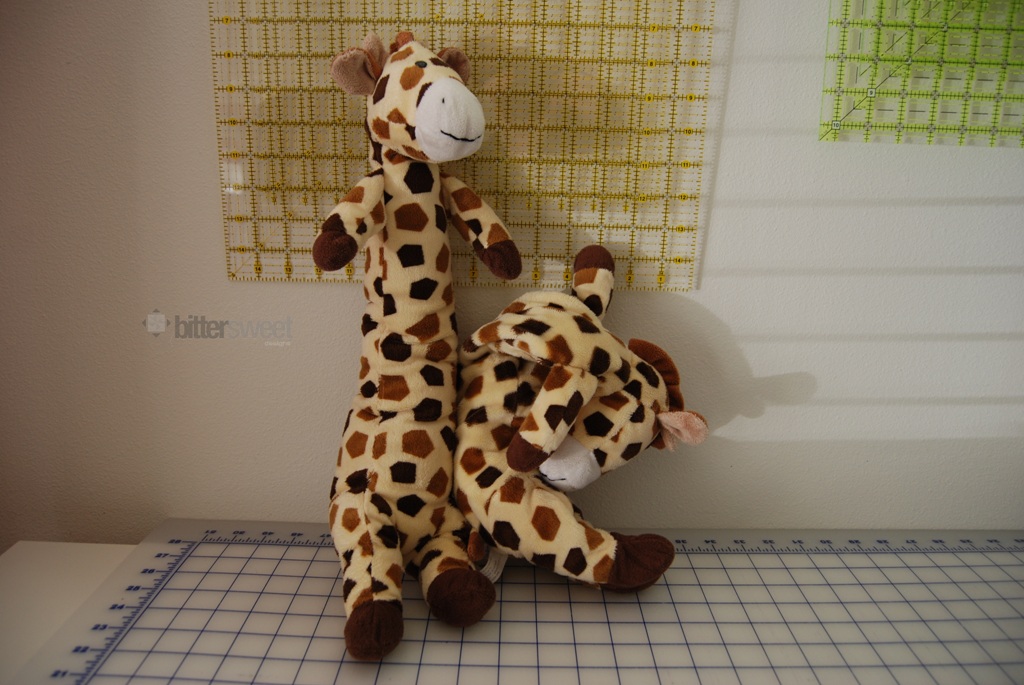
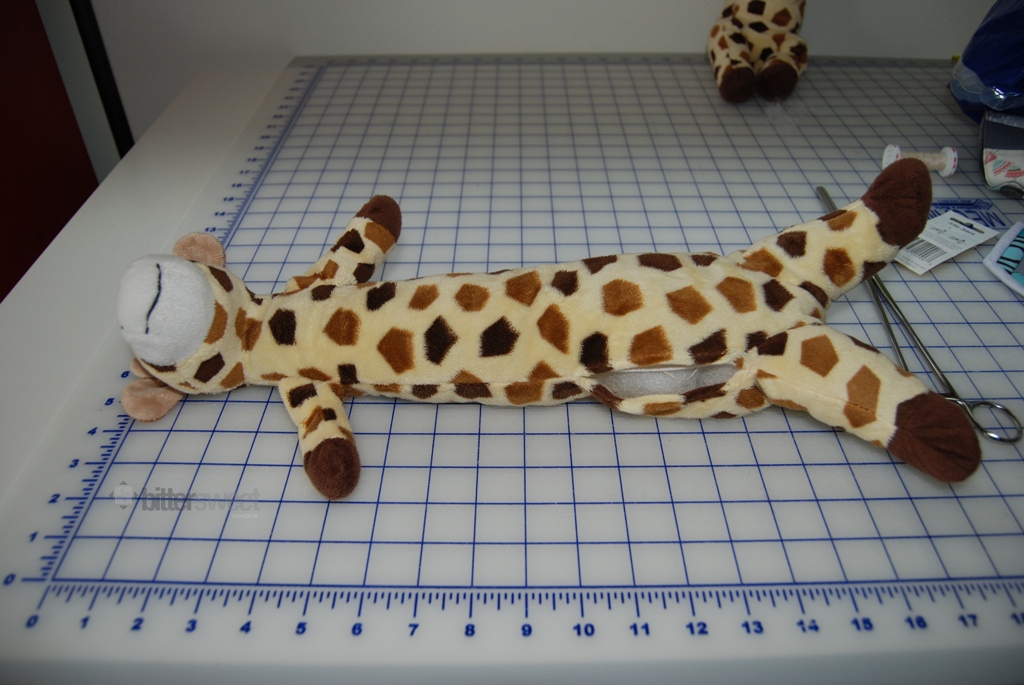
They both had a problem. They are 4 years old and were beginning to look a bit…thin. Anne asked if I could fix them. I fixed Bob first and then took a picture of him and Joe. Check them out and you will see why they needed a little surgery.

      Now, you might wondering why there are 2 and you also might be wondering why we just don’t get rid of them and move on to newer stuffies. Well, here’s why:

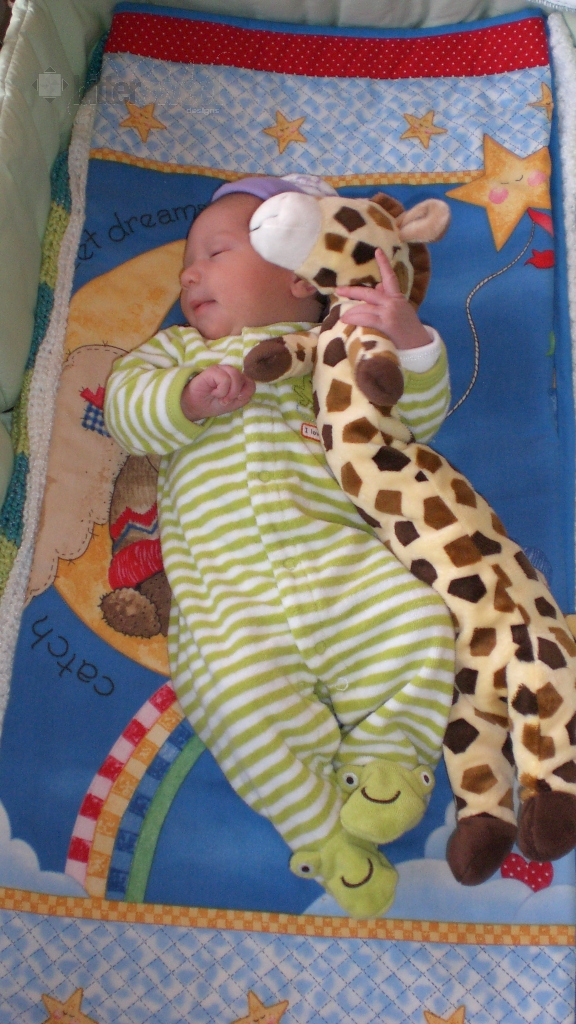
2 weeks oldThis is Anne at 2 weeks old. Bob (or Joe, not really sure which one this is) was the first animal she latched on to. We bought a second one in case anything happened to the first and then started rotating them. After 4 years they were both a bit tired. So I needed to perform some surgery to perk them back up.

For Stuffie Surgery you will need the following items:

Fluff (any brand, make sure it is washable if you plan on washing the stuffie)
Seam Ripper
Thread that will match or blend well with the fur
A good sharp needle

First thing is to find a seam that is on an inconspicuous side, there was no really good seam on the giraffe but ideally you would do one that isn’t front and center. Then you want to gently pull out the stitches. Try to create a hole at least big enough to fit your hand in.

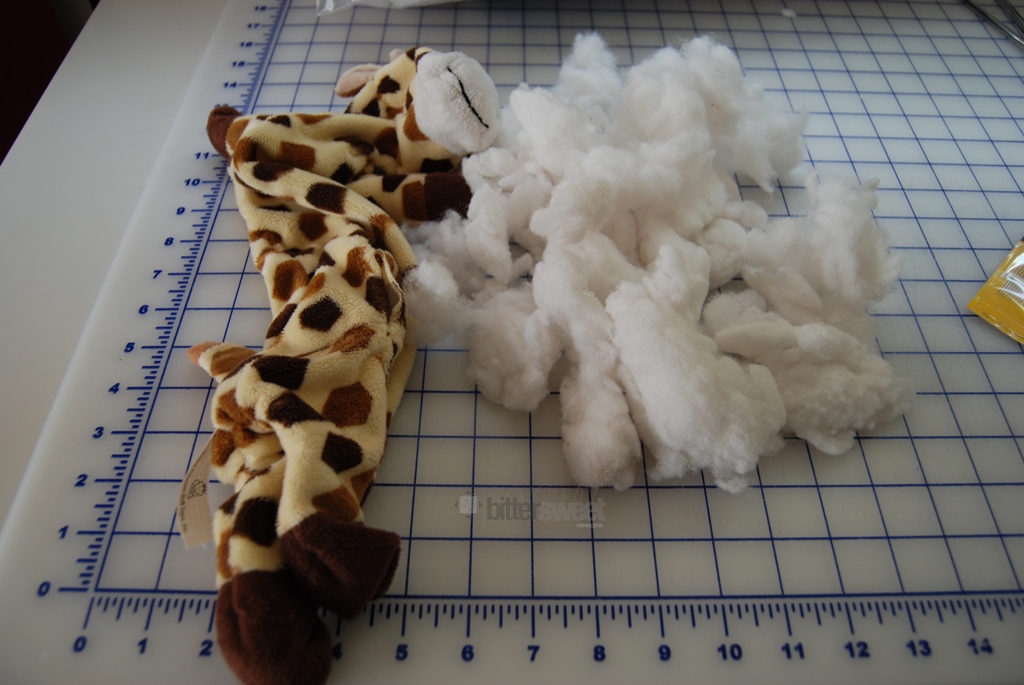
Next pull out all of the stuffing. Now I have machine washed and dried these guys many many times over the years and I was surprised by the smell, so be prepared for a potentially unpleasant smell. The stuffing will likely be matted and very icky. Joe is now a shell of his former self.

Next it is time to stuff him! I used a hemostat at times to get into places like his head, the hole for his head was no larger than the tip of my thumb and I needed help.

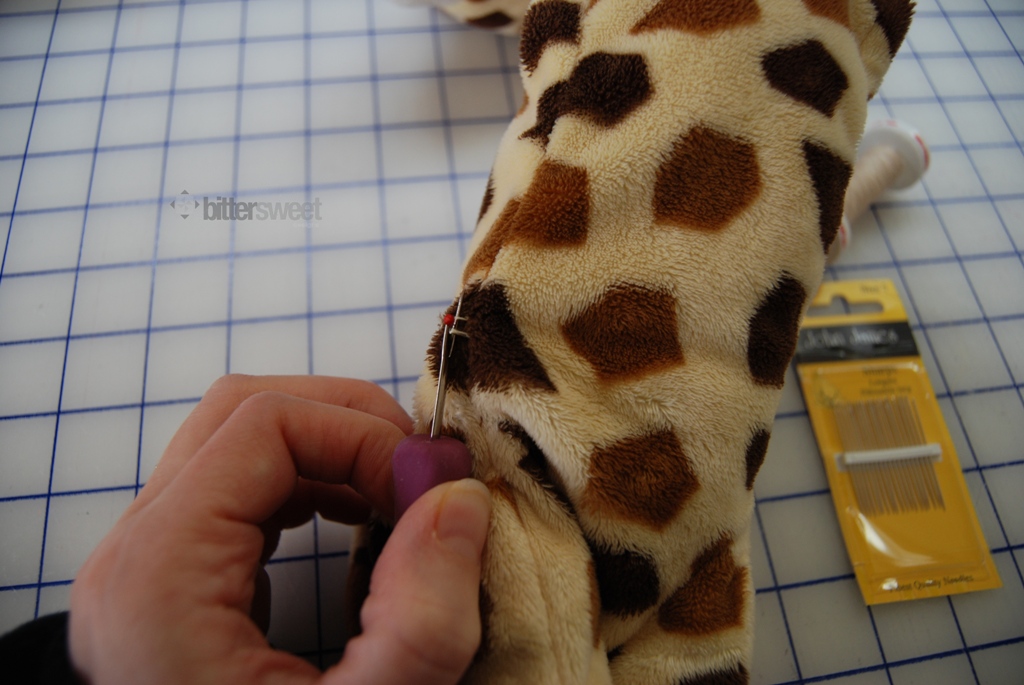
Next you want to sew up the hole that you created. Remember to use an invisible stitch. I used a ladder stitch, the same one I use when I sew bindings onto quilts. It is invisible and holds up rather nicely to washing (never once have I had a binding come off!).

And as you can see below…I had one very happy customer once I was done operating!

So if you have a stuffie in need of a little revitalization now you know what to do it, operate!

signature

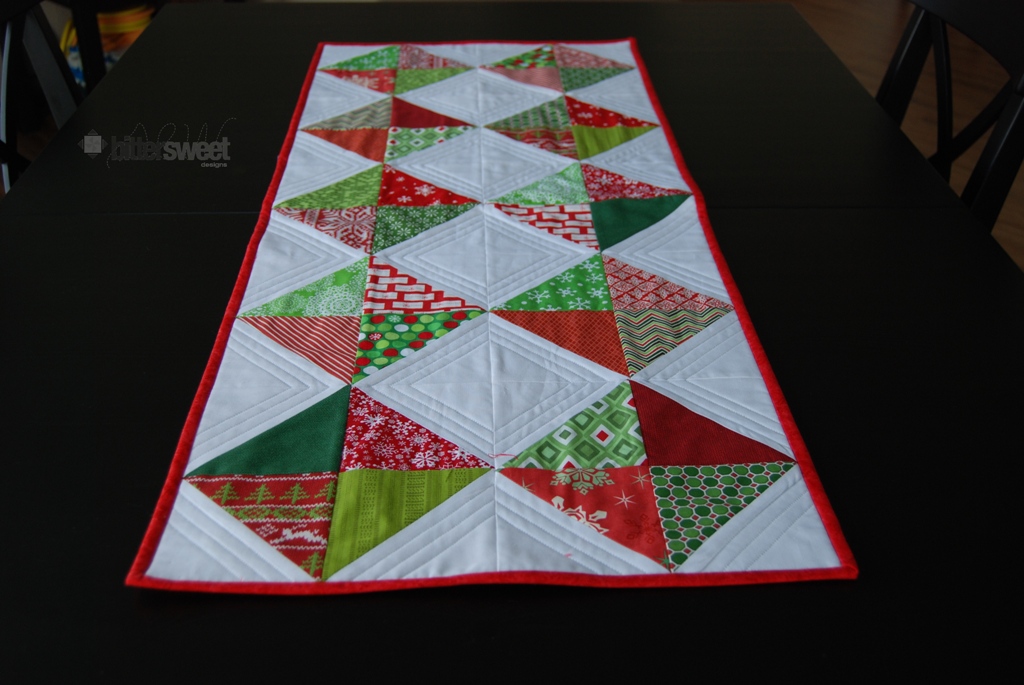
Christmas Diamonds Table Runner – Tutorial

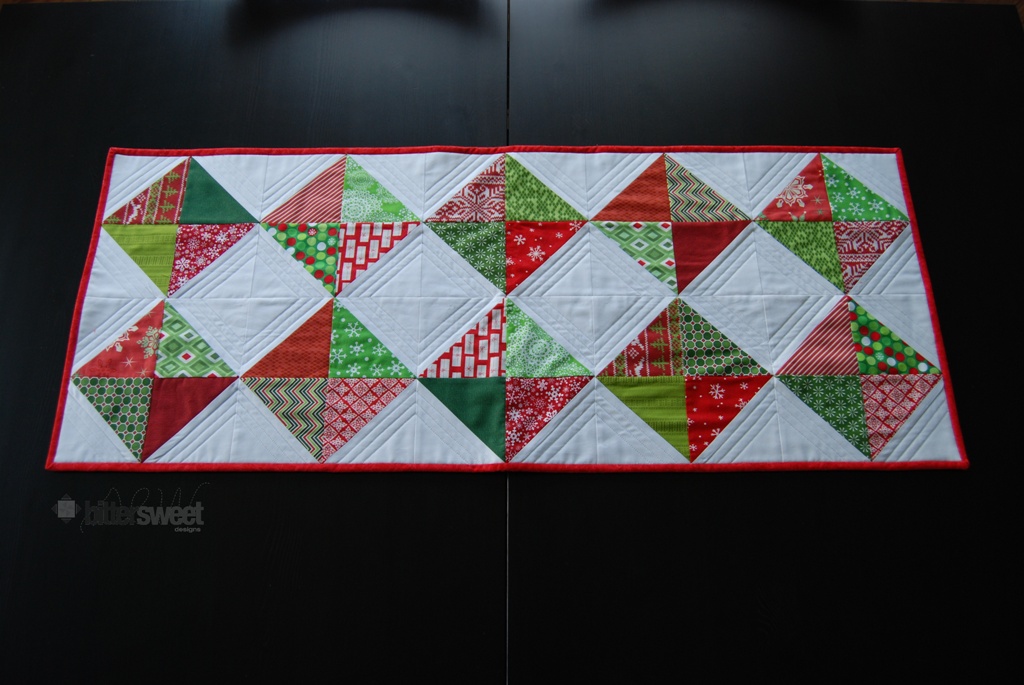
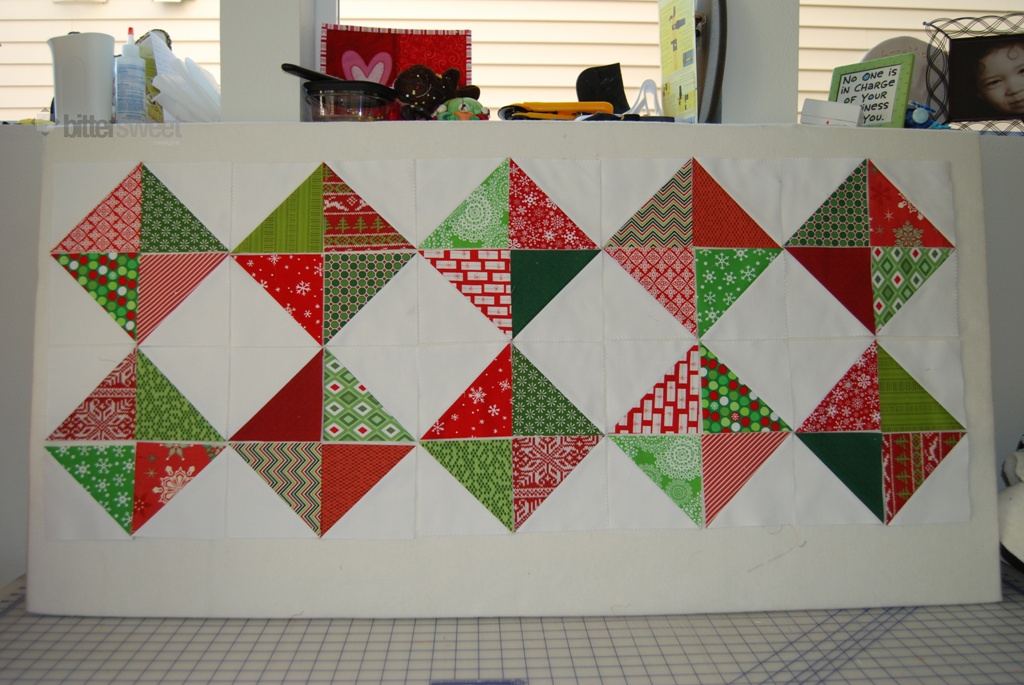
I joined a Christmas swap on Facebook. I had a lot of fun sewing this lovely little table runner together for my partner.

Measurements: 16×40
Materials
20 White Charms (5″x5″)
20 Christmas Charms (5″x5″)
Backing Fabric at least 18″x42″
Batting scraps at least 18″x42″
Ruler
Fabric Marking Pen or Pencil

Note:
All seams are 1/4″

Start by pairing your white charms with your Christmas Charms and sewing your Half Square Triangles. I have a tutorial here if you have never made them before.

For this project I pressed to the dark side, usually I just press open but I find it is easier to match points perfectly when pressing to one side or the other.

Trim your HSTs down to 4.5″ x 4.5″. You will have 40 sets.

Next you want to lay out your pattern, don’t follow mine exactly as the upper lefthand block is actually turned (look at my first picture in this post to see how that block should be oriented).

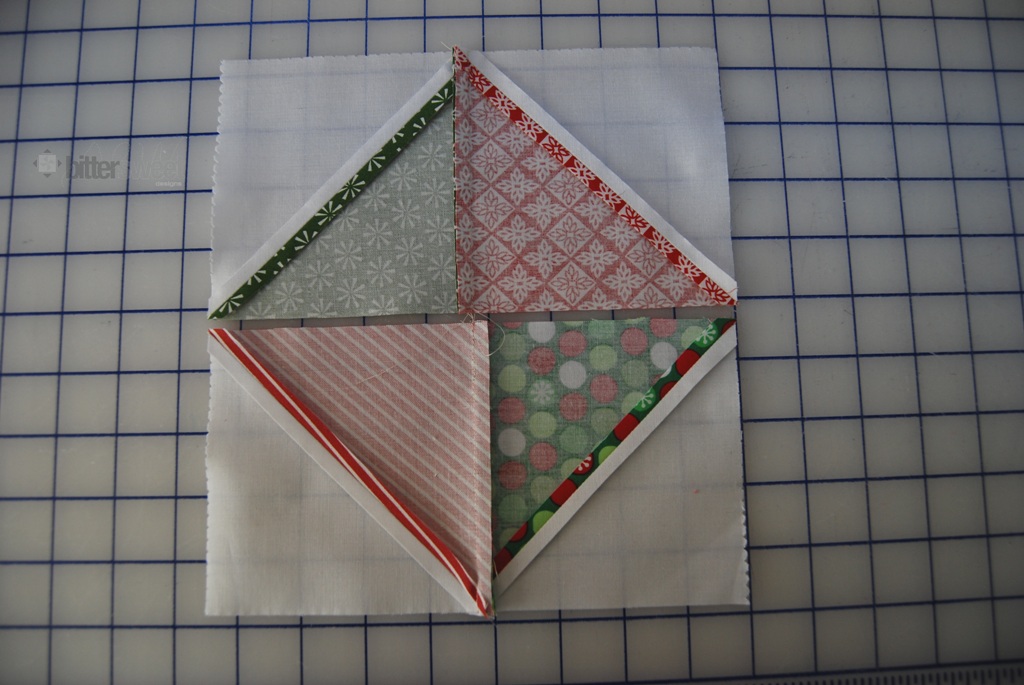
I like to sew my blocks together in pairs, for each pair I pressed towards the green HST. This will make life so much easier and your points close to perfect when assembling everything.

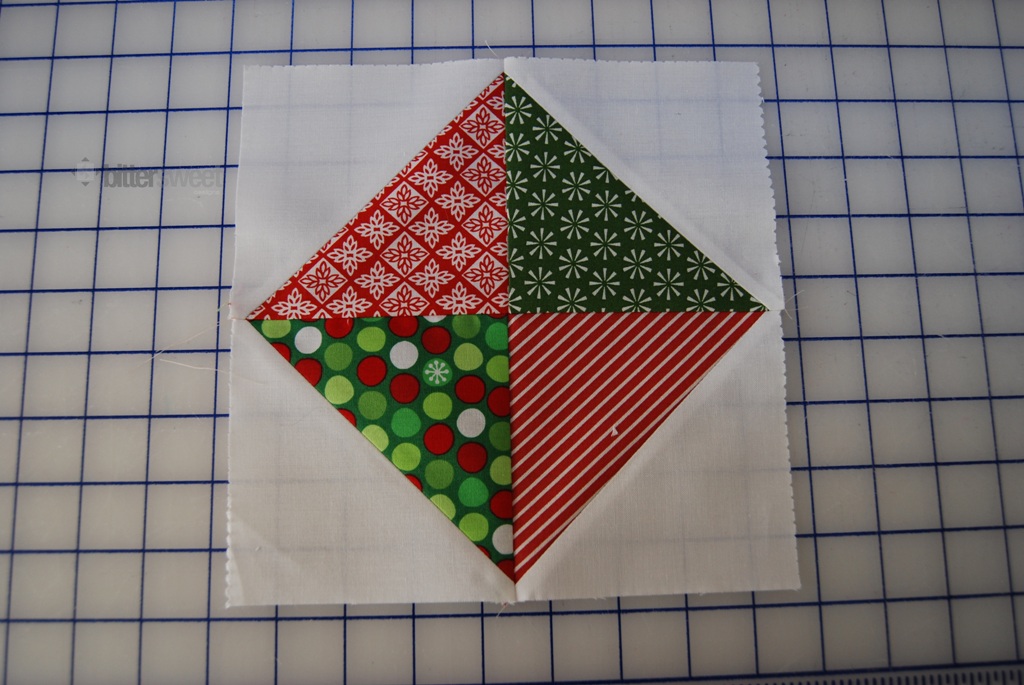
Next sew the 2 pairs together butting the center seams nice and tight and you will have a block that measures 8.5″ x 8.5″. I like to alternate each block when pressing the middle seam, one up, then one down. Again this leads to better alignment. You butt the seams up next to each other and the point line up perfectly.

You will make 10 of these blocks total.

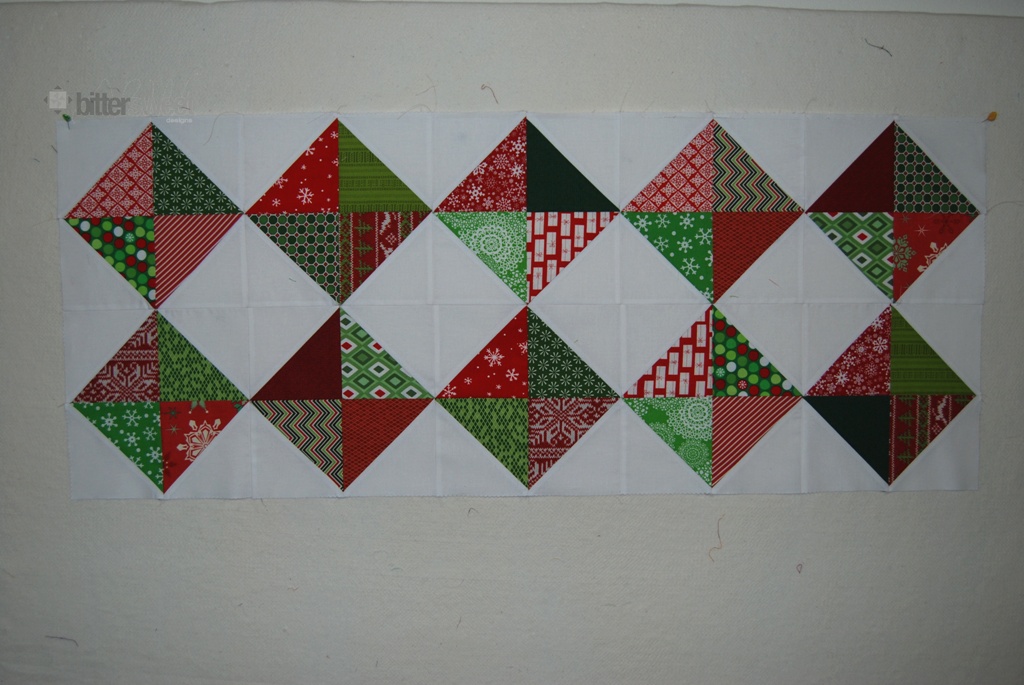
Assemble your top. Remembering to line up those alternating seams.

The above picture was taken after I ripped out my turned block and fixed my mistake. Oops!

Quilt as desired.

The wonderful Shanna from Fiber of All Sorts is who recommended the magical 3 lines to me for the quilting and I have to say I love how it turned out.

Bind using your favorite method.

Happy Holiday Sewing!

signature

Scroll to Top