Uncategorized

Happy Halloween

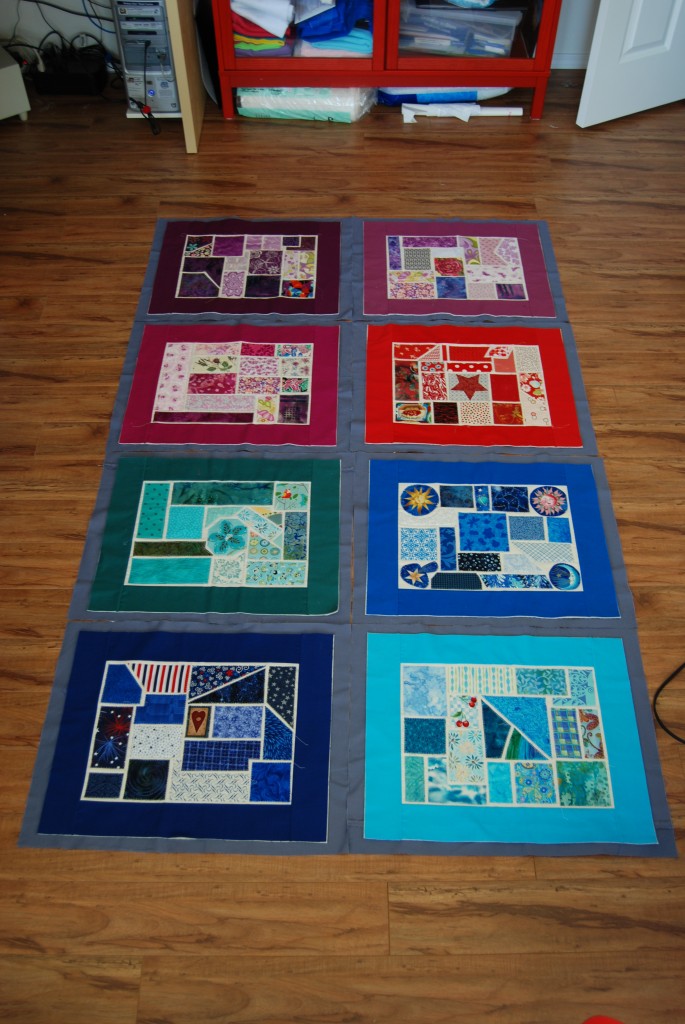
This past week I have had company. My in-laws came to visit for a week and a half left yesterday. While they were here, they were all too happy to spend hours and hours playing with Anne and I was able to sneak off and get some sewing done! Look what got accomplished:

The whole quilt isn’t done, I have to sew the blocks together and bind it still, but the QAYG method has saved me TONS of time! I will show you how I sew the blocks and bind the quilt as soon as I actually do it!

I was also able to get my first stocking done for the Purple Panda Quilts Stockings for Kids drive!

Yes, I did say first stocking – this is one stocking merely flipped inside out! I will be guest posting on November 11th over at Purple Panda Quilts with the tutorial. I hope you will stop by next week and check it out, but what I truly hope is that you will have time to make one to donate yourself!

What are you doing for Halloween? We are going to take Anne trick or treating at both of our neighbors houses and then hand out candy. Not too much in the big scheme of things, but just enough for us!

And don’t forget that today is the last day to take advantage of the free shipping at Sassy Packs for all US Sew BitterSweet Designs readers! Put the code BitterSweet into the coupon section at check out. For international readers – please email Sassy Packs and they will tell you about the special deal they have just for you!

Guest Posting at Creating My Way To Success

Today I have to honor and joy of guest posting at Creating My Way To Success.

I first found Jill’s blog when she was featured on Craft Gossip for her upcycling tutorials. I love Jill’s tutorials – she has over 100 tutorials for recycling and upcycling clothes! I never really thought much about recycling my clothes before – aside from donating them to Goodwill, but now that I have Anne and she goes through clothes like I go through kleenex – it has suddenly become very relevant to me!

I am guest posting today with a tutorial on how to make Anne’s Halloween Candy Bag – it is a very basic drawstring bag and can be used for so many different things. Go check it out and leave Jill some comment love!

Happy Friday!


Winter Stitchin’ List

Sarah at FairyFace Designs is hosting a list for all of us crafters on what our plans are to finish for the next 4 or 5 months.

FairyFace Designs

Here is my list:

I have 5 quilt tops that need to be basted, quilted and bound.

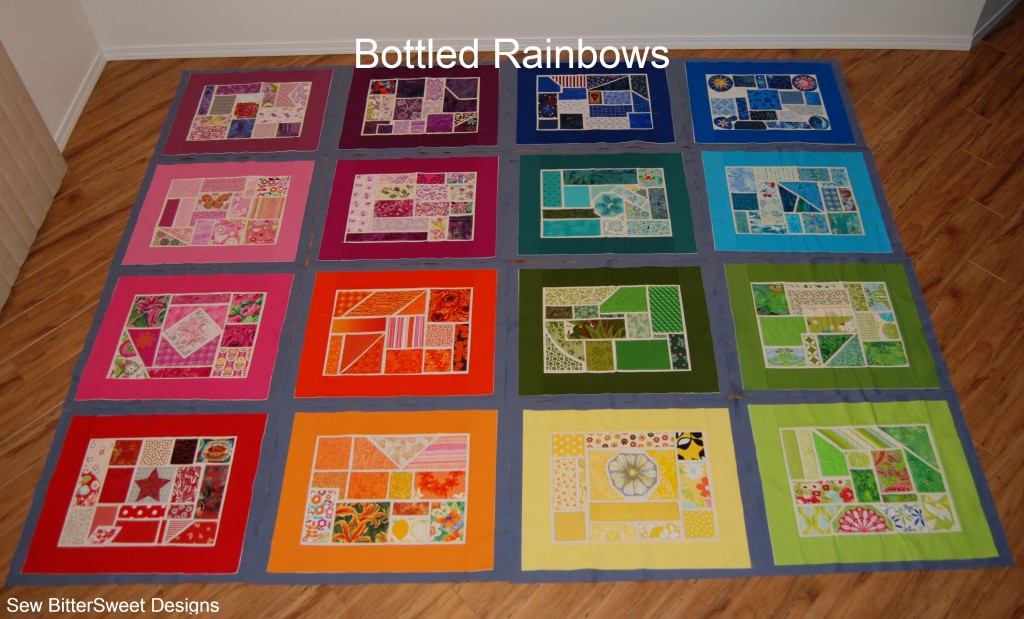
Finish my Bottled Rainbows quilt

Design 2 new quilts

Learn how to use EQ7 (I’ve had the software for 1.5 months and haven’t used it all yet!)

Make 4 mug rug Christmas Gifts

Valentine’s Day Projects: pillowcase dress for Anne, sewn handmade cards for the grandparents & hubby

Set of 4 place mats for my kitchen table

Baskets for my sofa table (4 small & 4 large) – I need to find the right fabric for this (may try mod podge for the first time on this project!)

I have 2 stockings to finish for Lyanna at Purple Panda Quilts

My monthly swap & bee blocks – I am committed to 5 per month right now

My final Pay It Forward gift

I would really like to make stockings for my nieces and nephews too…but I’m not really sure that will get accomplished

Publish my quilted pouch pattern – pictures later (they are trapped on my camera right now!)

What is on your list?


The Story Behind the Sampler

My mom taught me to quilt about 10 years ago. The first quilt I made was a very simple rail patch for my niece, sadly I do not have any pictures – although the quilt now lives at my mom’s house so the next time I am home I will have to take some.  My niece loved it to death – literally! There are holes worn right through it.

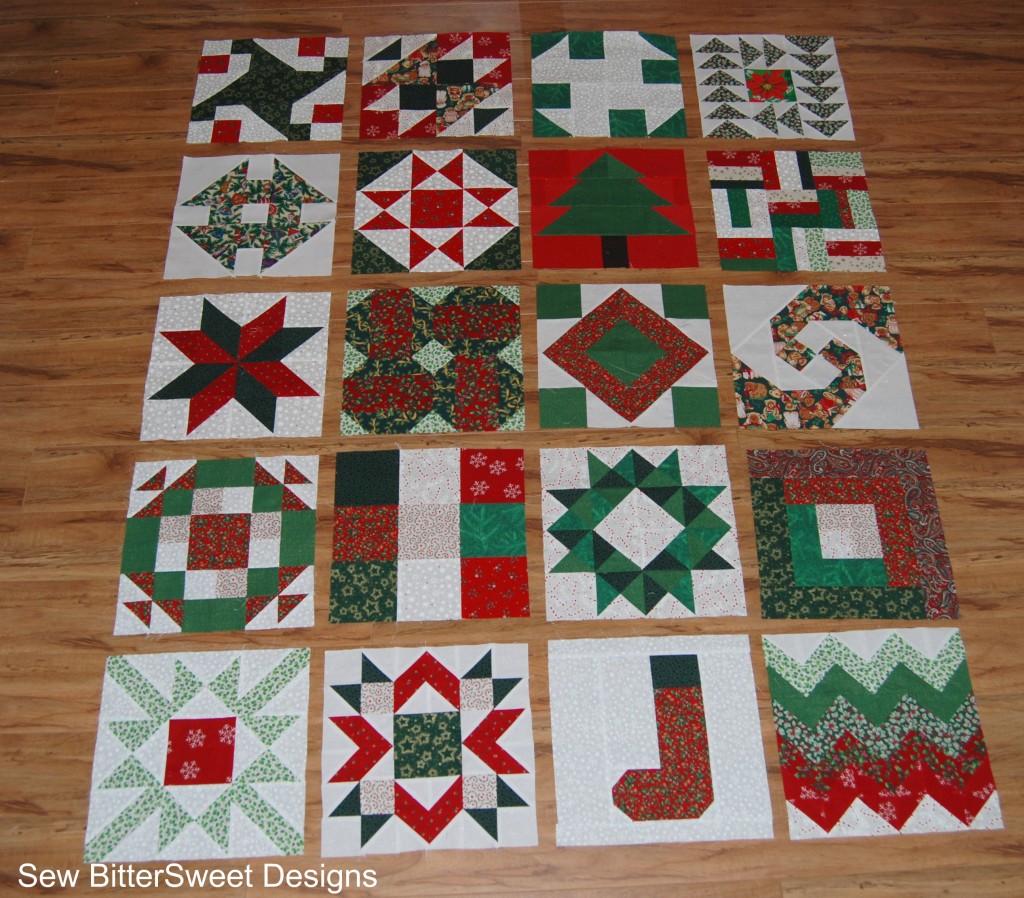
This summer I was telling my mom that I wanted to stretch my quilting skills and she suggested doing a sampler quilt. She had given me 3 or 4 books on different sampler quilts.  Well, I took her advice (to an extent) and decided that I would make my own sampler. Thus, my Vintage Christmas Sampler was born!

The reason behind the fabric choices is even more simple to explain. It is what I had on hand! I did not want to have to spend very much money to make these blocks since I didn’t know how it would turn out, or if I would even like it in the end. It seemed silly to invest a ton of money into an experiment.  In the end I have so much fabric left over that I could probably make a second vintage sampler if I wanted to (and maybe some day I will).

So there you have it, my sampler is only a vintage sampler because I used older fabrics that I had on hand and because more than half the blocks have their origins in blocks over 60 years old.  The rest of the blocks are examples of me playing around.

I’ll tell you what, it worked! My skills have stretched beyond my imagining. I now know how to design my own blocks, figure out all the math for my own blocks and break down other blocks just by looking at them. If these are skill you are interested in learning, let me know and I will do some very simple tutorials for you!

Let me know if you would plan on making my Vintage Christmas Sampler. I would be more than happy to start a flickr group where we can all share our progress and finished quilts!

Happy Sewing!

Wall Hanging to Black Out Curtain

I am not a decorator – AT ALL! I have lived in my new home for 5 months now and I am only just now getting around to hanging things on the walls. In fact until Saturday morning – we literally had blue taped blankets and sheets over Anne’s windows instead of hanging curtains!

Well that has all changed. I finally made some decisions and Anne’s room is starting to look more like a little girl lives in there as opposed to a wondering gypsy. I bought some black out curtains from Target for her big window – in fact Anne picked out the color!  Here is a link to them.  I love the color and I think they will last a good amount of time because of the color.  I also found the cutest curtain rods!  My bestie Lisa asked me how can curtain rods be cute and I told her she just had to see them.

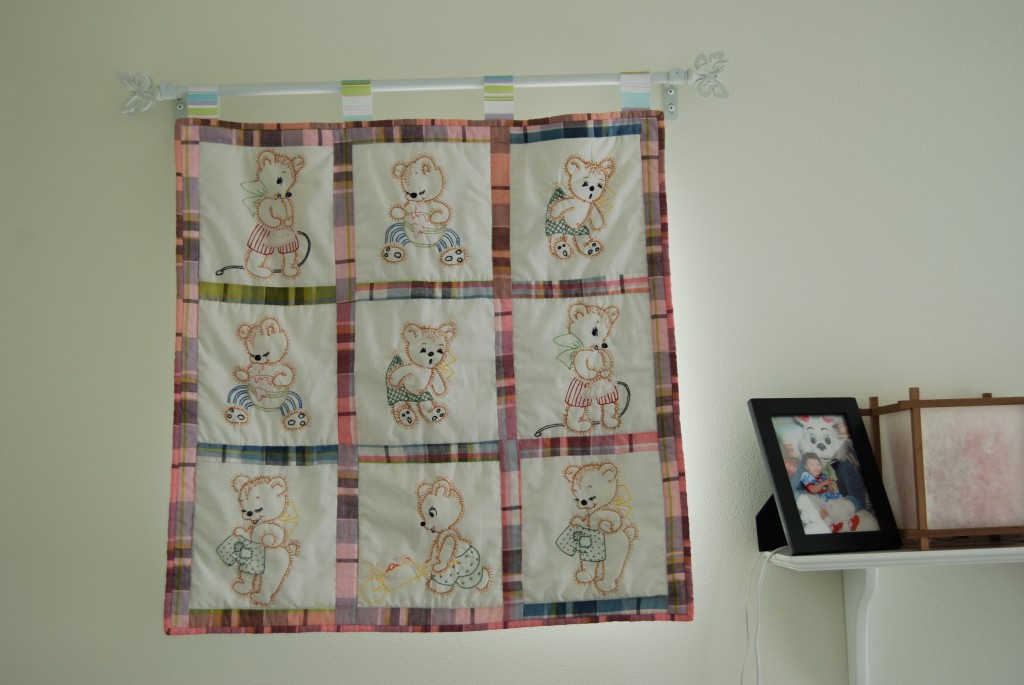
Now the pièce de résistance is what I did for her small window. There is a random 2 ft by 2ft window in her room that needed covering. As soon as I saw it I knew that I wanted to hang a beautiful, yet simple, wall hanging over it but for the life of my I couldn’t figure out how I was going to do it. Well a solution hit me on Thursday morning – I turned it into a black out curtain!

I didn’t take pictures of what I did to make it a black out curtain, but it is so simple I don’t really think you need them.

You will need:

A wall hanging (this one is quilting and very old)
Coordinating 1″ wide ribbon
Black out curtain lining (any big box fabric store should have it!)
5/8″ Heat n’ Bond fusible tape

Step one  – cut your black out lining to be 1/2″ smaller on all sides than your wall hanging

Step two  – cut four strips of Heat n’ Bond – same length as black out liner – fuse to black out lining (this may take extra time, I used a teflon pressing sheet to protect both my iron and the lining. The teflon sheet was only $9.00)

Step three – fuse black out liner to back of wall hanging (this serves dual purpose – it will black out light in the room and it will protect the front of the wall hanging from light damage) – this will take awhile – be patient!

Step four – cut lengths of ribbon – this will vary based on the width of your curtain rod and how high you plan on hanging them – measure carefully!  You can hand sew these to your wall hanging or you can fuse them with the heat n’ bond tape (that’s what I did).

Step five – hang them up and enjoy!

Anne loved her new curtains and kept pointing at the new one and saying bears.

Hope you had a lovely weekend!

Scroll to Top