Work It Wednesday

Welcome back to Work It Wednesday!

This week has been CRAZY! I have been working on Anne’s Easter basket while I wait for fabric in the mail to make a quilt for my nephew. I really should also be working on practicing with my darning foot so I can finish the Butterfly Quilt…but that hasn’t exactly happened.

Here is Anne’s Easter Basket so far.  I plan on making some bunnies to go inside it too, I drew my pattern yesterday, we will see how far I get with it though!

What’s in here?!?
Ooooooo Flowers 🙂

This is what has been keeping me occupied…that and taking care of both my lovies who have been sick 🙁

Look for a tutorial and pattern in April for the super cute flowers that Anne is getting in her Easter Basket! And if I can get my act together and if everyone can get healthy and stay that way, there may also be a Easter Bunny stuffie tutorial in my/your future soon too!

National Quilt Day

Did you know that today, March 19, 2011, is National Quilt Day?!? I did not know either until I saw it on Etsy.  As an avid quilter and recently a quilt designer I thought I would post a few pictures of my favorite quilts on here.

Butterfly Quilt – Original Design
My great-grandma’s Tahitian Quilt
Christmas Quilt for my In-Laws
Anne sitting on top of the Chinese Puzzle quilt my mom made me
A quilt top I put together for my mom in honor of my grandma
A wall hanging for my sewing studio
Zig Zag Zoom – Anne’s original baby quilt – the top is completed…the rest, not so much 🙂
These are just a handful of the beautiful quilts in my house and the quilts I have made for others.  I hope you are able to get some quilting done today, I won’t but only because I am working on Anne’s Easter Basket today and it is turning out super cute if I do say so myself!

Comment with a link to any quilts you are working on or have finished recently!

Budget Crafter – Printer Paper as Stabilizer

Are you on a budget? I am.  My husband and I are building a house so we are on a tight tight tight budget.  I have been finding every possible way to save money and yet still have my creative outlets.

When I made my butterfly quilt, I had to machine applique 32 butterflies.

I don’t need to tell you that it was A LOT of butterflies and it required a lot of stabilizer and fusible web.  The fusible web I couldn’t really do much about other than purchase it in bulk when it went on sale at my local craft store.  The stabilizer…well that is where I cheated said craft store out of my dollars!
A roll of Sulky Tear Easy stabilizer, which is the brand I usually purchase, costs $12.99 at my local craft store.  I needed just one roll, but as I said we are building a house and every penny counts these days.  I decided to cheat a little. I already had printer paper in the house and I used that as my stabilizer!  After all, one ream of multipurpose printer paper at a big box office supply store is only $4.99.  I only needed 16 sheets (1/2 a sheet per butterfly)! If I had needed to purchase the paper, it would have added up to only $0.16 for ALL my butterflies! Plus I would have been able to use the leftover paper in both of my printers, so it truly would have been a multipurpose purchase.

Here is what you do:

You will need:

  • A pretty shape – my butterfly already has the fusible web on the back
  • A piece of fabric you are going to applique the shape on to – I used basic muslin
  • Some pretty thread for the stitching
  • A sheet of printer paper

Step one:  Fuse shape to background fabric

Step two: set up your machine and place your fabric on top of your printer paper.
My machine is set up for a zig zag stitch, a number 2 tension, and .38 stitch length.

Ready to stitch

Step 3: Applique your piece as you normally would. For detailed instructions, see my post here.

Step 4: Remove the paper from the back. If you used a tight enough stitch length you really shouldn’t have to work too hard at all, the paper will already be perforated in your design and it should just come right off.

Step 5: Iron your piece and you have just machine appliqued on a budget!

Easy peasy.  I hope you find this little budget tip useful. It is also helpful when you simply don’t have time to run to the craft store or you are an insomniac crafter and the store isn’t open at 2 am in the morning!

Enjoy!

Tutorial Tuesday – Machine Applique

My great-grandmother was an amazing sewer. Well, to be fair, sewing runs in my blood from both my dad and my mom’s families. Apparently my dad’s mom was quite the seamstress, my mom is an amazing sewer, my grandma sewed, and one of my great-grandma’s was a professional tailor and the other was a seamstress. Talk about genetics!

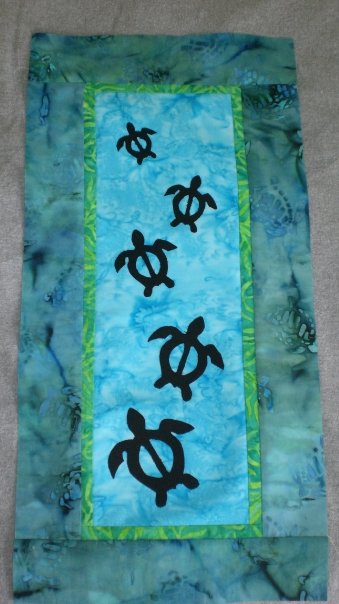
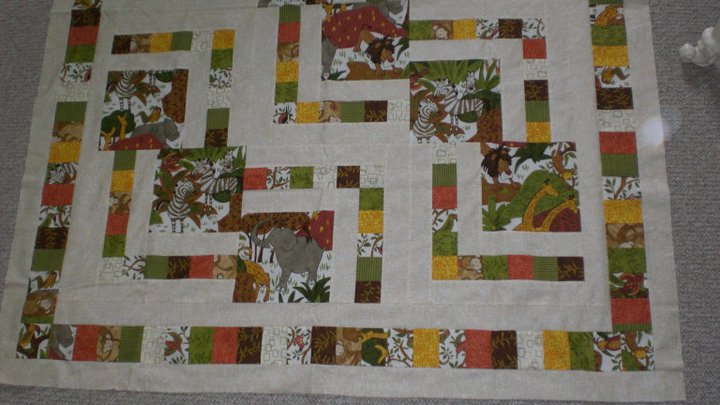
One of my great-grandmother’s was from Tahiti. An unfinished hand applique quilt top of hers has been handed down to me!

From 2 large pieces of fabric
Up-Close detailing

I asked my mom if I could complete the project and she said yes, I then asked her if I could do machine applique and she said no. It is a traditional Tahitian quilt top and needs to be finished by hand as is tradition.

This didn’t stop me from teaching myself machine applique.

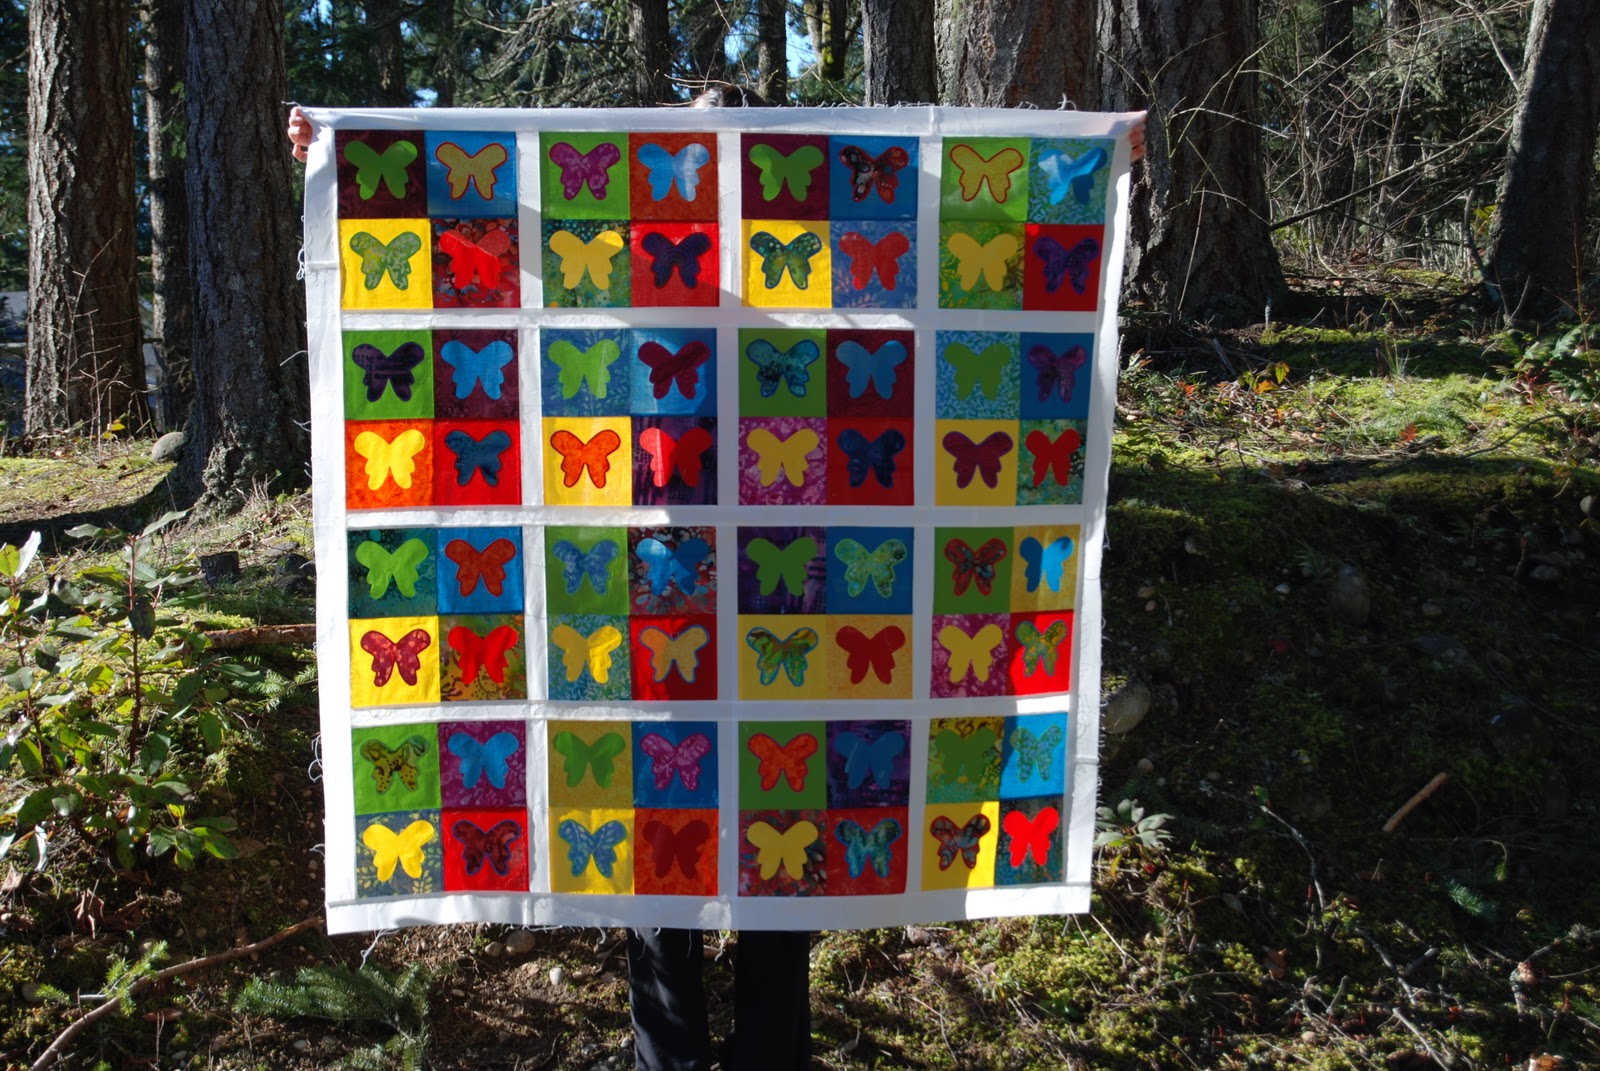
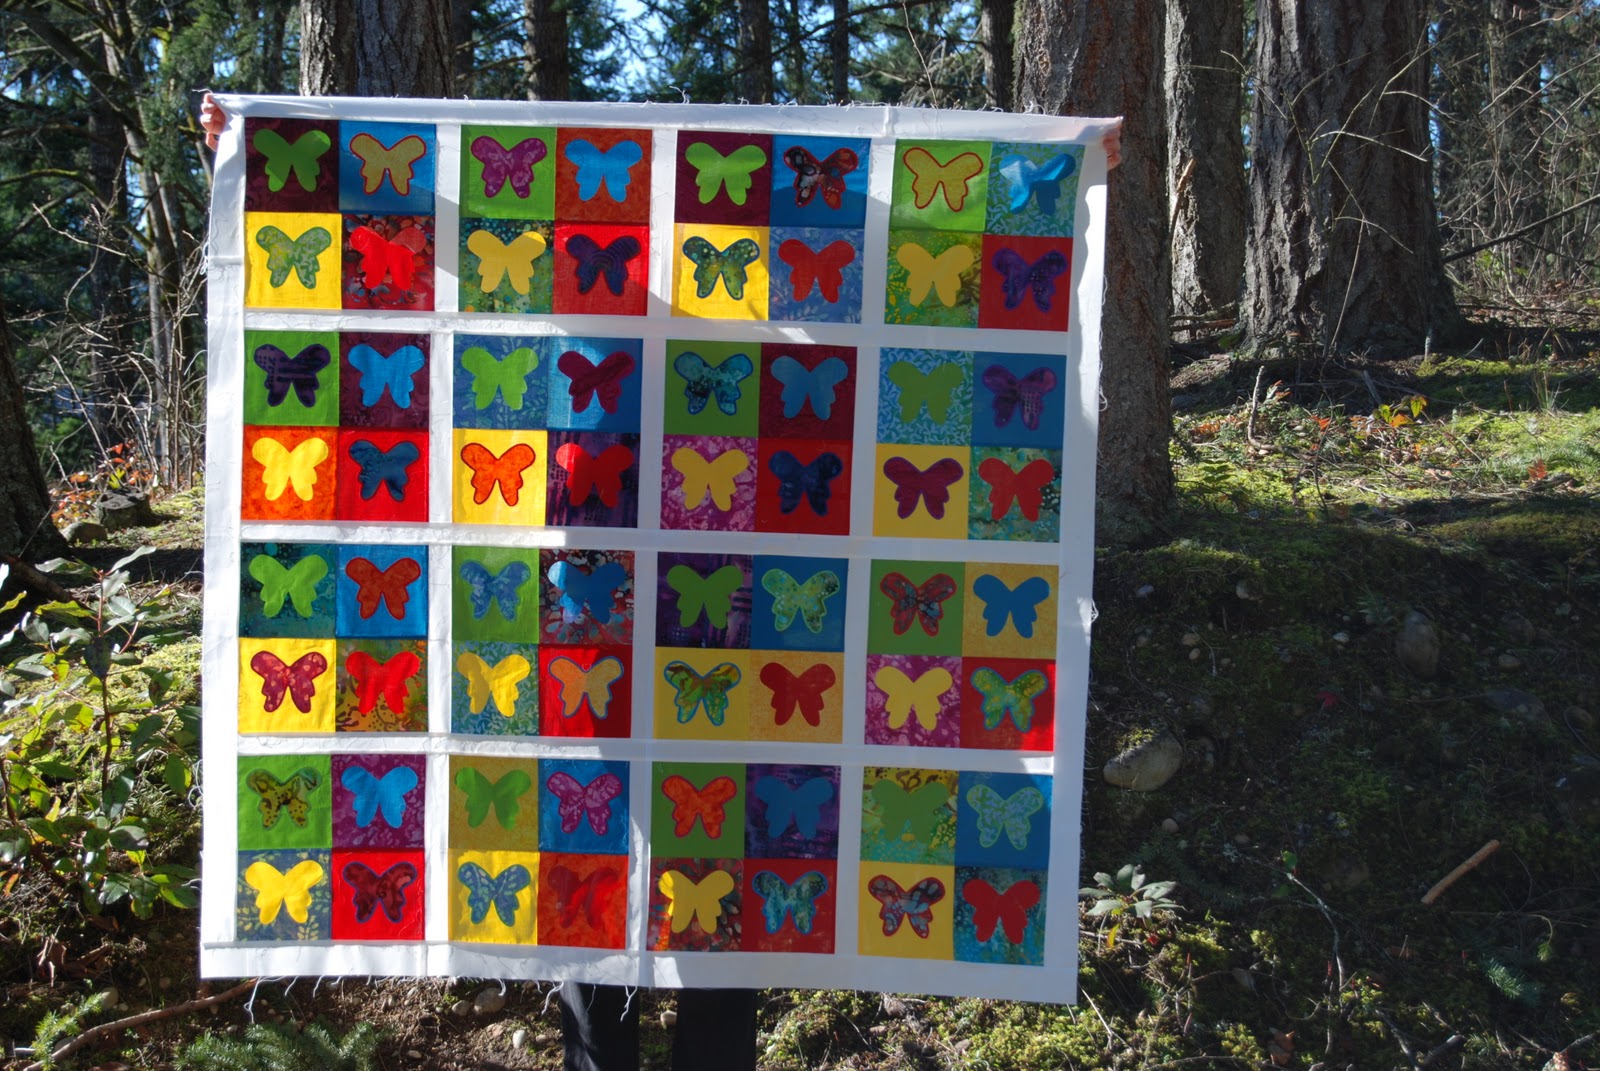
Here is a picture of my finished project:

Supplies:
2 squares of fabric – one for the background and one for the fun shape
Pellon “Wonder Under” fusible web
Pressing Cloth
Some pretty thread – you can go matchey matchey on this or you can go for some color contrast
A stabilizer for the back (I have gone budget cheap and used regular printer paper or you could get Sulky Tear Easy)

Pencil – for drawing your design
Scissors
Iron
Sewing Machine

Step 1 – Cut out your two squares
I did two 6.5 inch squares
Background fabric
Applique fabric
Step 2: Iron the “Wonder Under” onto THE BACK of applique fabric
Follow the directions that comes with the “Wonder Under”
Step 3: Draw your design on the fusible
I only drew half a butterfly, because I folded my square in half to cut
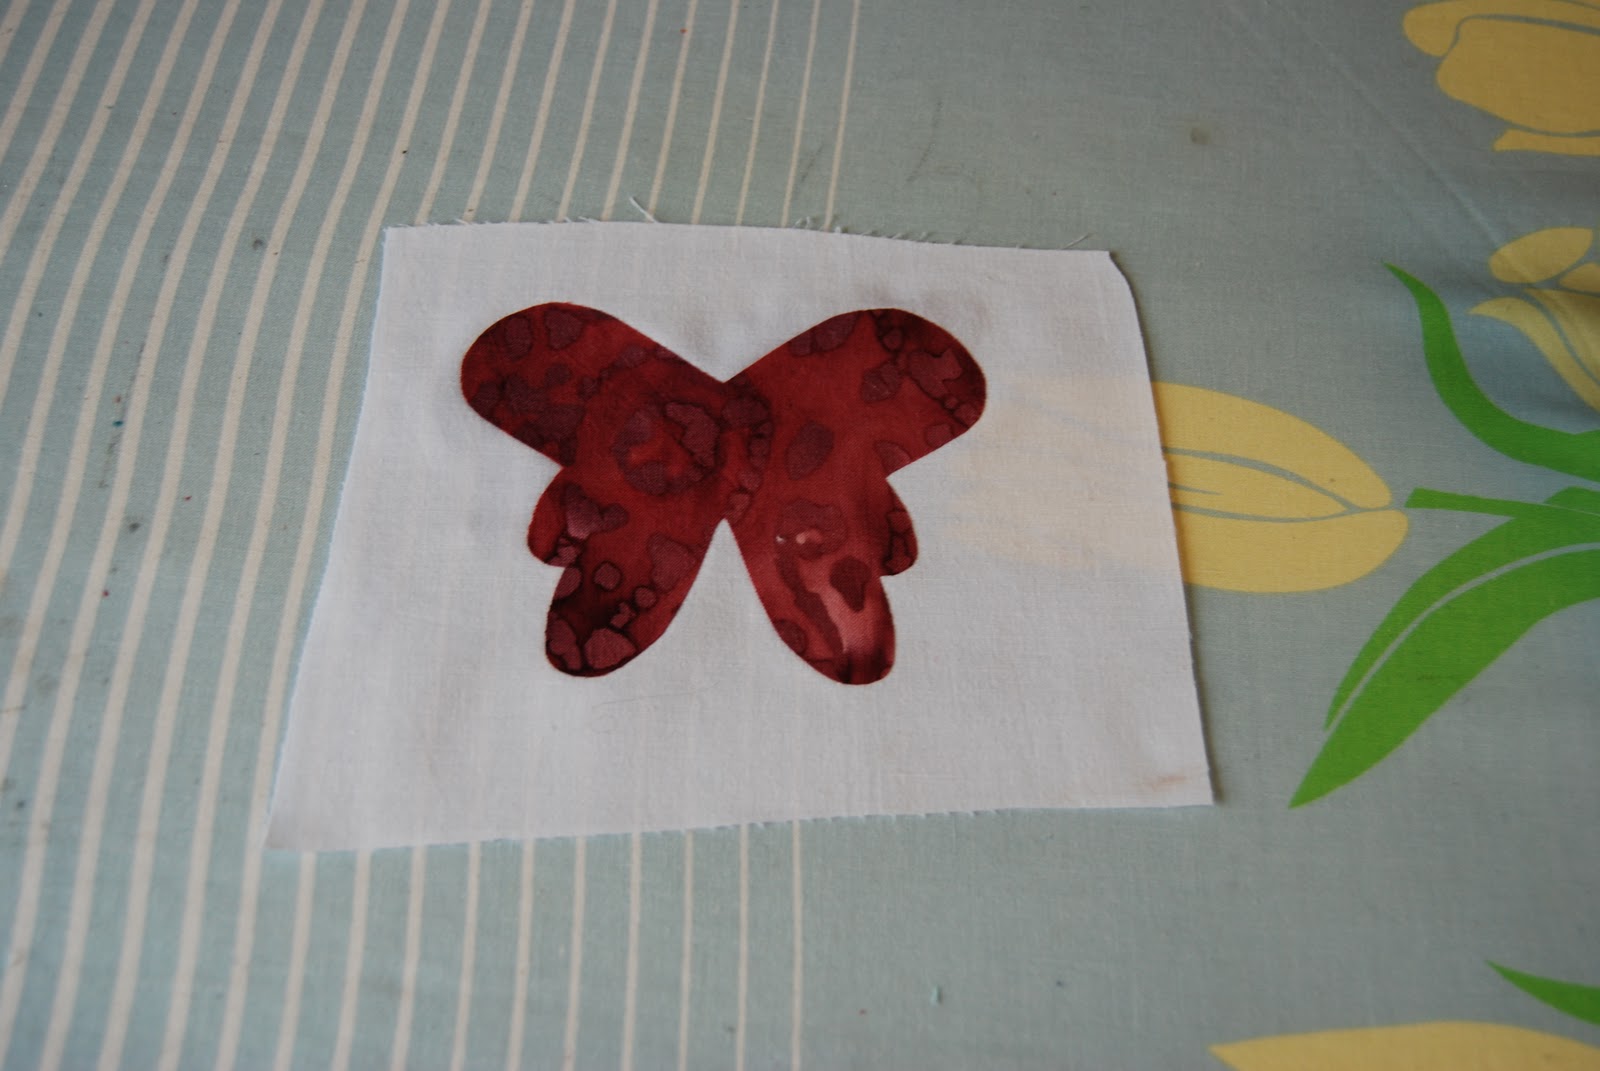
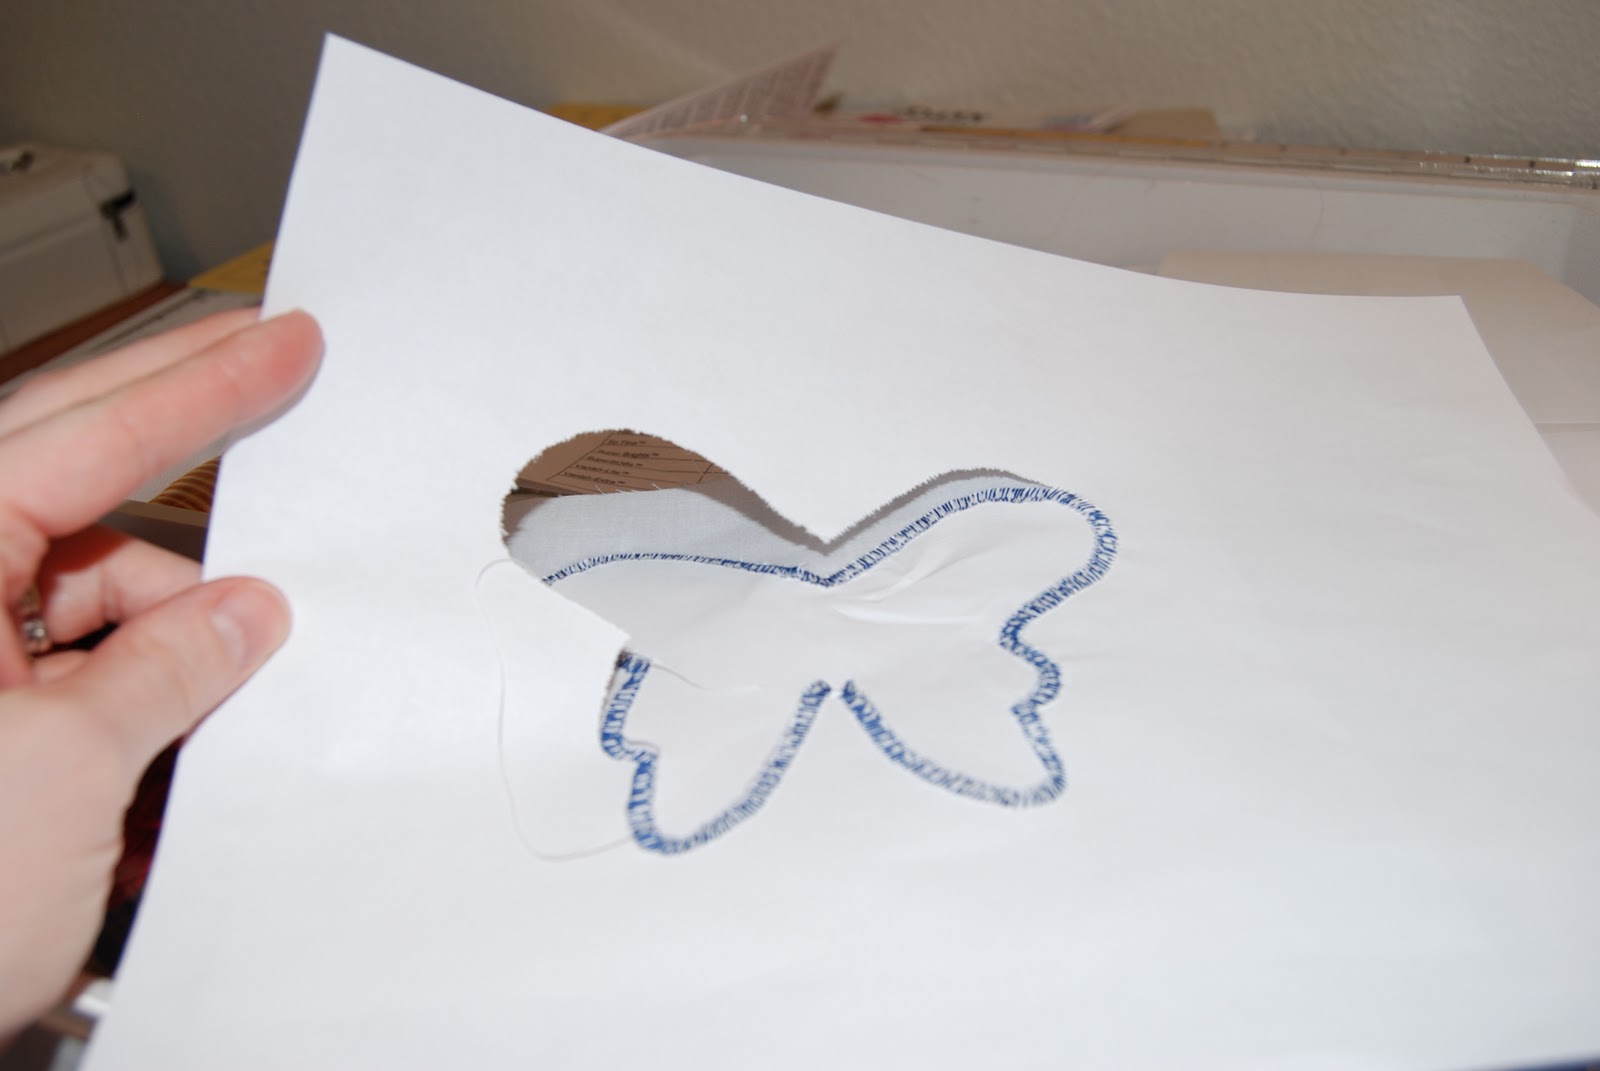
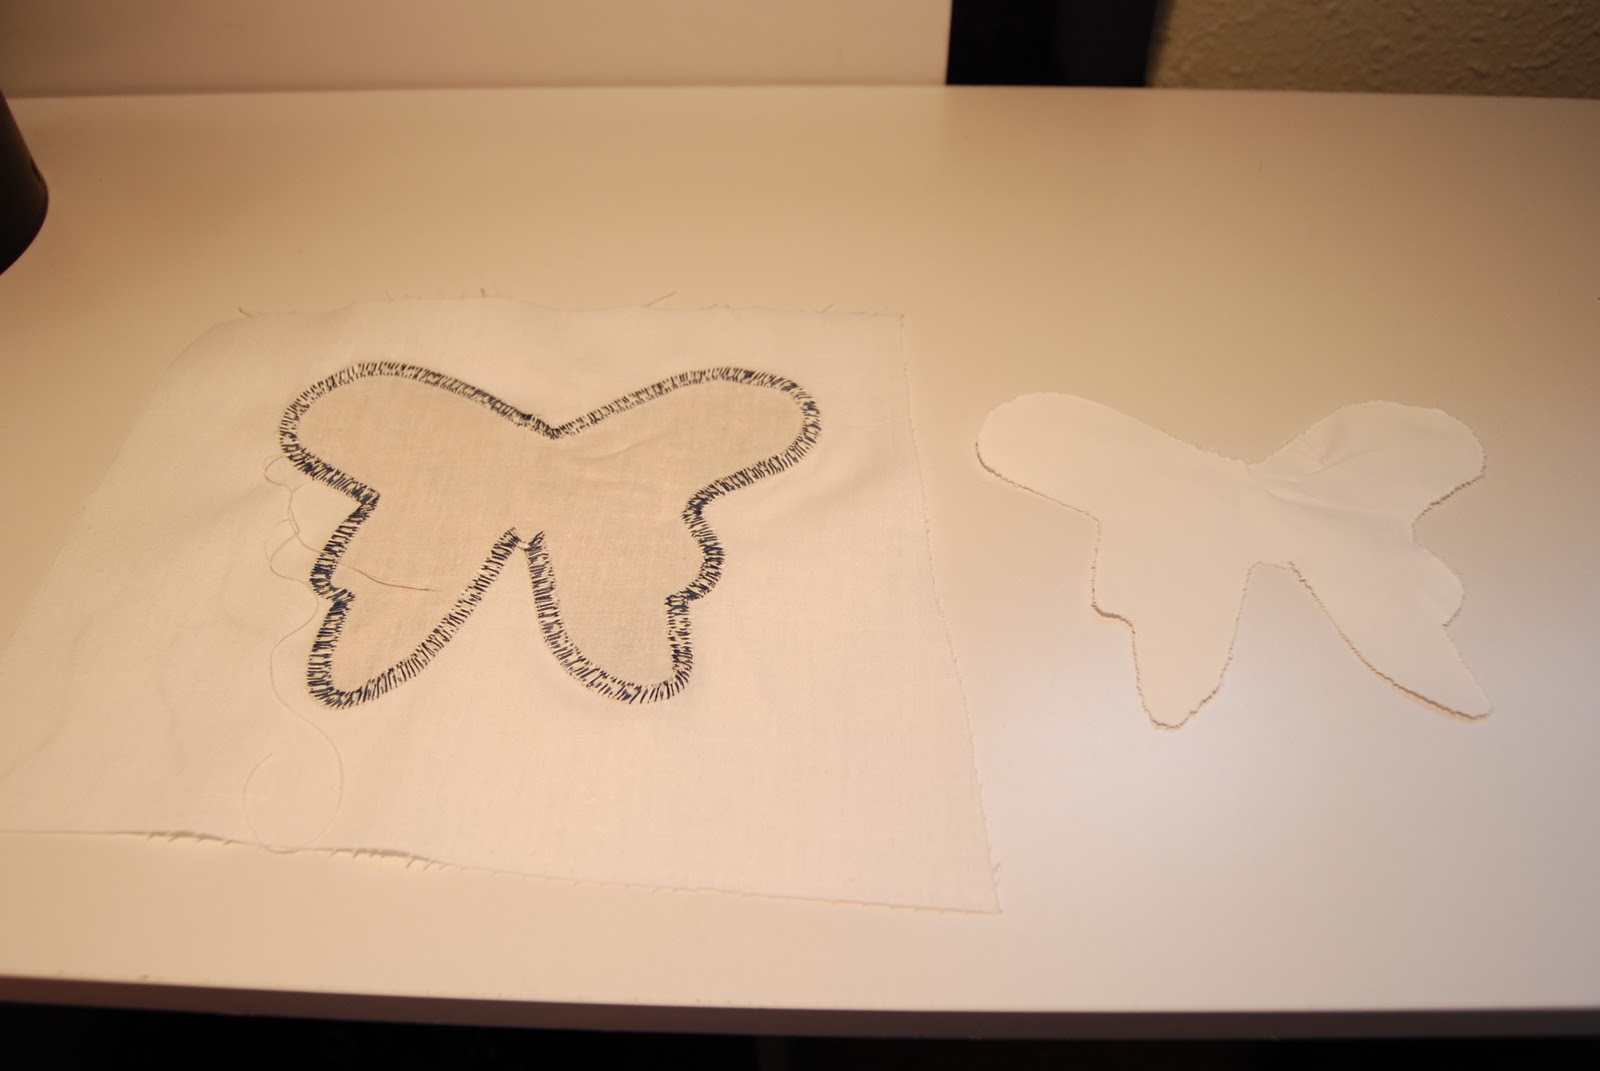
Step 4: Cut out your design
Step 5: Peel the paper off the applique shape – being careful not to remove the fusible web from the fabric!
Step 6: Line up your shape on your background fabric
I wanted mine perfectly centered so I made myself a template 🙂
Step 7: Iron on your shape – Again follow the “Wonder Under” Instructions!
Hint – if following the Pellon instructions – this is where your pressing cloth comes into play!

Step 8: Cut your stabilizer material – printer paper or Sulky Tear Easy

It only needs to cover the applique shape!

Step 9: (skip if using printer paper) If using Sulky – Iron stabilizer on to BACK of square

During Ironing
Back view once ironing is complete
Step 10: Set your machine up for the sewing portion.
  • zigzag stitch
  • Number 2 tension
  • Needle position 4 (or whatever works with the zigzag foot that came with your machine)
  • Very short stitch length, I used a 0.5 stitch length on my Janome
  • Pretty colored thread, I would use the same for the top and the bobbin!
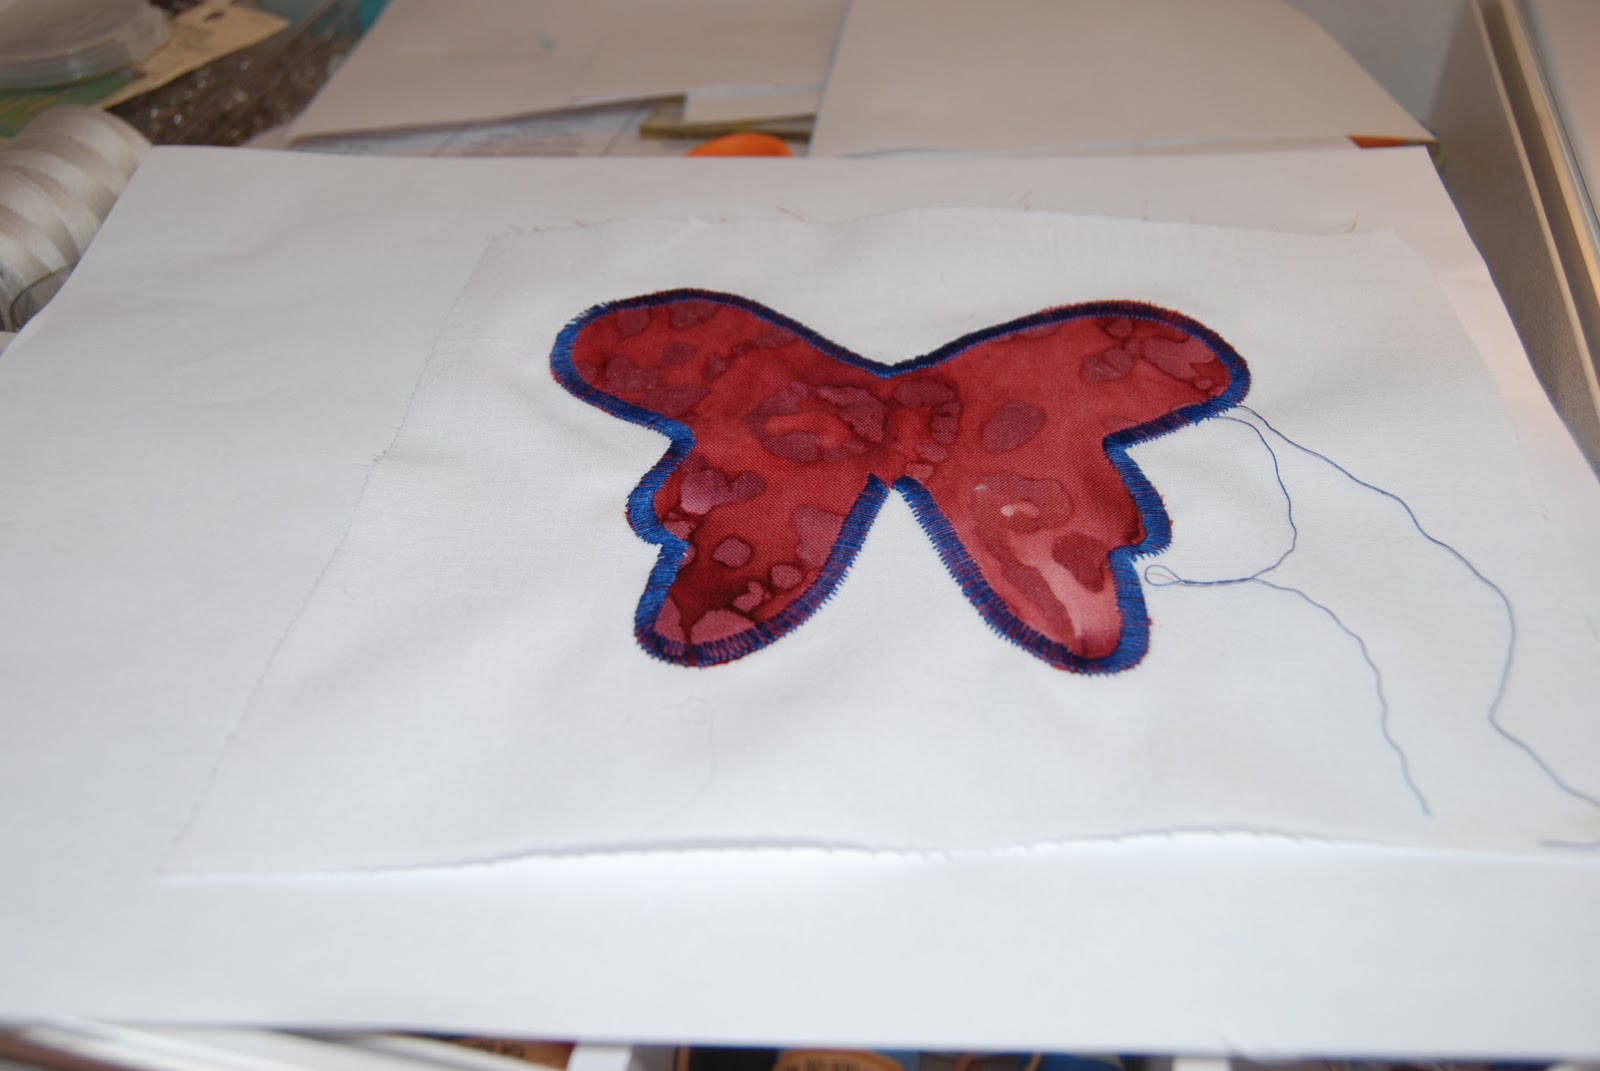
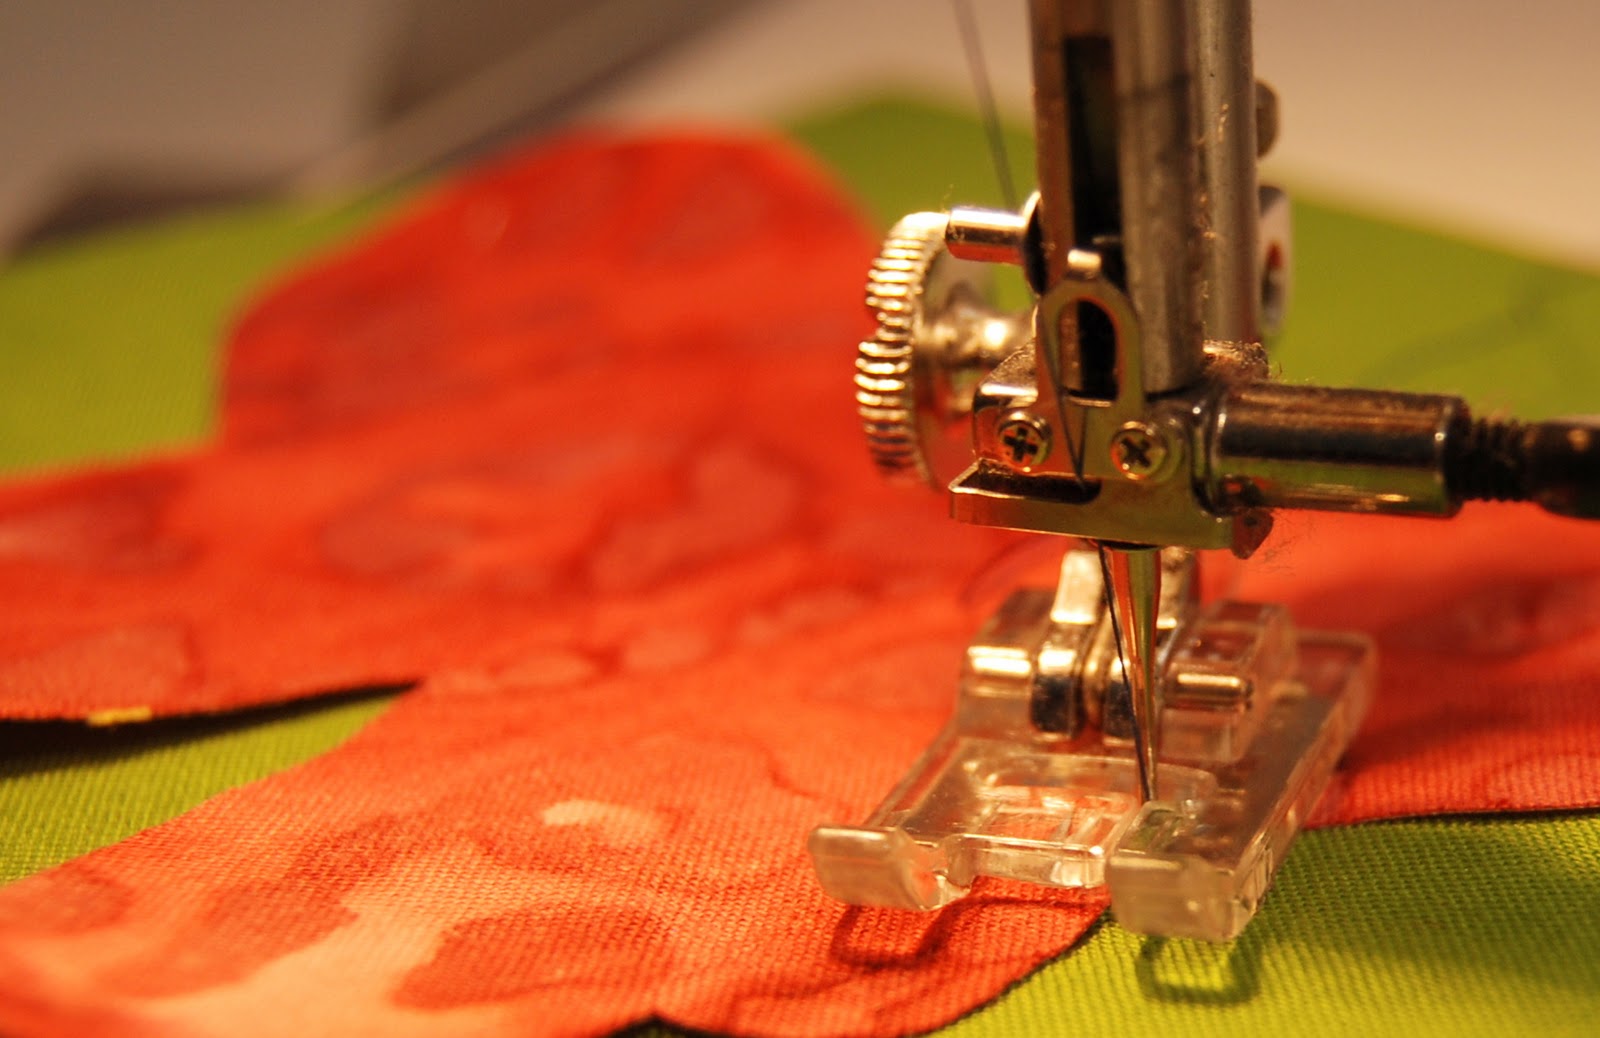
Step 11: Start stitching. Go slowly around the corners and don’t be afraid to readjust your square. Leave your needle down and lift your foot to turn your material. 

When you get to a corner…
Leave you needle down and lift your foot…
Turn the corner…
Put your needle back down


When you have completed your shape, pull your threads to the back of the square (DO NOT CUT) – tie in a knot on the back side!


You have just machine appliqued your first ever shape! Pat yourself on the back!!!

Do what you will with your squares. I made a quilt with mine.

Once you have learned this skill it opens so many new possibilities for embellishing your sewing projects. Play around and don’t be afraid to make mistakes, unless you show them off, who is going to know?!?

Share your applique projects on our Flickr site:

Two Tricks for the Price of One!

This week I learned two new tricks that have made two sewing tasks SO much easier! I thought I should share them with you.

I learned that binder clips are not only effective at holding together large amounts of paper but they are also effective at holding fabric in place.

I also learned that I no longer hate sewing with plush/minky fabrics!

Binder clips now have a whole new meaning for me. As a quilter I hand sew all of my bindings. I was taught by my wonderful mother to pin them in place and sew, moving the pins as I went.

Do you see all those pins at the bottom?

This method has worked for me for years and probably for you too…but I have recently discovered there is a better way!  BINDER CLIPS!

Now, the beautiful thing about these binder clips is that I didn’t get any bunching while I was working. The binding remained smooth as silk making it so much easier to sew! Plus, as an added bonus there was only one sharp pin/needle to stick myself with, instead of five or six. I will never go back to pinning again!
The other trick I learned this week is how to sew minky/plush fabrics. I am making a quilt for a friend of mine who is having a baby. It is a kit that I picked up from my local craft store. It is the second time I have attempted one of their kits, the first time didn’t turn out so well because of the minky…well it didn’t turn out at all because I just GAVE UP!

This time though, I listened to my mom. She is a GENIUS! She told me to pin the heck out of my fabrics and put the minky/plush side facing up, but that isn’t even the coolest part of her insight. She also told me to sew using my walking foot!  Who knew what a difference a walking foot could make?!?

See all those pins

Place your pine every 1/2 inch and sewing with your minky/plush fabric on top!

I have a whole new appreciation for this foot!
The first time I tried sewing with minky/plush fabrics I did everything but the walking foot and the needle kept going up and down but the fabric wasn’t moving forward. The walking foot though is designed to evenly feed your fabric under your foot and it works great for minky/plush fabrics. If you haven’t tried it, I would highly highly recommend it. What a difference a foot can make!
Scroll to Top