This week I’ve got a lot going on. I finished my knitting needle case, here is a sneak peak:
Now I am working on a crochet hook case for all you hookers out there!
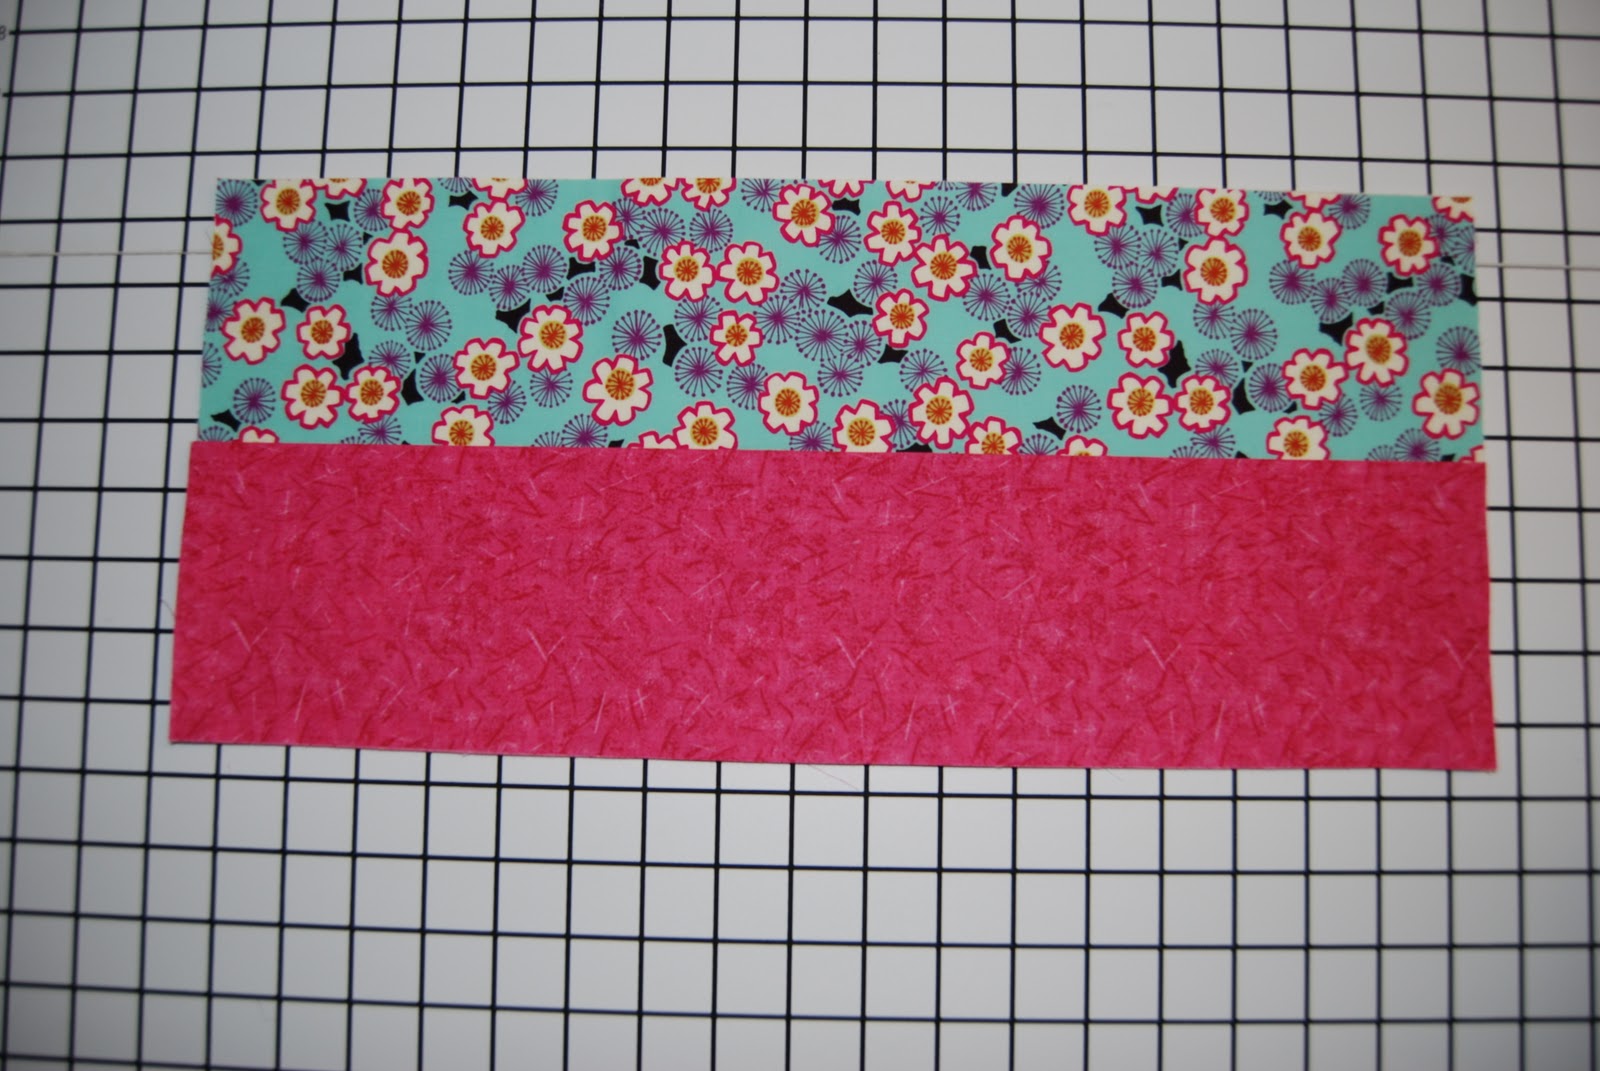
A friend of mine is having a baby so I bought a simple quilt kit. Every baby should have something homemade!
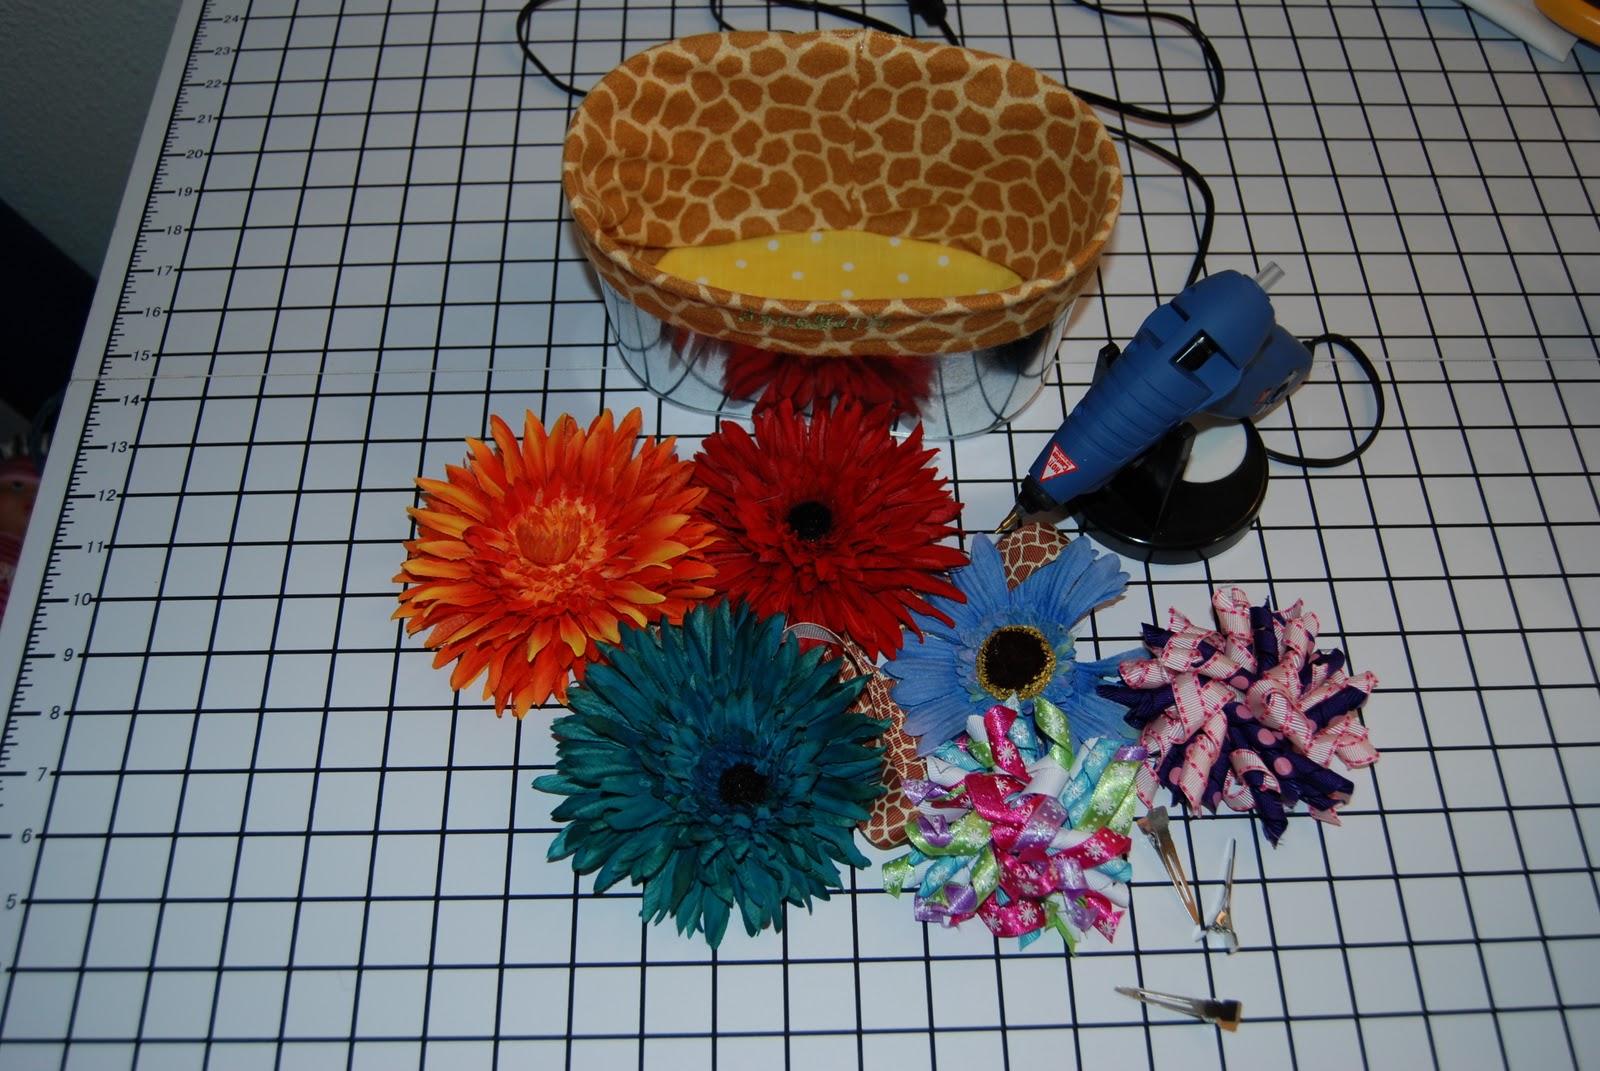
And finally! This Wednesday has also turned into a Fix It Wednesday for me. Anne has a habit of being a bit forceful when tearing headbands off her head and I have a bunch that need fixing.
Oh and I almost forgot! My new darning foot arrived. I am playing around with it and practicing. I want to get really good with it before I use it on the butterfly quilt, I don’t want any hugely noticeable mistakes!
Geez! I have a lot going on! What are you working on?
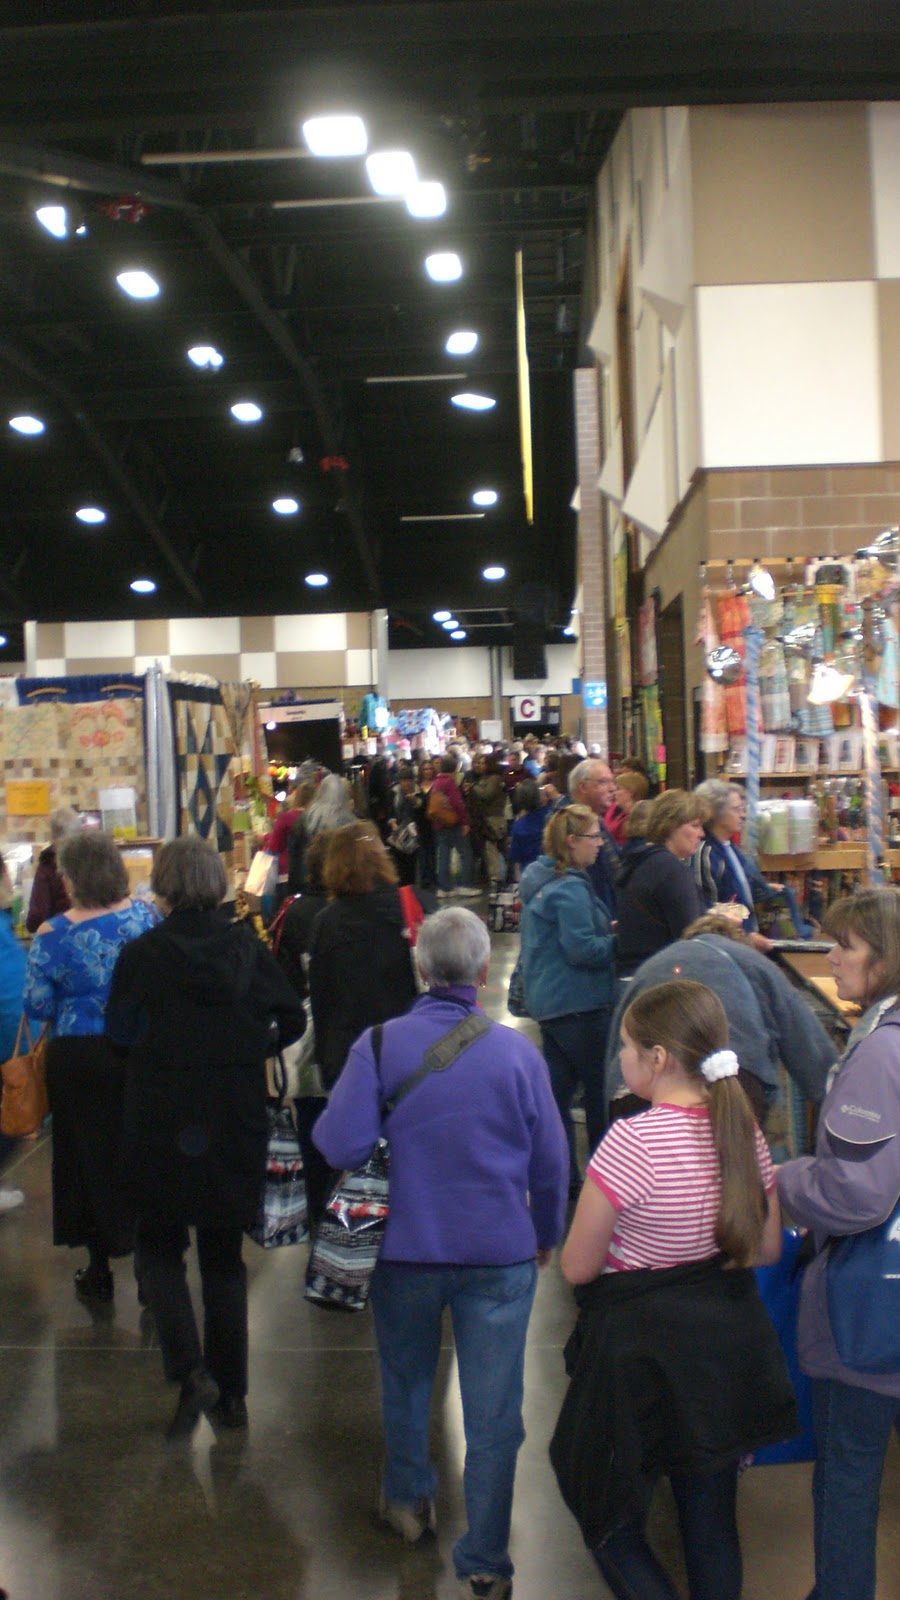
Sunni, my mom, and I went to the Sew Expo in Puyallup, WA this past weekend. My mom flew up all the way from the San Francisco Bay Area to attend, and we had a blast. I personally am quite proud of the fact that I managed to stay $40 under my budget. It helps that my mom was there and spoiled me with a few clothing kits for Anne that I had not planned on.
Here is a picture of me & my beautiful mom!
It was so crowded you could barely move!
The Expo was 4 days long and had multiple classes for different levels. They had all-day hands on classes and 45 minute lectures. Altogether we attended four 45 minute lectures. Sunni attended “Sew Like a Pro” and “Sew with Your Feet”. All three of us attended “Thread, Tension, and Needles” and “Ruffles have Ridges”. The classes were fun and incredibly informative.
For me personally, I think the biggest take away was that adjusting the tension on your machine is by far the easiest fix for most thread problems, that and being willing to spend the money on quality thread! I never knew that all machines are manufacturer set to a 5 tension and most thread for quilting and clothes sewing requires between a 2 and a 4 tension. No wonder the thread is always breaking! It is constantly being pulled on. I will always think of Bob from Superior Threads every time I adjust the tension on my Janome. Also thanks to Bob I learned all about Water Soluble thread and now I really want to learn how to make swimsuits!
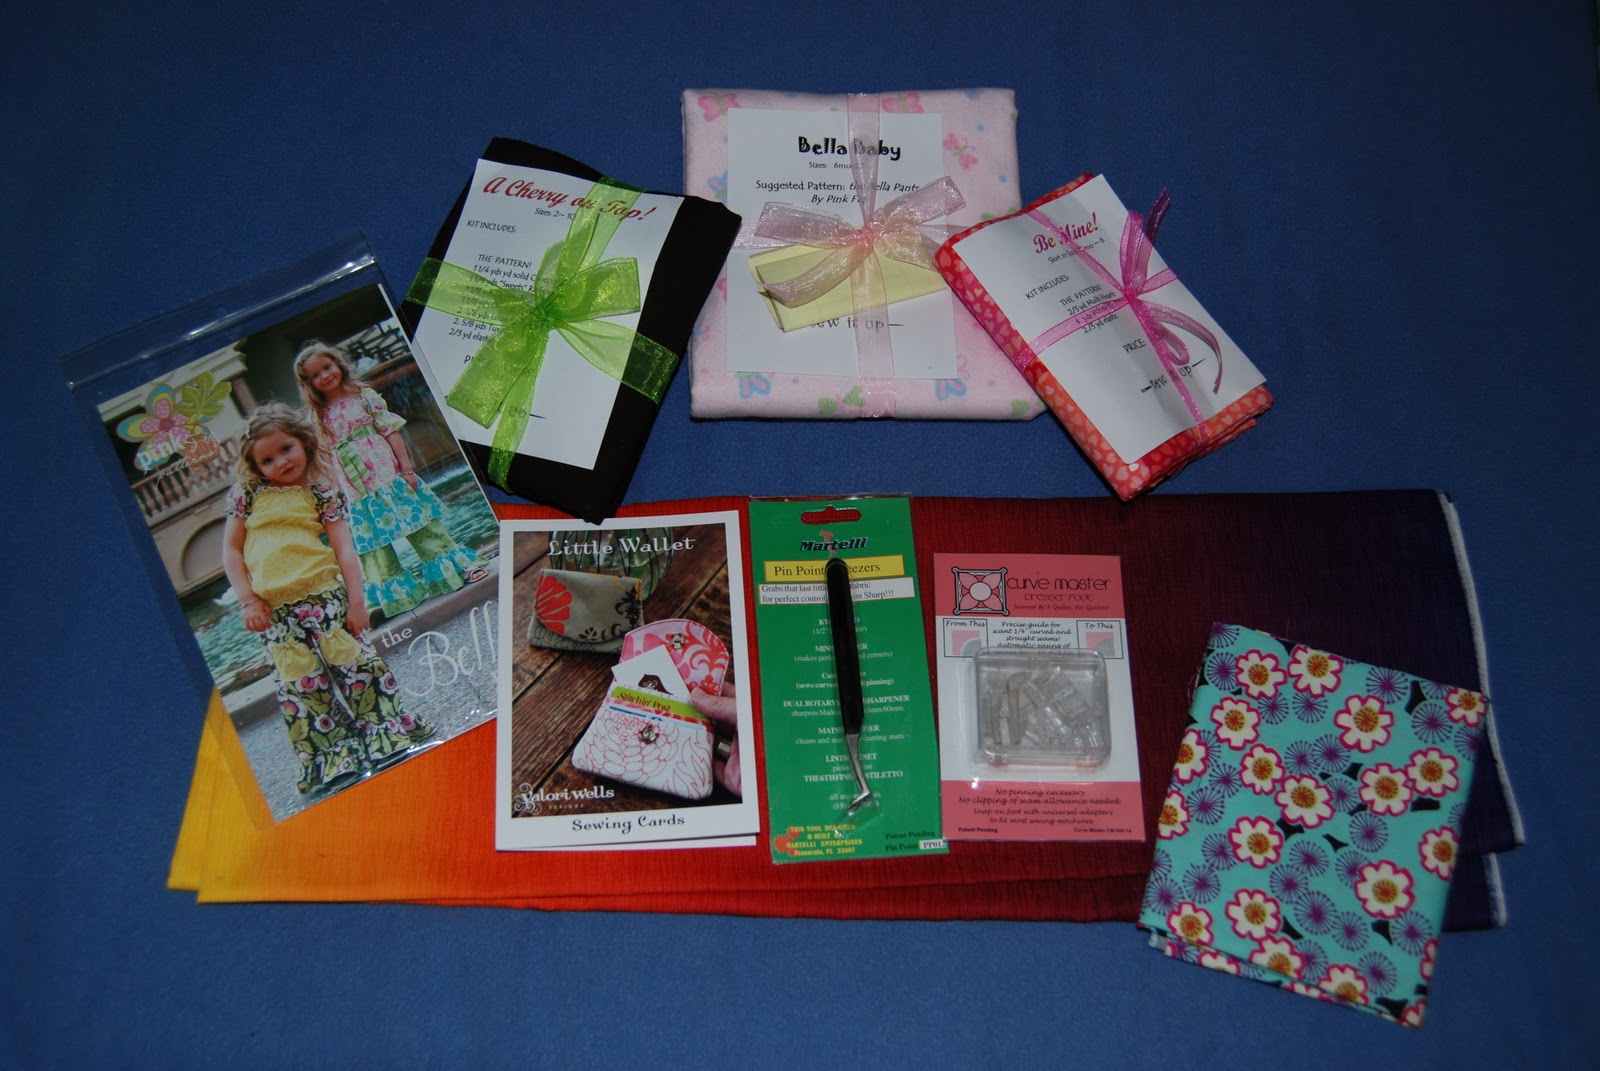
The “Ruffles Have Ridges” seminar was also informative because it taught me a new way to use some of the crochet thread left to me by my grandmother. I cannot wait to try some of the patterns I purchased from Lorene Bonewitz from Sew It Up.com. My mom won the Bella Pant pattern and she bought the kit that goes with it. We also bought the Sweet Heart kit, which comes with the fabric and the pattern, and finally we bought The Cherry On Top pattern and kit. I am so excited to get sewing, but I am going to have to wait until I get my serger from California where it currently resides. On the upside I have Sunni to help me learn how to sew all the outfits seeing as I have not sewn so much as a pair of pants in 15 years!
All my goodies!
Thread for my serger that currently lives in CA!
Many other purchases were made by all three of us (see Sunni’s post) and we had a wonderful day. I cannot wait for the show next year (March 1-4, 2012) to see all the new gadgets and fabric!
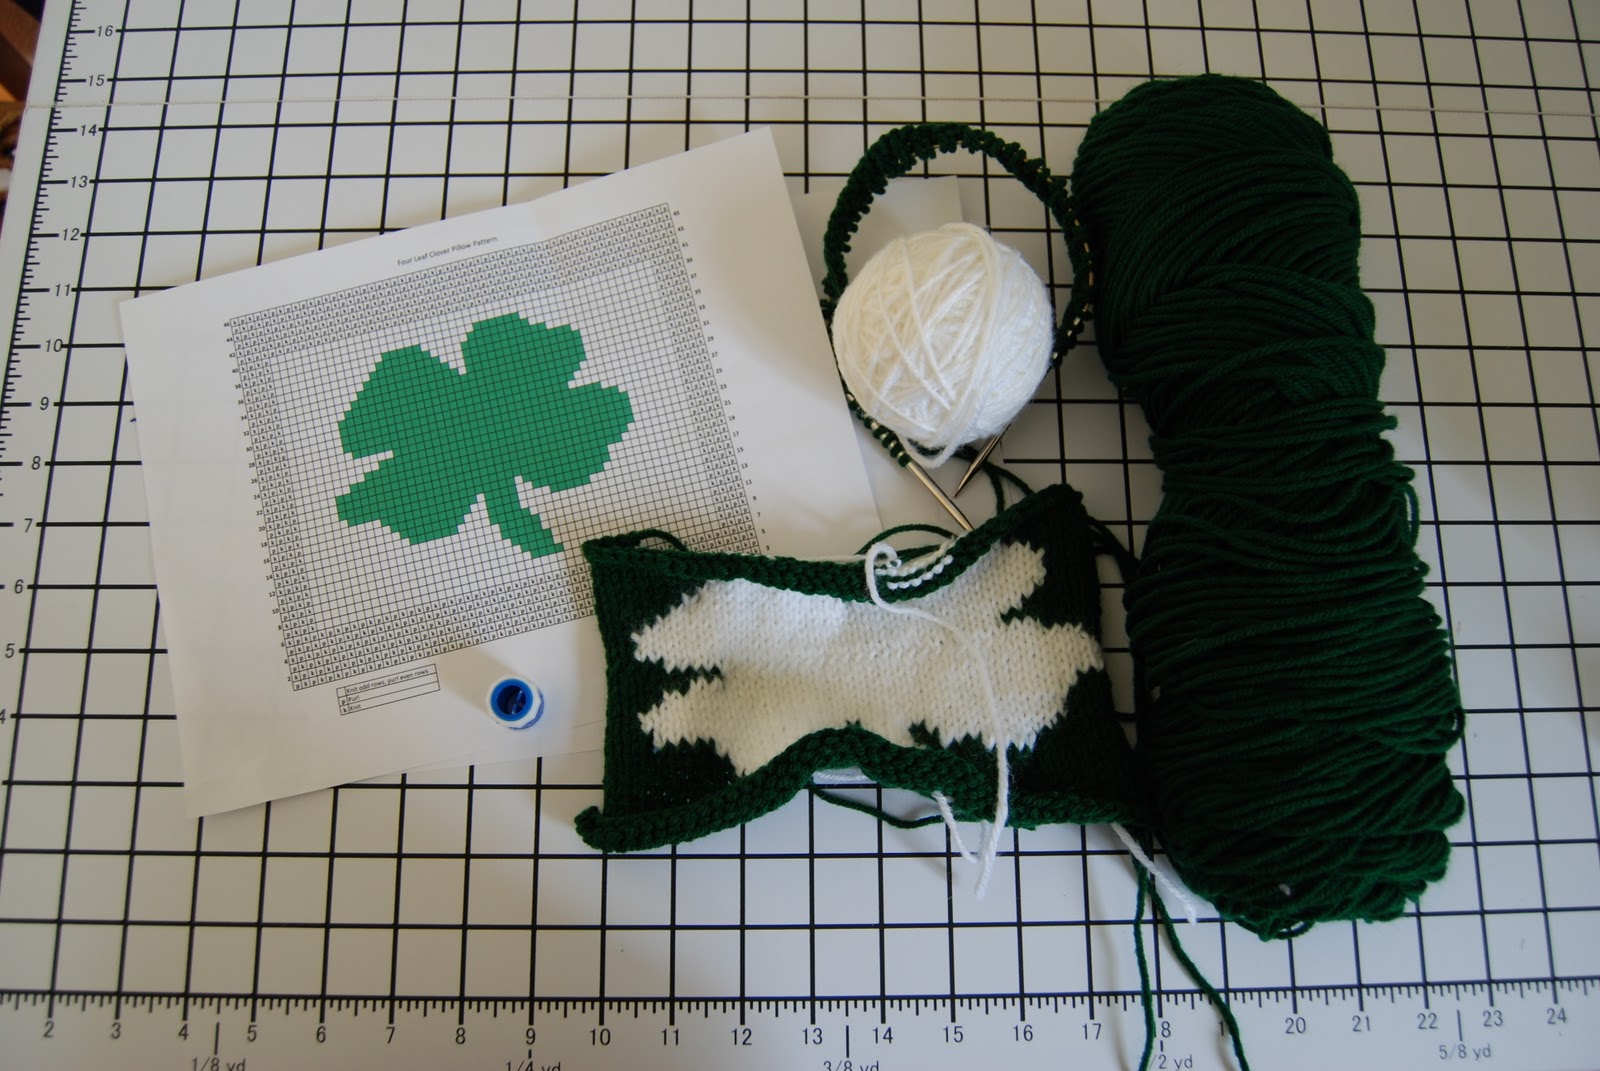
Let me start by saying my Hispanic husband is also Irish, hence our last name. For St. Paddy’s Day I decided to knit up a little shamrock pillow for him.
Let me emphasize the LITTLE part. I didn’t want to go too big because we don’t really celebrate St. Paddy’s day too much, but I did want to bring some of his heritage into our home for Anne’s sake. She now has the perfect size pillow for her babies.
Let me start with my camera went a little nutty last night, so what should have been 10 pictures is now more like 4 pictures. I ended up having to reformat my memory card again. I don’t know why this keeps happening but I do know that it is highly inconvenient!
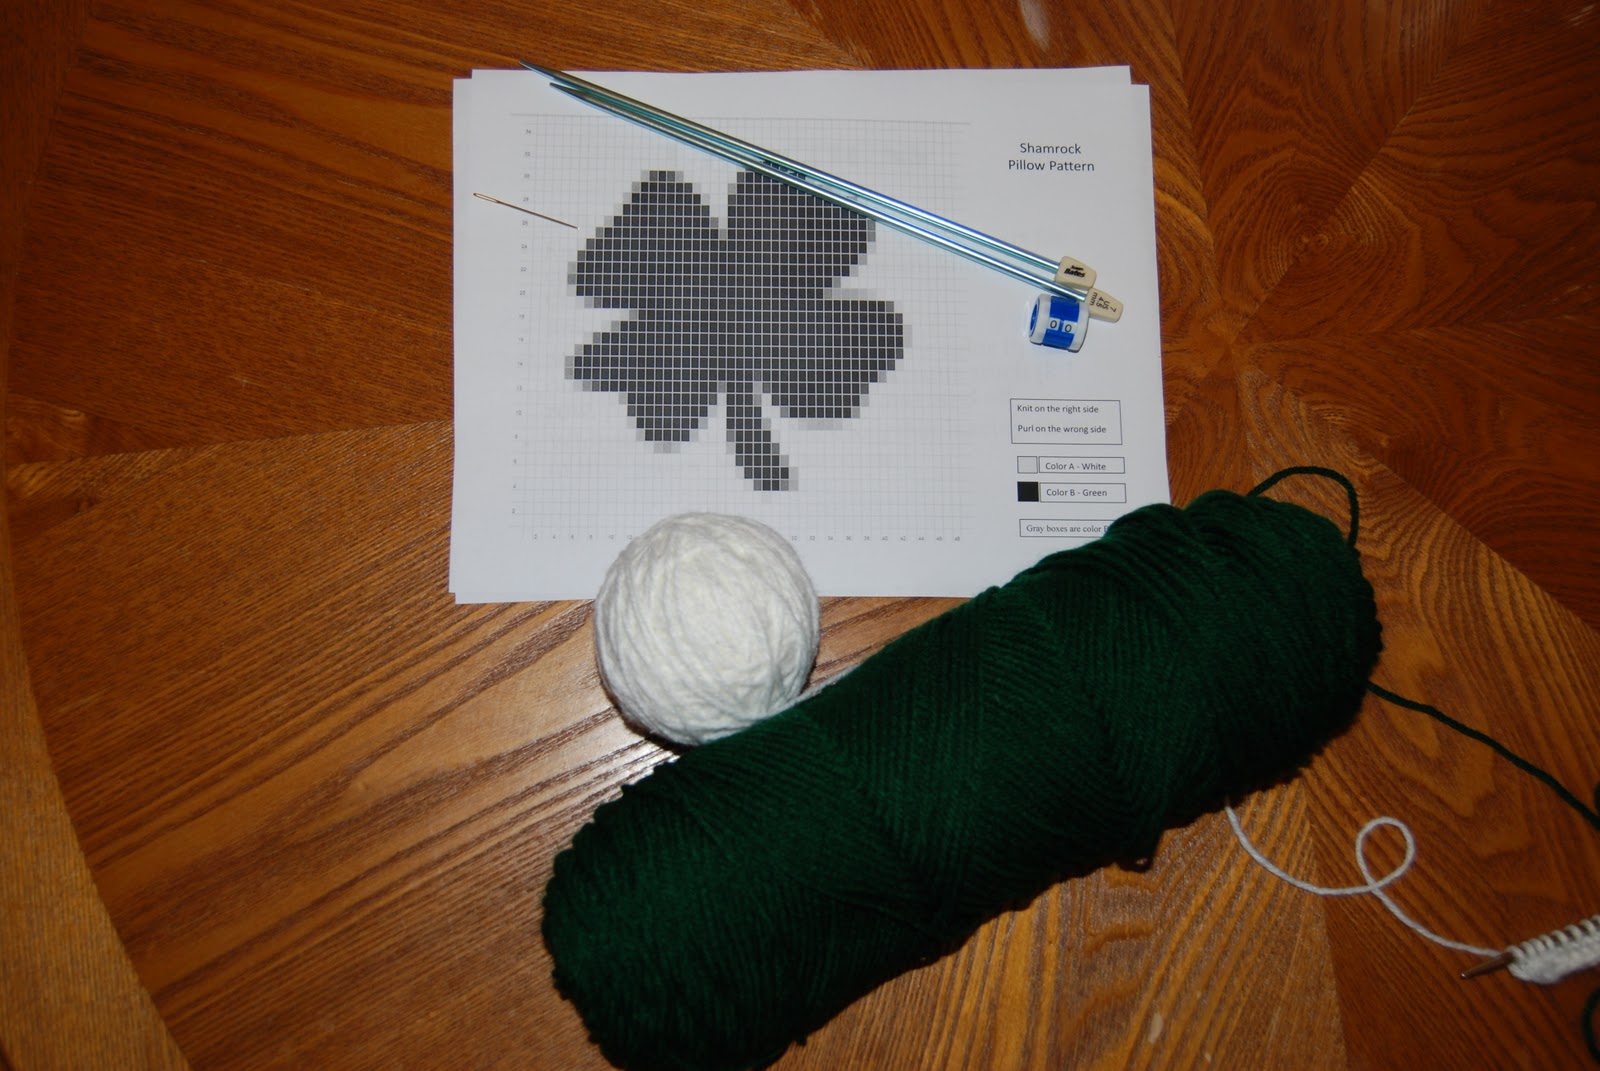
For this pattern you will need the following materials:
knitting needles (one size smaller than the size recommended for your yarn)
A yarn needle
Scissors
Polyfil
To start off with you should read your chart from right to left for the odd rows, and from left to right for the even rows. I know in my previous post, “Reading a knitting pattern” I stated that you read patterns from right to left, but I wrote this one to be read both ways to make the shamrock easier to knit.
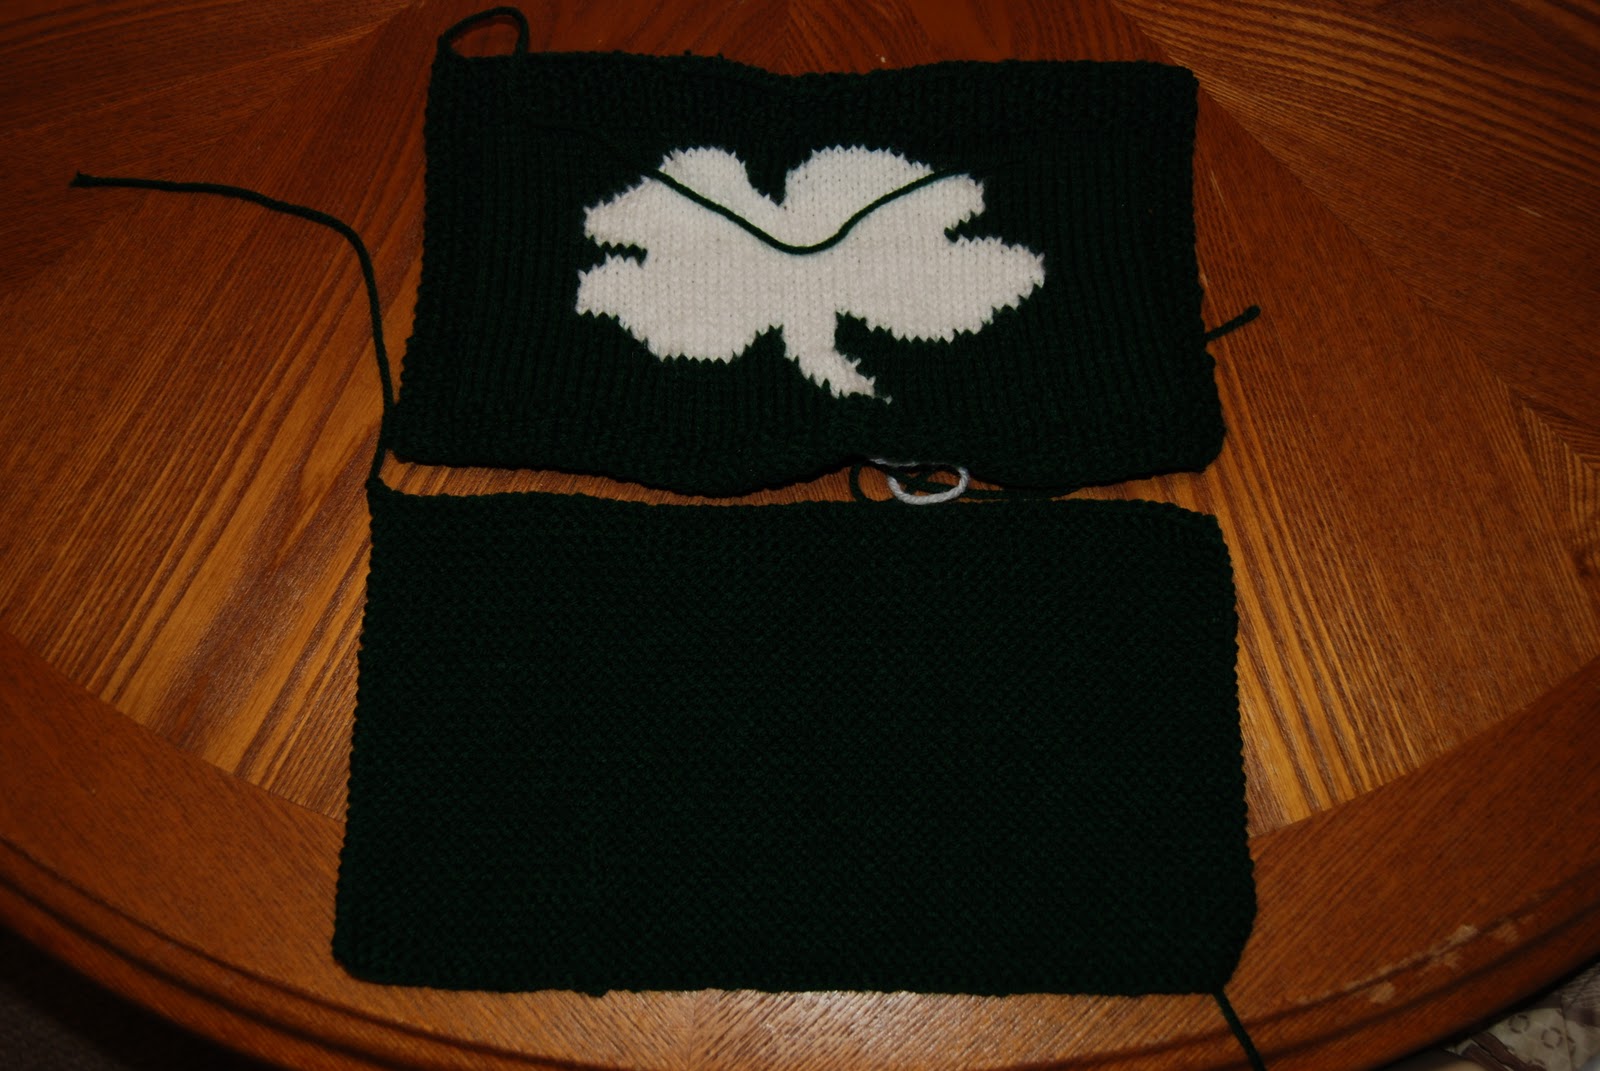
You need to knit 2 pieces, a front piece and a back piece, using several techniques. Garter stitch, seed stitch, and stockinette stitch. I will be covering all of these in a series of video tutorials and tips and tricks, so if this pattern is a bit much for you right now, keep coming back to the blog for help.
Now the pictures that got corrupted on my computer show how I sewed this bad boy up.
Place the front piece, face down on the back piece
Pin in place
With same yarn as your back piece, whip stitch the two piece together, leaving a large enough hole to turn it (about 2.5 inches)
Turn piece right side out
Stuff
Stitch hole closed – you now have a shamrock pillow!
I’m working on finishing up my sample of a knitting pattern I am posting tomorrow for all of our knitters.
I am also working on a knitting needle case. I have it all finished with the exception of the hand sewing and the ties. It turned out pretty well and I will be posting a tutorial for it in the future. Best part is that it will use up some of you Fat Quarter stash!
I was working on quilting the butterfly quilt but ran into a sewing machine foot snag. The darning foot my mom sent me does not fit my machine 🙁 So I had to order a new one, which should arrive next Wednesday. I hope it A. fits and B. I can get the quilt finished by march 27th to enter it into a local quilting contest.
Let me start by saying that I am a visual learner. I probably own 15 knitting books and well over 100 magazines and those little hand drawn images that you are supposed to learn from…well I can’t! I need either a live person or a video. Someone really special in my life, Sally, taught me how to do the double cast on method in knitting. Sally passed about two years ago, but she lives on with me every time I knit. I am going to attempt to pass on some of her vast knitting knowledge to you through a series of video tutorials. The first of which is the double cast on method.
If a picture is worth a thousand words, than a video is worth ten-thousand words. Reasons why the double cast on method rocks:
It acts as a first row of stitches (but I never count it – my preference, you can if you like!)
It is incredibly secure – very unlikely to unravel (great for sweaters and projects for kids)
If your tension is held even while casting on, there will be no gaps in your stitches and it will help maintain your gauge
Once you have mastered it, it is faster than the basic single cast on method
It looks cool when you are doing – you will be a hit on the subway, knitting during your daily commute!
Watch Me!
Step one: make a slip knot, leaving a long tail
For the rest of the steps I have screen shots:
Step 2: Make an “L” with your left hand
Step 3: Wrap the yarn around your fingers
Back view of your hand
Front view of your hand
Step 4: Slip your needle under the yarn around your thumb, through the two pieces
Step 5: Grab the yarn on the pointer finger
Step 6: Pull the yarn back through the yarn on the thumb
Step 7: Release the yarn that is wrapped around your thumb
Step 8: Use your thumb to tighten the stitch
Congratulations! You have now made your first stitch using the double cast on method. Repeat until you have cast on all the stitches your pattern calls for.
Stayed tuned for my next video tutorial on knitting the continental way!


