Home Decorating

Re-Making the Desk: The Big Reveal

Before I do the big reveal, I thought I would show you Anne’s room, so that you will see how perfectly her desk/dresser fits in with the decor.
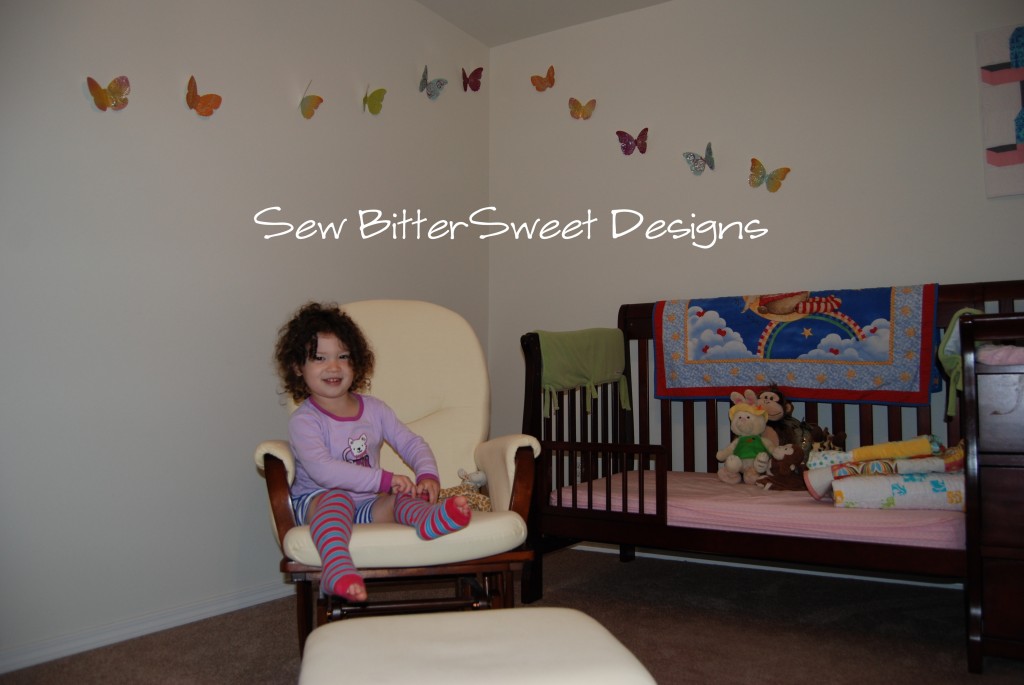
For starters, she dressed herself – and was quite proud of her outfit!  Now you can see the butterflies going up the wall and all of her homemade cuddly quilts piled high on the bed. What is missing is her butterfly quilt, it lives downstairs. The butterflies are important…
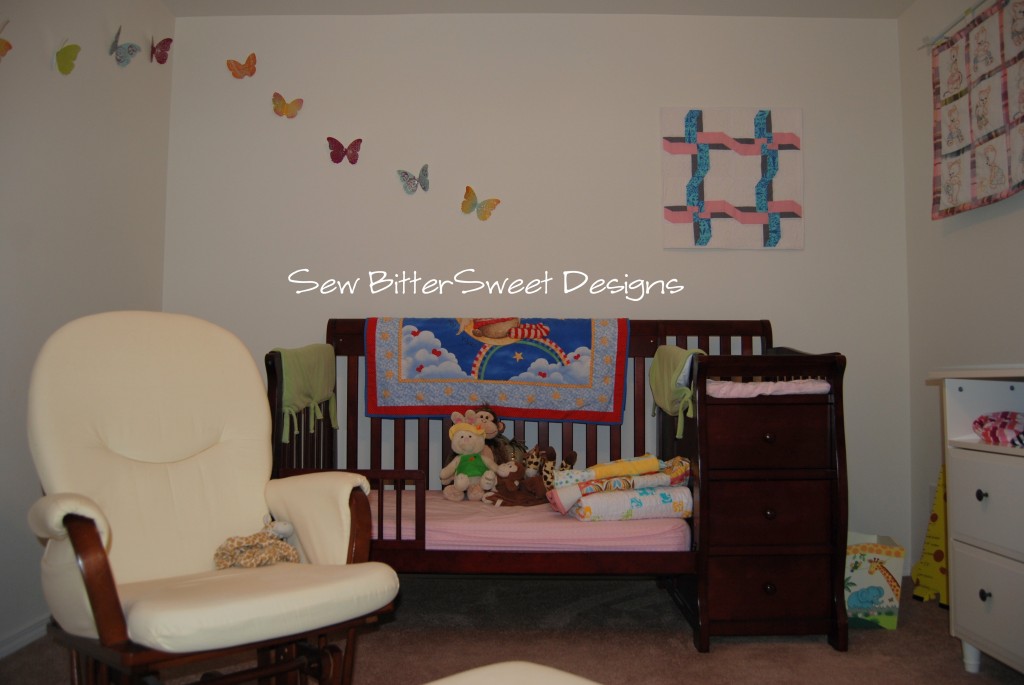
More quilt decor – her wall hanging in blue, pink, gray and white was designed by me and the wall hanging that has been turned into a window covering was hand embroidered by a dear family friend. It has been protected with blackout fabric on the back and hung with looped ribbon. I wanted to make sure it was protected from sun damage.

And now…the what you’ve all been waiting for, the big reveal!
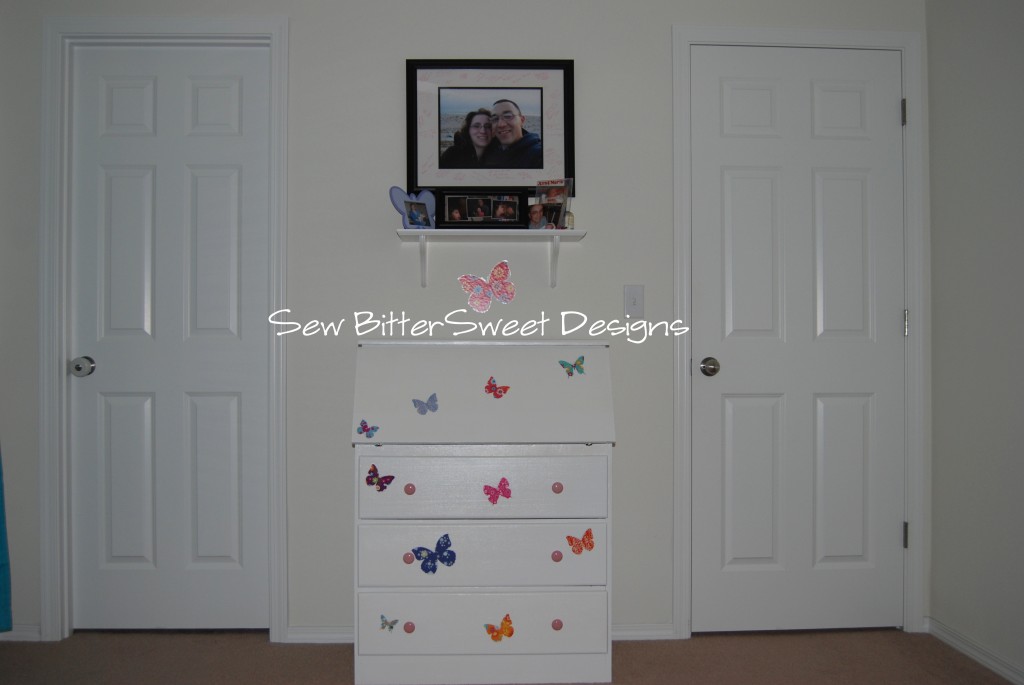
Now, as I mentioned earlier, Lowe’s sold me the wrong kind of paint and I made lemonade out of lemons. Here’s what happened. I told the guy at the paint counter that I wanted a glossy/shiny finish, and I intended to use a stencil to paint butterflies on after I was done as a nice detailing. He said no problem, they sold tester cans for $3.00. Well all of that is true, except that the Satin paint that comes in the tester cans will NOT stick to the latex enamel glossy finish!  So I decided to go with butterfly decals instead, and to take it one step further, I really almost want to thank the guy, because you know what, when Anne is 15 butterflies might not be so hip anymore and instead of having to repaint the whole desk, all I will have to do is take the decals off!

Here’s is another view of more butterflies:

Do you also remember yesterday when I mentioned I got primer and 2 different kind of paint? Well here’s why:
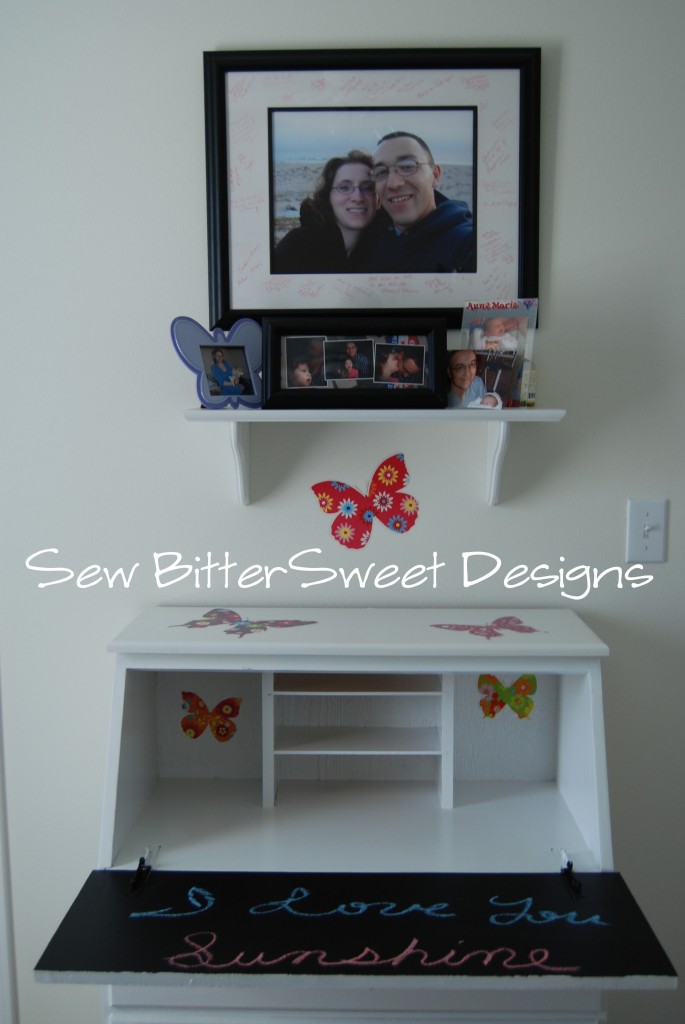
I turned the desk part of the dresser into a chalkboard!  For now it will be a fun place to color and when she is older it will be a fun place to leave her secret messages.

I am so happy with how it turned out and the best part is that the dresser in our guest room has been emptied of her clothes and can now actually be used by guests! Oh yeah, and she loves it too!

I think my next home dec project will be refinishing the chair my parents bought for me to go with this desk umpteen million years ago 🙂

Re-Making the Desk: Part 1

Happy Monday everyone! I know, you are all thinking, “It is Monday, what’s happy about it?!?”  Well, as I have said countless times, every day is a holiday when you live in Toddler Land. There are no Mondays or Saturdays, there are just days.  Shoot most of the time I only know what day it is because we have an appointment. Thank goodness for my Blackberry or I would be very lost!

This weekend Anne and I put the finishing touches on her desk/dresser and got it moved up into her room! I am so excited to share it with you, but that will have to wait until tomorrow. First I want to show you how we got to the finished product!

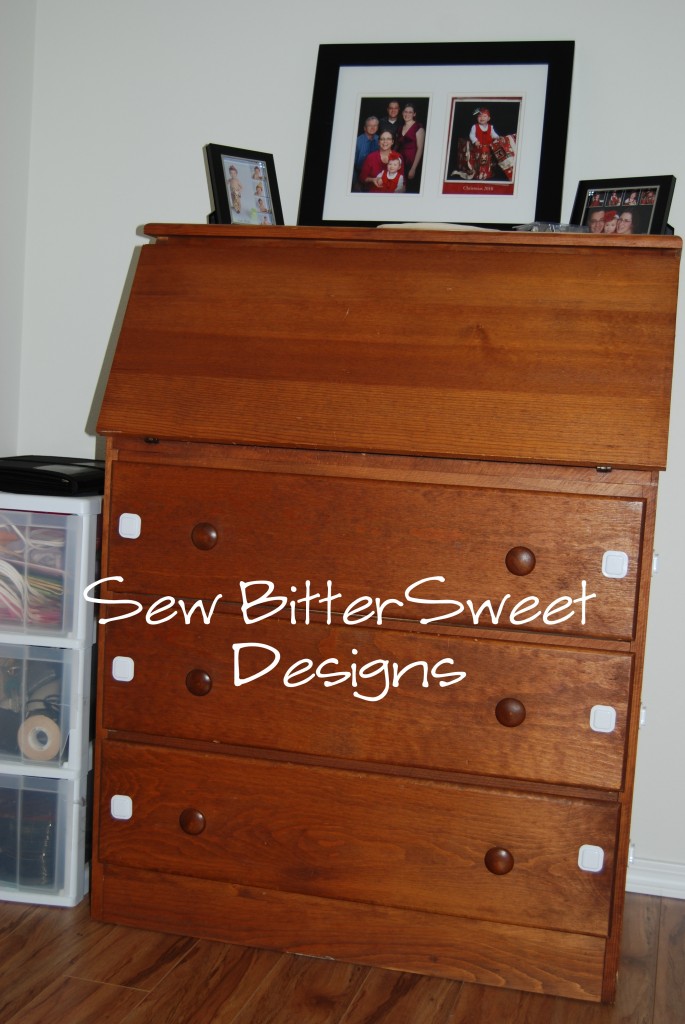
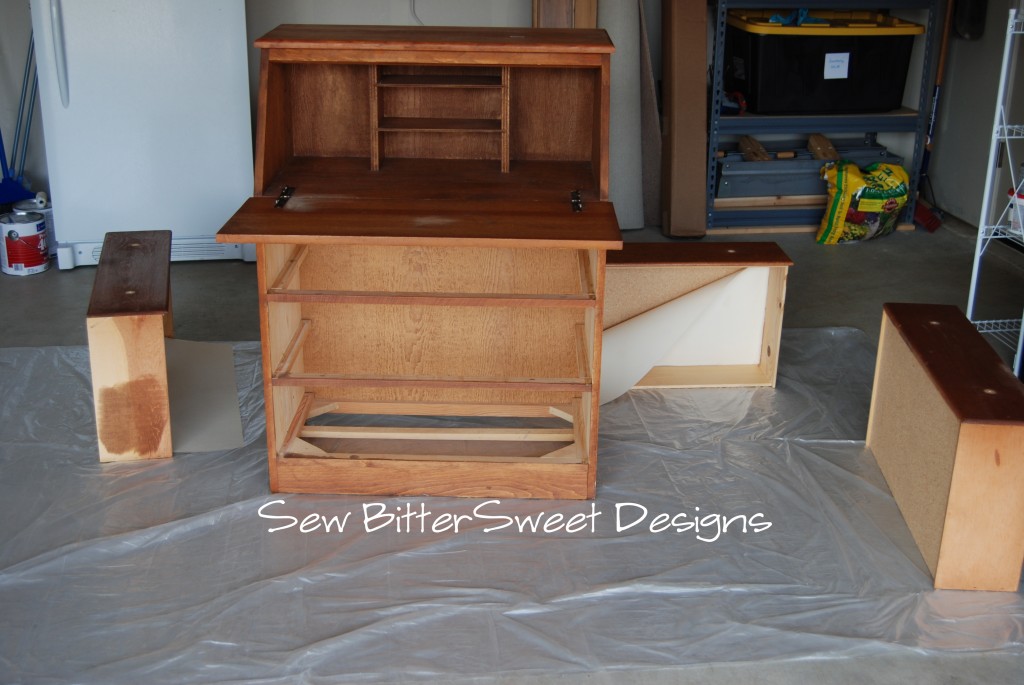
Here is the dresser in all it’s ugly glory! Now someone pointed out to me that it wasn’t ugly, and really it wasn’t, it just wasn’t what I wanted for Anne’s room. The stain was a bit too dark for my tastes.

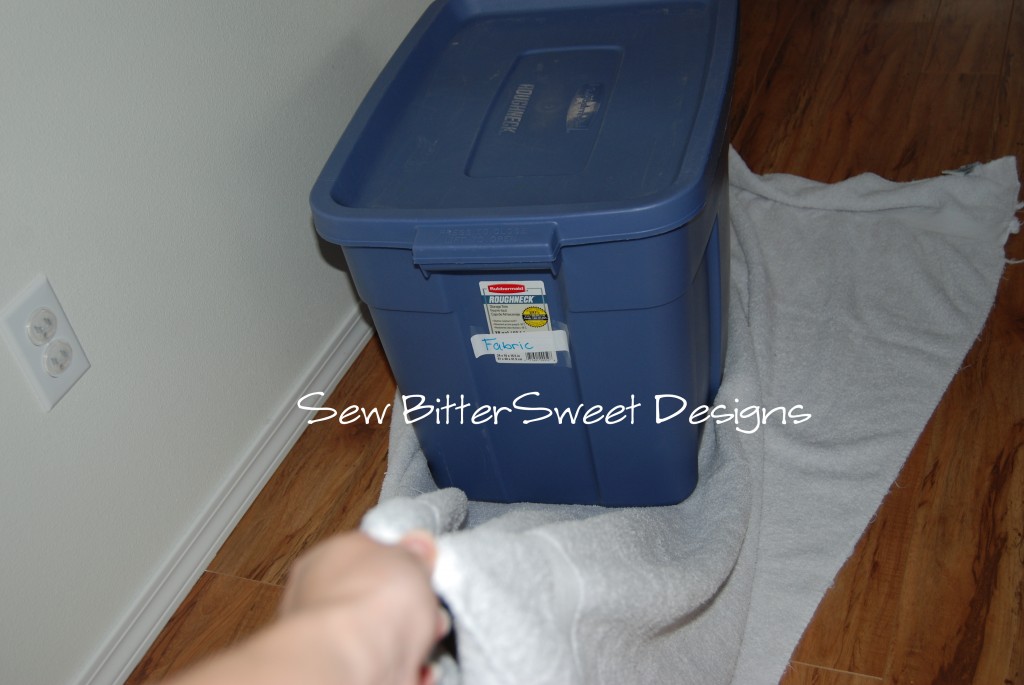
Step one in the make-over process was to clean out the dresser. I had to be careful with this step and think it through. It was mostly filled with yearbooks from the Mister and me. There were also several photo albums, I wanted to be sure everything was stored in a way that nothing would get ruined. I decided to put the albums on the bottom shelf of my cookbook bookcase (say that 10 times fast!) and the yearbooks went into a tote.  Now I decided to think ahead about how heavy everything was going to be and the fact that I am not the strongest lady ever and came up with an ingenious moving idea!

I grabbed a super old ratty towel and put the tote on top before I started filling it up. Then I could just drag it across the room to the garage. It spared my floor from scratches and my back from aching!

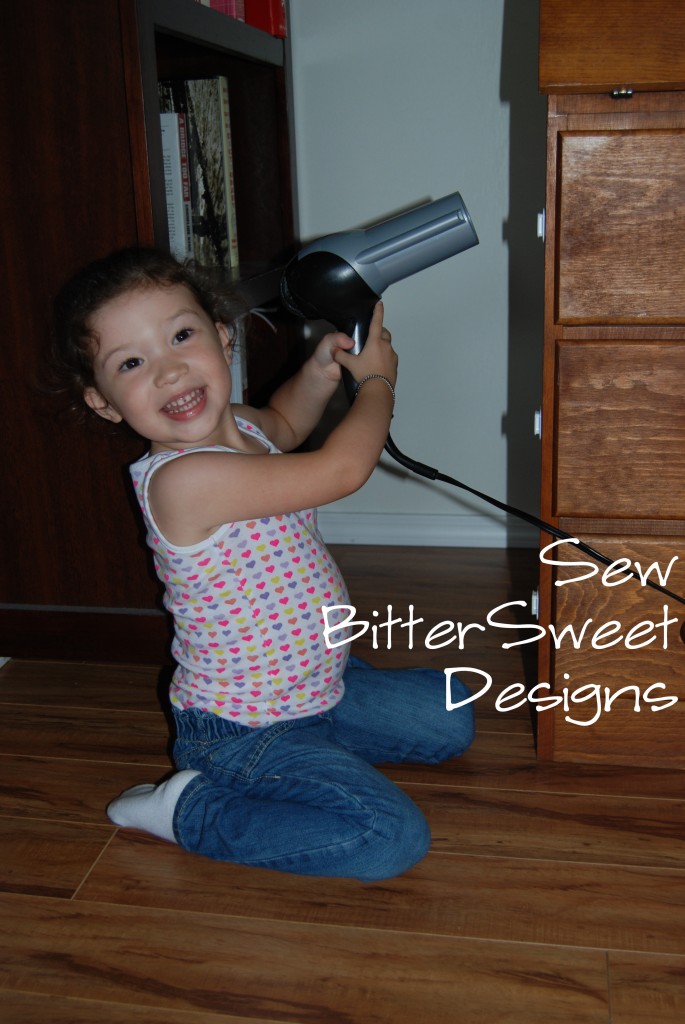
Next up, I had to remove all the child safety locks – time to break out the hair dryer! And of course, Anne just had to help mommy 🙂

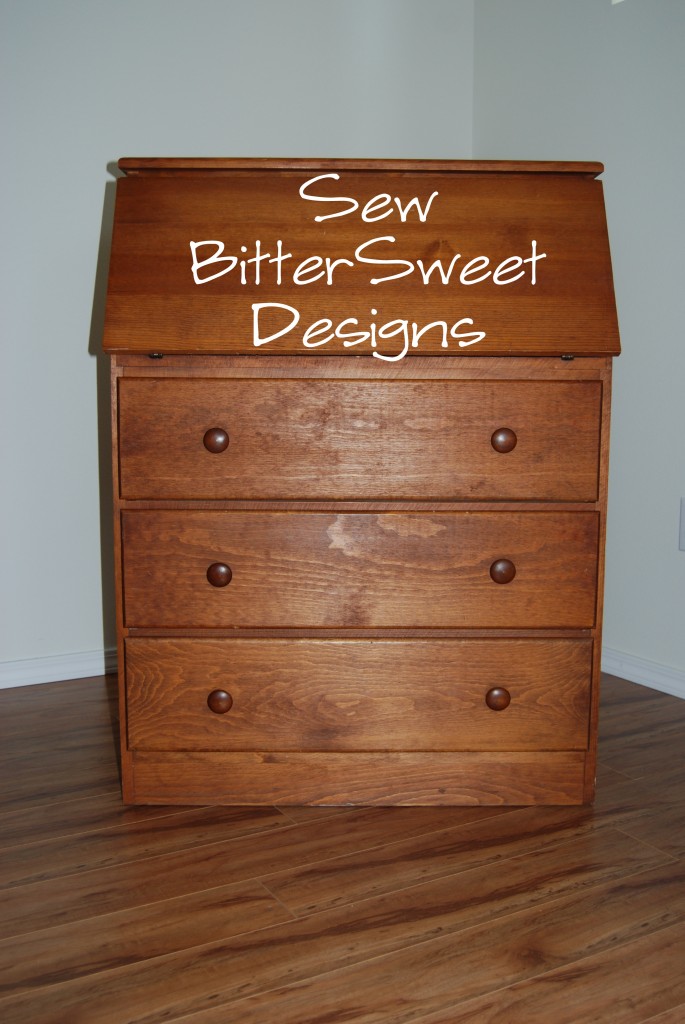
Here’s the desk all clean and ready to be moved on the towel, just like the heavy tote above.

Here’s the dresser with all the hardware removed and ready for painting! Now, I have to admit, that aside from taking all the hardware off and getting a drop cloth, I really had no idea what to do next, I was fairly certain I would need to sand everything, but luckily I was informed that it was not necessary!

So I headed to my friendly neighborhood Lowe’s and told them my plans for the dresser. I even brought one of the drawers with me in case they wanted to see it! They set me up with a drop cloth, primer, 2 different types of paint (I’ll show you why there are 2 tomorrow), paint brushes, and a roller. Then Anne picked out the new hardware she wanted for the drawers. Now I will say that they sold me the wrong kind of paint for what I had planned at the end, but I decided to make lemonade from lemons and I am even happier with the end result. I’ll tell you more about that tomorrow!

We got the dresser all primed and I, um…got really into my work…

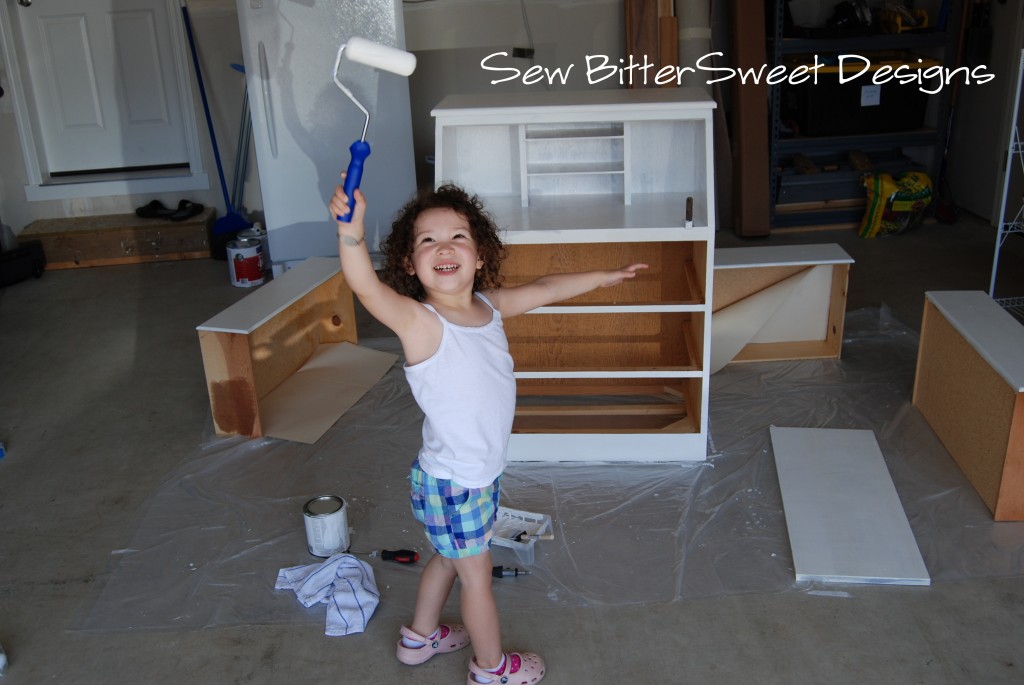
I had to do 3 coats of the latex glossy white that I picked out for the dresser, so I did one coat a day last week before it got to hot. It was the first thing we did every morning before breakfast even. Here’s Anne getting in on the action!

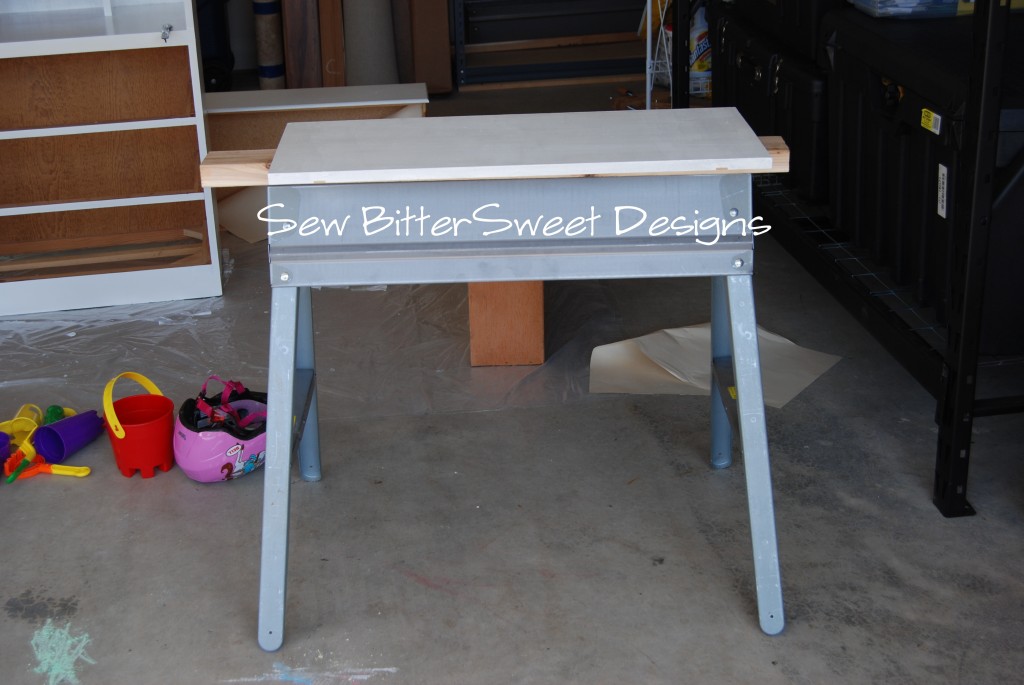
My real proud moment in all of this was figuring out how I was going to paint the desk part of the dresser. I removed it because I did it in 2 different colors (you’ll see why tomorrow). I remembered that when we built our fence last year my dad and I bought 2 sawhorses and I busted one out.

This saved me a lot of headaches and probably spilled paint too!

Come back tomorrow and I will take you on a tour of Anne’s room and show you the finished dresser in all it’s glory!

And now in other news, did you see that Sondra from Contemporary Cloth is having a huge sale AND giveaway? You can even win one of my BitterSweet Bundles! Go here to check it out! Also, don’t forget to enter the giveaway I am hosting for Fat Quarter Shop!

Make it a great day!


Confession Time

We have lived in our house for 13+ months. We are the first owners and it was brand spanking new when we moved in.  That isn’t the confession, the confession is that we have done almost ZERO decorating in our house during the last 13 months!  There were a lot of expenses that never occurred to us when we bought our home…like window coverings.  There weren’t even BLINDS when we moved in!  That was a fast $3,000!  We moved from a 1,400 square foot one story home to a 2,600 square foot 2 story home – we didn’t even have a bedroom set for our master bedroom – hello IKEA!  Needless to say some things have just never been taken care of, partly out of laziness, partly because I really hate decorating, but mostly because it is a brand new home and if it has involved making any kind of hole in the wall I have shied away from it.

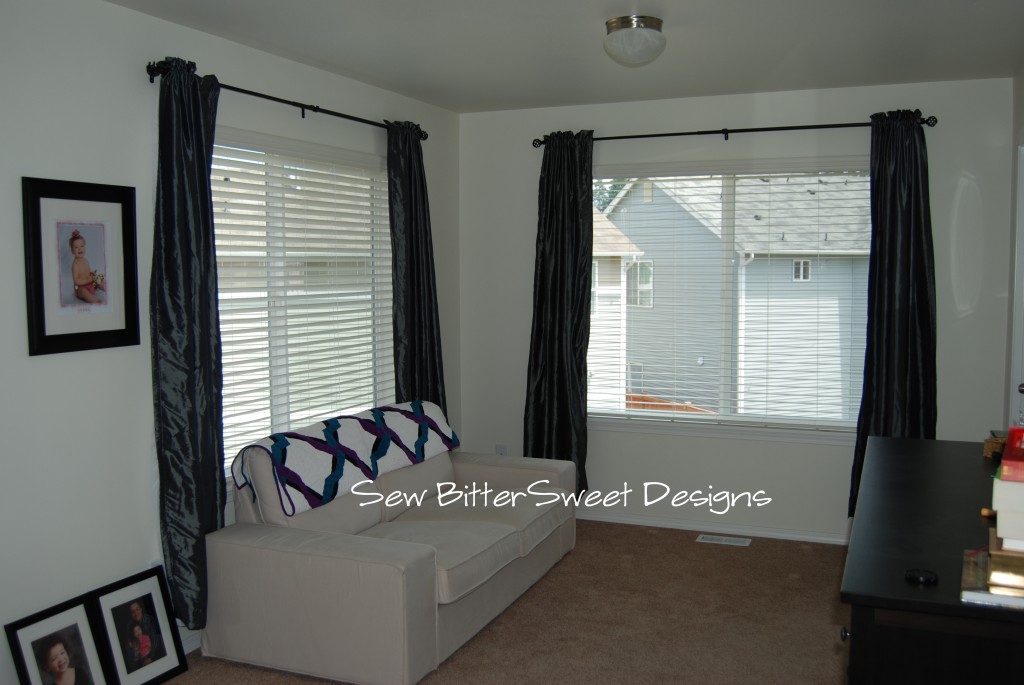
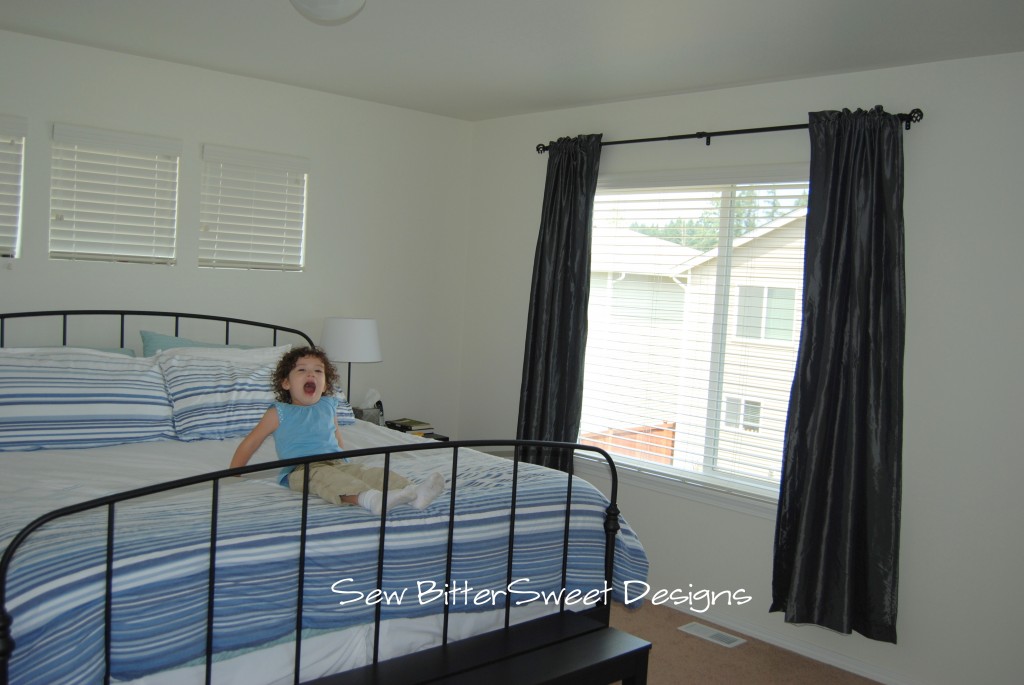
Yesterday that all changed thanks to the wonderful help of my Father-in-Law – our master bedroom finally got CURTAINS!!! Which means I am no longer waking up at the crack of dawn (literally). The window on the right faces East!  The quilt is my original design and please don’t judge the pictures on the ground…I swear they will get hung up someday!  I really want to get a table for our little seating area in our room, either that or bring up the Hope Chest from California that my mom said I could have…

The only problem is that there are three small windows behind our bed that are still uncovered. I’m not quite sure what to do with them, and now that all of the other windows are covered, I do really want to do SOMETHING with them, I’m just don’t really know what. I’m totally open to suggestions, and from the expression on her face…I think Anne is quite shocked they are still naked!

Oh yeah, and no judging my Target bed set – the king size Swoon quilt is a work in progress!  The goal is for it to someday take up residence here…you know when I have spare time to work on it – LOL!

And now for the gratuitous cute picture of Anne – because I really can’t help myself!

If you haven’t already, make sure to take a few minutes to go enter to win my first ever custom fat quarter bundle!

Wall Hanging to Black Out Curtain

I am not a decorator – AT ALL! I have lived in my new home for 5 months now and I am only just now getting around to hanging things on the walls. In fact until Saturday morning – we literally had blue taped blankets and sheets over Anne’s windows instead of hanging curtains!

Well that has all changed. I finally made some decisions and Anne’s room is starting to look more like a little girl lives in there as opposed to a wondering gypsy. I bought some black out curtains from Target for her big window – in fact Anne picked out the color!  Here is a link to them.  I love the color and I think they will last a good amount of time because of the color.  I also found the cutest curtain rods!  My bestie Lisa asked me how can curtain rods be cute and I told her she just had to see them.

Now the pièce de résistance is what I did for her small window. There is a random 2 ft by 2ft window in her room that needed covering. As soon as I saw it I knew that I wanted to hang a beautiful, yet simple, wall hanging over it but for the life of my I couldn’t figure out how I was going to do it. Well a solution hit me on Thursday morning – I turned it into a black out curtain!

I didn’t take pictures of what I did to make it a black out curtain, but it is so simple I don’t really think you need them.

You will need:

A wall hanging (this one is quilting and very old)
Coordinating 1″ wide ribbon
Black out curtain lining (any big box fabric store should have it!)
5/8″ Heat n’ Bond fusible tape

Step one  – cut your black out lining to be 1/2″ smaller on all sides than your wall hanging

Step two  – cut four strips of Heat n’ Bond – same length as black out liner – fuse to black out lining (this may take extra time, I used a teflon pressing sheet to protect both my iron and the lining. The teflon sheet was only $9.00)

Step three – fuse black out liner to back of wall hanging (this serves dual purpose – it will black out light in the room and it will protect the front of the wall hanging from light damage) – this will take awhile – be patient!

Step four – cut lengths of ribbon – this will vary based on the width of your curtain rod and how high you plan on hanging them – measure carefully!  You can hand sew these to your wall hanging or you can fuse them with the heat n’ bond tape (that’s what I did).

Step five – hang them up and enjoy!

Anne loved her new curtains and kept pointing at the new one and saying bears.

Hope you had a lovely weekend!

Absentee Blogger

Hi Brother Lovers! Sorry I have been so negligent lately. Luckily Sunni has picked up the slack for me.  I have been busy with one of the biggest events in a person’s life – you have your wedding, you have the birth of your babies and you have your first home purchase.  Last Thursday we closed on our house!

Isn’t it beautiful!!!

I only have a couple of rooms set up so far, but they are definitely functional spaces.
The most important room of the house as far as the hubby and I were concerned was getting Anne’s room set up.

View looking in from the door
Anne is all settled in 🙂

We haven’t hung anything on the walls yet (I’m a new home owner and totally afraid of putting holes in my walls…I know it is going to happen, I’m just not ready for it yet!).  I love the arrangement of the furniture and since we do not have curtains up yet we are using a small baby blanket that a loved one made years ago.

It is really beautiful without the blue tape (I swear)

At first it wasn’t going to be permanent (and the blue tape isn’t), but I love the sweetness of it for a little girls room, so I am going to put a new backing on the quilt to preserve the colors of the fabric (they are all vintage) and then I am going to turn it into a wall hanging and use it to cover the small 2×2 foot window in her room.  Her larger window will have to wait until I find fabric I like for curtains.

The second most important room was getting our Loft set up. This is going to be her play room until she is a little older and then it will become more like a family den.

The cabinet/shelving unit and table with stools are both from Ikea.  It took me two hours to put together the shelving unit and it was a major pain!  It is gorgeous but there was a lot of cursing during the assembly process. I am so glad she was sound asleep while I put it together!

The third room that is finished (for the most part) is our kitchen. I LOVE my new kitchen! It is AMAZING.

We have all stainless steel appliances and our fridge is still magnetic! Totally cool.  I finished sealing the grout on my counter tops and couldn’t be happier with the way everything looks together.  The colors very much fit my personality.  The butler’s pantry still needs some work, you can see the box in the lower left hand corner, but I figure I have lots of time to make it perfect so I’m in no rush.

We still have several rooms to go, but I have a feeling it will be some time before it is “perfect”.

What do you think so far?

Scroll to Top