(Disclaimer: Superior Threads provided me with samples of their threads and needles – the thoughts and opinions presented are my own)
Do you know Superior Threads? As far as I am concerned they are the best suppliers of quality sewing threads on the market. I was first introduced to their products at the Pacific International Quilt Festival in Santa Clara, CA, in the early 2000s when I bought my first sewing machine. They have almost 30 different types of threads – everything from fusible thread and water soluble thread to silk, cotton and metallic.
I attended my first Thread Therapy Seminar with Bob in March of 2008. I learned more in that one hour than I learned playing with my sewing machine for 6 plus years. Bob teaches you all about tension, needle type and thread type in his seminars – if you ever get the opportunity to attend one DO IT! It is worth every penny and in that one hour you will truly learn how to solve almost all your tension/thread issues.
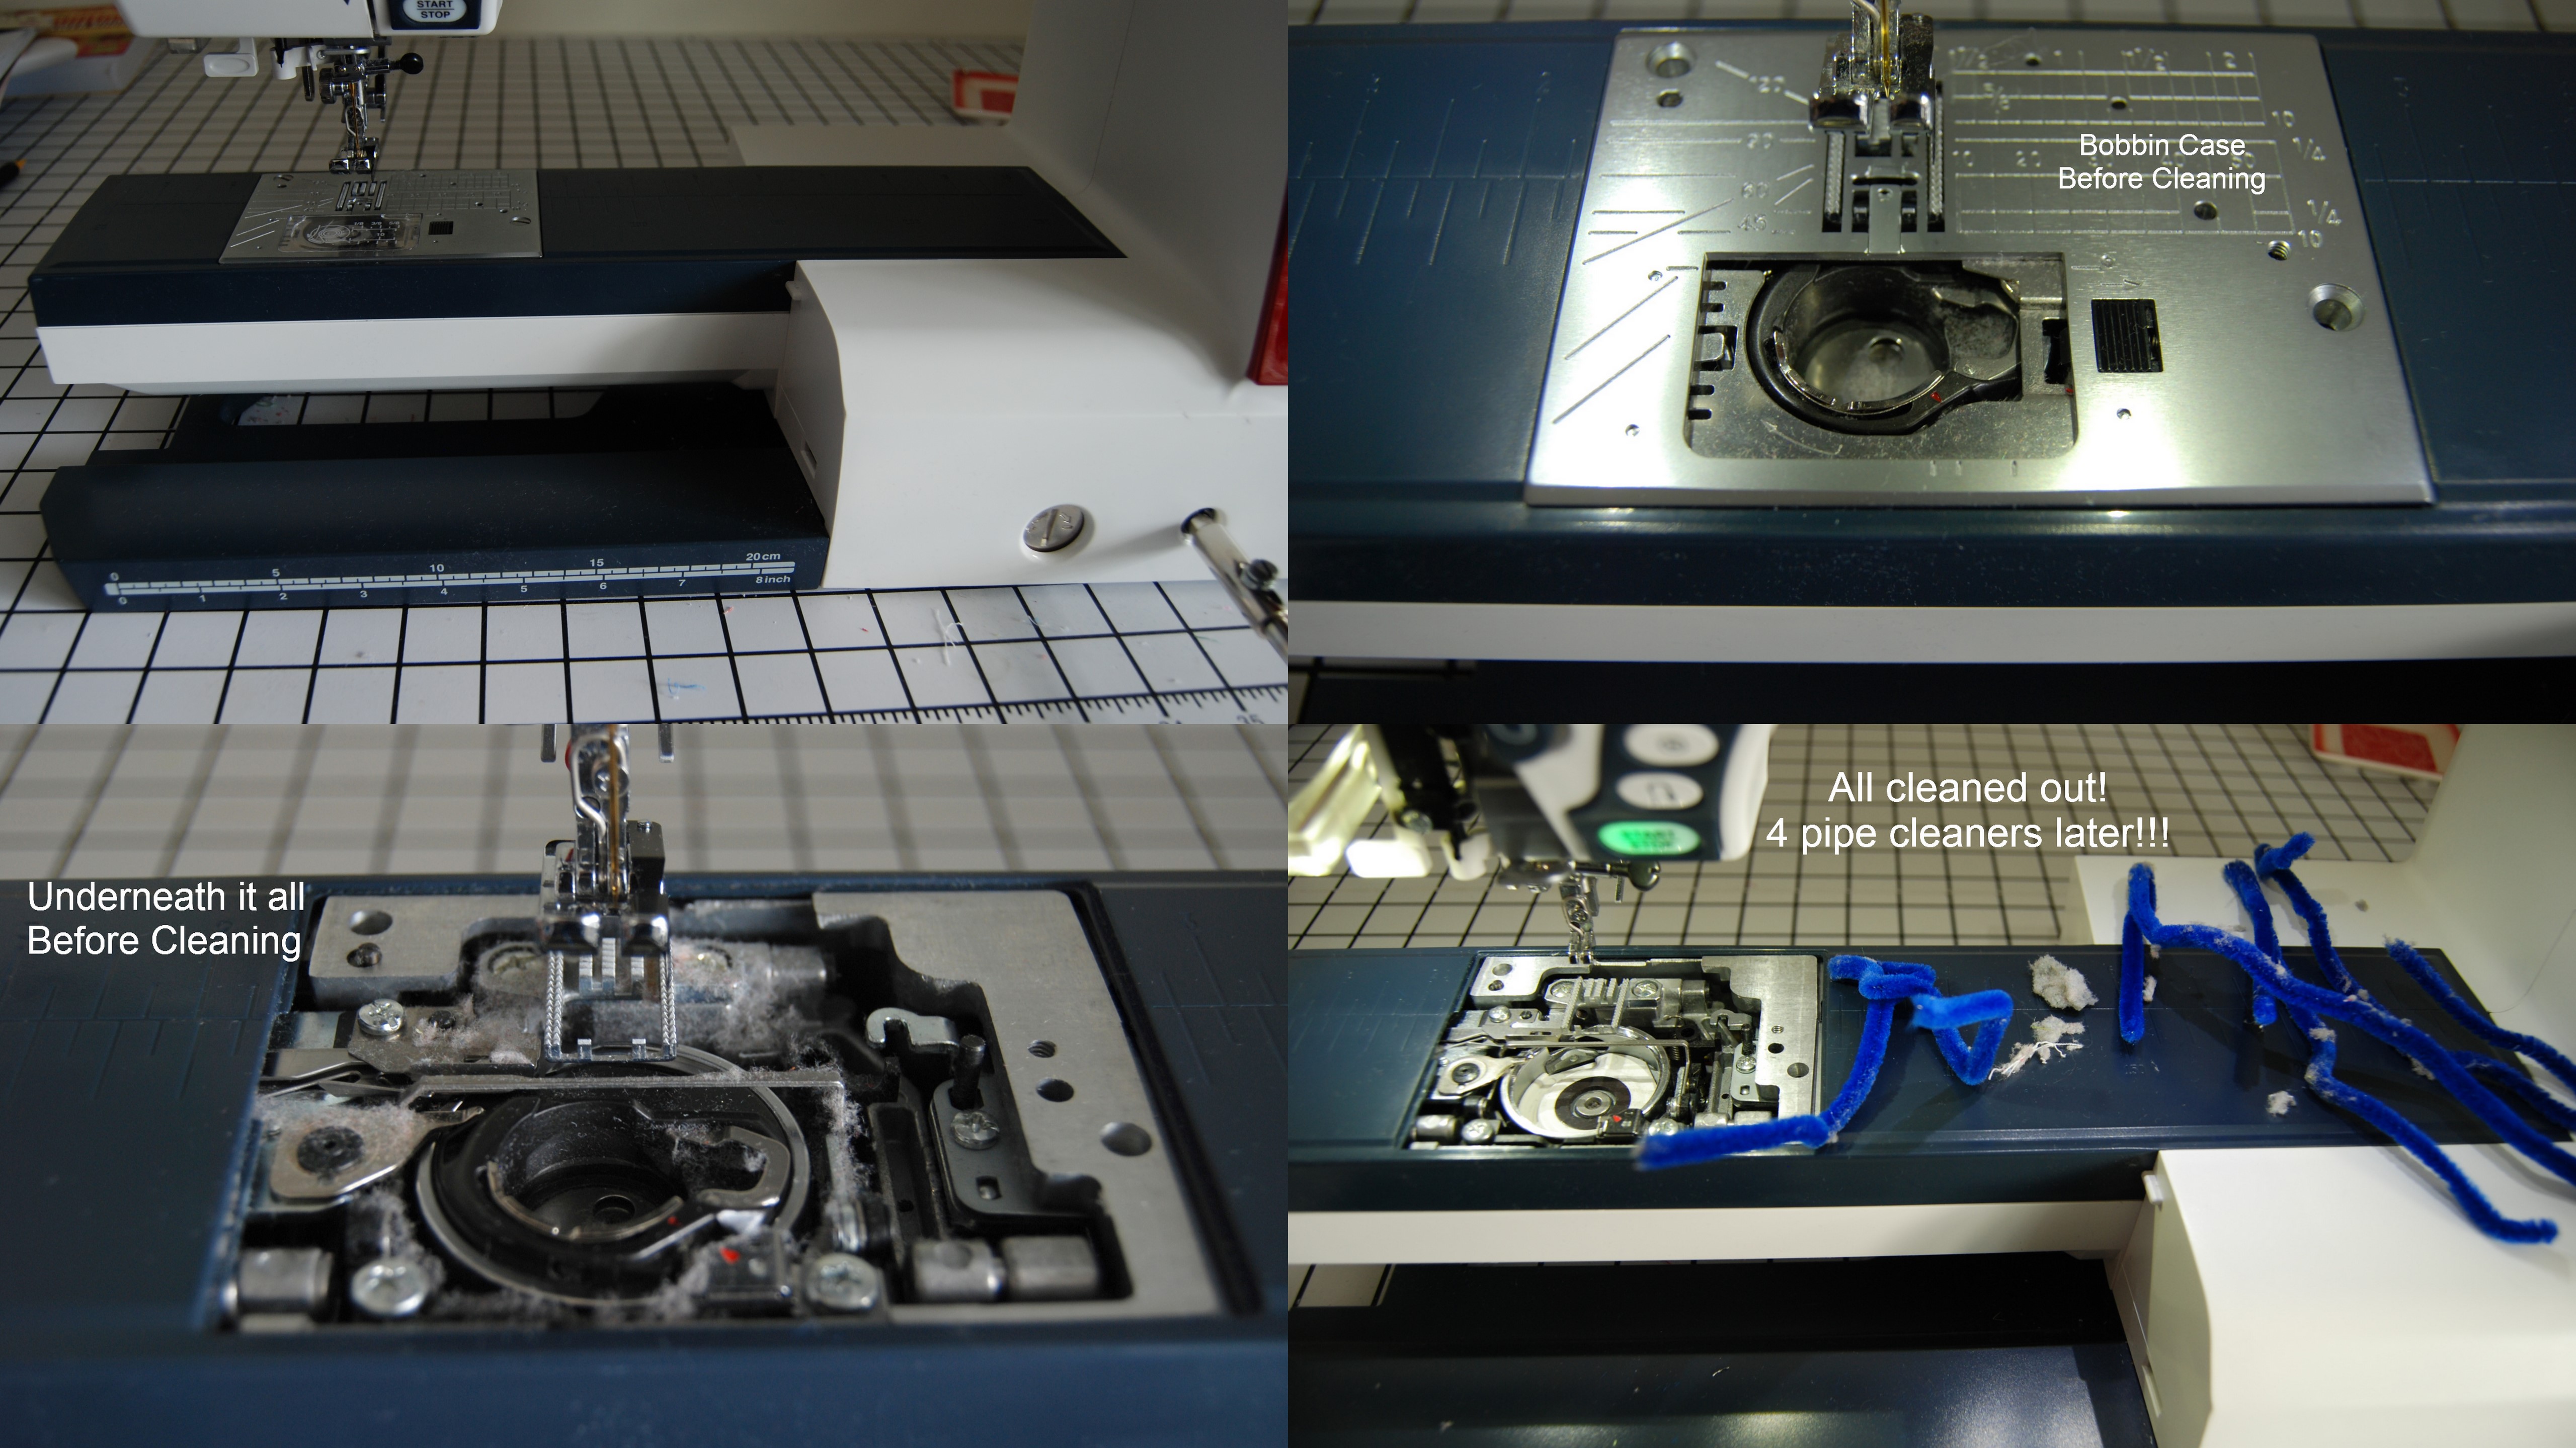
Now on to the MasterPiece Thread! When I received my little package from Superior Threads there was a note in it that reminded me to watch the videos in their education section before I started sewing. The very first video I watched was Needles, Delivery, Bobbin and Tension. Cindy Needham tells you to clean out your sewing machine using a pipe cleaner and to NEVER use canned air to blow out your machine. Now that is a rule I definitely broke on my old machine, lucky for me, I haven’t done it on my Horizon yet! I decided that if I am going to give this thread a true and tried test, it needed to be done under the best circumstances – so I opened up my machine to clean it out – SCARY! I am so glad I decided to clean it out – the jelly rolls I have been working with lately had most definitely left their mark on my machine.
 If you get nothing else out of this review – please clean out your machine, it will work SO much better afterwards, I guarantee it!
The next thing I did was print out the Thread Reference Guide – this handy little guide lists all 29 thread products, recommendations for project types, recommended bobbin threads, needles, and tension settings. If you use their products I highly recommend printing this guide – it will save you a lot of frustration.
Superior Threads has just changed the MasterPiece Thread line – it has been changed from a 2-ply 50 wt cotton thread, to a 3-ply 50 wt cotton thread. It is a multi-use product: piecing, applique, detail quilting, bobbin and lace. I used in it my Quilt As You Go (QAYG) project Bottled Rainbows (pattern by Rachel from Stitched In Color). I used it for applique and quilting at the same time.
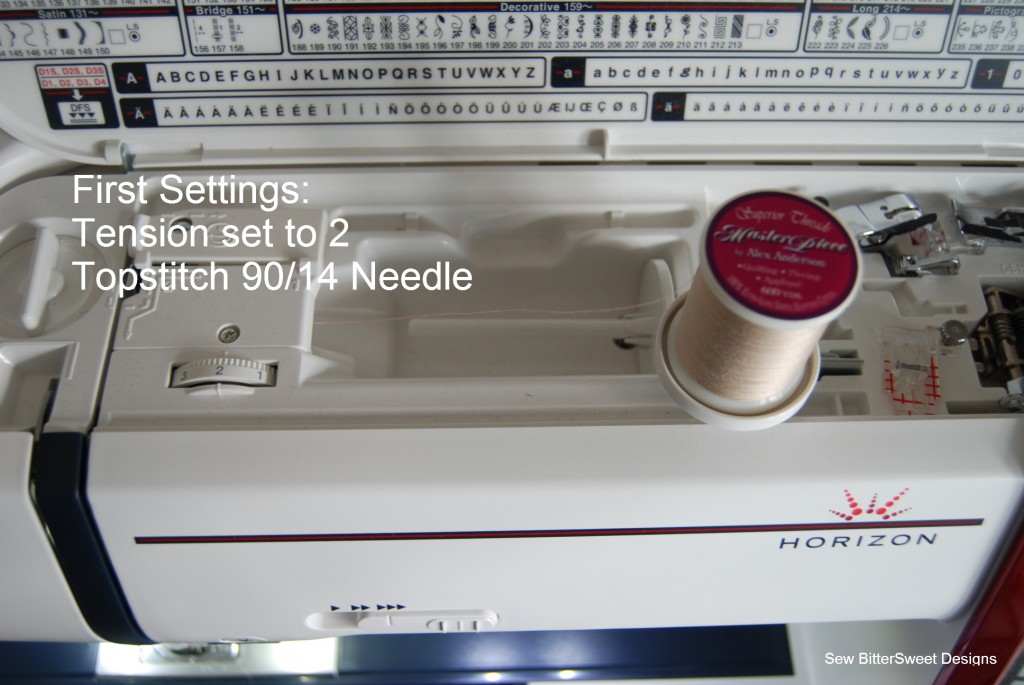
I got my machine all set up – I went with a number 2 tension and since I already had one of Superior Threads Titanium Top Stitch Needles in my machine I didn’t change it (after all – they last FOREVER).

I started with the lowest setting because I knew I could move up in my tension if I needed to. I started doing my applique project.
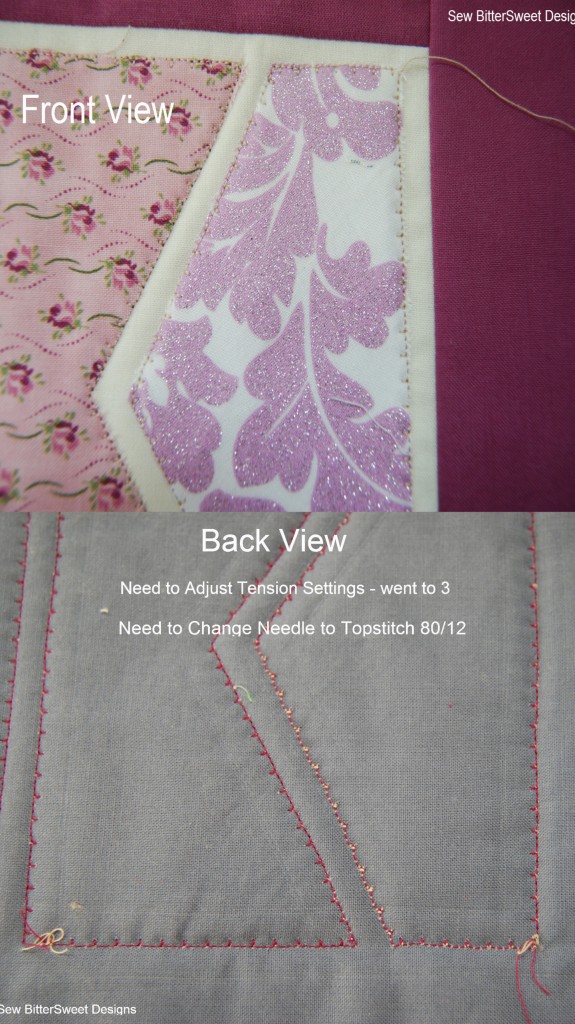
Here is my first pass around my first scrap:

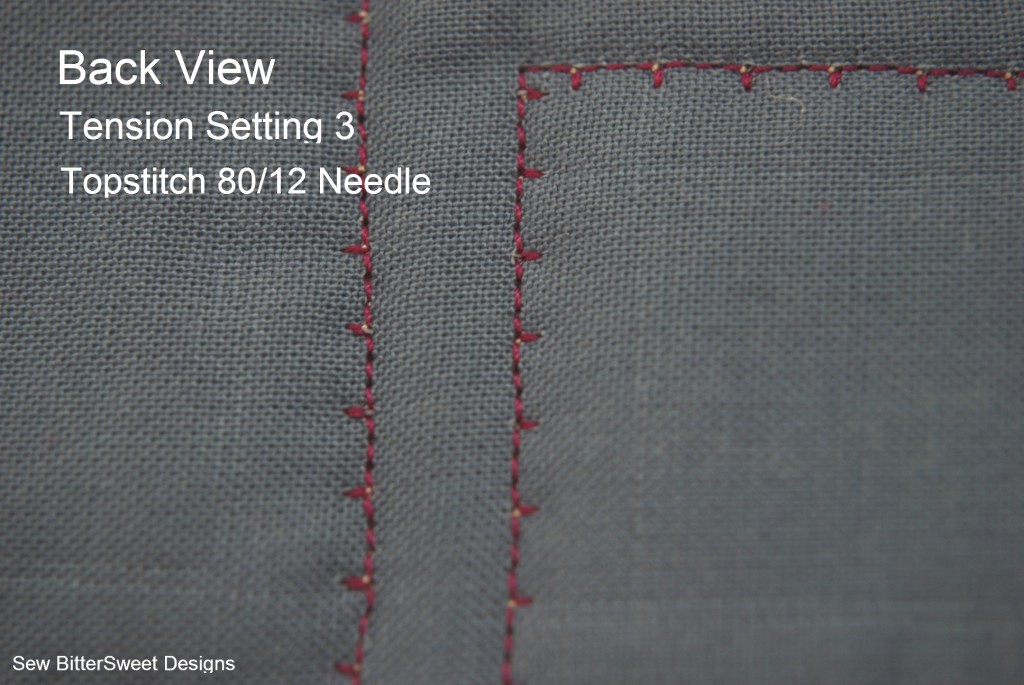
I realized immediately that I need to change my tension settings and also my needle. I changed my tension to a 3 and I swapped out my needle from a 90/14 to an 80/12.
Tension problems solved!
 I did not use Superior Threads for my bobbin thread – if I had the color I needed, I definitely would have.
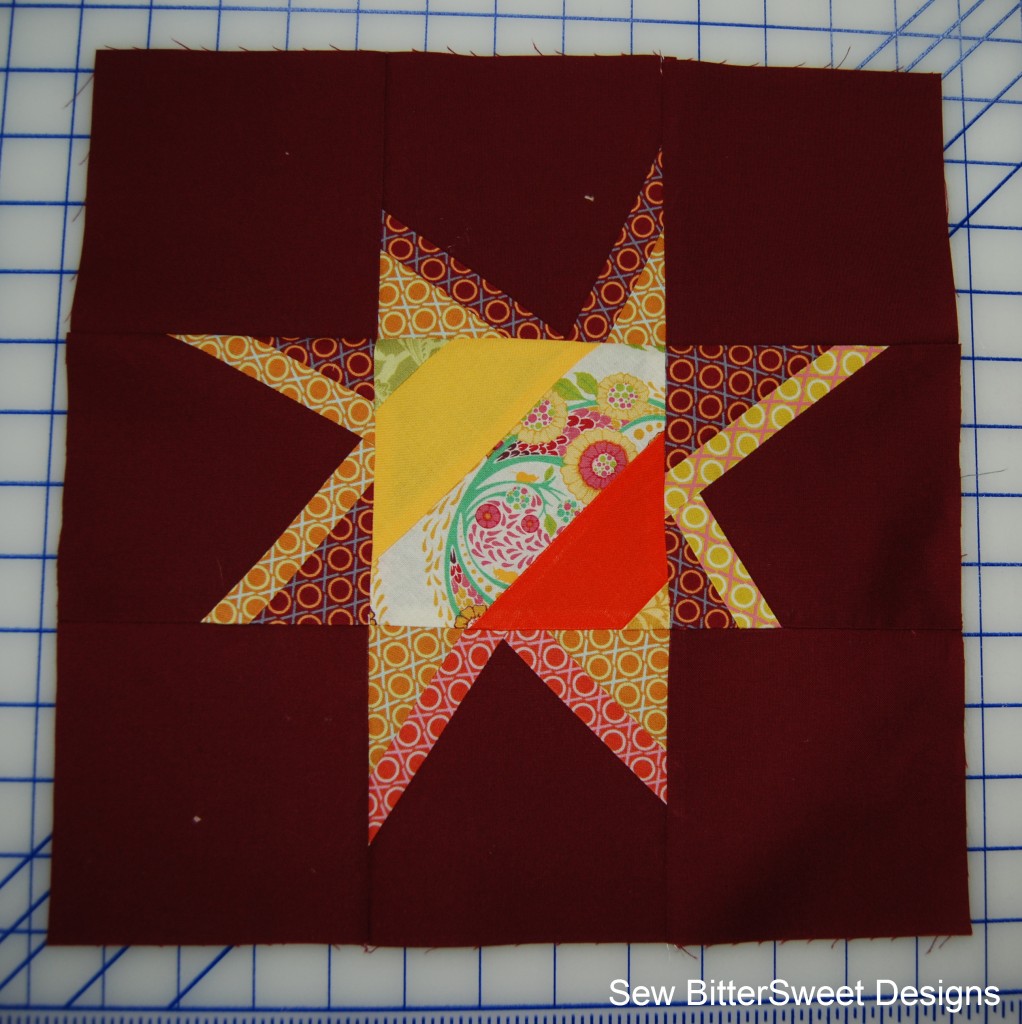
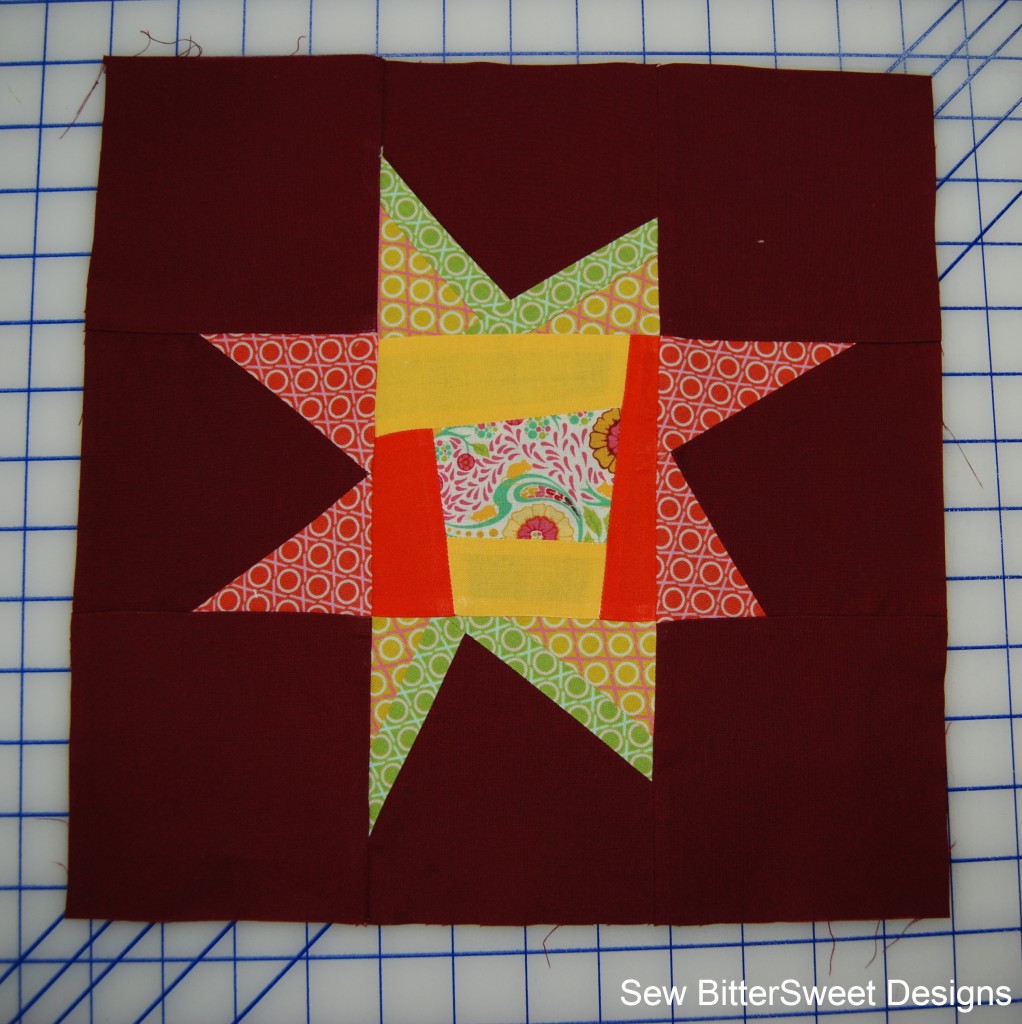
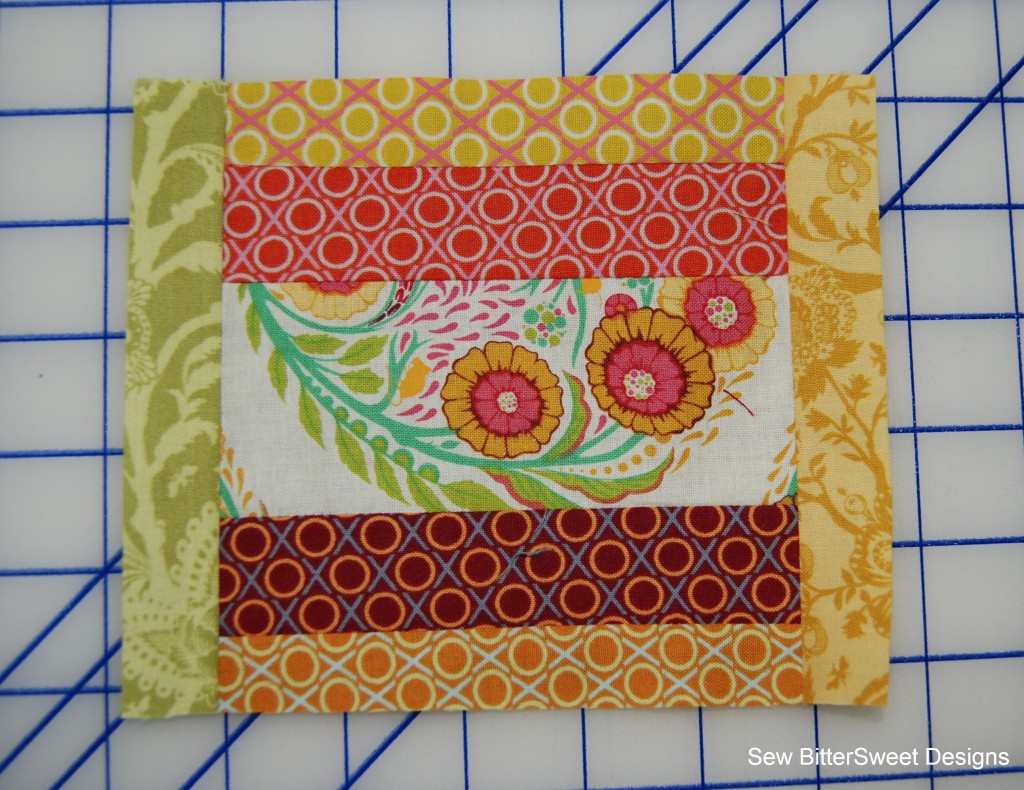
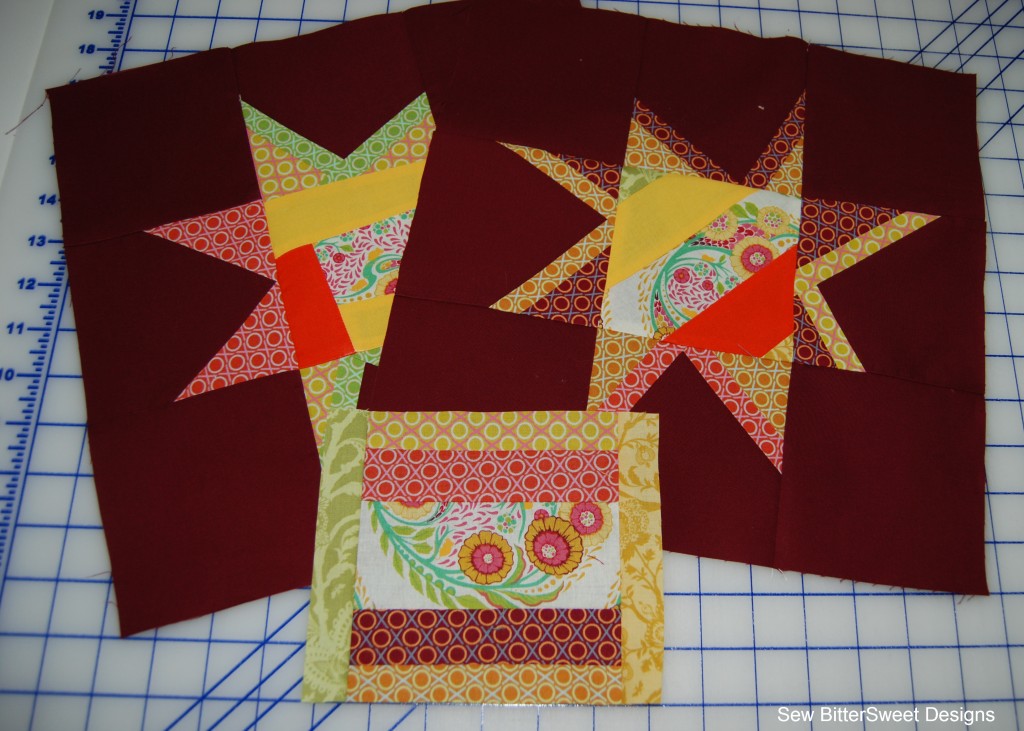
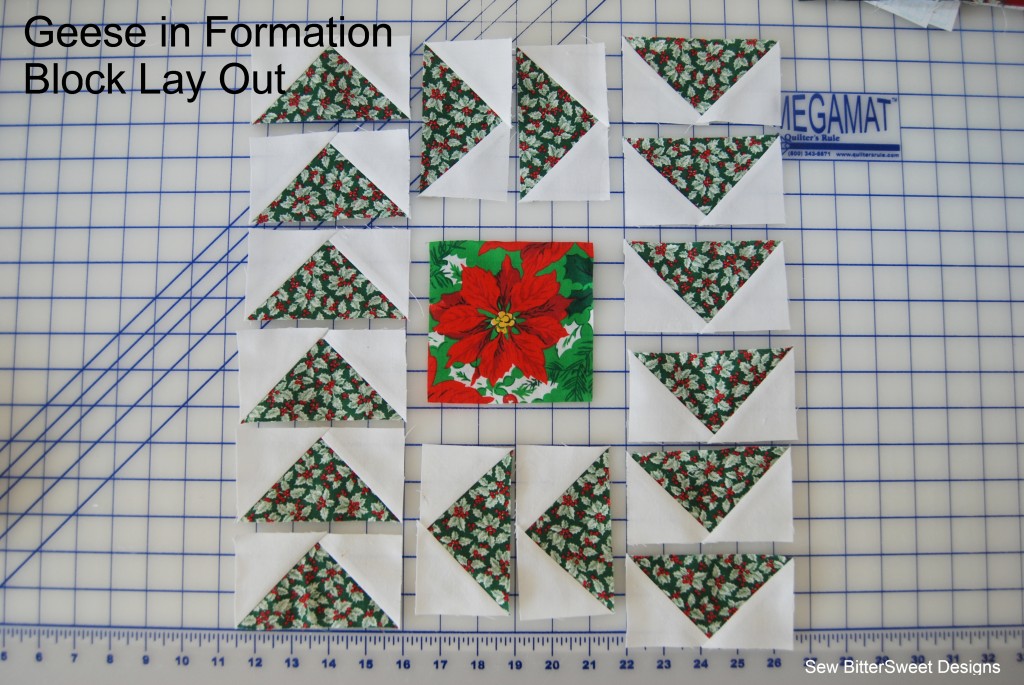
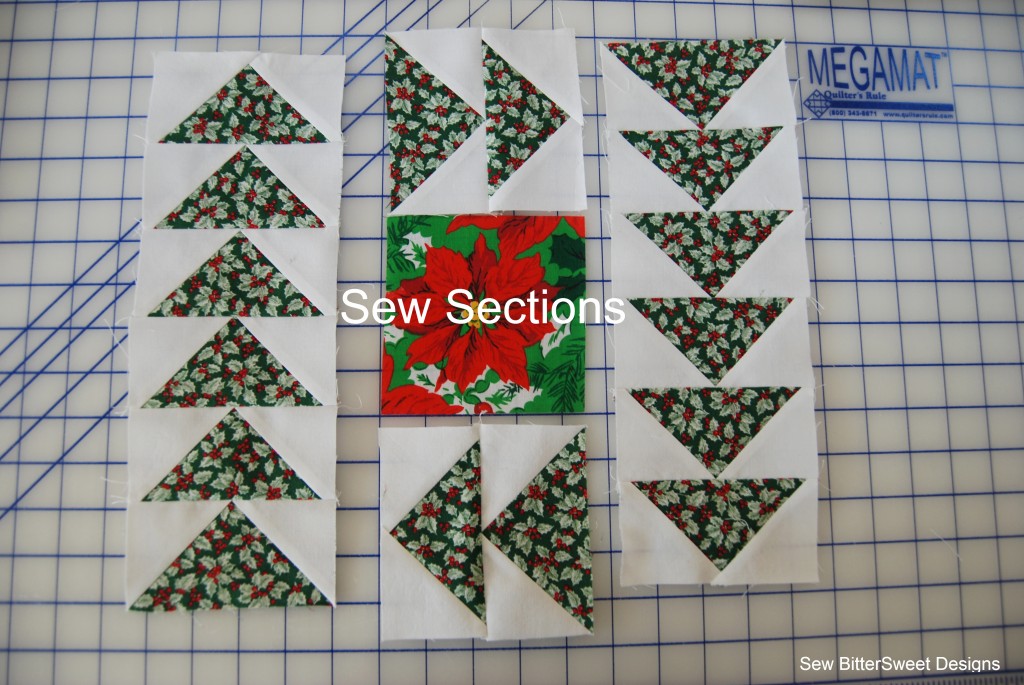
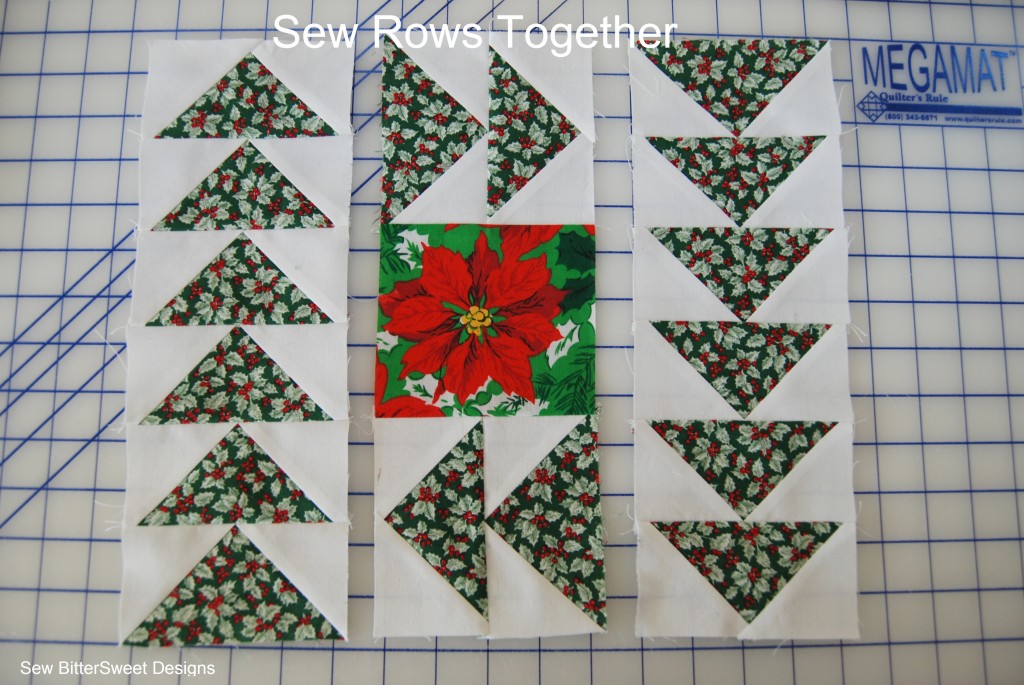
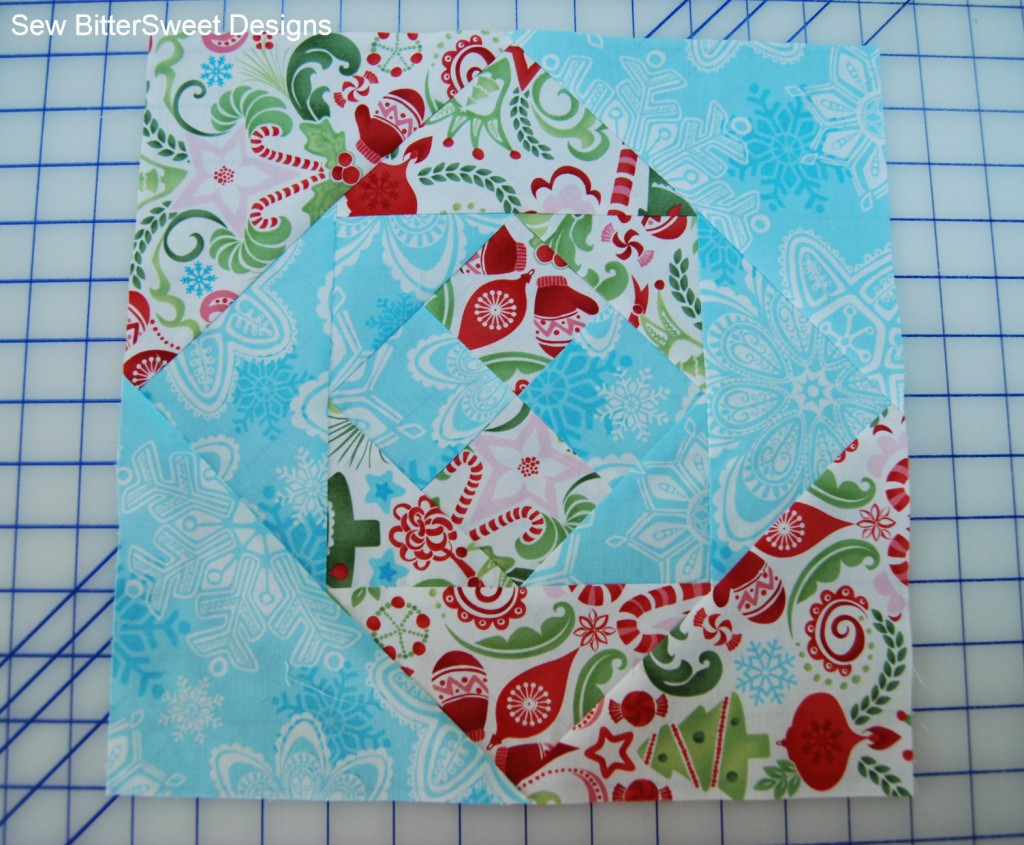
I also used it to piece together this quilt block:

Things I noticed:
- Once I got my machine settings correct – piecing/appliqueing/quilting was a SNAP.
- Virtually NO lint! I usually end up having to clean my needle, needle threader, and foot after every block I sew. I made four Bottled Rainbows blocks and a snails trail block without having to clean off any lint.
- Once I got my machine settings and needle correct – the applique took almost no time at all. The thread blended perfectly with my fabrics and looks smooth.
- After appliqueing more than 50 different scraps down and sewing one block I did not have a single thread break. This thread is strong and durable.
- My bottled rainbows quilt is a QAYG project – so MasterPiece doubled as an applique thread AND as my quilting thread and it performed beautifully.
- The only thing I would do differently is use it in my bobbin as well as my top thread – this falls solely on my shoulders – I should have ordered extra thread for my bobbin (I am purposefully using different colors on the top and bottom and I got LAZY). Bad quilter!
Recommendations:
- Don’t be lazy – test each thread you purchase on scrap fabric and scrap quilts before using it on your project – make sure your machine settings are correct
- Watch the videos on the Superior Threads website! Even if you don’t buy their products – you will still learn a lot. Just look at my before and after cleaning pictures!
- Take the time to print out the Thread Reference Guide for Home Machines and use it! Just because you have an auto-tension setting on your machine does not mean you should use it, in fact odds are, you should not be relying on it at all!
- Do your research – Superior Threads sells prewound bobbins and spools in three different sizes. You really can get your money’s worth if you buy in bulk. I always piece in neutral colors and I would definitely invest in their thread cone stand and 3000 yard cones. You will save time and money. To me the time saved is almost better than the money – less time cleaning out my machine from the lint and less time rethreading my machine because of breaks.
There really are no improvements that I can think of after working on these two projects. The fact that they have already changed it to a three ply thread says it all right there. It is a much stronger more durable thread now and will work on almost every type of sewing that I do.
Completely unrelated to MasterPiece Thread would be the needles. I love Superior Threads Topstitch Needles – they last forever and are incredibly strong. The only thing I would change is color coding them. I have a terrible memory and I do not keep track of the needle that I have in my machine. If the four different needles were different colors I would have been able to start out with the correct needle in my machine and that would have saved me a step. This would be a fabulous change to the needles!
Have you used MasterPiece? Do you like it? Would you recommend it?

 It is a reversible stocking with pockets on the inside and out. Plus it is made out of flannel so it is super cuddly too!


